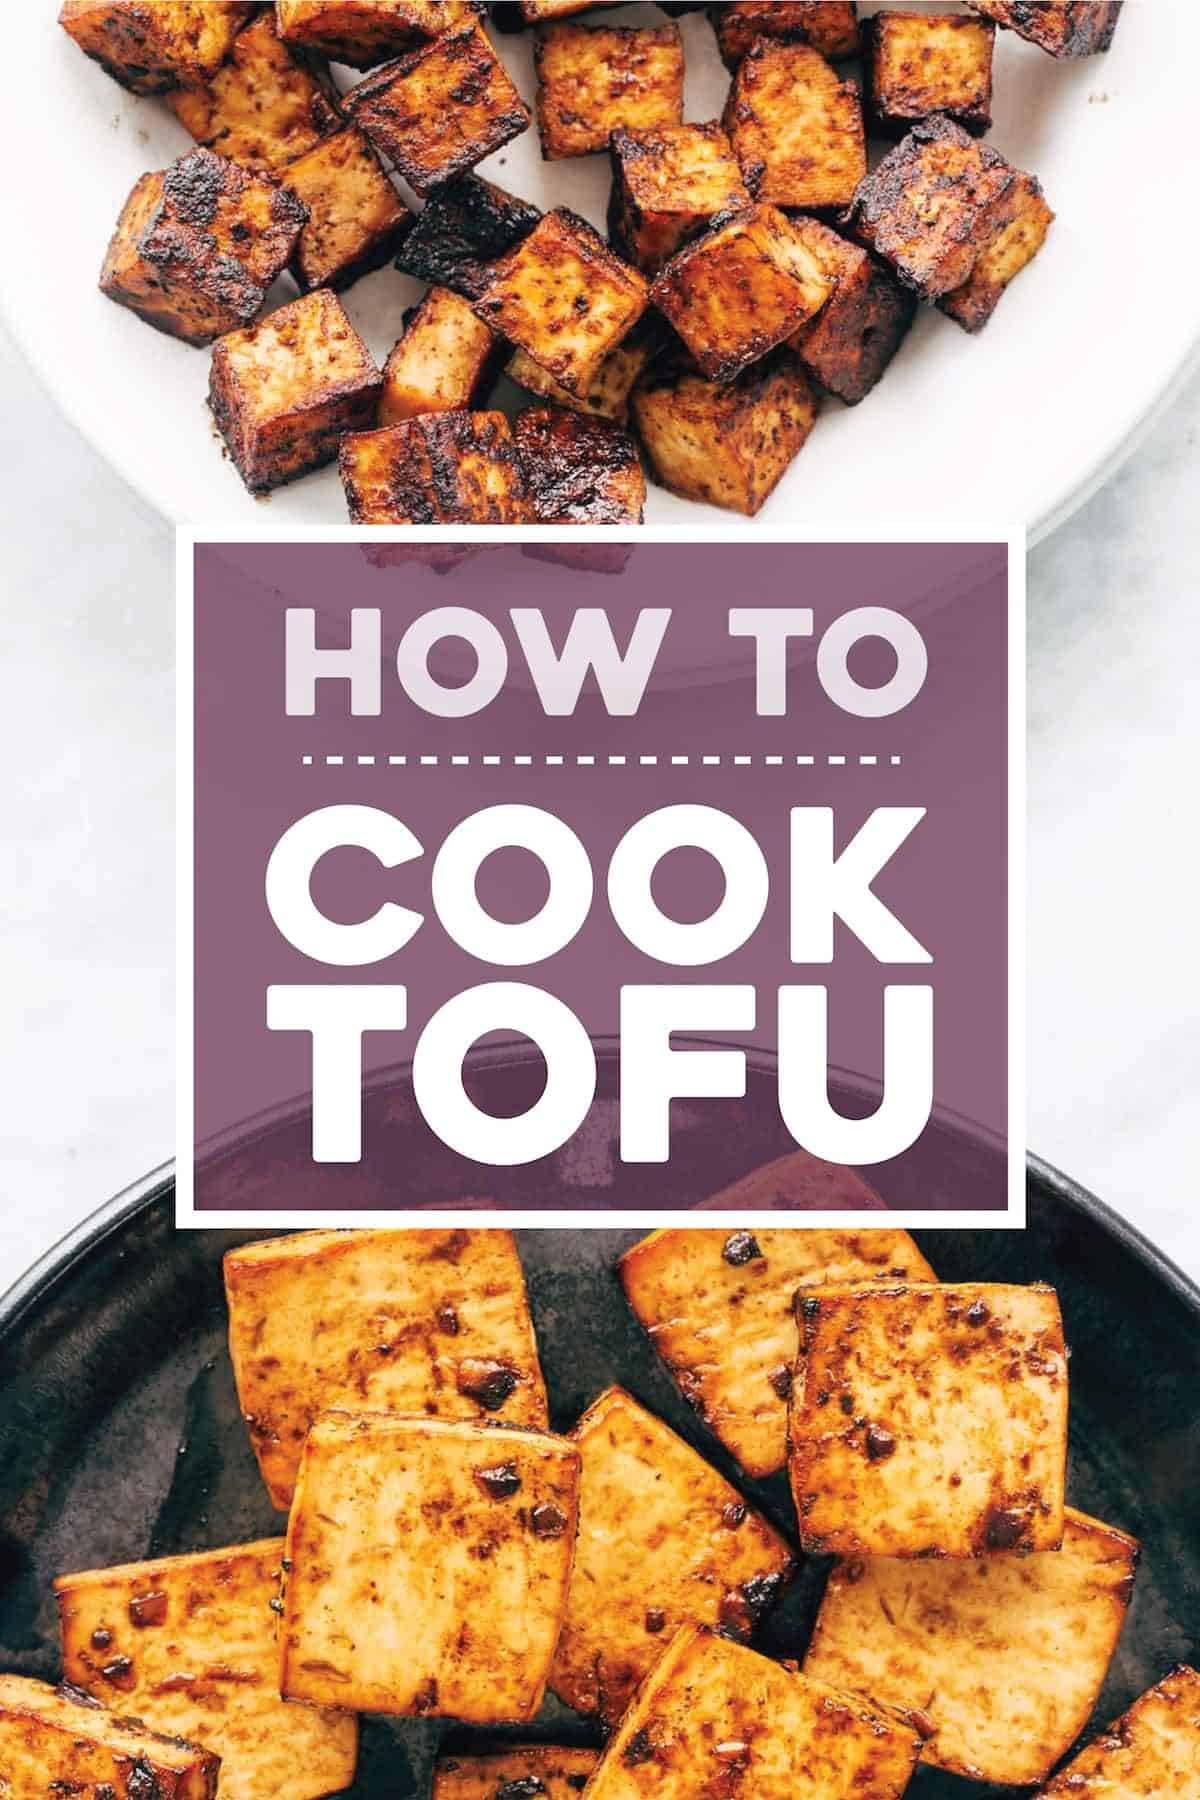
Tofu! Familiar to some and bizarre to many. It can be baked, fried, sautéed, marinated, scrambled – in short: it can really do it all. And newsflash: you don’t need to be a vegetarian to enjoy!
Tofu is super high in protein and low in fat, and is a great alternative in many dishes that have meat. It can be cooked in a flash and served in SO many ways (see below). Gosh, it’s just the best.
Watch how to cook tofu:
In these examples, we used this soy ginger sauce recipe. It’s our favorite to use with tofu!
![]()
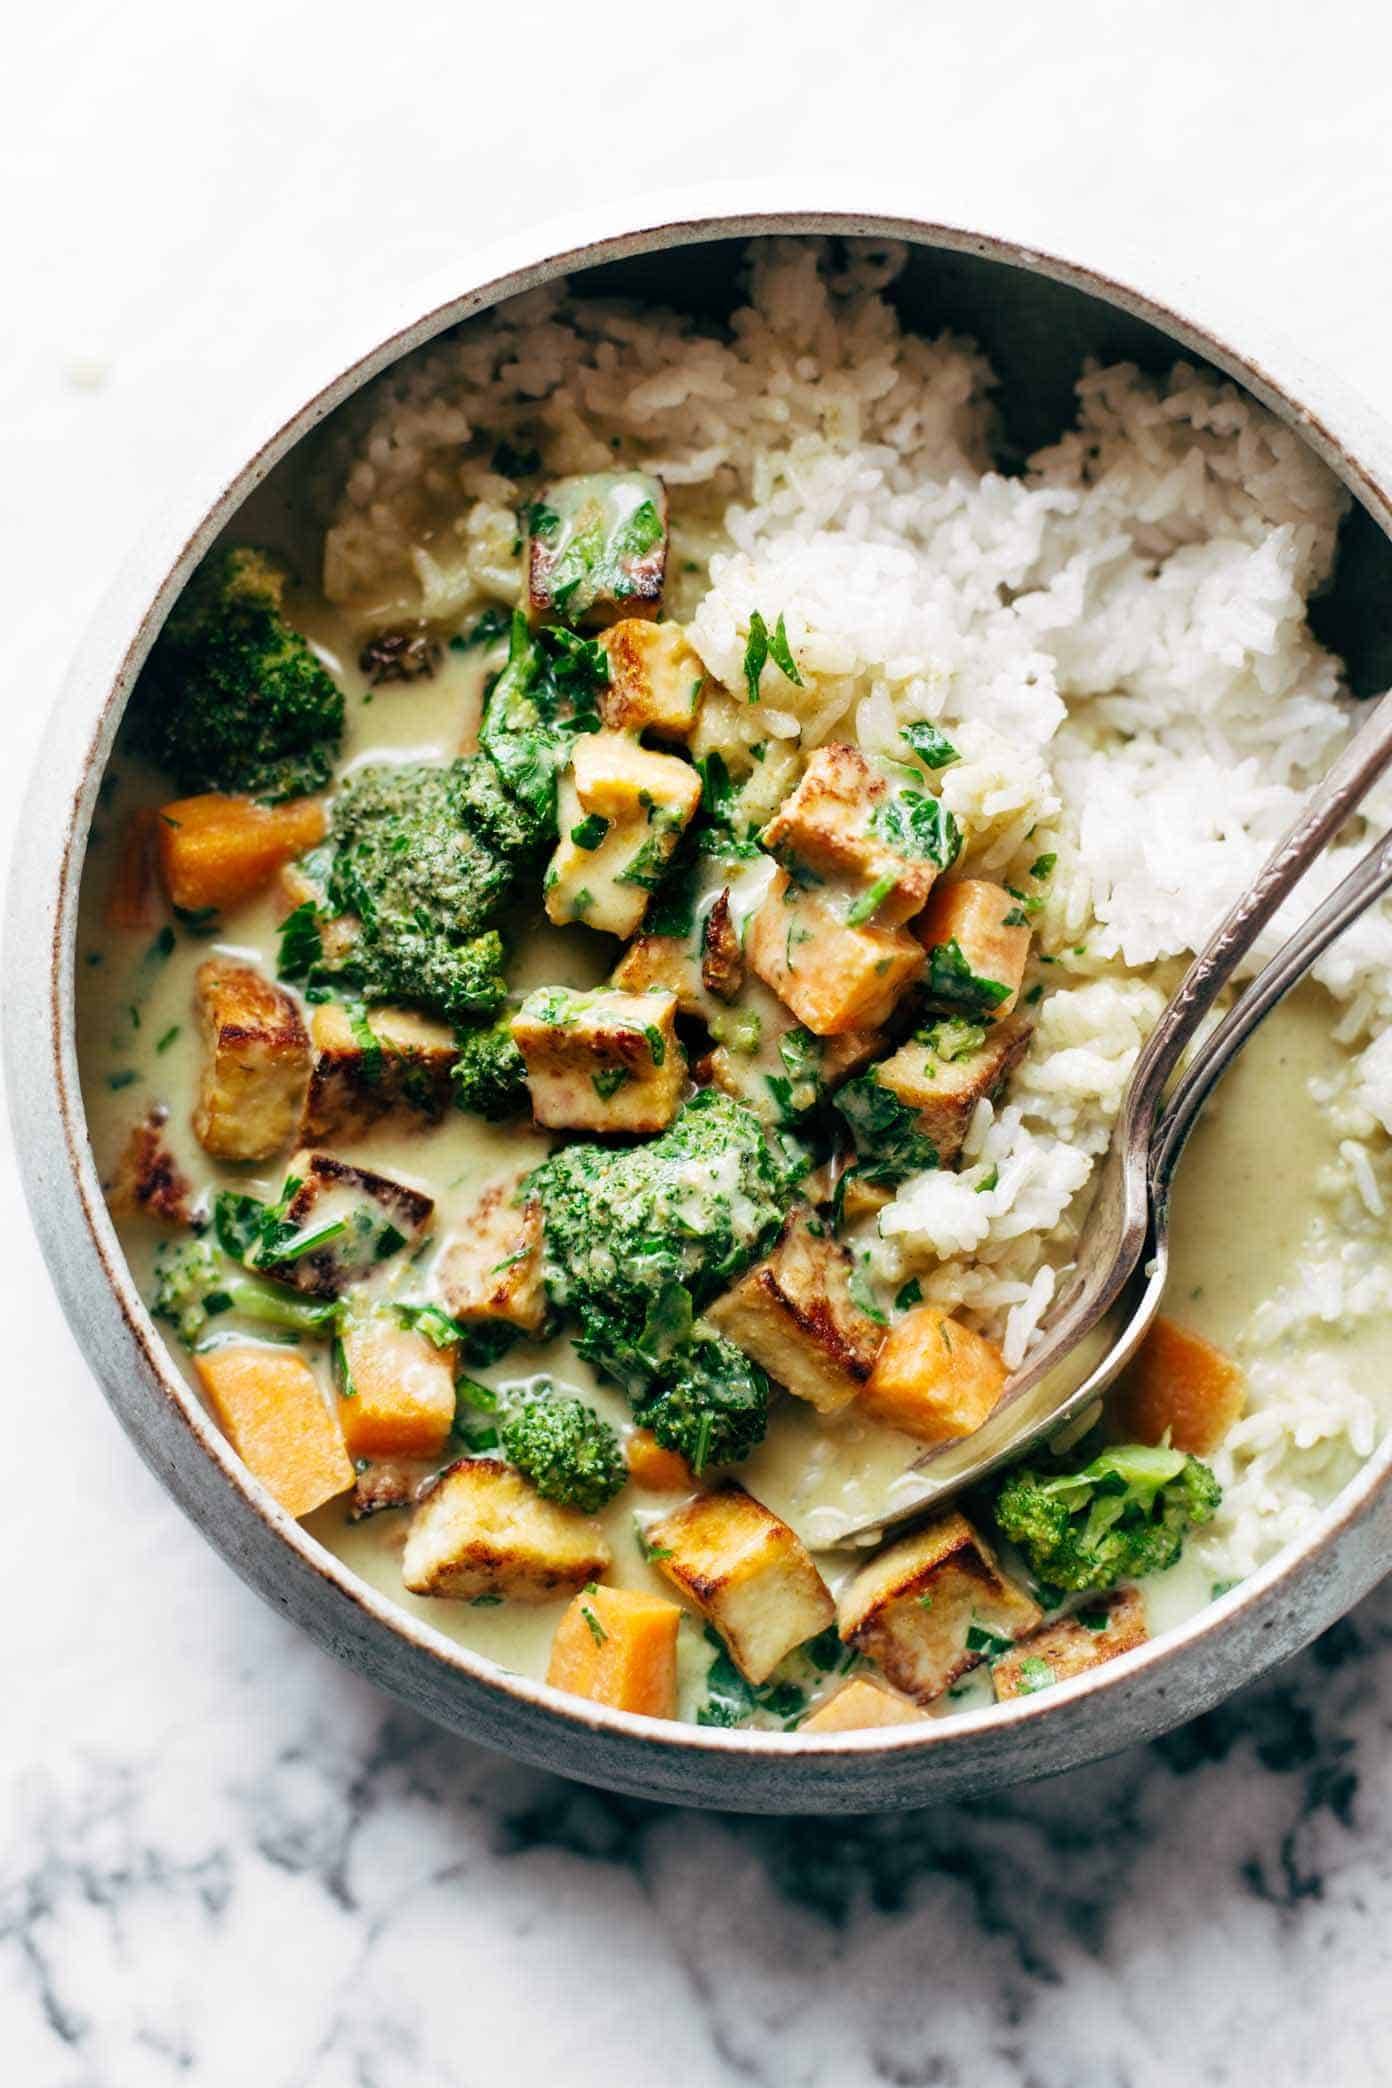
How To Bake Tofu
- Temperature: 400°F
- How long: 35-40 minutes
- How to know it’s done: golden brown, slightly crispy at the edges and chewy in the center
Baked Tofu is a great way to prepare a large quantity of chewy bites of tofu that can get tossed with sauce and added to noodle bowls and or a stir fry. This method is also helpful because it frees up stove top space while preparing other elements of your recipe.
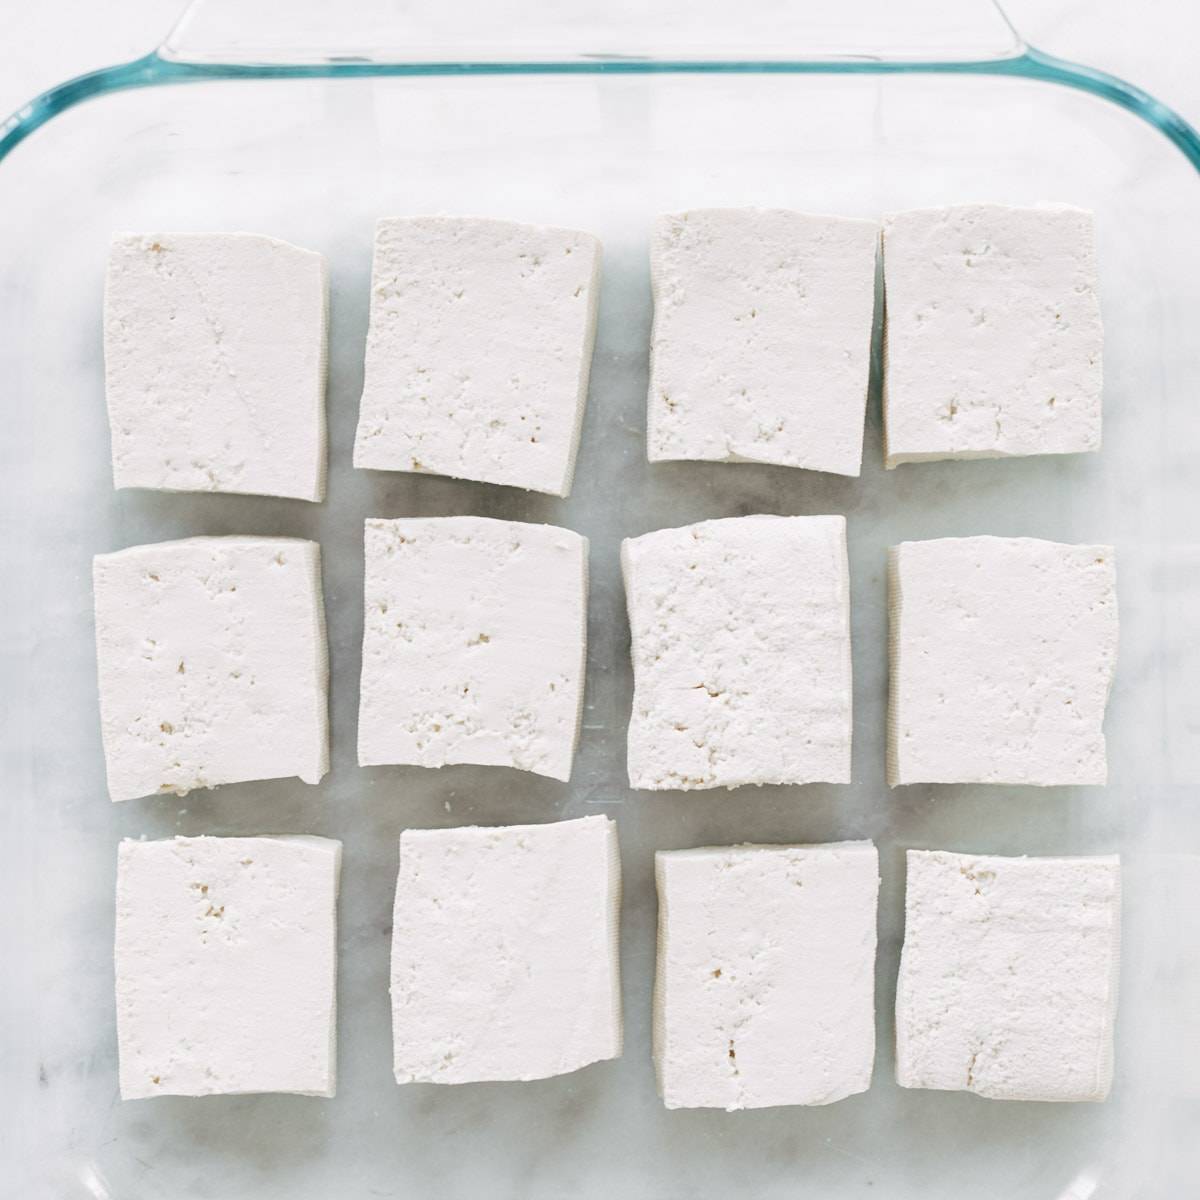
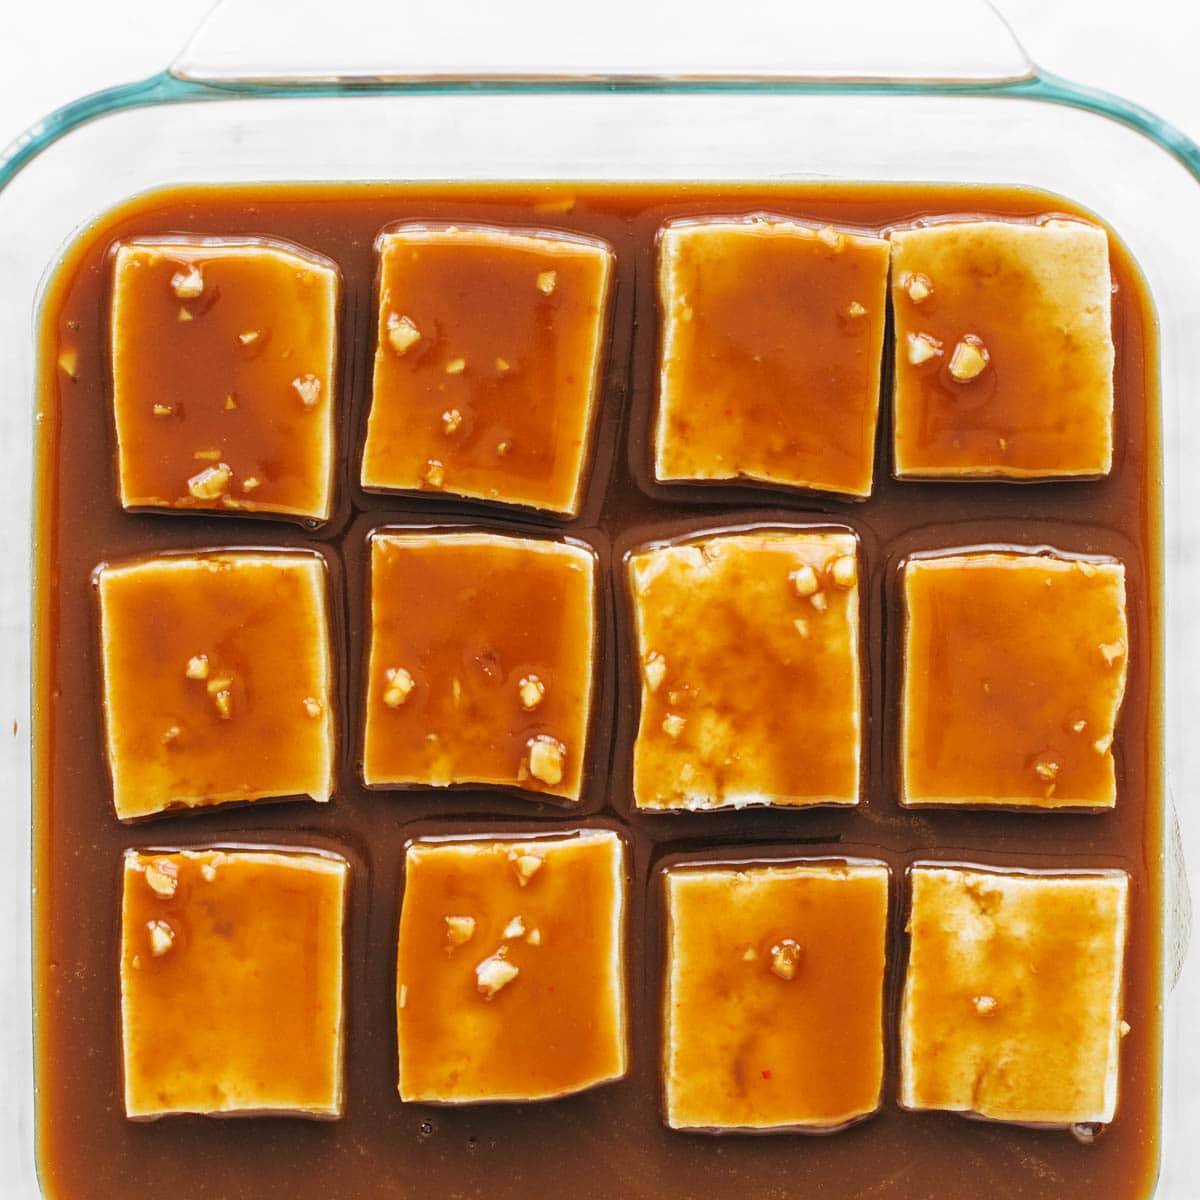
Press extra firm tofu for at least 30 minutes. Cut tofu into cubes or slabs and place in a glass dish.
Add a sauce or marinade over the tofu. A variety of oil or soy sauce based marinades work well.
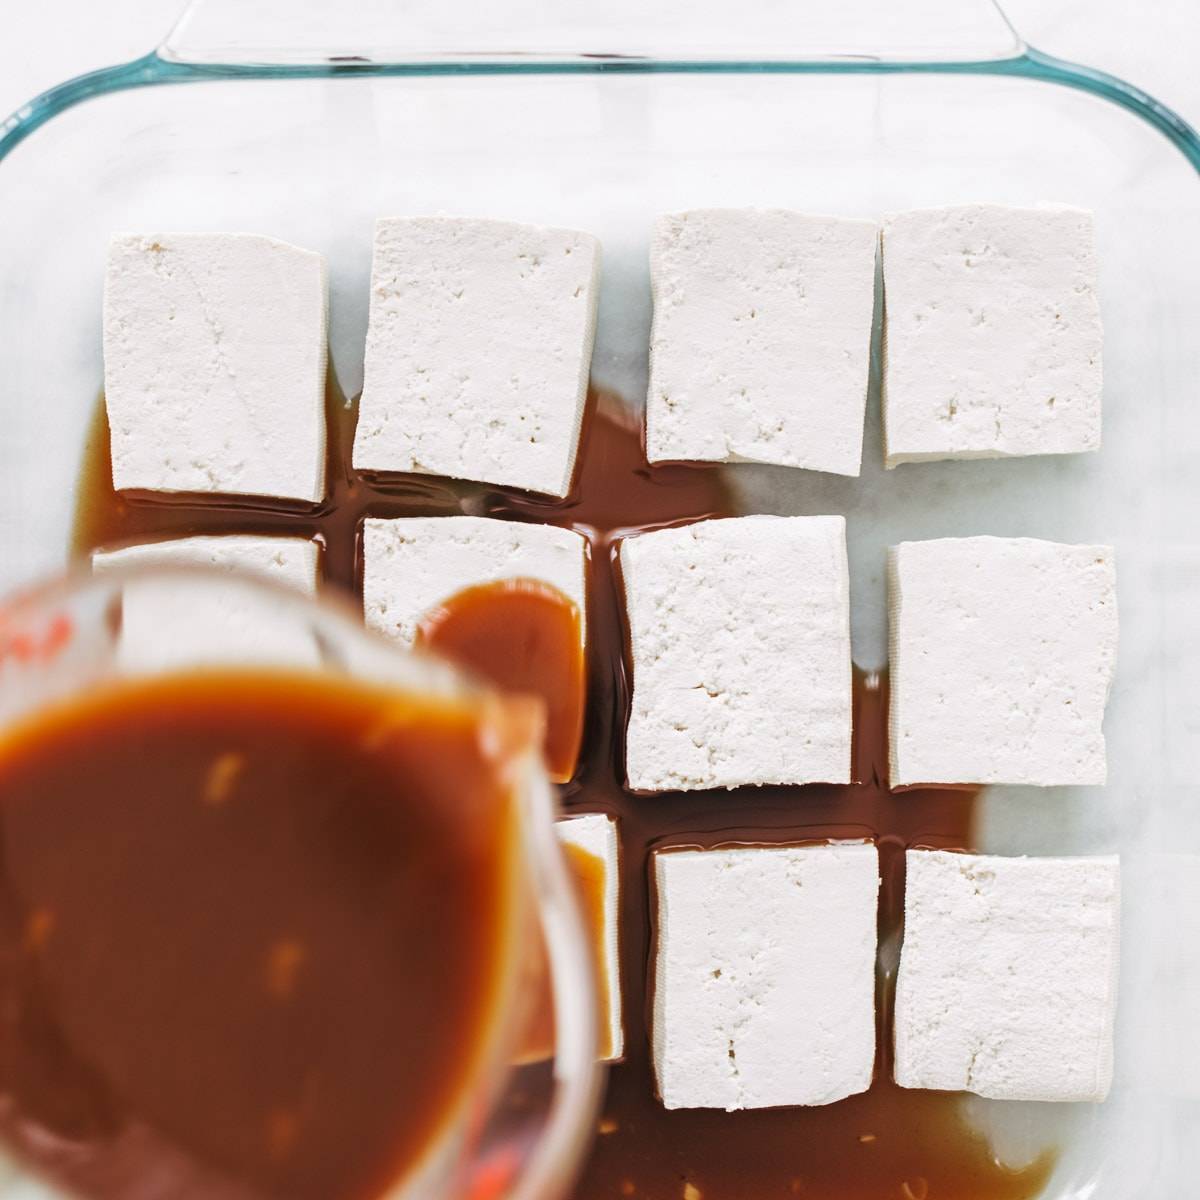
Cover and allow tofu to marinate for about 30 minutes.
Transfer tofu to parchment lined baking sheet. Bake at 400°F for 35-40 minutes, flipping halfway through. Marinade can be reserved and brushed onto tofu during the baking process for extra flavor.
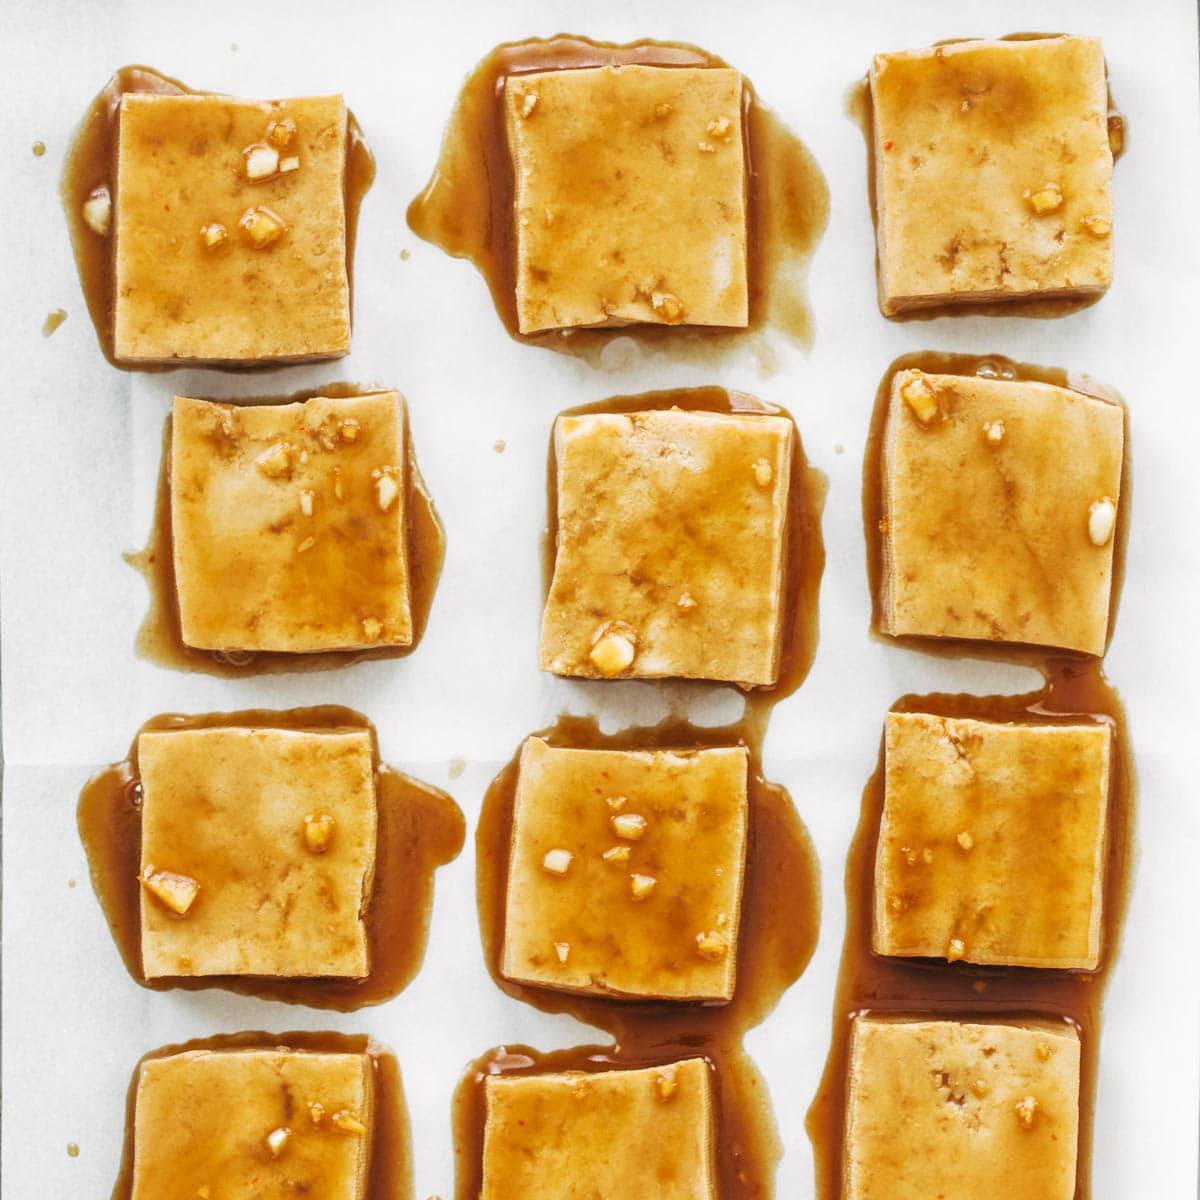
Baked Tofu can be served as a main dish or added to noodle bowls, rice bowls, or salads.
![]()
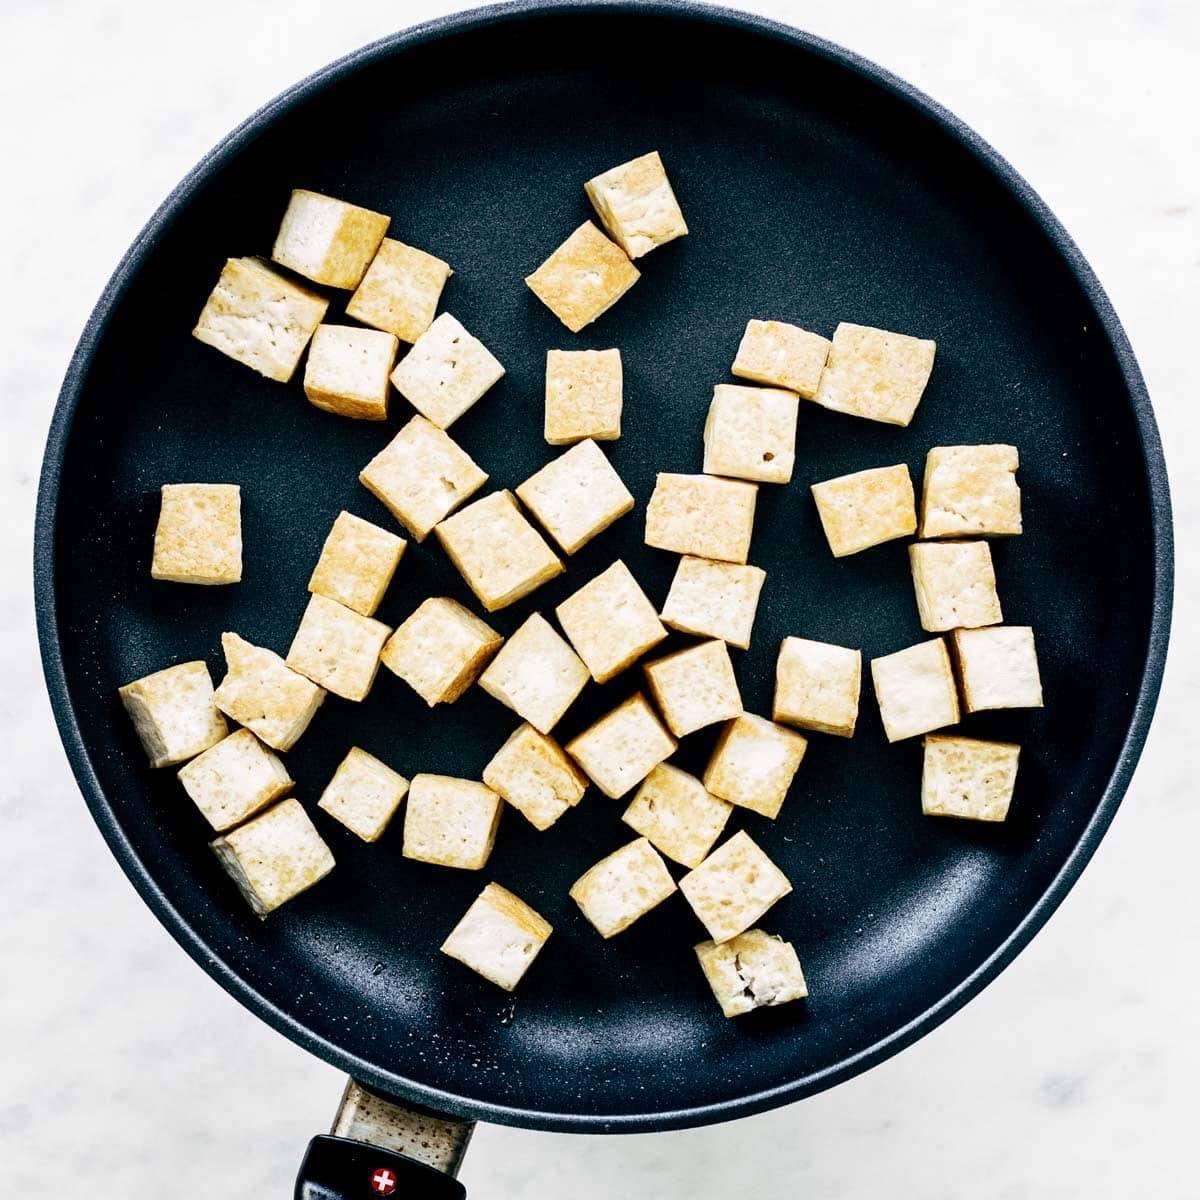
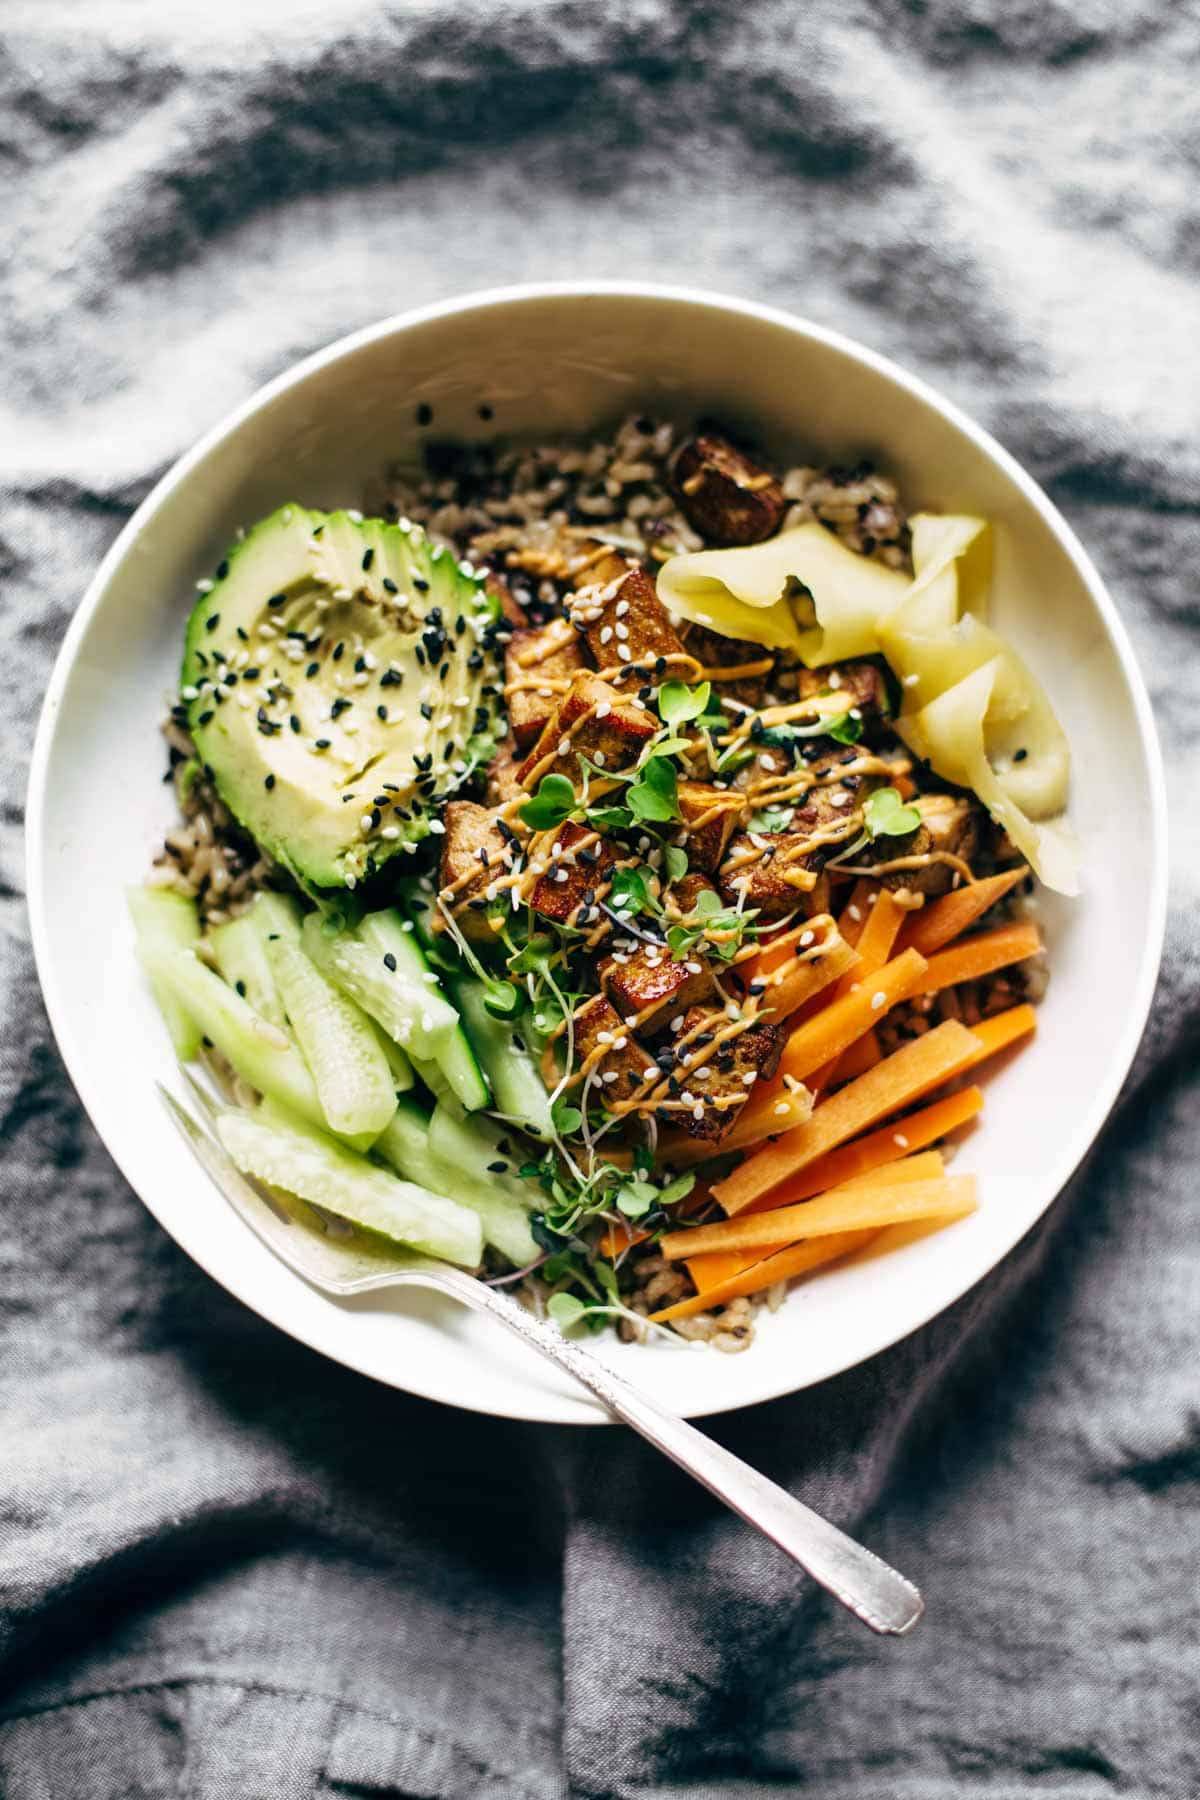
How To saute Tofu
- Temperature: medium high heat
- How long: 20 minutes
- How to know it’s done: golden brown, slightly crispy at the edges and chewy in the center
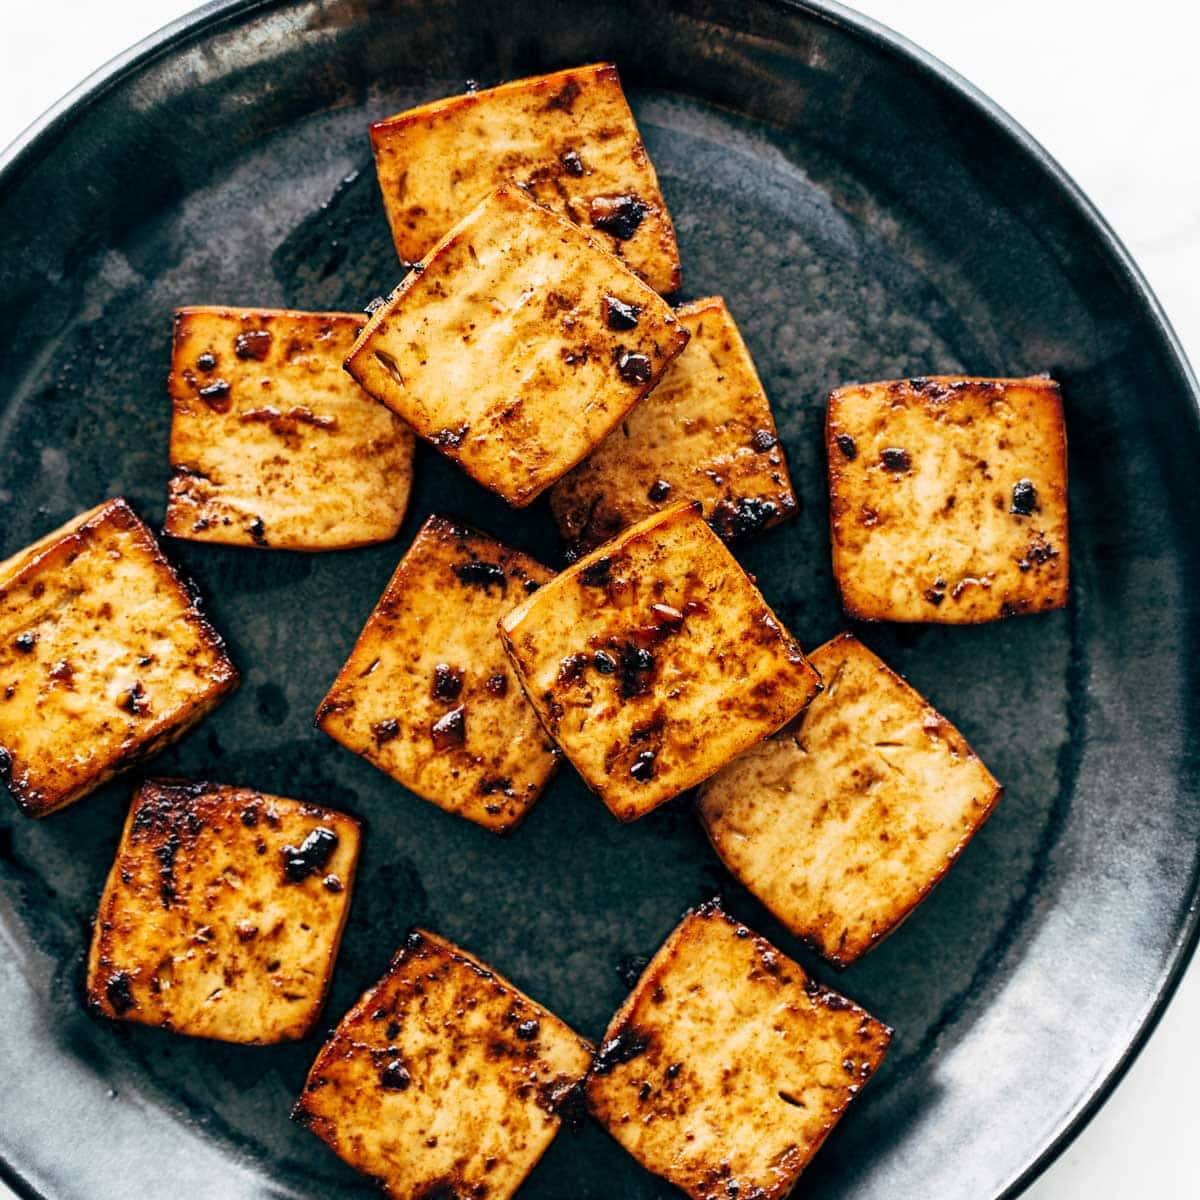
Sauteed tofu is cooked with a small amount of oil and a bit of sauce to create a delightfully crispy exterior.
Press extra firm tofu for at least 30 minutes and cut into cubes. Add a small amount of oil to a non-stick skillet and heat over medium high heat. Add tofu to pan and brown on each side for about 1-2 minutes for a total of about 15 minutes.
Once all sides of tofu are lightly golden brown, add about 1/4 cup of sauce.
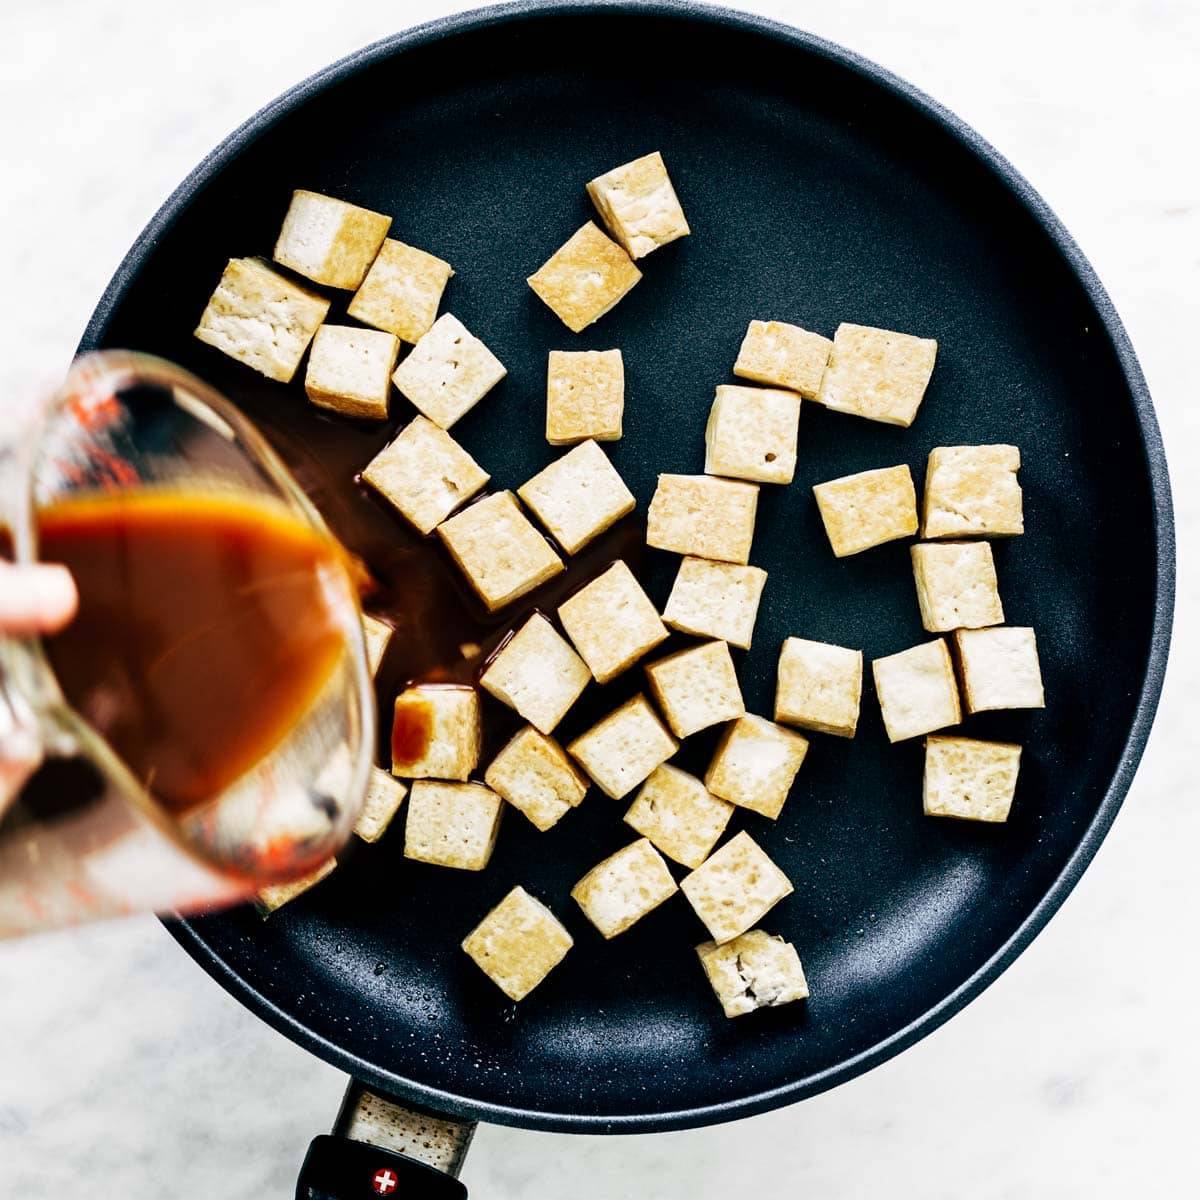
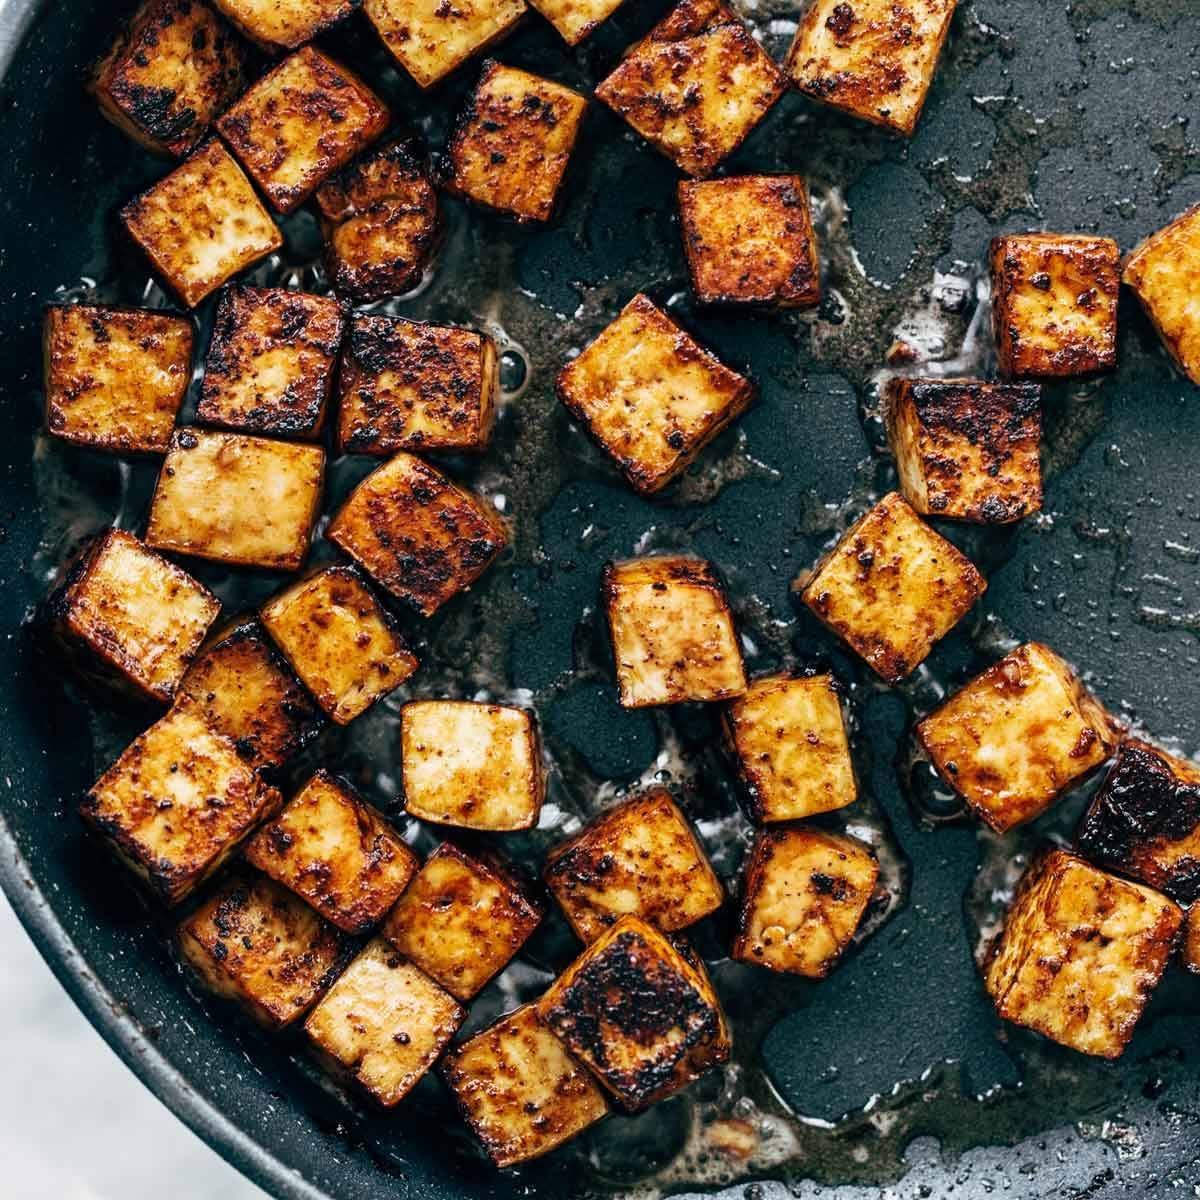
Cook tofu, stirring frequently until sauce has been absorbed into tofu and caramelized around the edges creating a crispy exterior.
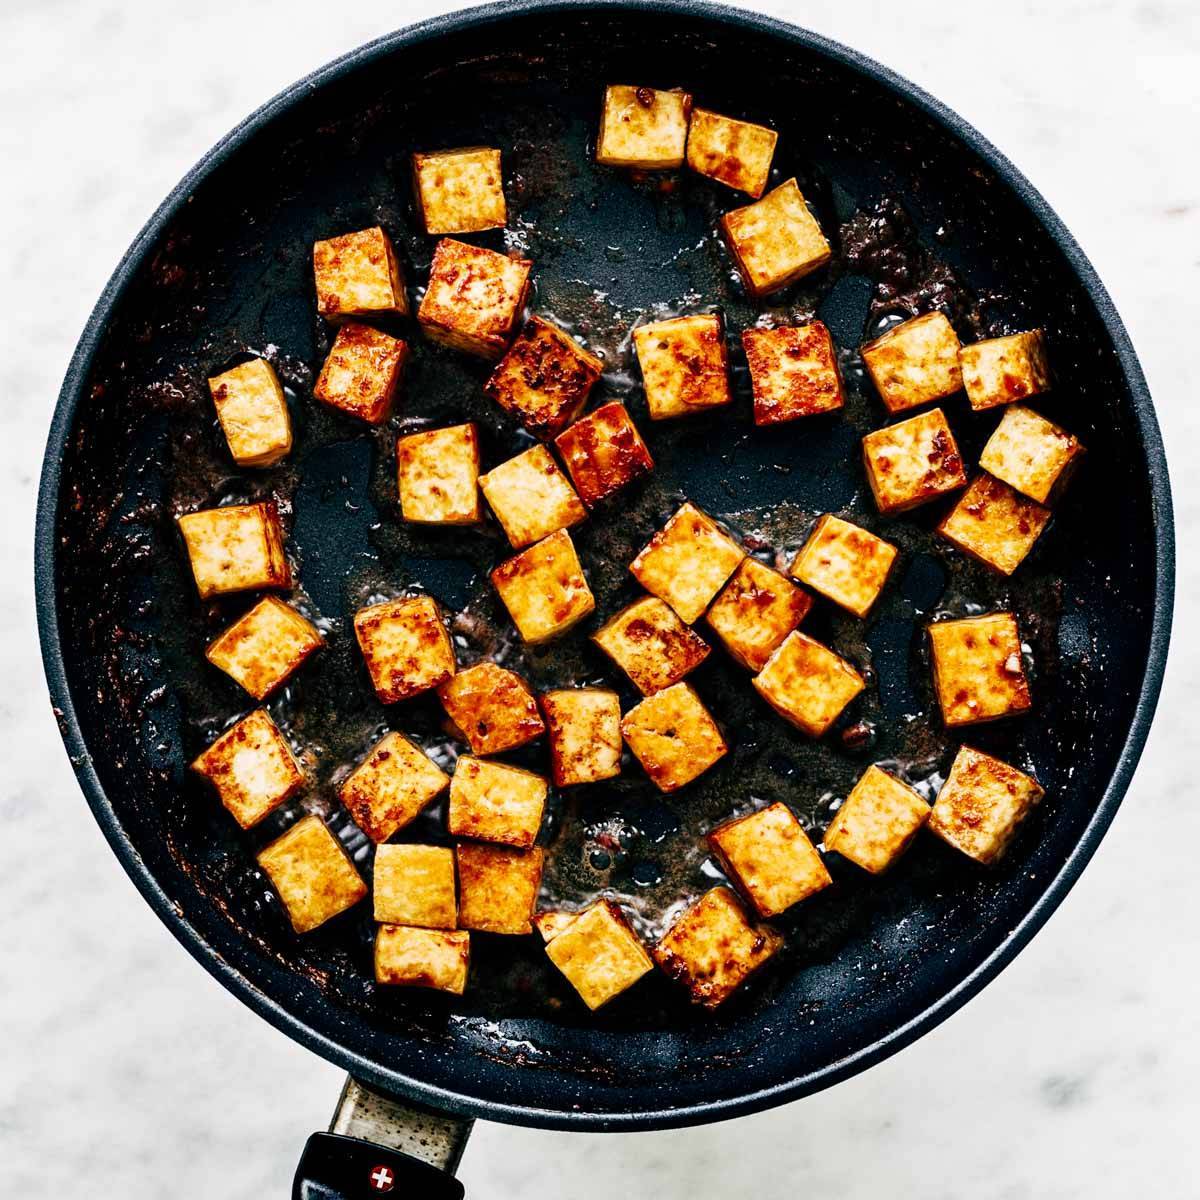
Add sautéed tofu to salads, stir fry, noodle bowls, or soup.
![]()
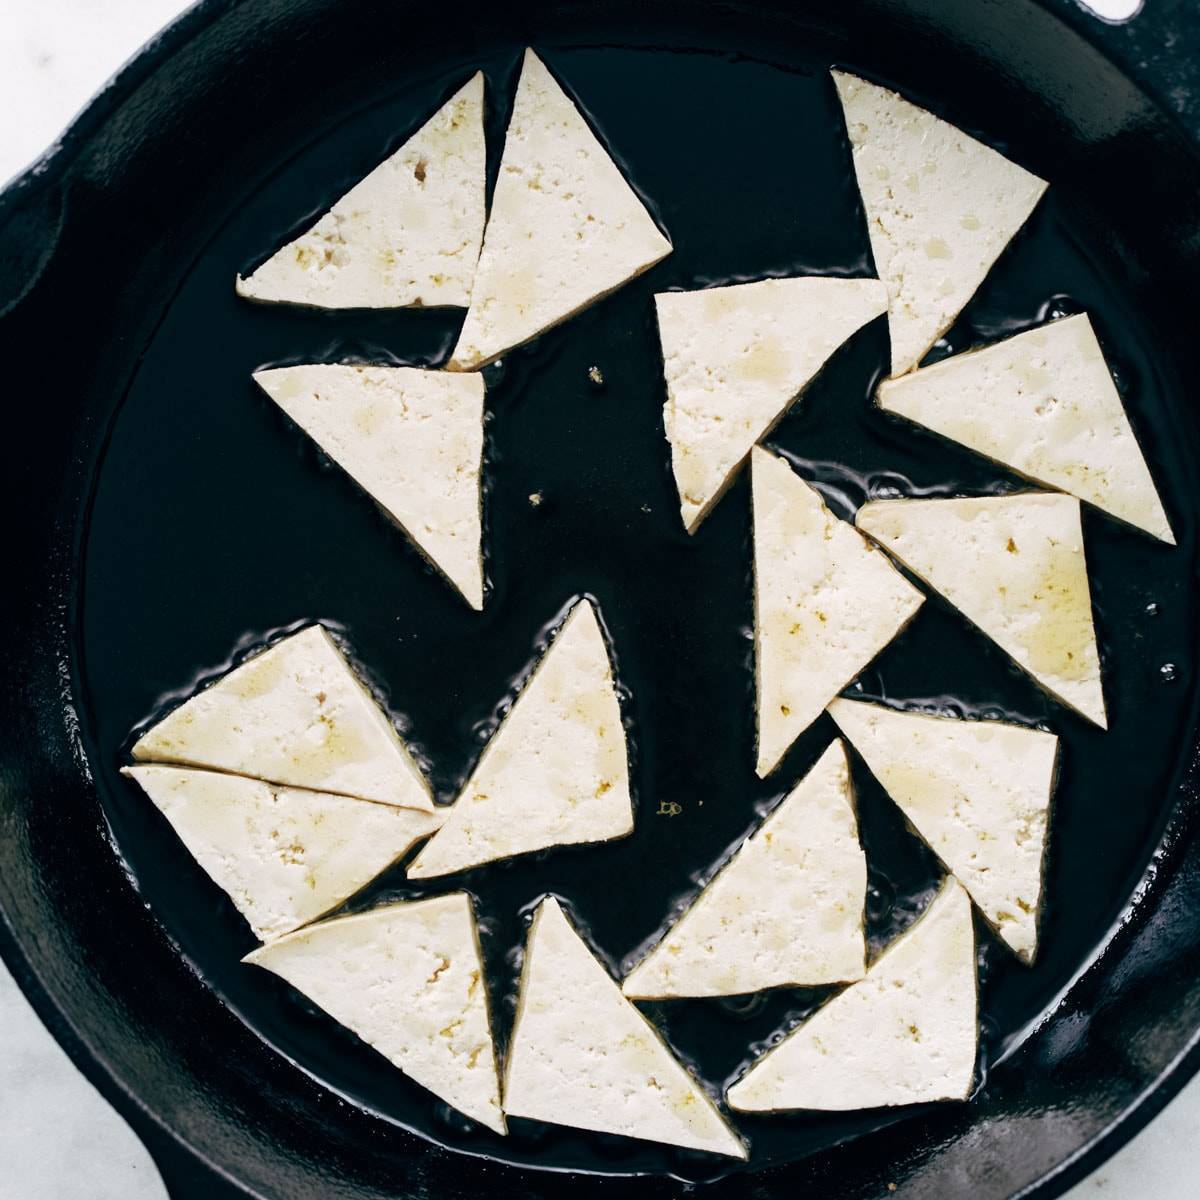
How To Fry Tofu
- Temperature: medium high heat
- How long: 9-11 minutes
- How to know it’s done: both sides are golden and crispy
Frying tofu is a very simple and quick way to cook tofu. It achieves a reeeally golden crunchy exterior that makes for a hearty plant-based meal.
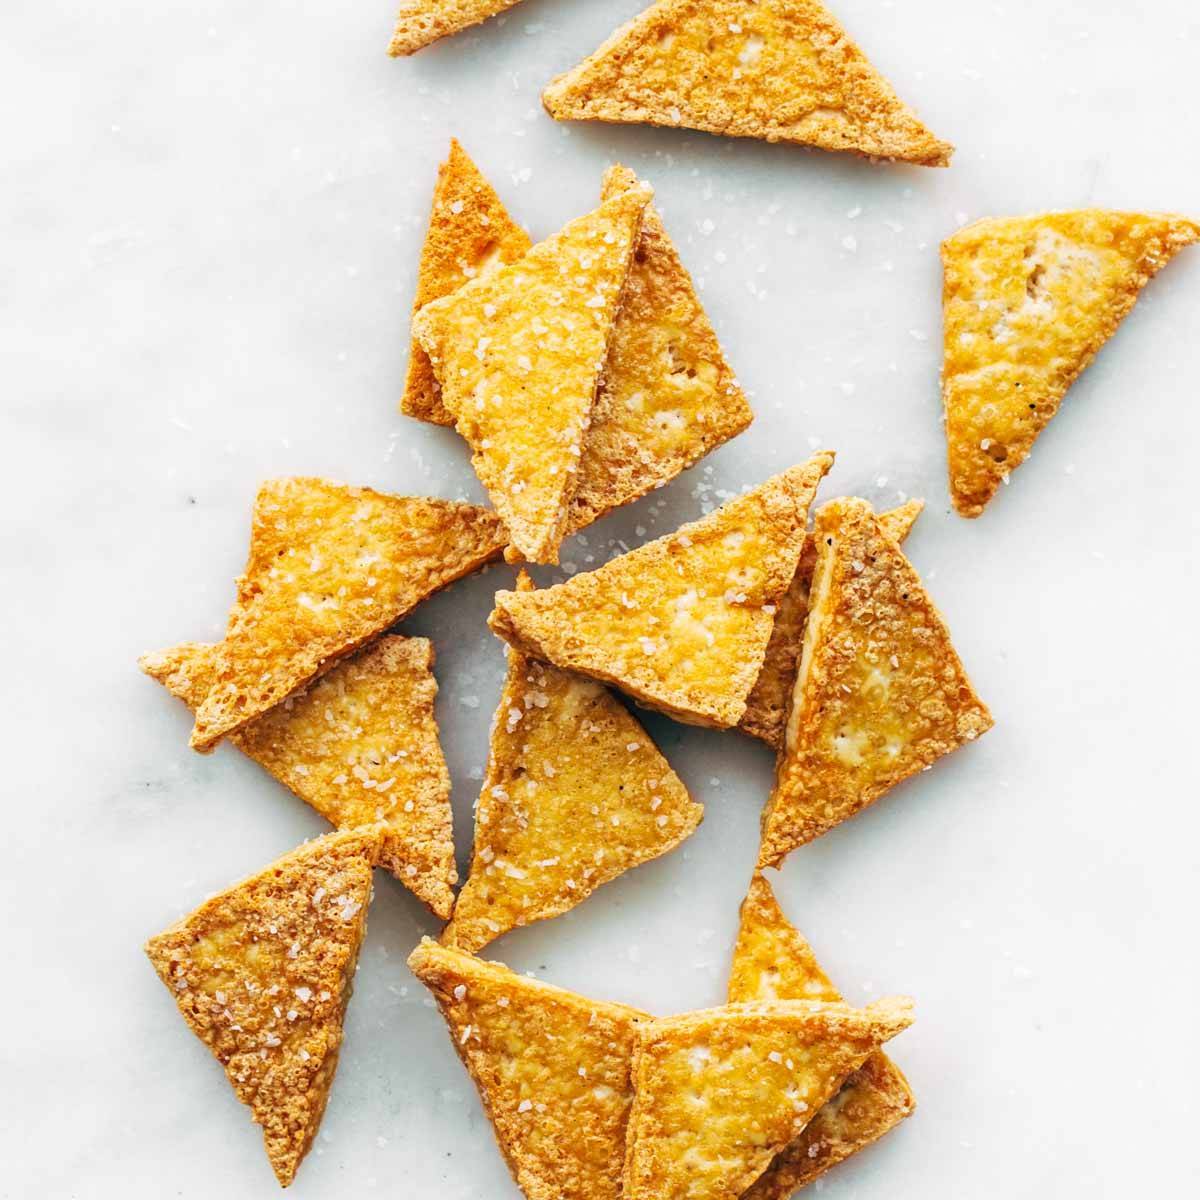
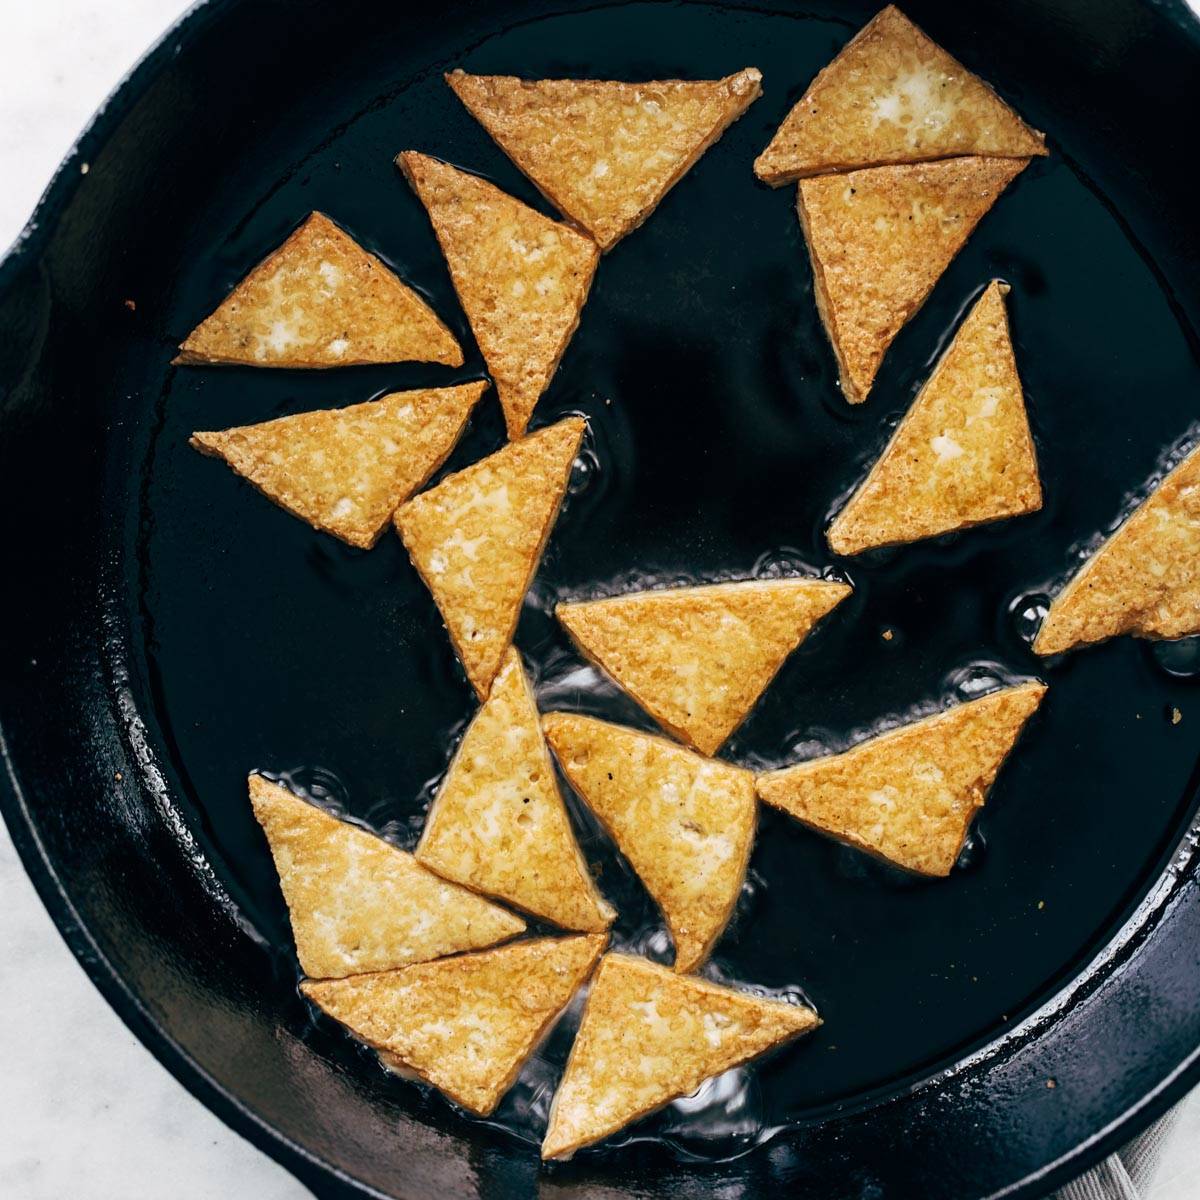
Press extra firm tofu for about 30 minutes and cut into triangles. Heat a few tablespoons of oil in a skillet over medium high heat. Add tofu to the pan in a single layer. Do not overcrowd the pan. Allow tofu to cook, undisturbed for about 4-5 minutes or until the underside is golden brown and crispy.
Flip the tofu pieces and season the cooked side with salt. Allow the second side to cook for an additional 4 minutes or until the second side is golden brown and crispy. Remove from pan and drain on a paper towel. Season second side with salt.
This crispy tofu can be be tossed with a sauce after cooking for extra flavor. We used triangles of tofu, but cubed or sliced tofu works well with this cooking method, too. If cooking cubed tofu, flip onto all sides during the cooking process to ensure even crispiness.
If desired you can add a sauce toward the end of the cooking process and flip tofu over to coat and allow sauce to brown at the edges. If planning to add sauce during cooking process, use slightly less oil while frying to avoid splattering and an overly oily sauce.
![]()
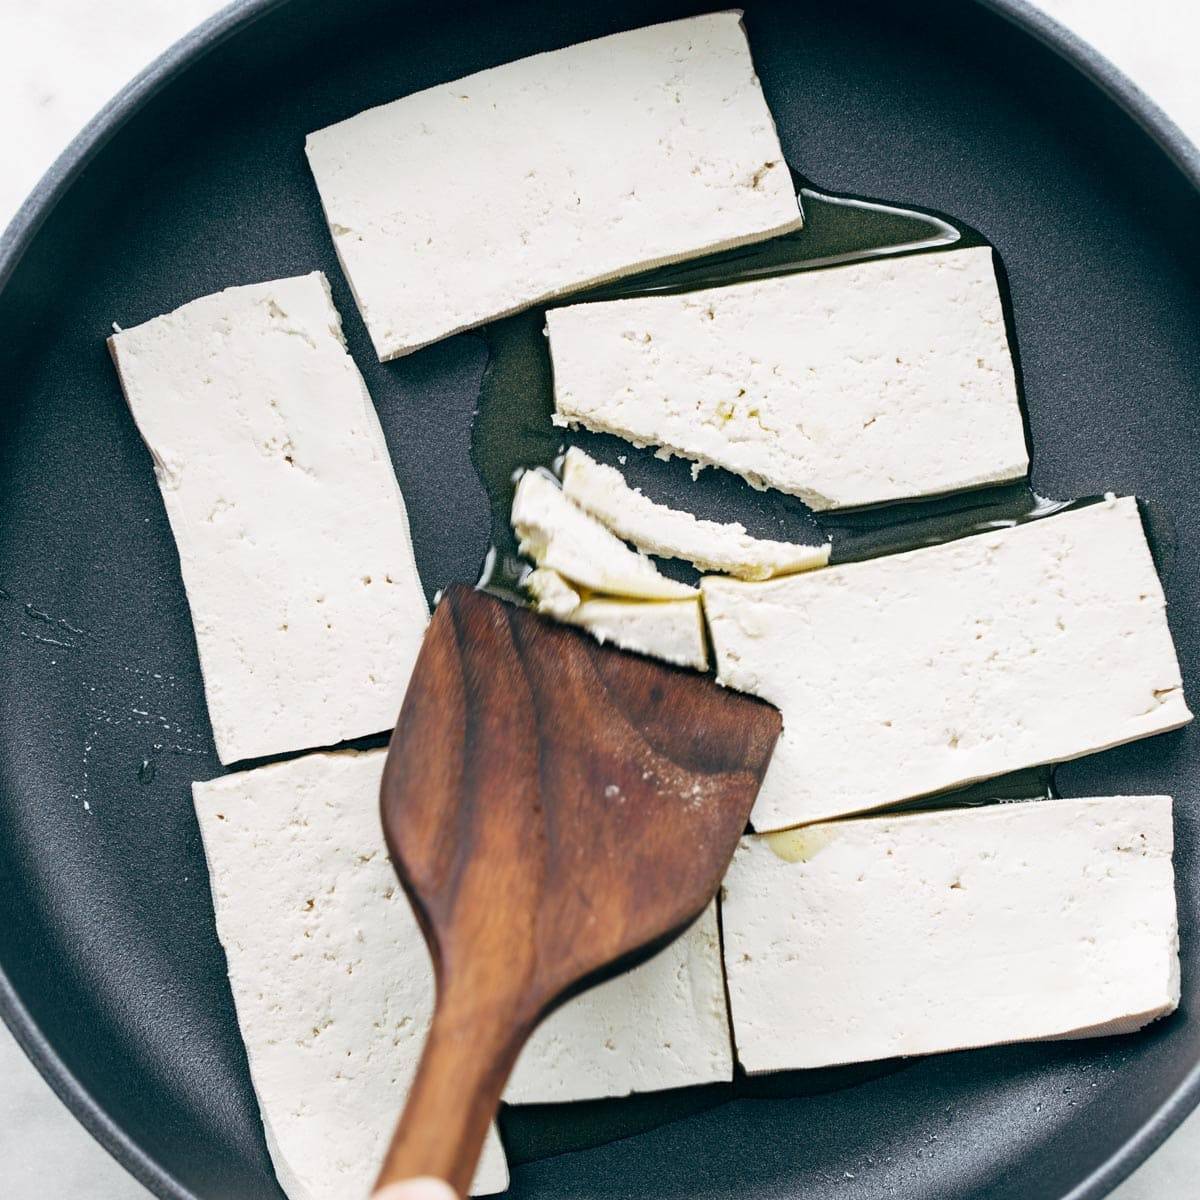
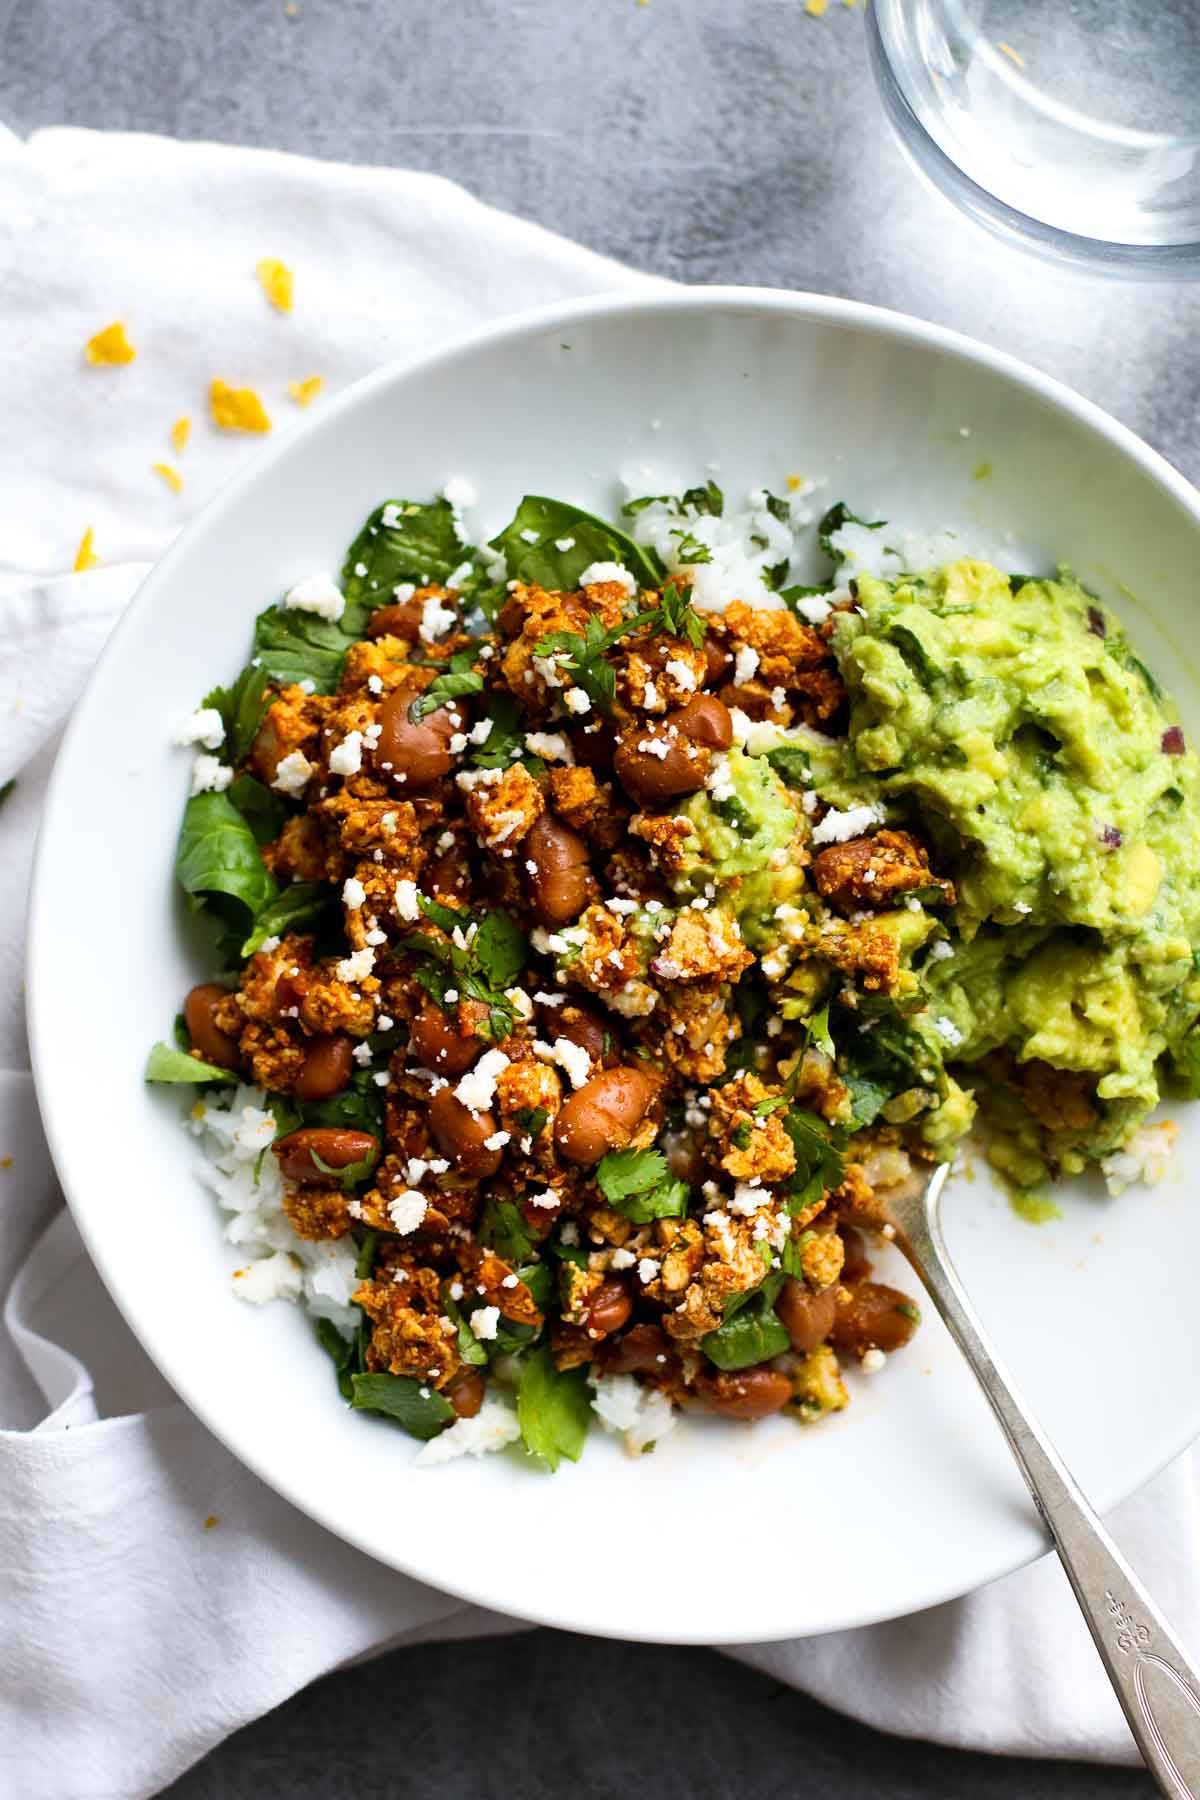
How To Scramble Tofu
- Temperature: medium high heat
- How long: 15-17 minutes
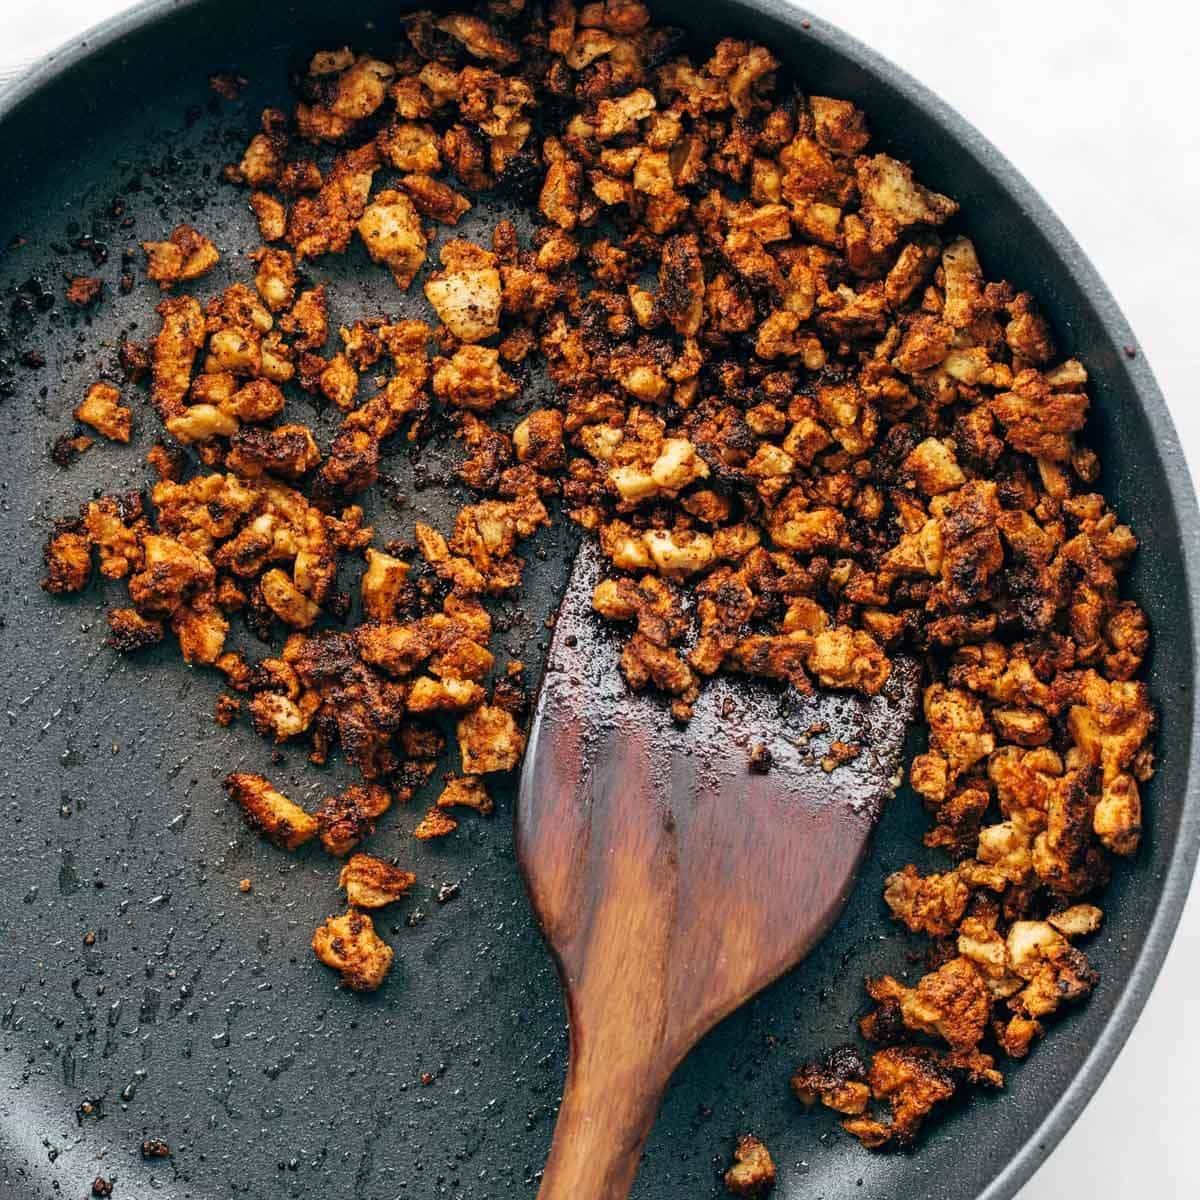
- How to know it’s done: tofu pieces are browned and crispy
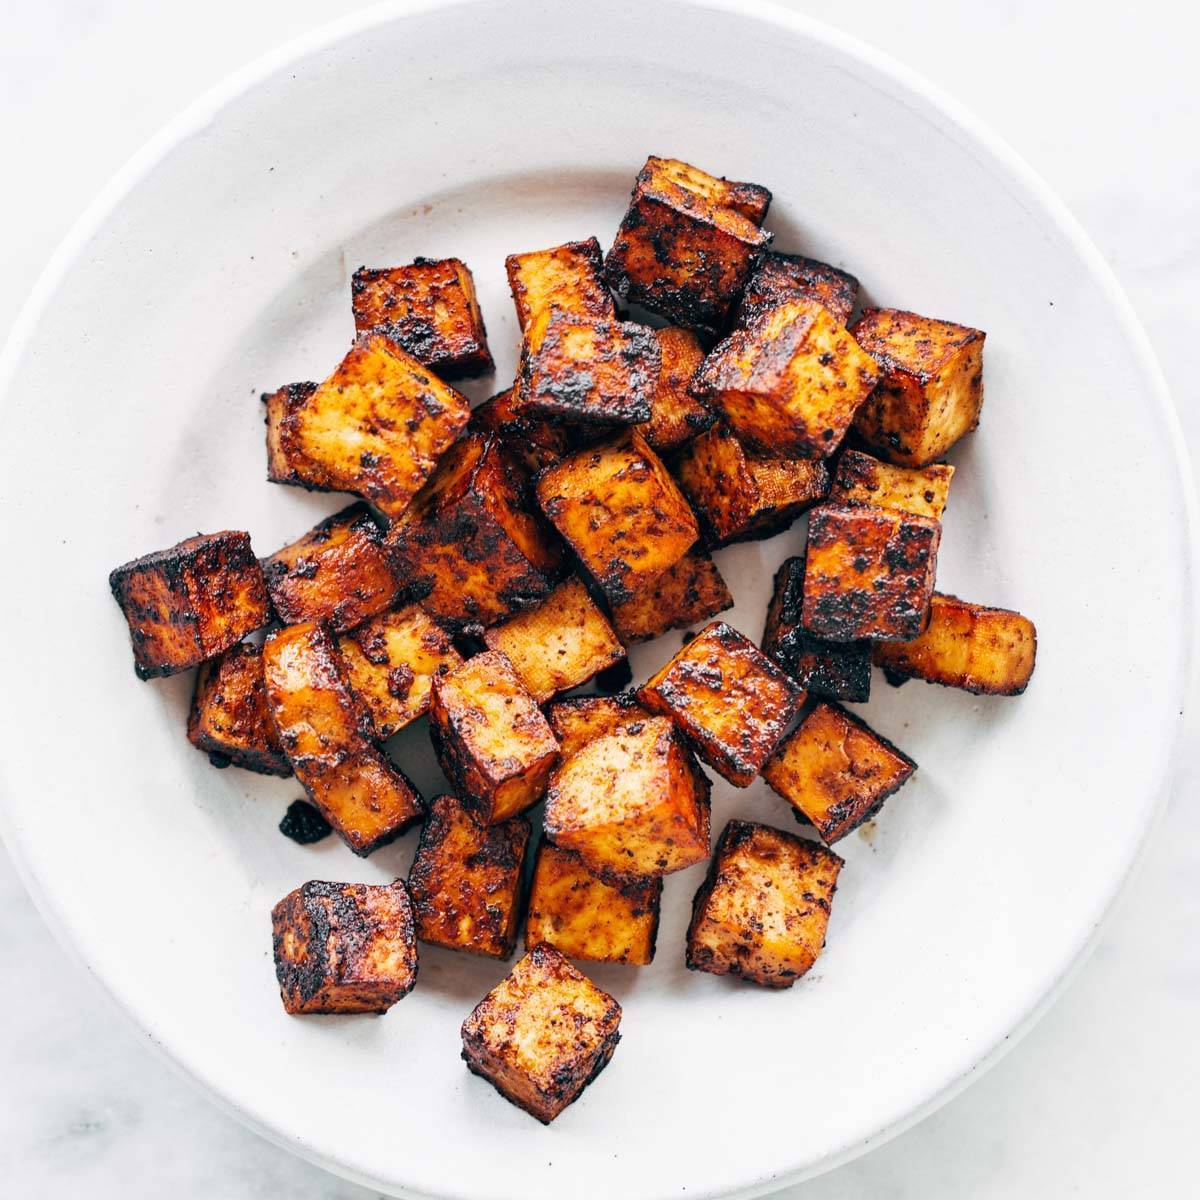
Scrambled tofu is similar to pan fried tofu, but instead of large pieces, the result is flavorful crispy bits of tofu that can be added to tacos, casseroles, bowls, and salads.
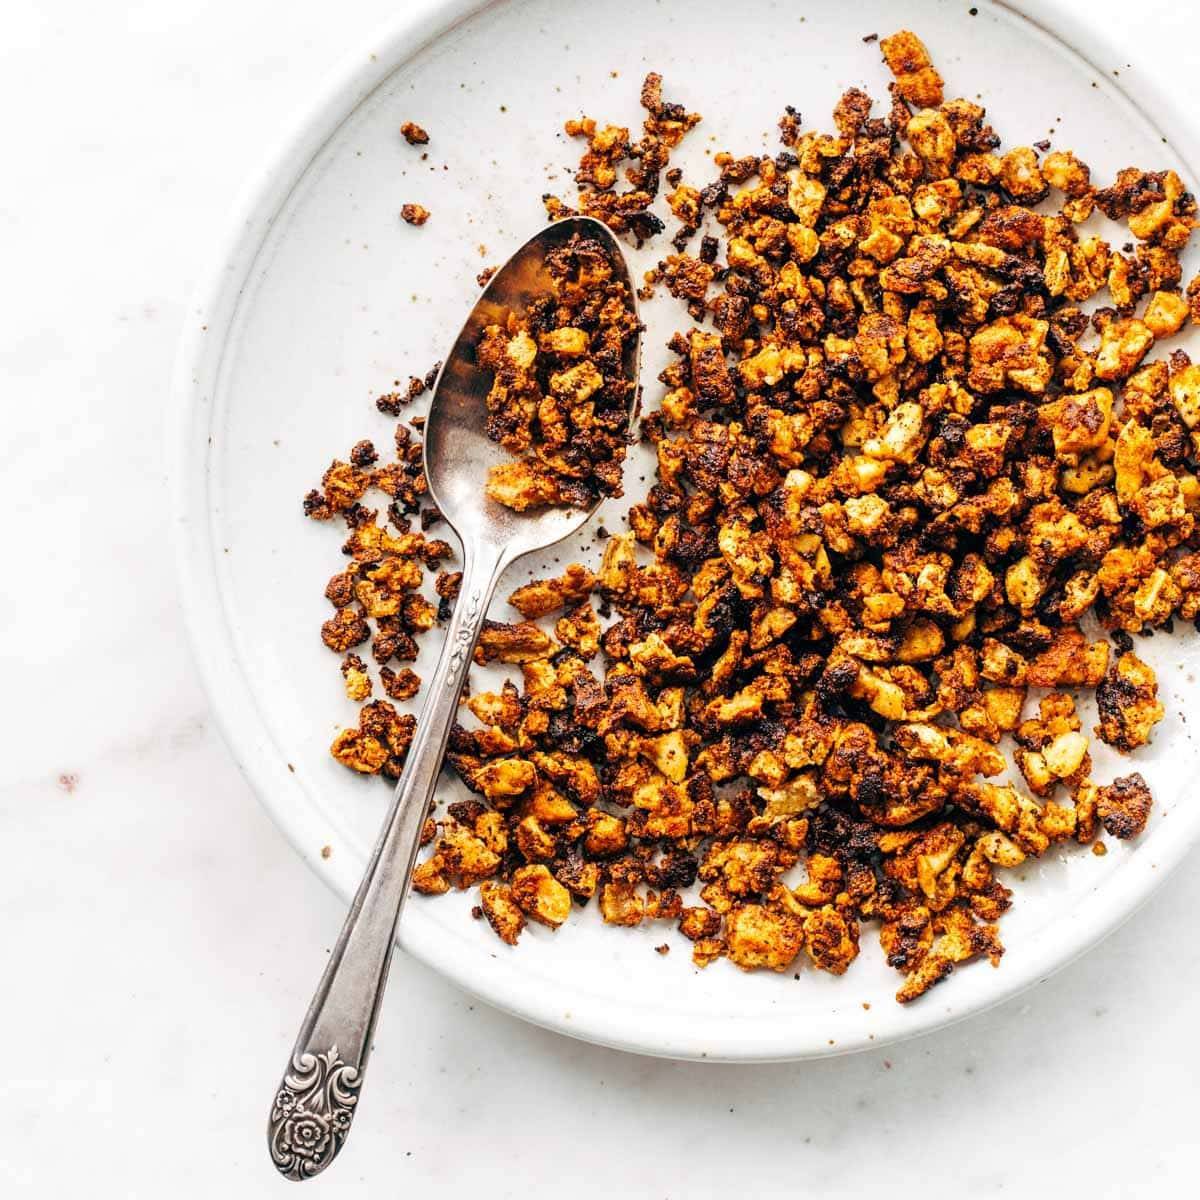
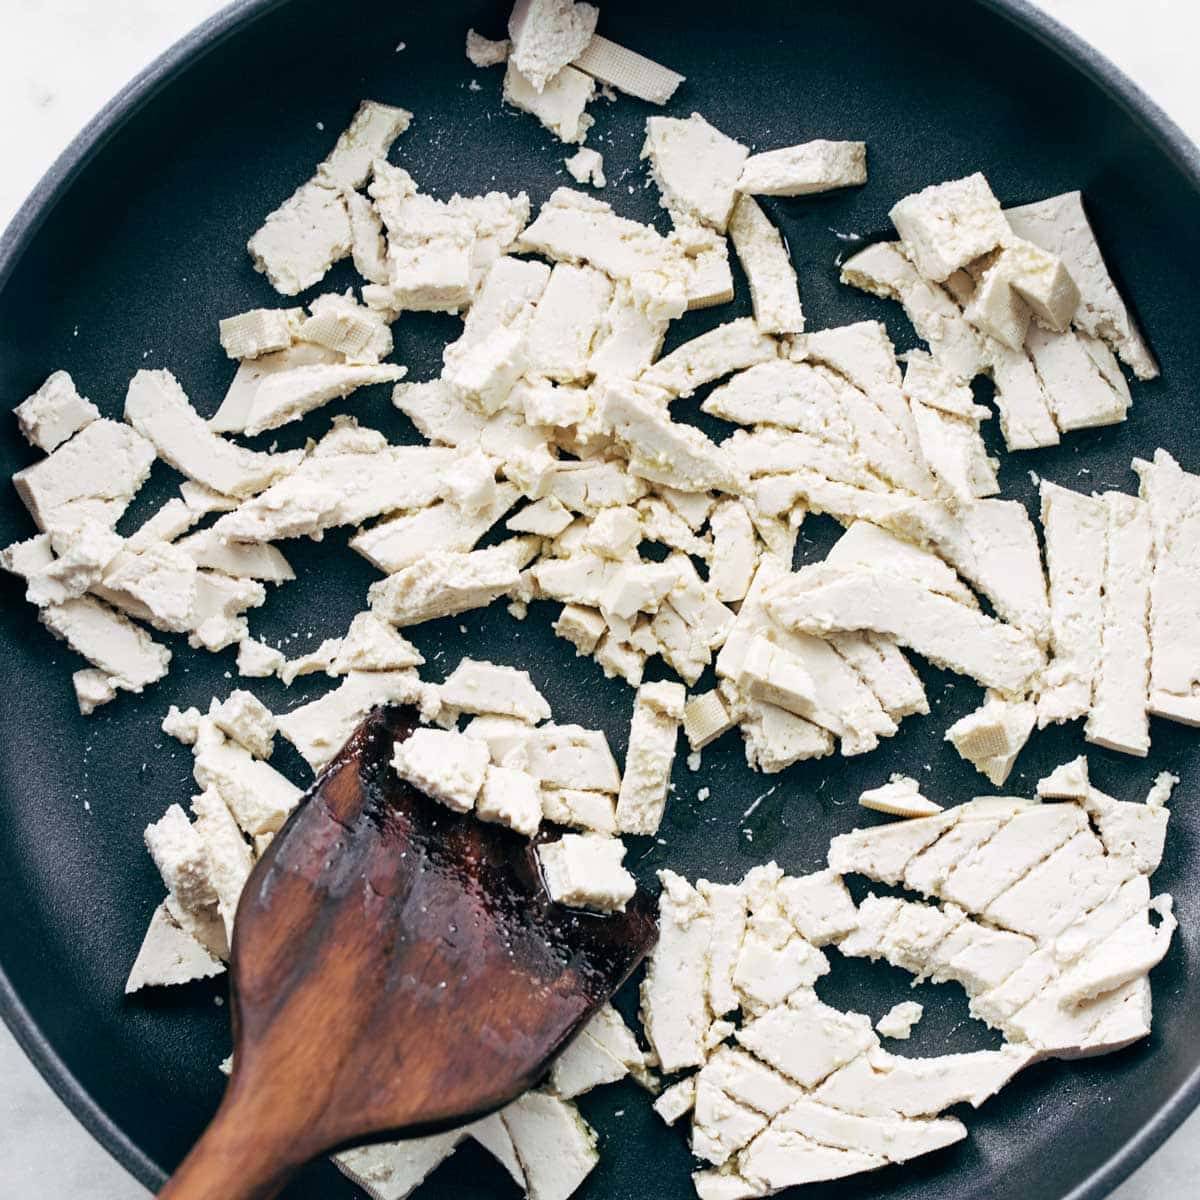
Heat about 1 tablespoon of oil in a nonstick or cast iron skillet over medium high heat. Add pressed and sliced tofu to the pan. Use a wooden spoon or spatula to break or ‘scramble’ the tofu into small pieces.
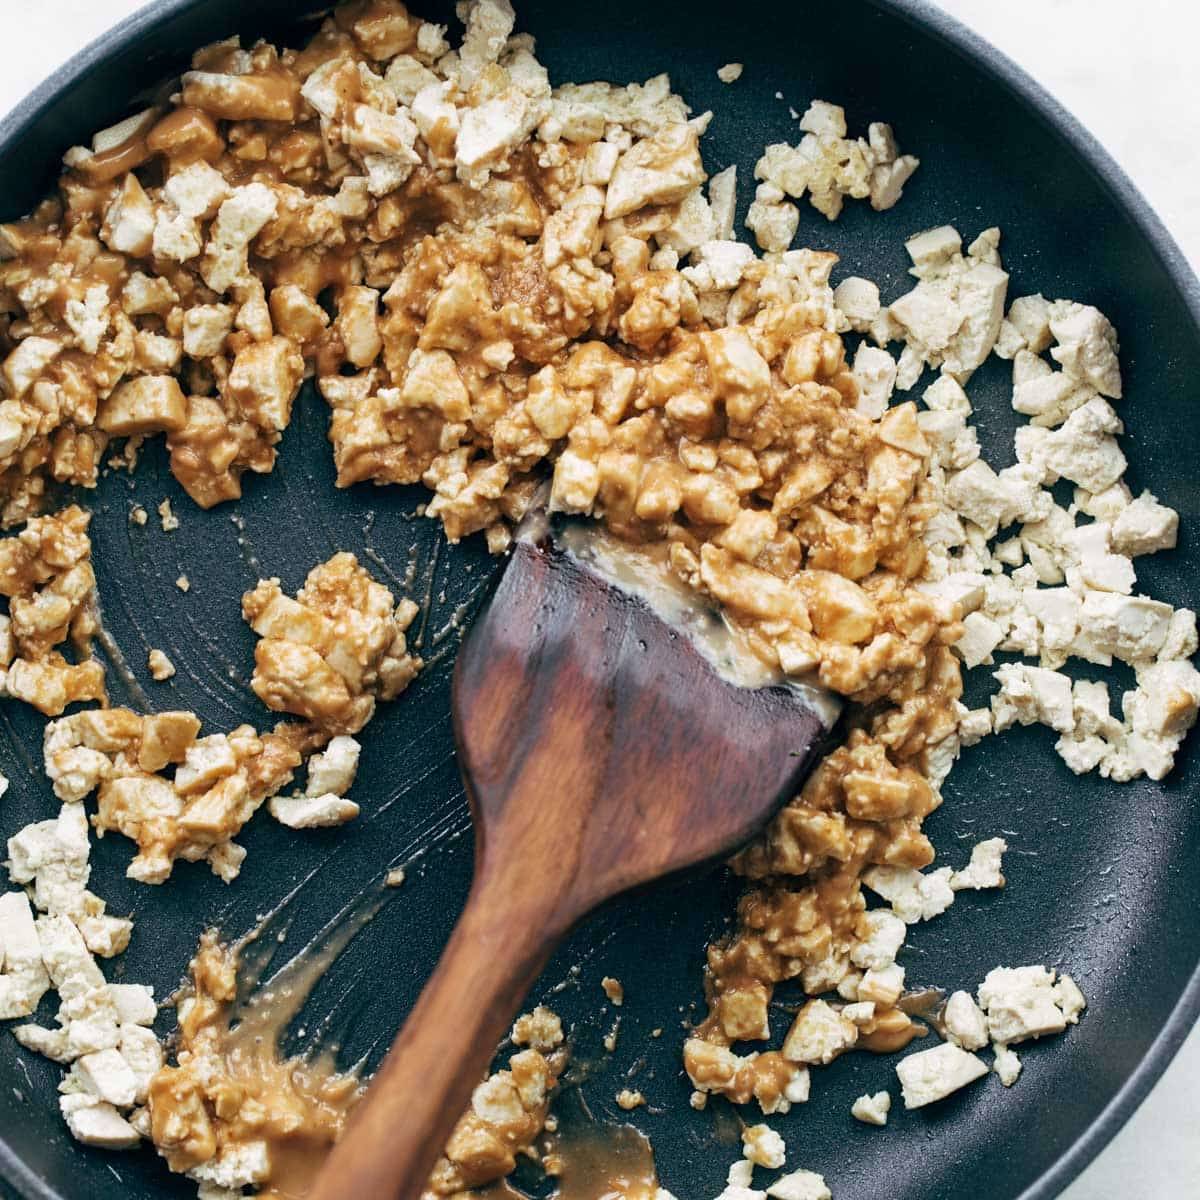
Once the tofu is scrambled, add some sauce or seasoning to the pan. Cook for about 3-4 minutes stirring or until all the tofu has been evenly coated in the seasoning or sauce and it has started to absorb into the tofu.
Then allow tofu to cook, undisturbed for about 4 minutes. This allows the tofu to become crispy. Give the tofu another quick stir to redistribute the cooking surface, and allow to cook for an additional 3-4 minutes or until the tofu has achieved the desired crispiness. The longer you let the tofu cook undisturbed, the crispier the tofu will get.
![]()
Do You Have To Cook Tofu?
Technically, tofu does not need to be cooked. It is ready to eat straight out of the package.
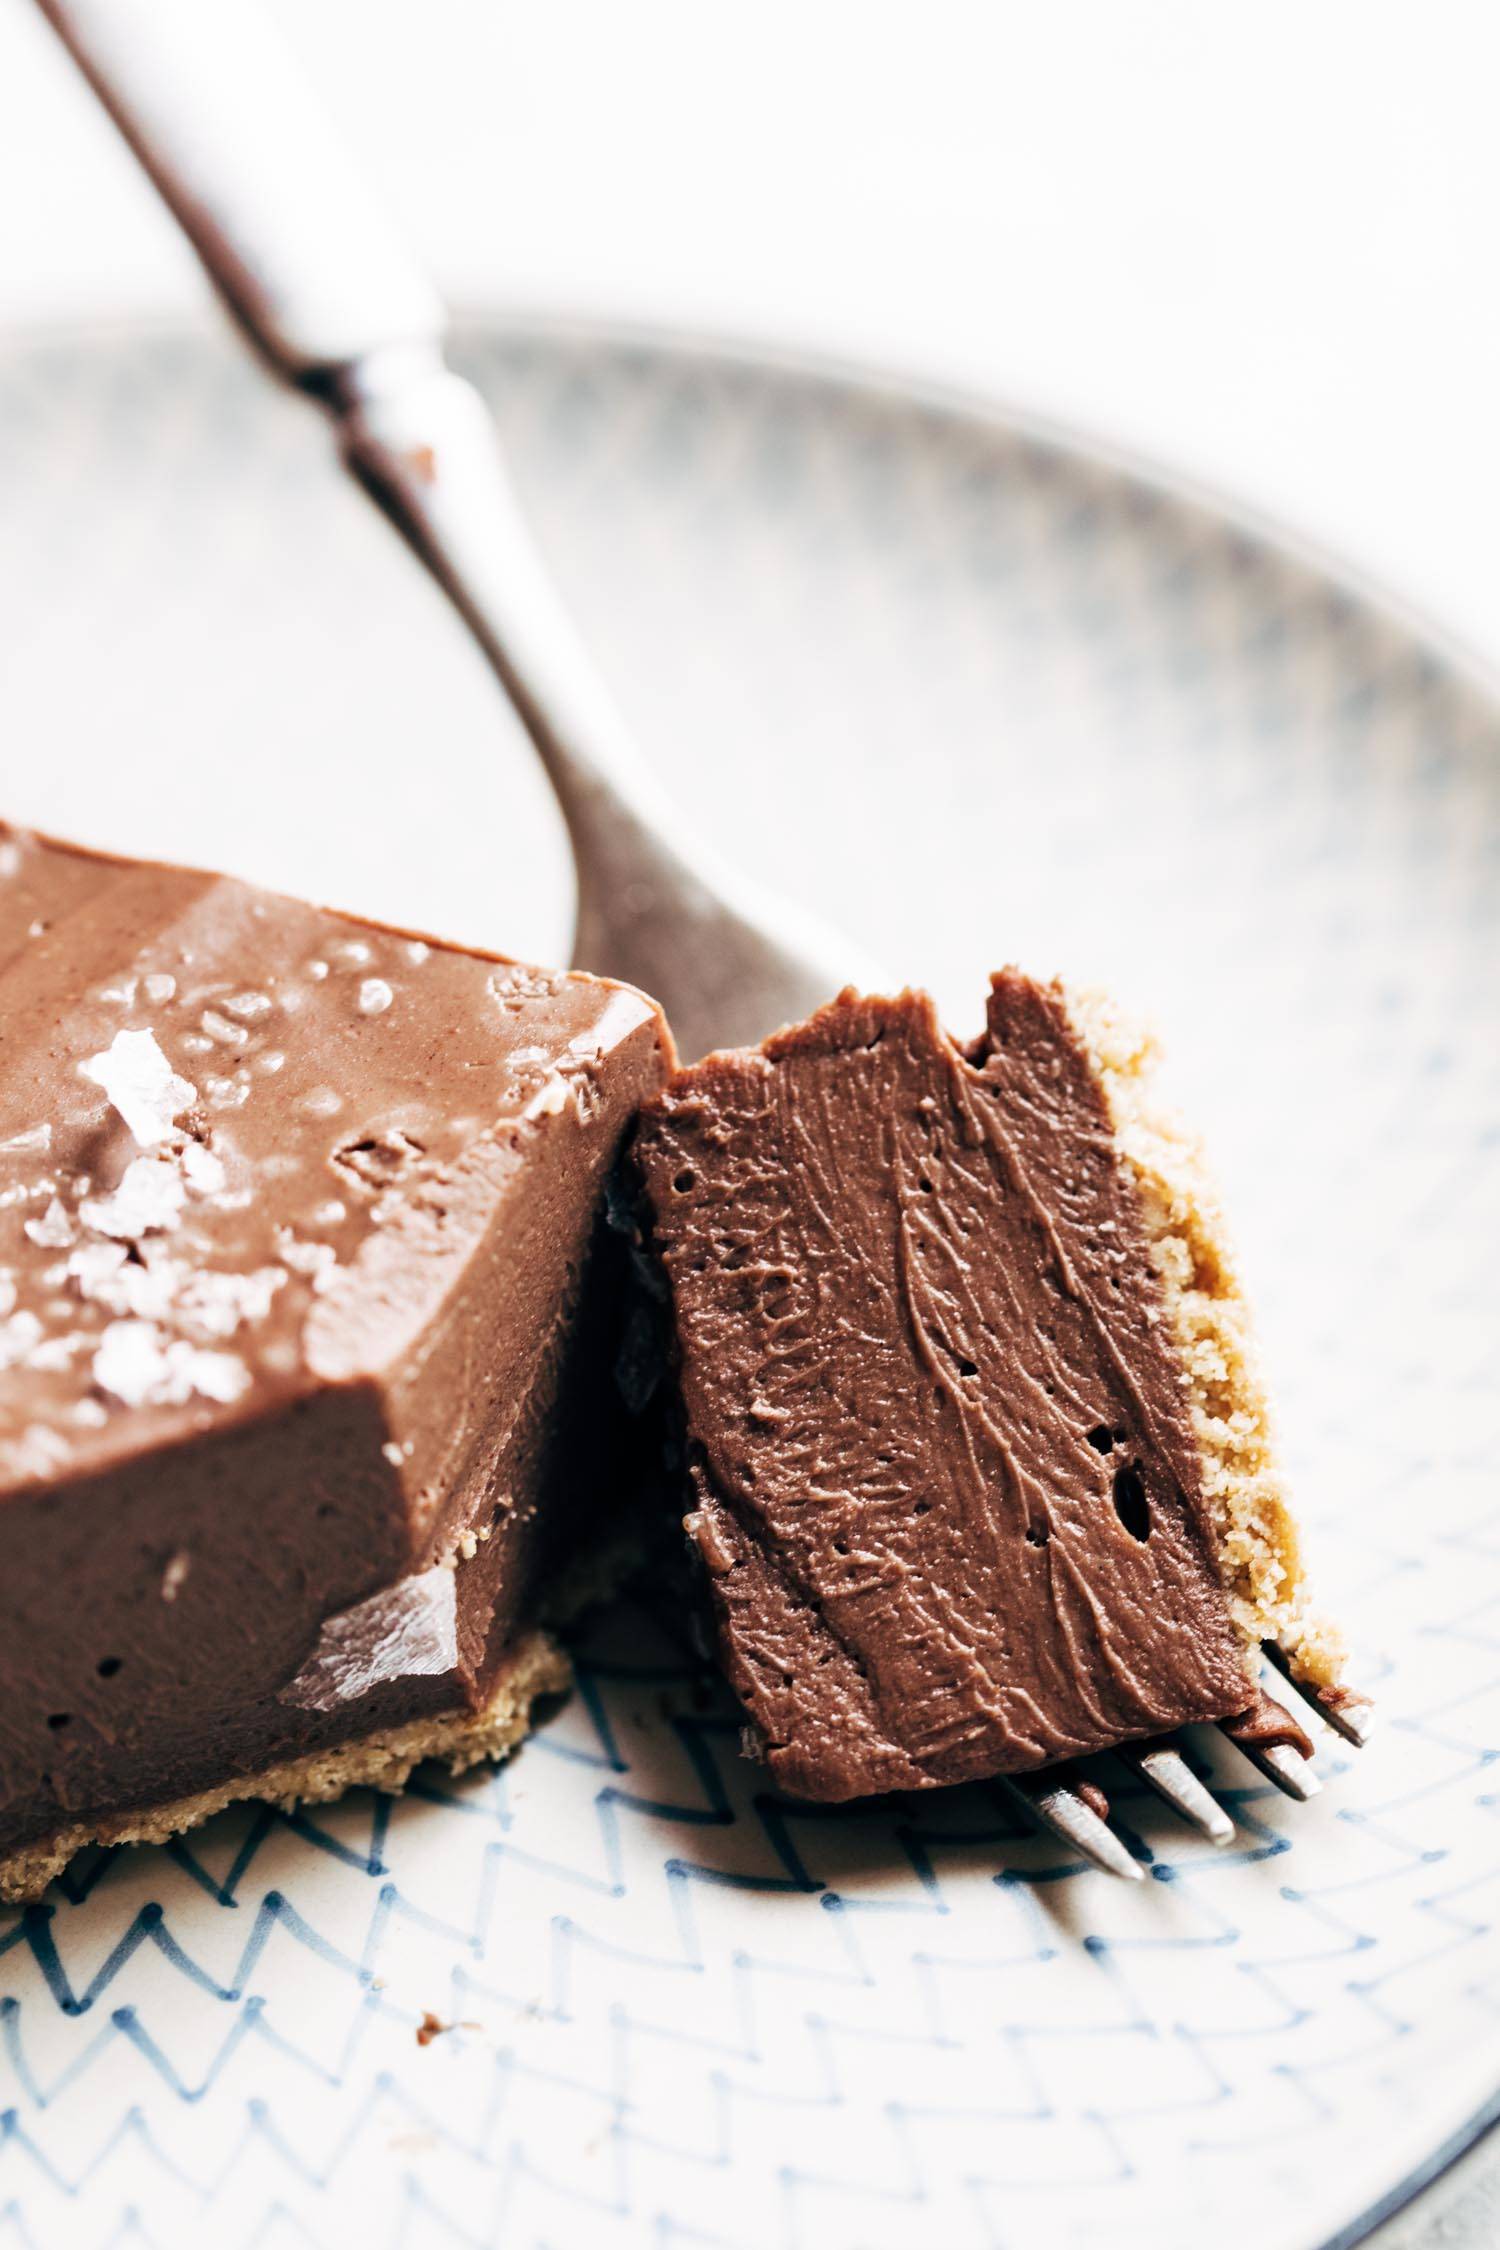
The most common tofu to eat raw is silken tofu. It’s often used in vegan desserts to achieve a creamy texture. For example, this mind-blowing vegan chocolate pie.
Firm tofu, while able to eat raw, is best used in various cooking applications.
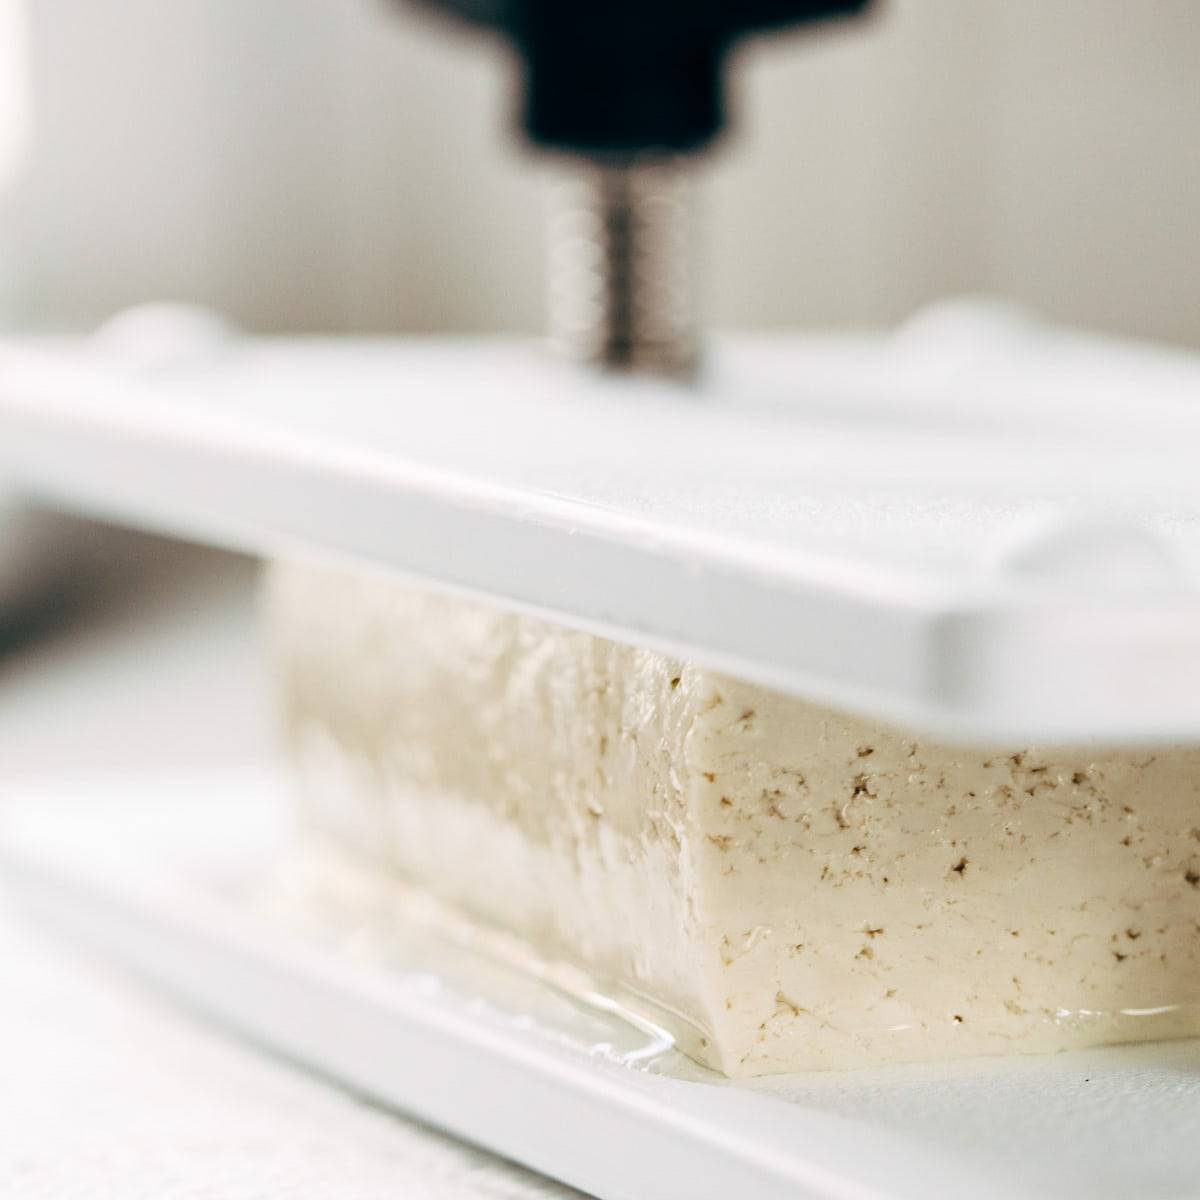
How Do You Press Tofu?
Tofu contains a large amount of water when it comes out of the package. In order to bake, fry, or scramble tofu, it’s best to press out as much water as possible before cooking. The longer you press your tofu, the firmer the texture will be and the easier it will be to achieve a nice crispy texture.
If you make a lot of tofu, you may want to purchase a tofu press designed specifically for pressing out the water from tofu.
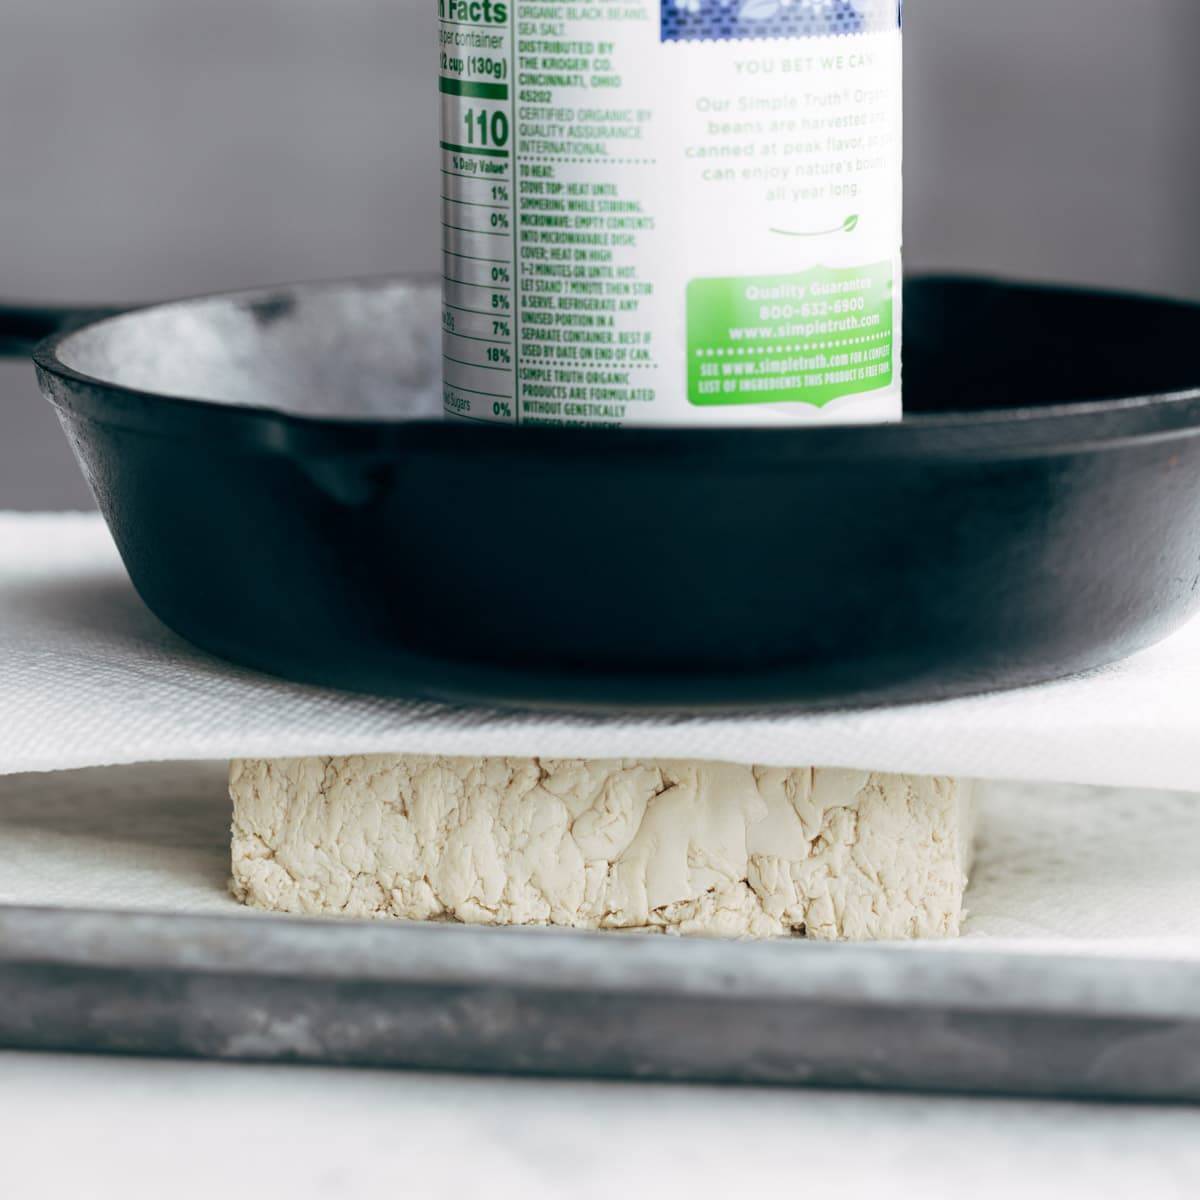
If you do not have a tofu press, you can use standard kitchen items to help with this process.
- Line a baking sheet with several layers of paper towel
- Drain your tofu block and place on top of paper towel lined baking sheet
- Place 2-3 more layers of paper towel on top of tofu block
- Place a heavy skillet or second baking sheet on top
- Weight the skillet down with a few canned goods
- Allow tofu to press for about 30 minutes
- If pressing longer, place baking sheet set up in the refrigerator while it presses
This pressing method works best on firm or extra firm tofu. It is not recommended to press silken or soft tofu.
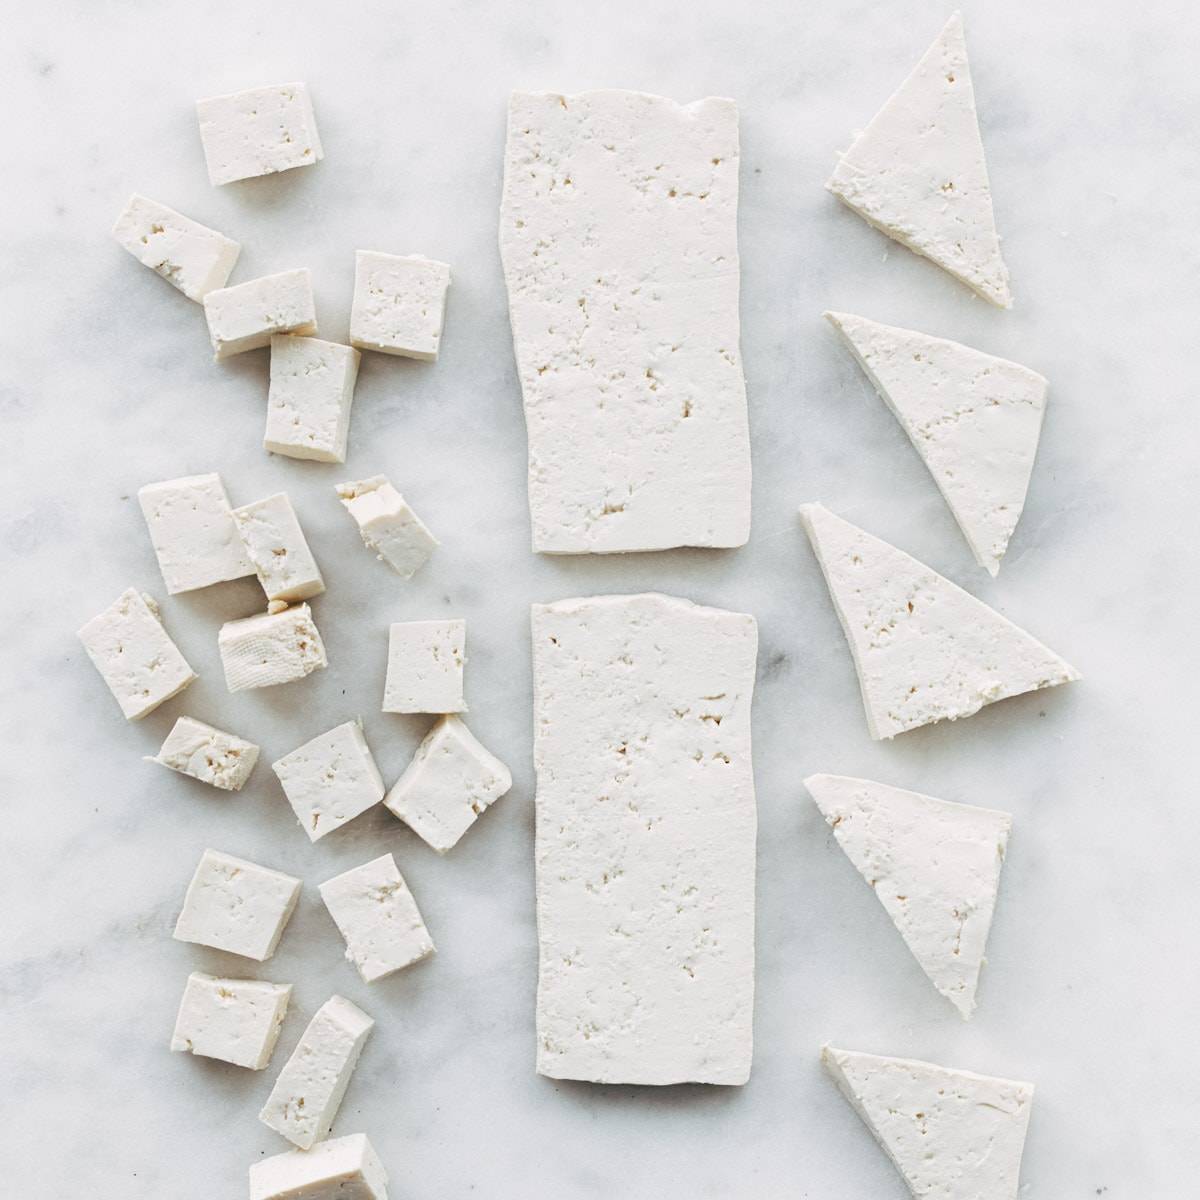
How Do You Cut Tofu?
Tofu can be cut in a variety of shapes and sizes. Once you have pressed your tofu, most shapes start by cutting the block of tofu into 1/4 inch – 1/2 inch thick slices.
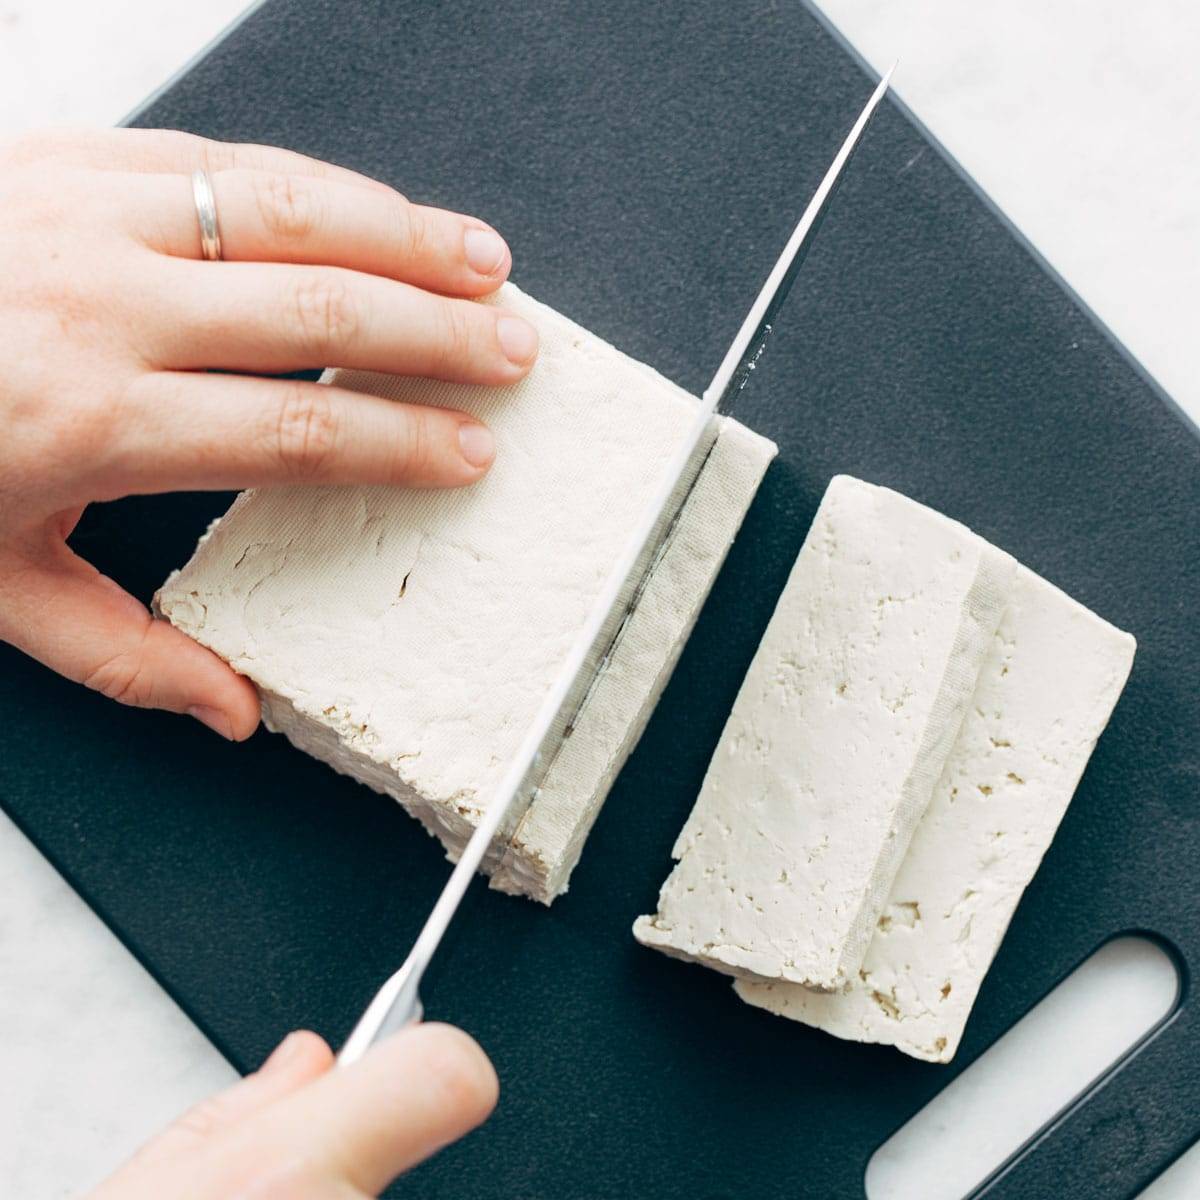 From there, you can cut the tofu into small cubes, triangles, or leave them as slices for more of a tofu steak. Cubes of tofu are very versatile and can pretty much be used in most cooking applications.
What Kind of Tofu Should I Use?
Tofu comes in a range of firmness from silken to extra firm.
- Extra firm tofu has the tightest curds and can stand up to hearty cooking methods, such as pan frying and baking.
- Firm tofu is often used in traditional Asian soups such as hot and sour soup and miso soup.
- Silken Tofu is perfect for making creamy, vegan desserts or any in any recipe that requires the tofu to be blended.
TOFU RECIPES WE LOVE:
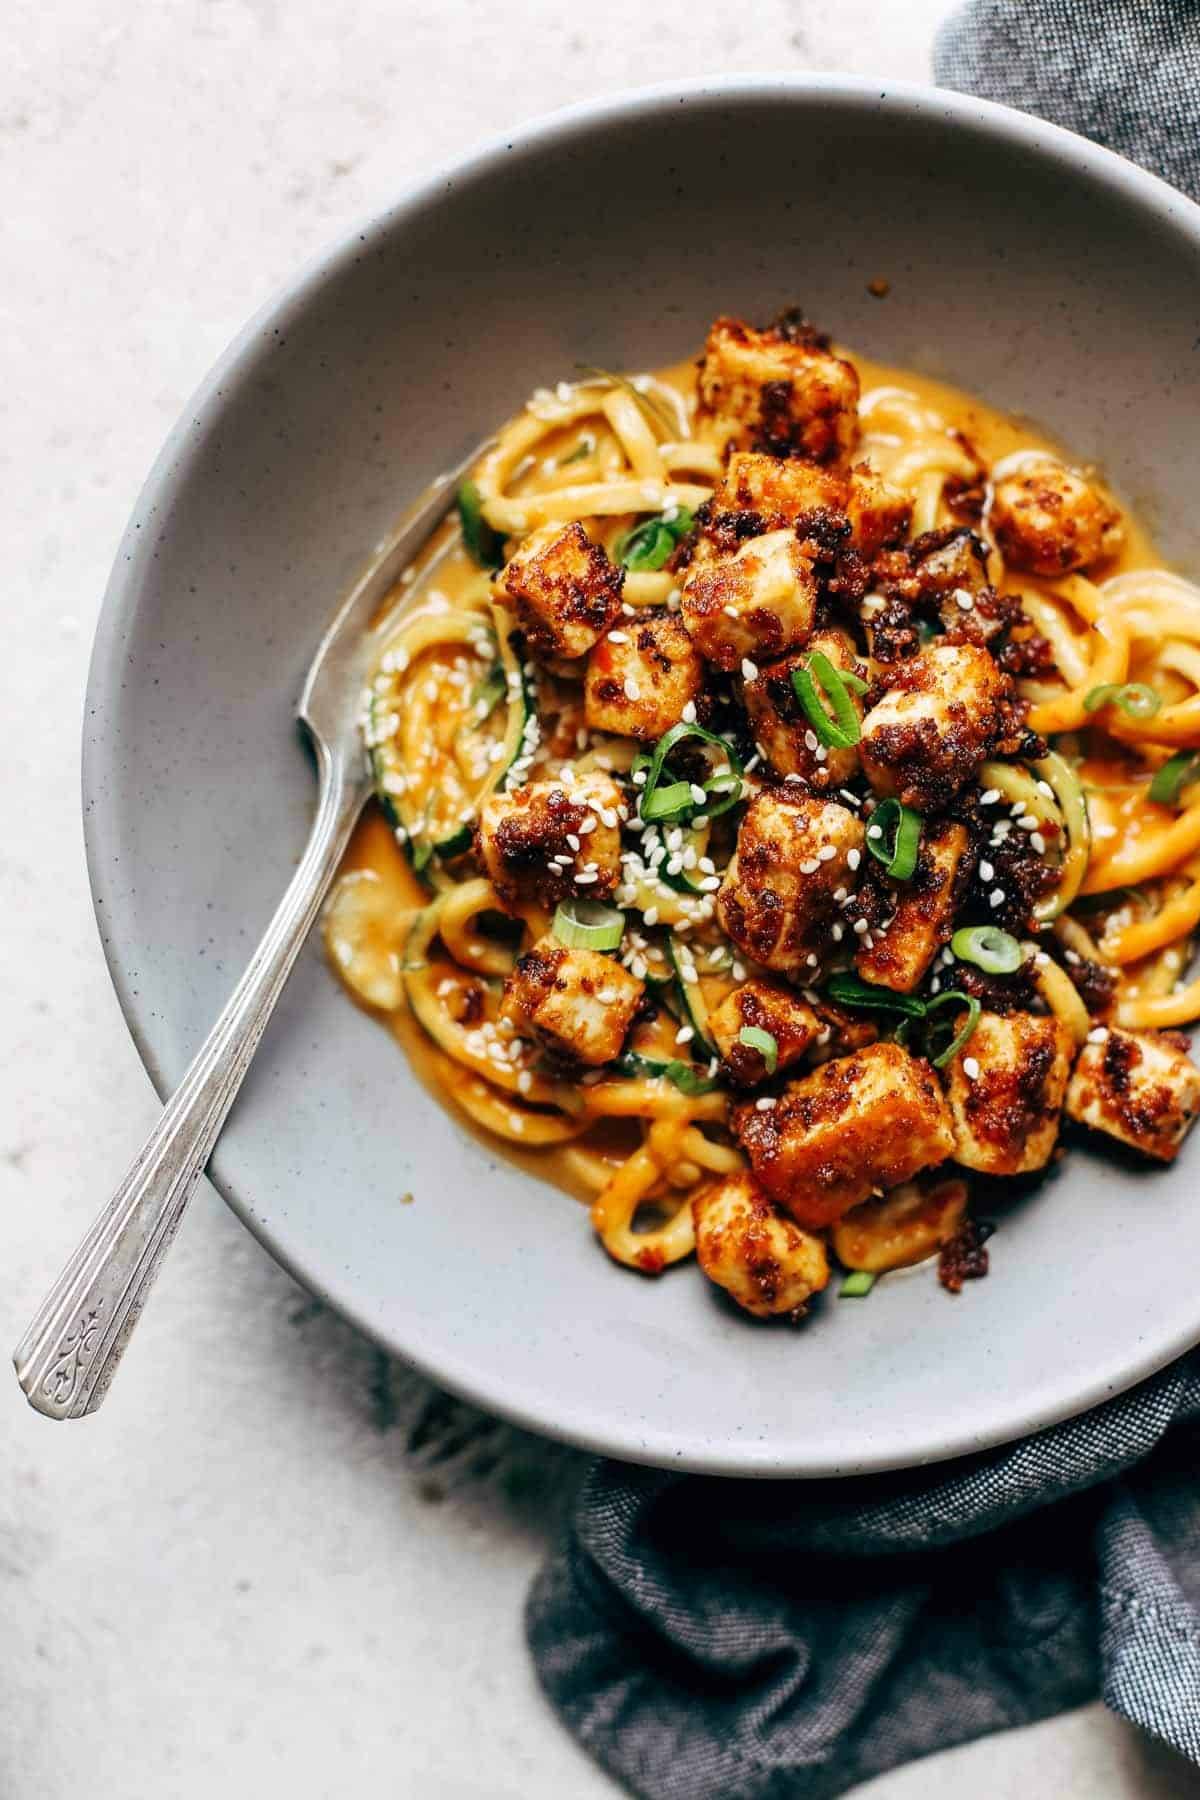
Spicy Sesame Zoodles with Crispy Tofu
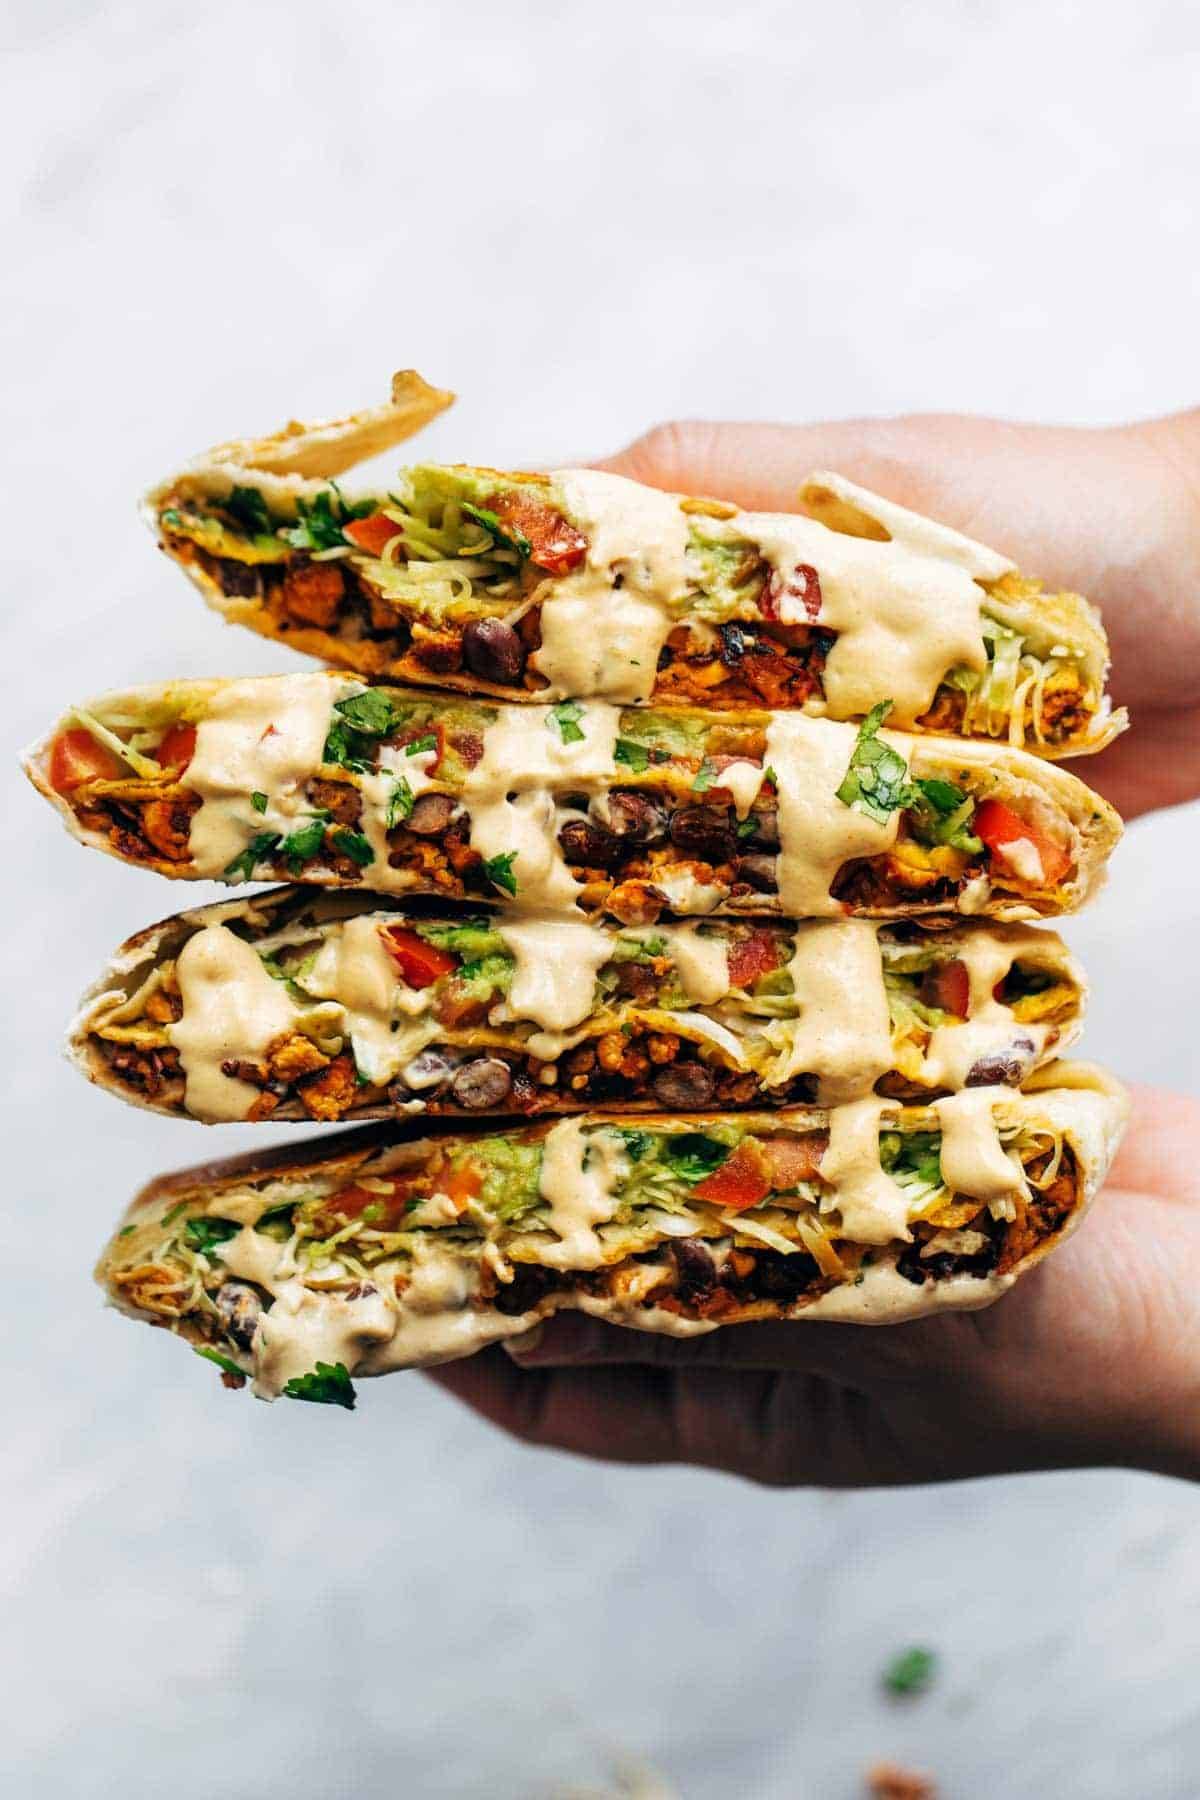
Vegan Crunchwrap Supreme
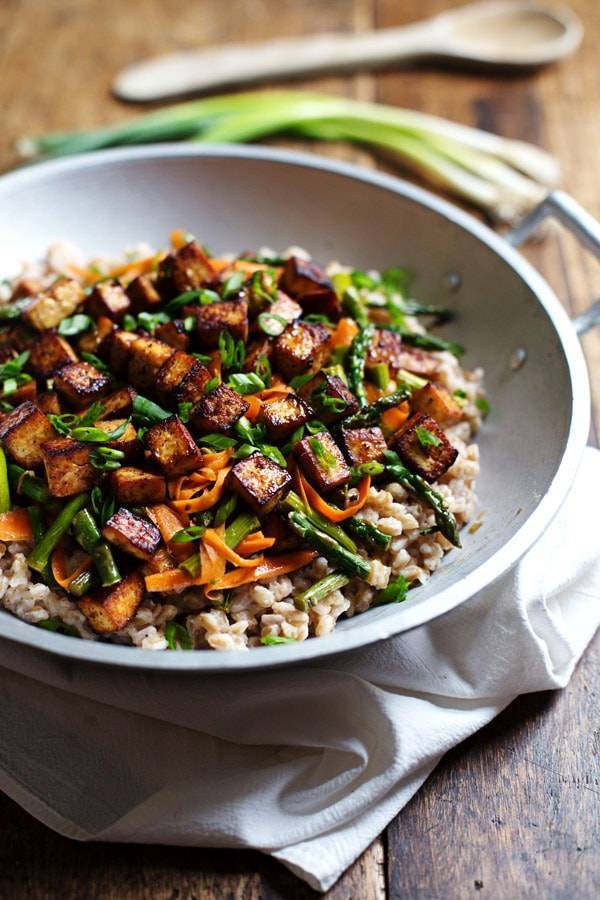
Honey Ginger Tofu Veggie Stir Fry
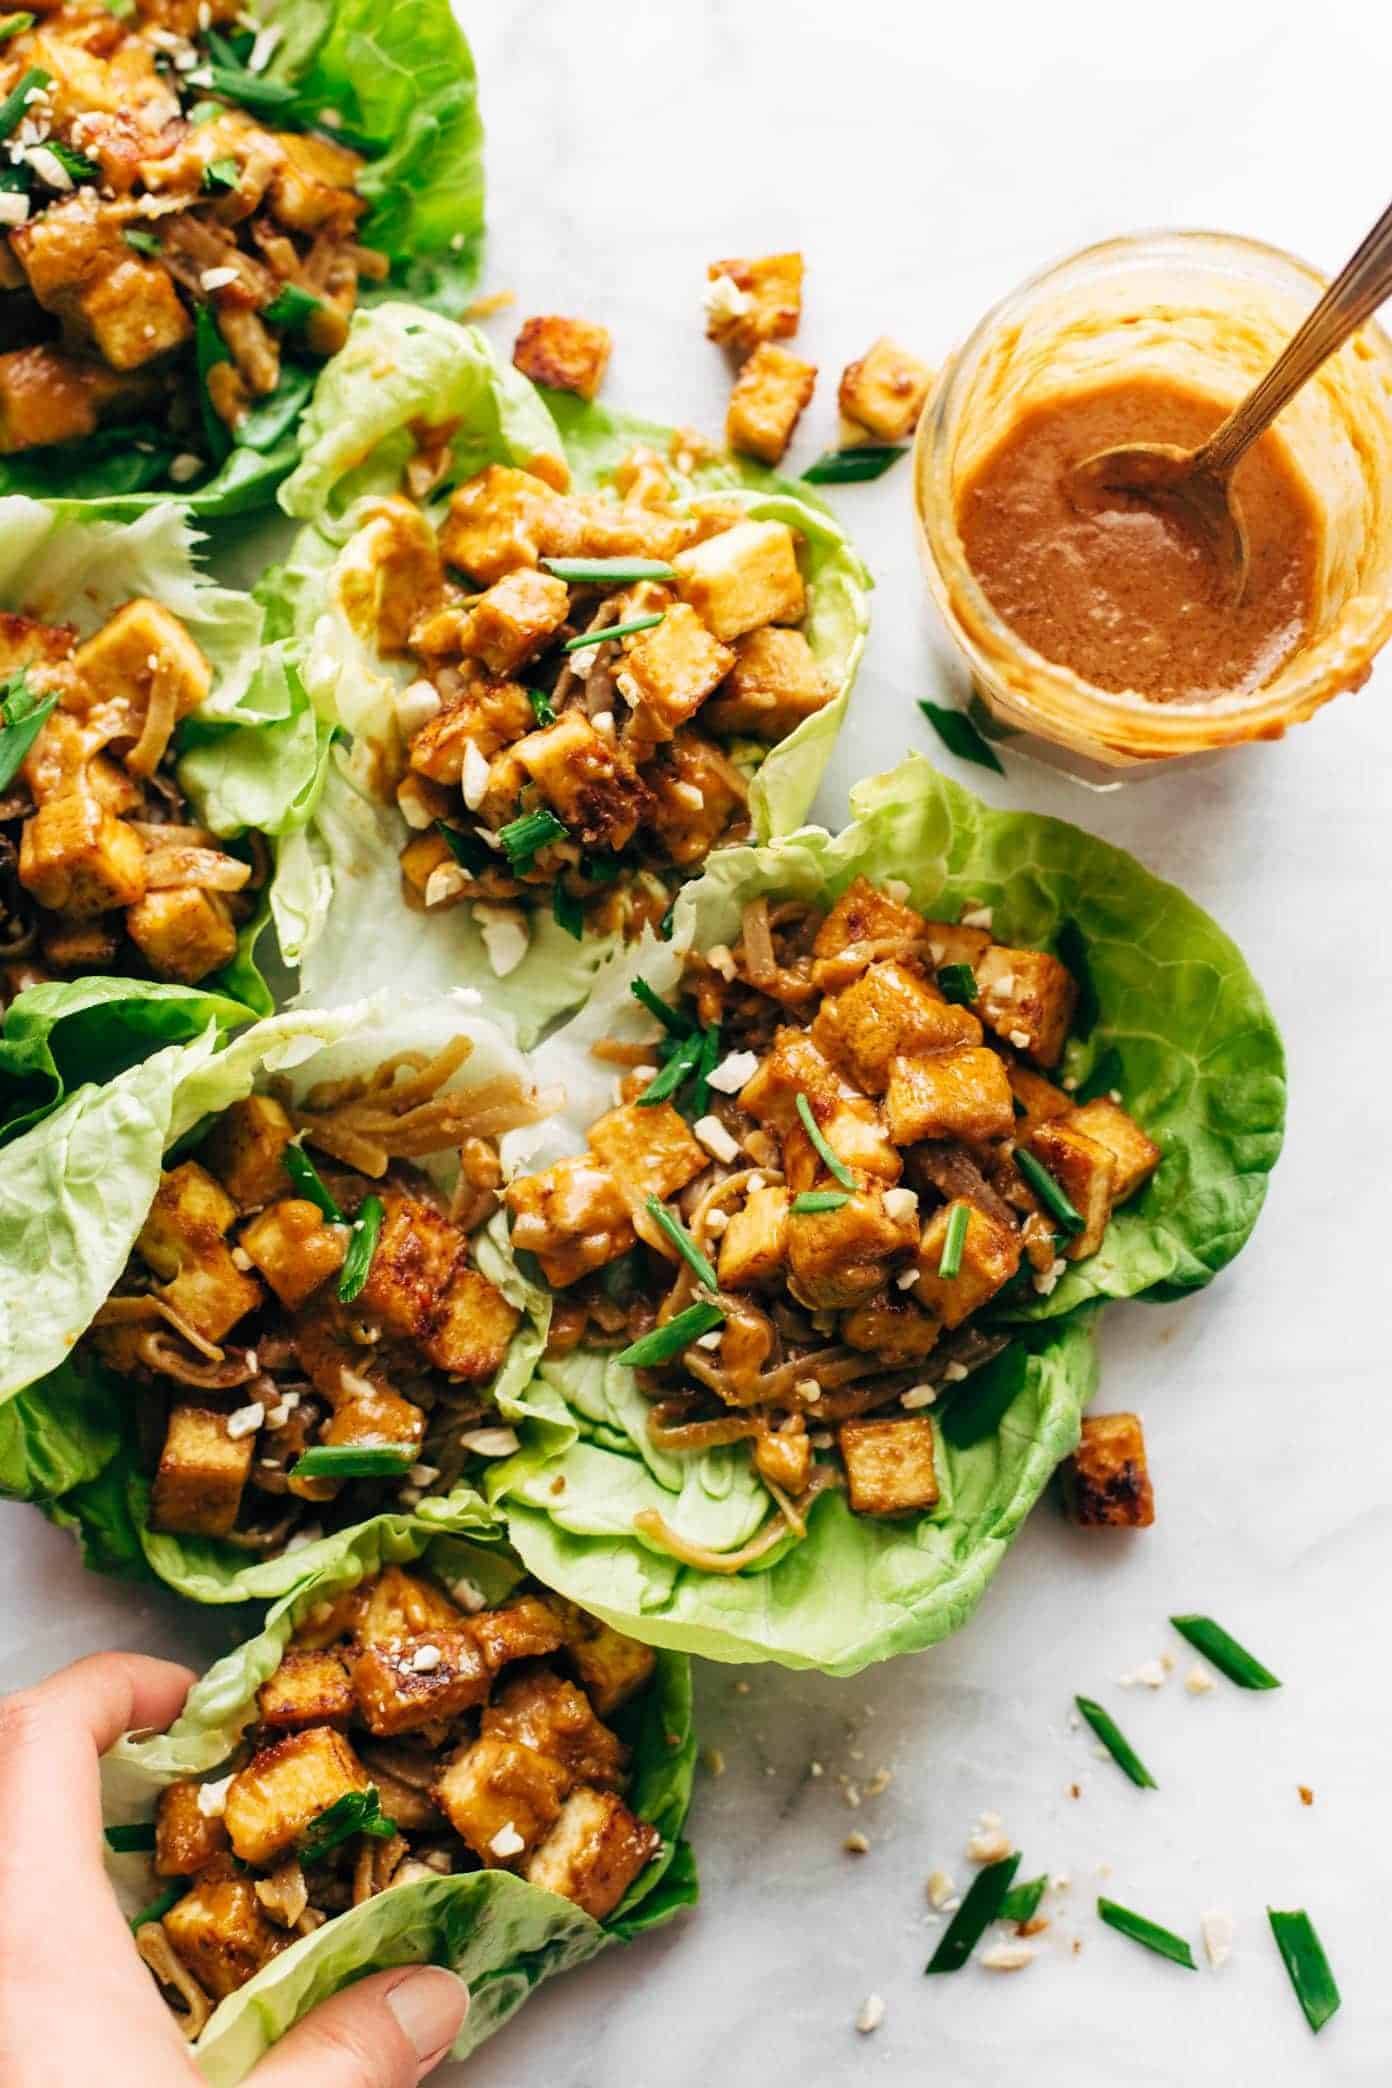
Firecracker Vegan Lettuce Wraps
5-Ingredient Green Curry
Mind-Blowing Vegan Chocolate Pie
Dynamite Plant Power Sushi Bowls
Spicy Sofritas Veggie Bowls
The post How To Cook Tofu appeared first on Pinch of Yum.
from Pinch of Yum https://ift.tt/2Bx4ZSL
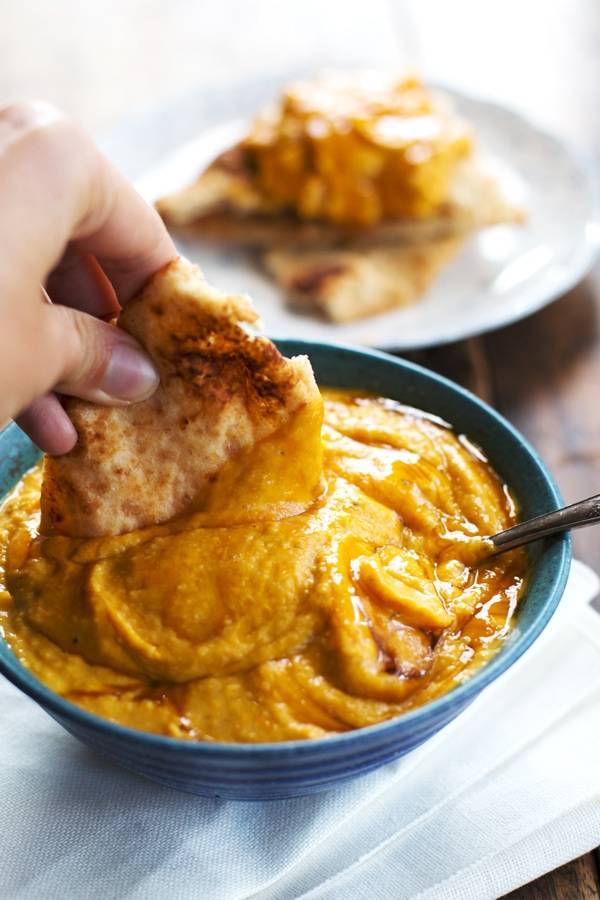
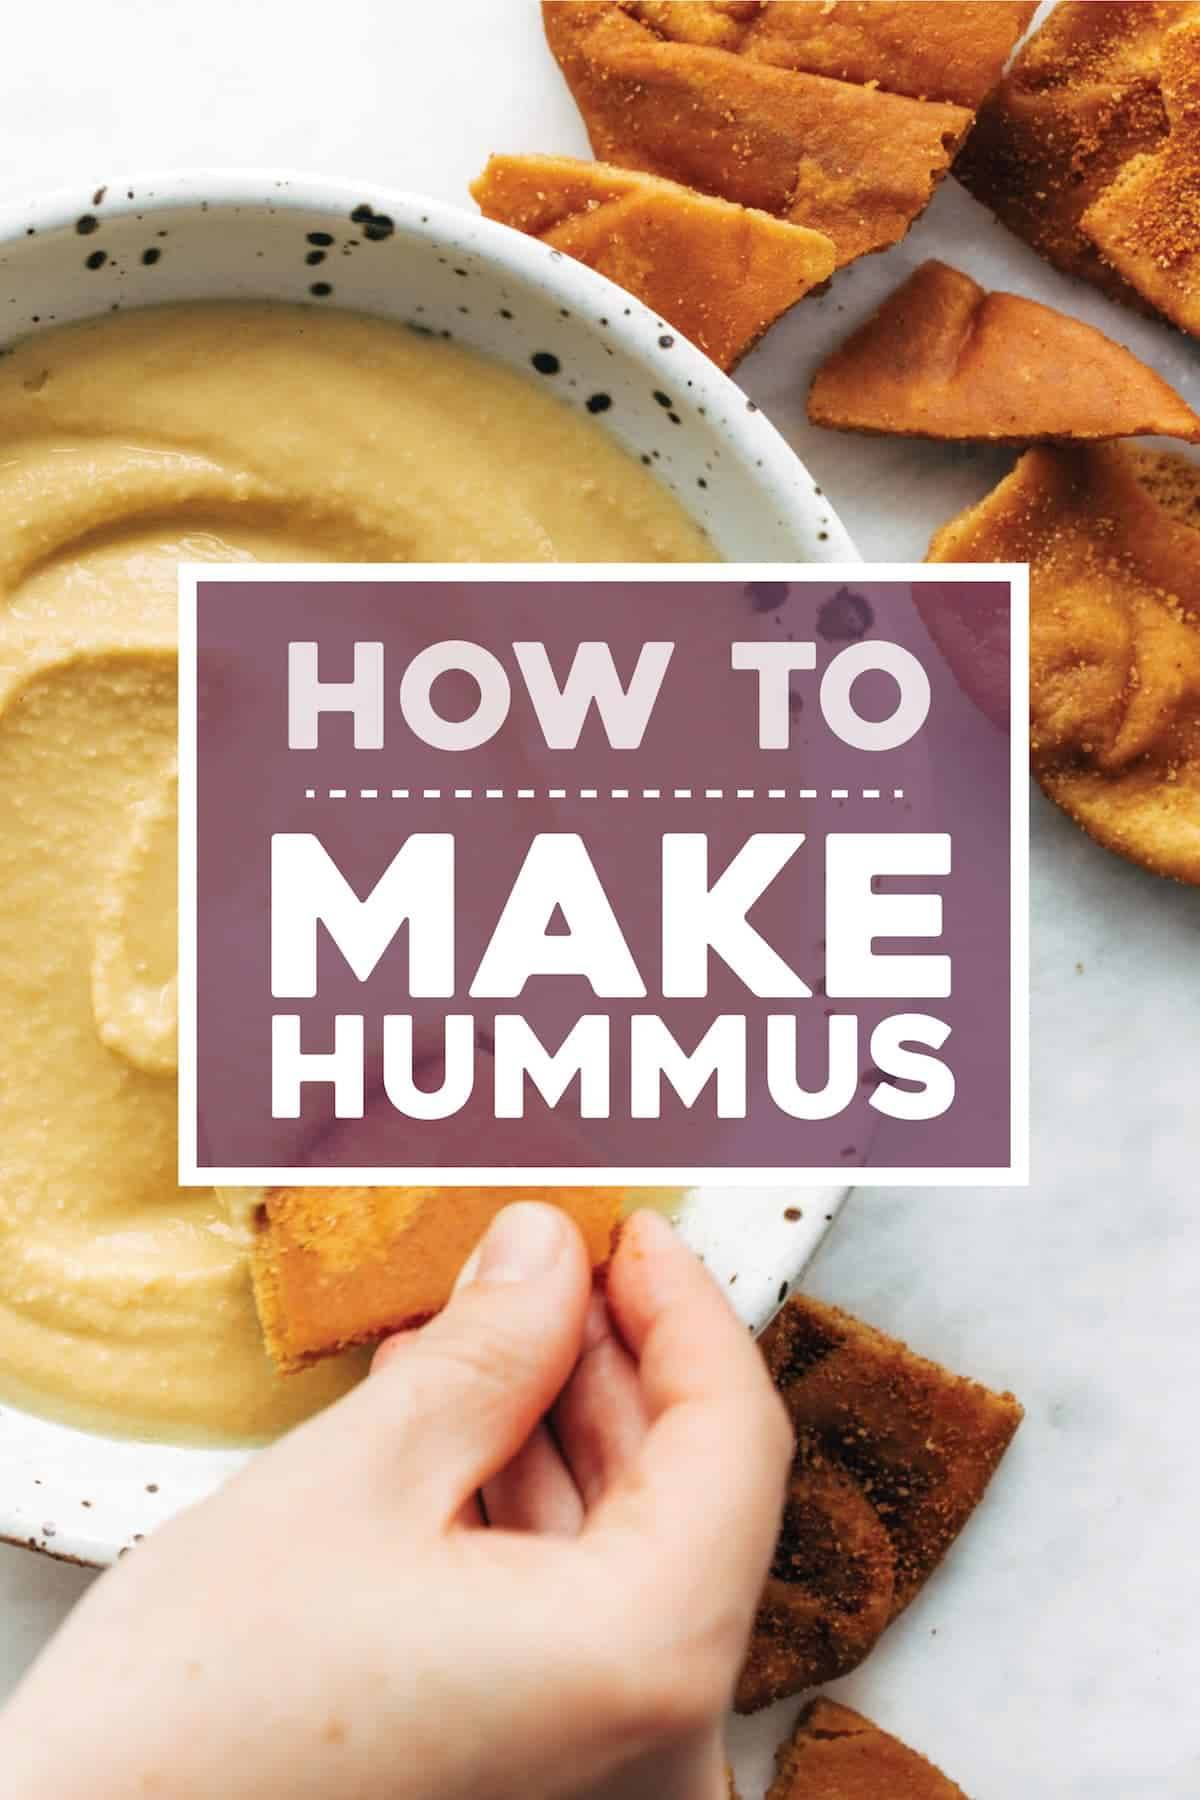 Hummus is an incredibly versatile recipe that can be used as both a dip and a spread. It’s creamy, delicious, and surprisingly easy to make. So before you go out to stock up on the store-bought stuff, try making your own hummus at home and you’ll be thrilled by just how easy it is to make.
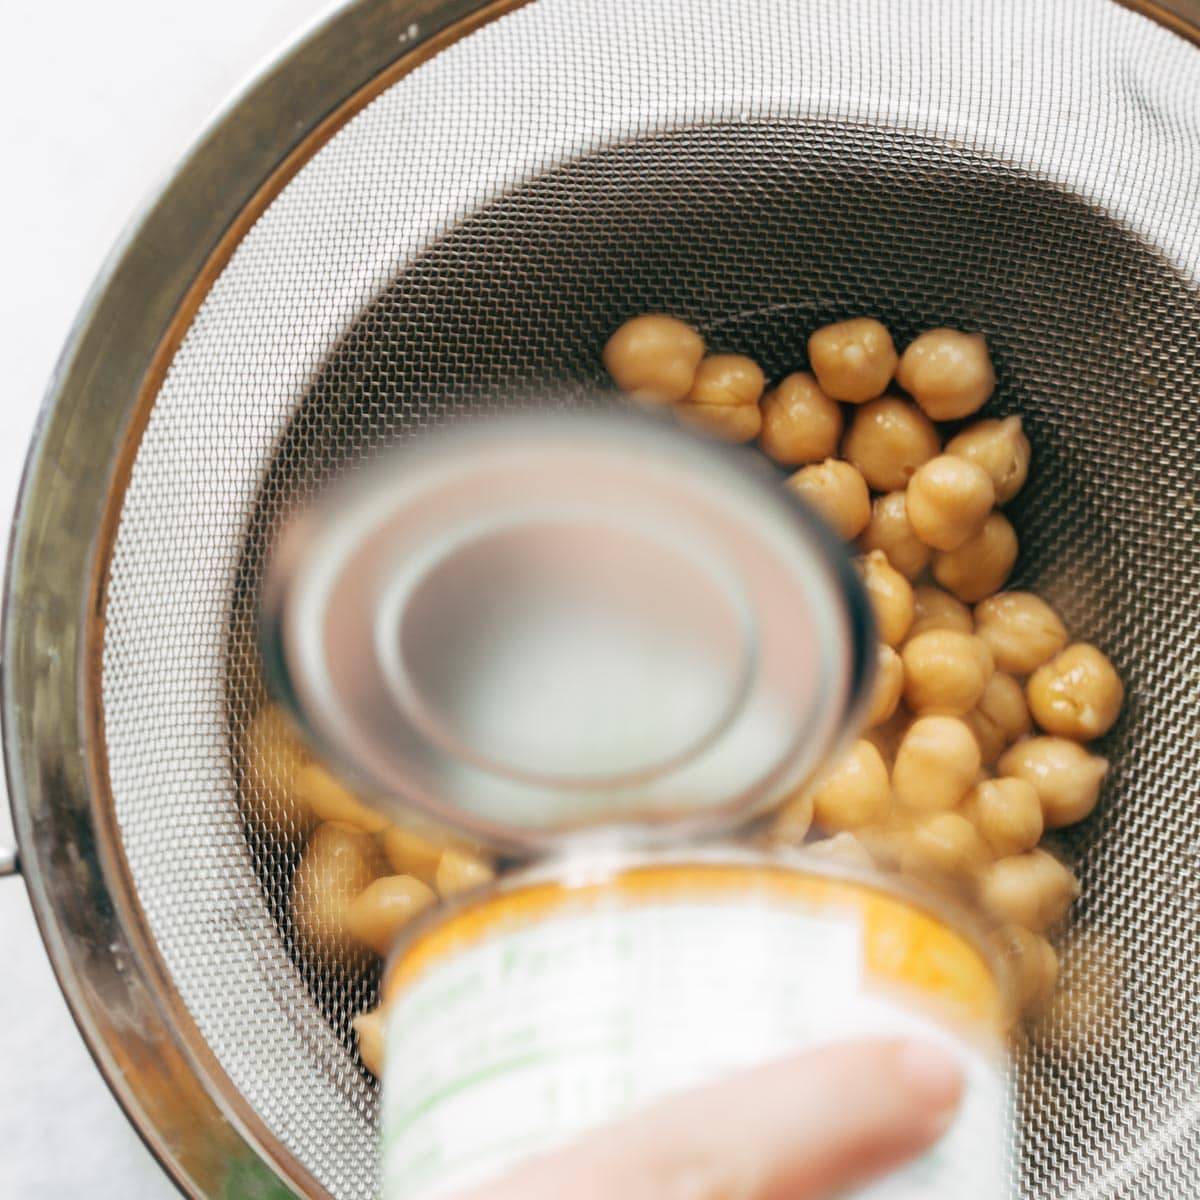 You can reserve the liquid from the canned chickpeas (called aquafaba) to use in variety of vegan recipes.
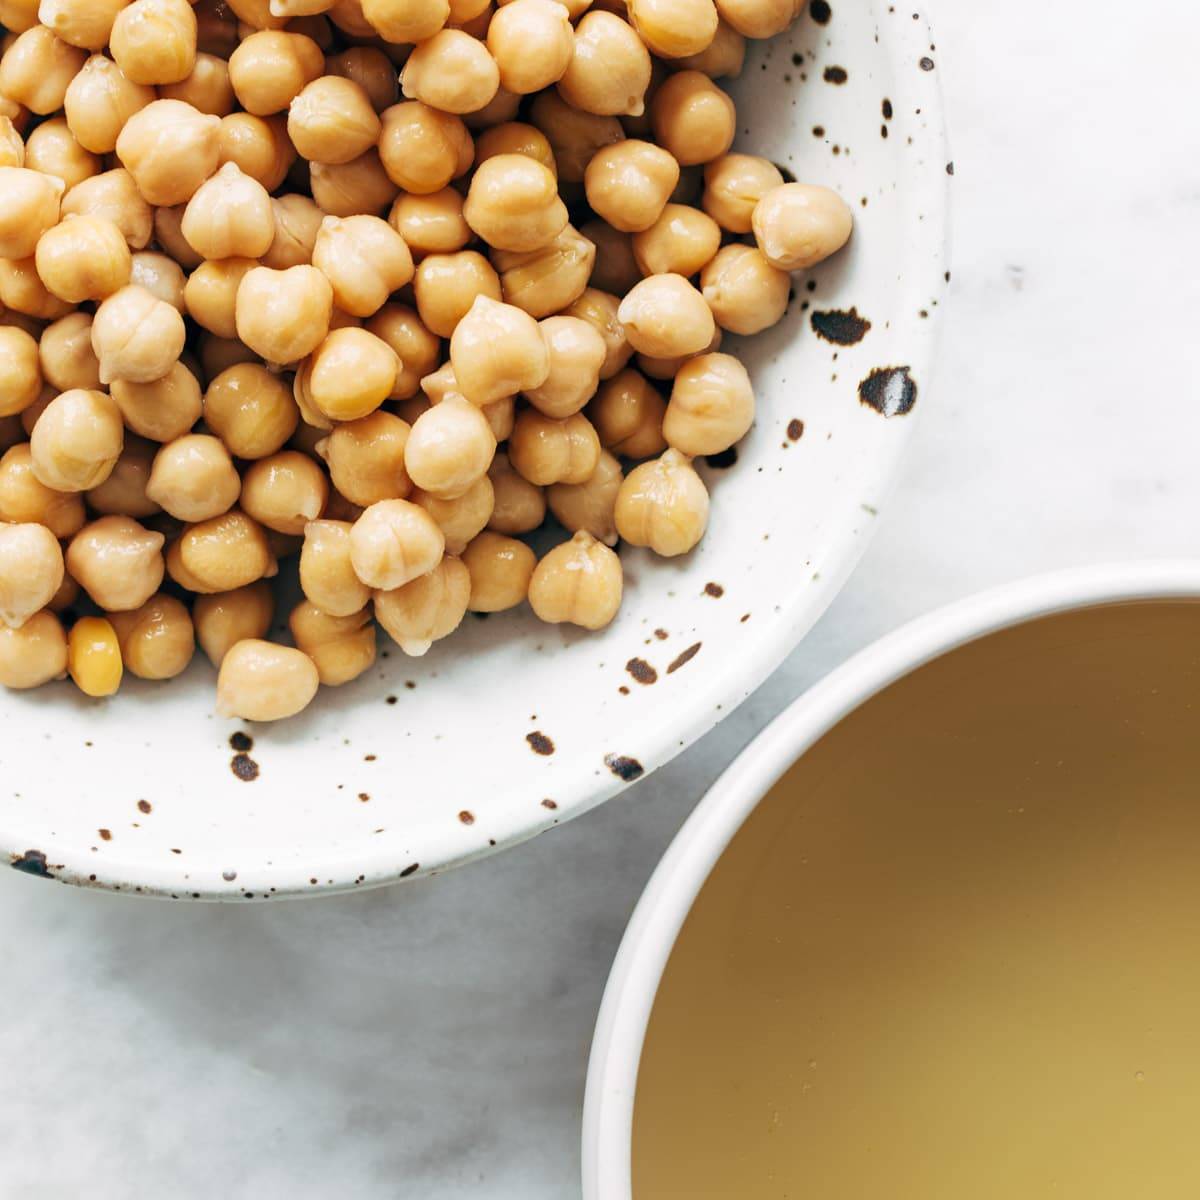 For one batch of hummus you will want to use two cans or about 3 cups of cooked chickpeas.
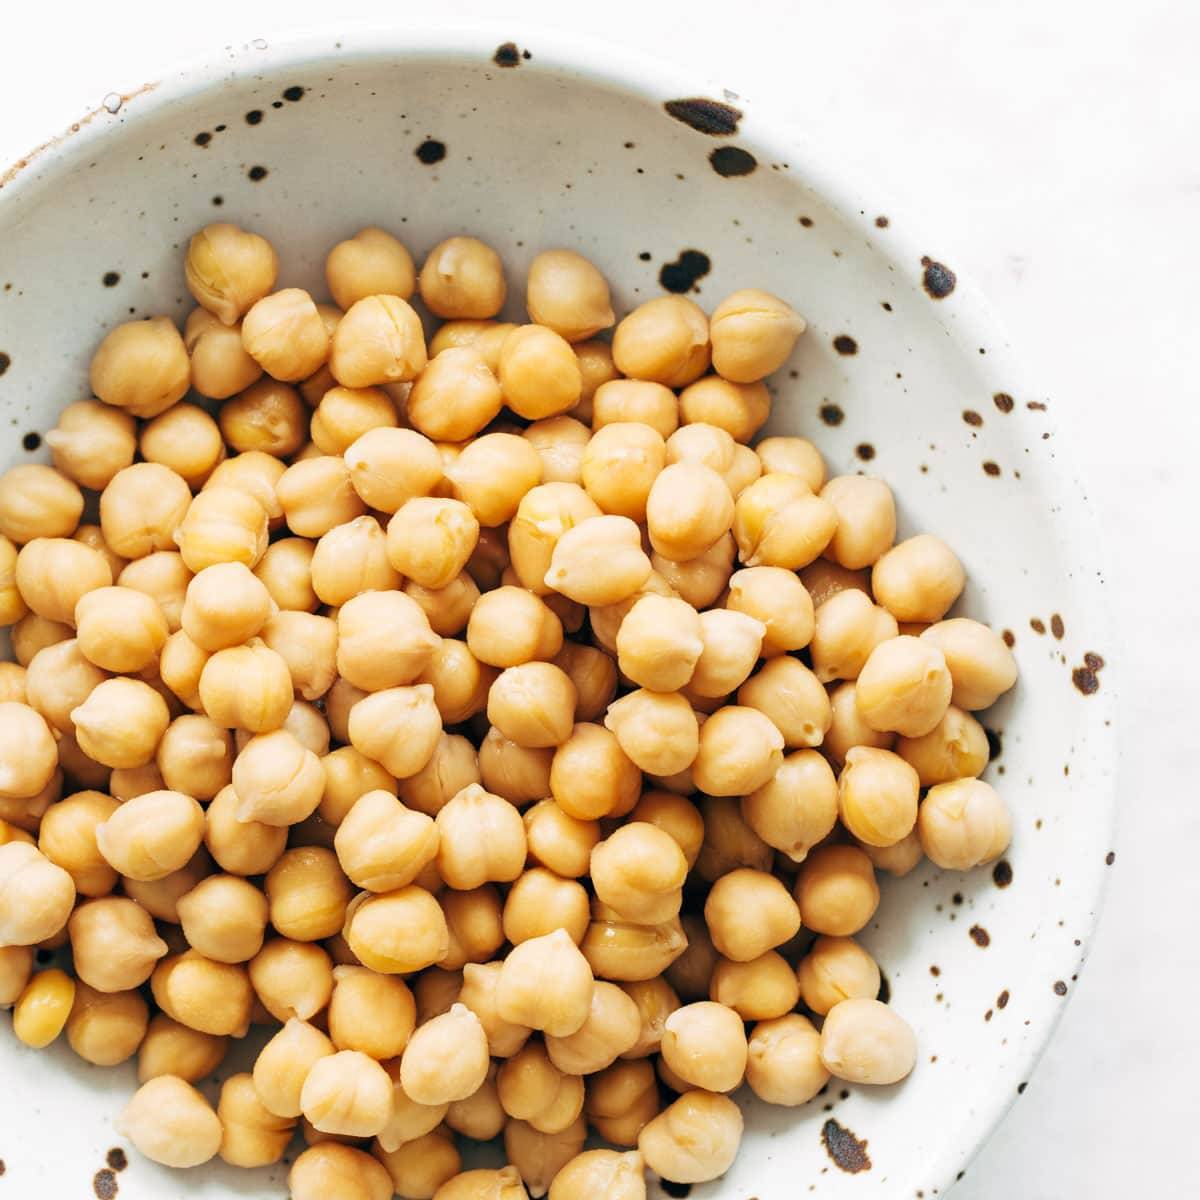 Step 2: Gently squeeze the chickpeas and remove the thin skin. This step of peeling the chickpeas is optional, but highly recommended if you have the time.
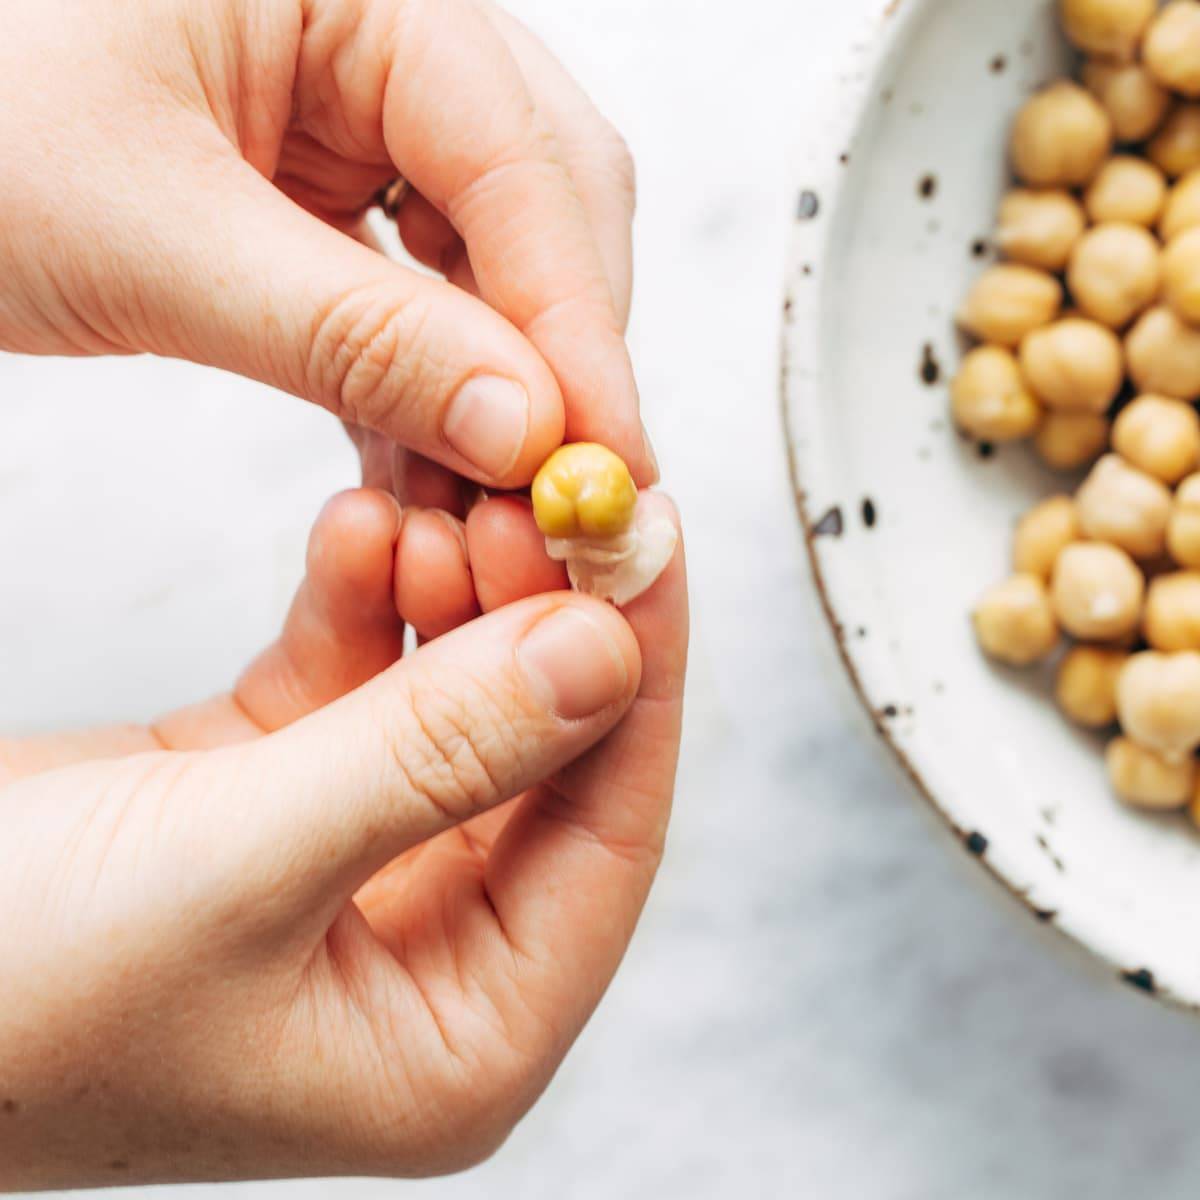 Drop your peeled chickpeas into a bowl and discard the peels.
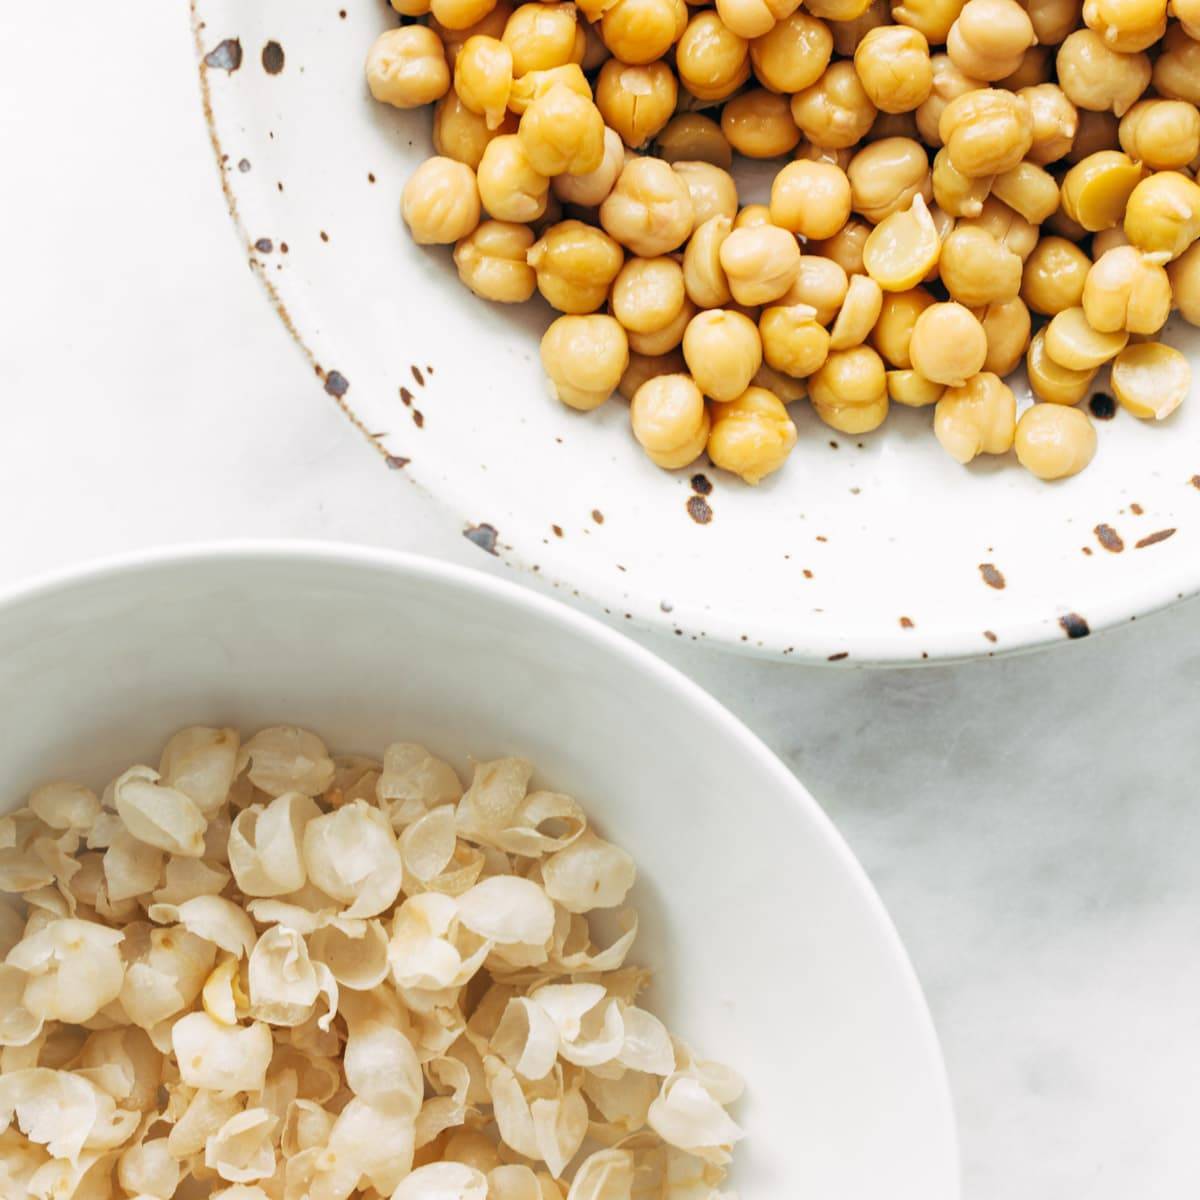 Peeling your chickpeas before making hummus results in a much smoother, silkier hummus. The hummus on the left was made with peeled chickpeas and the hummus on the right was made with un-peeled chickpeas.
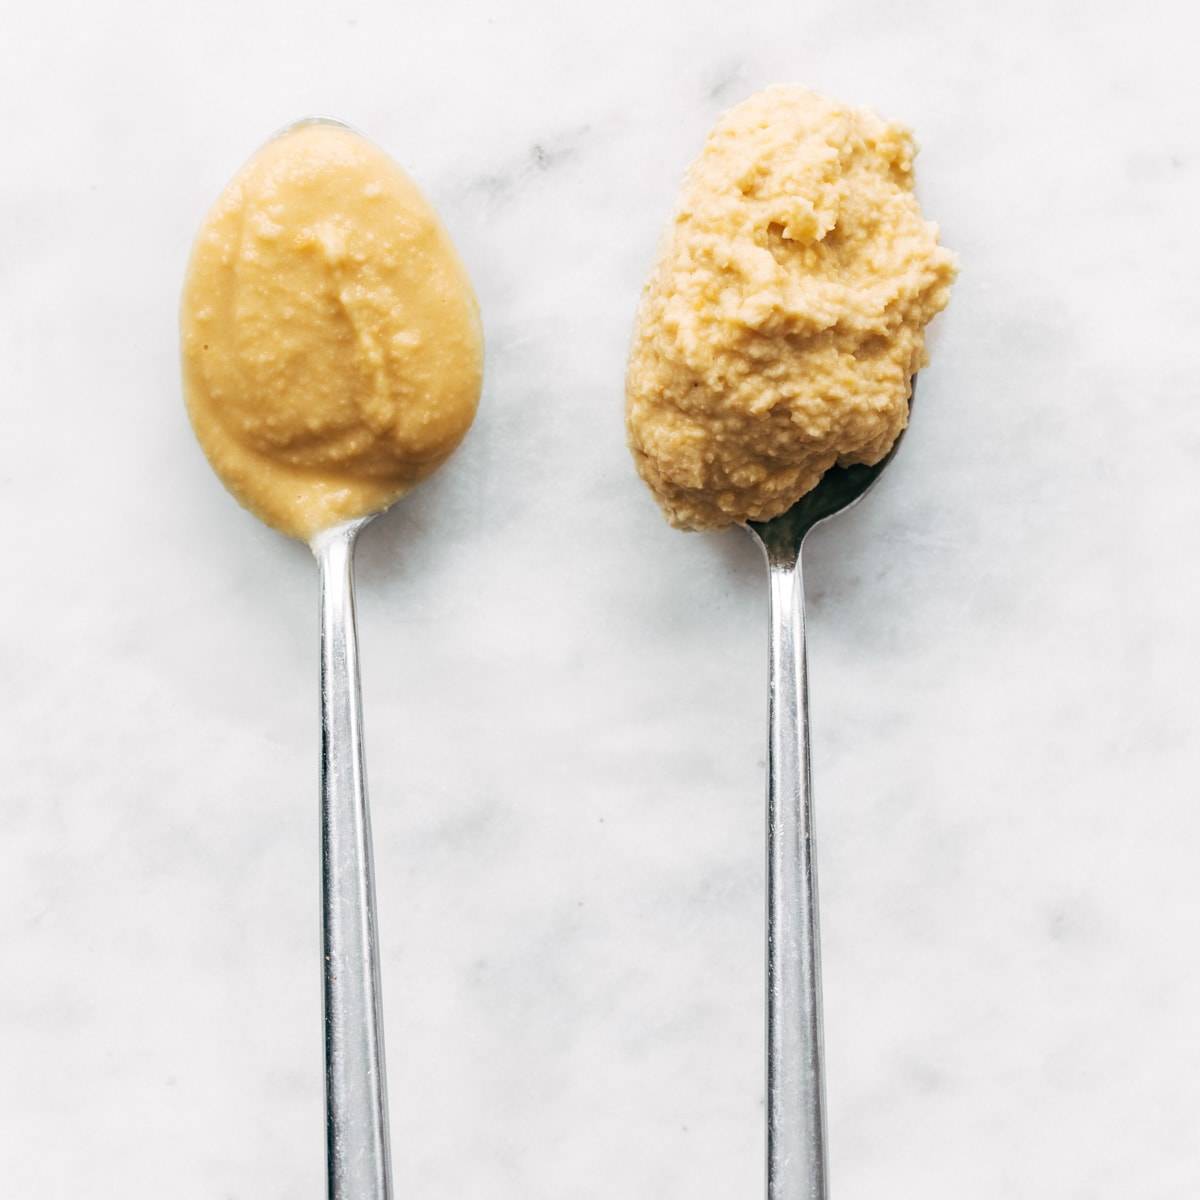 Step 3: Place your peeled chickpeas, olive oil, garlic, salt, and water to a food processor or high speed blender. You can add lemon juice and tahini for a more authentically flavored hummus if desired.
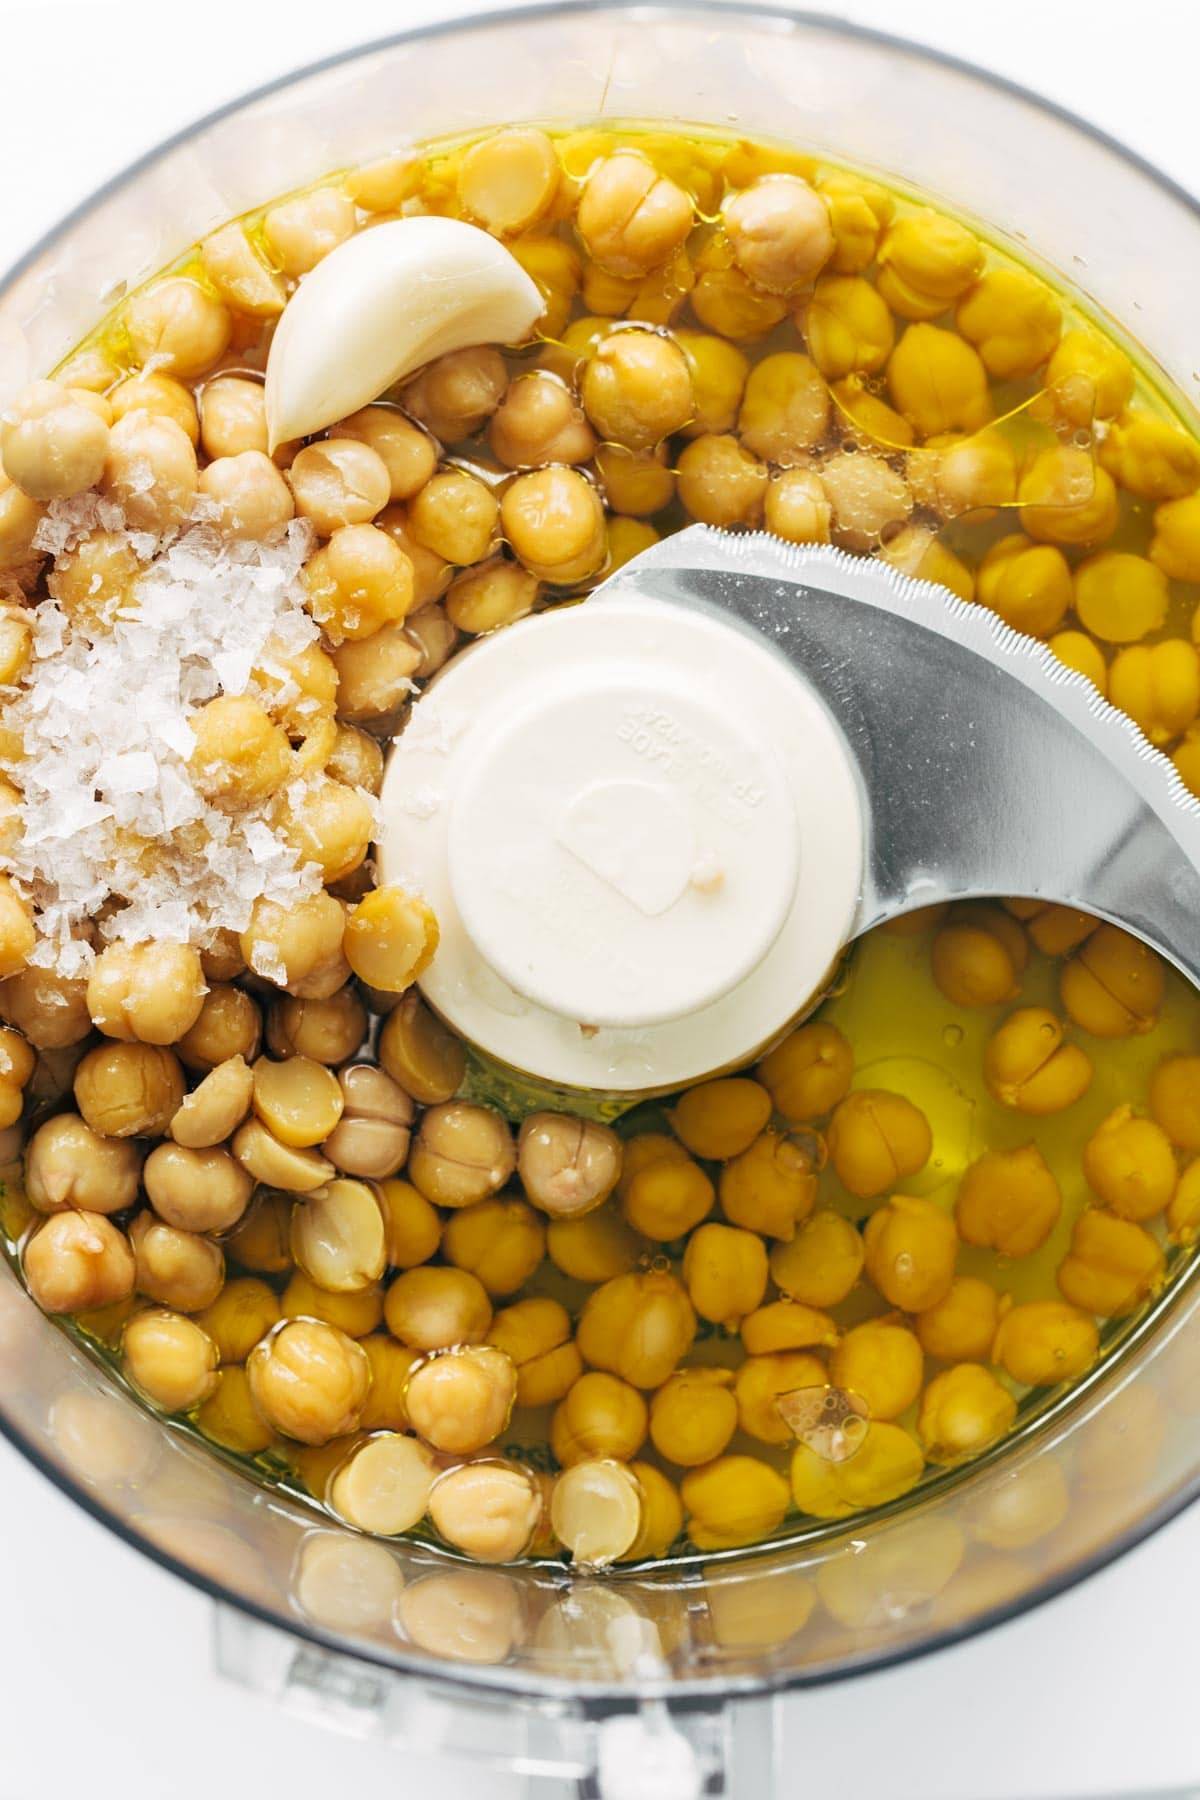 Step 4: Process until smooth.
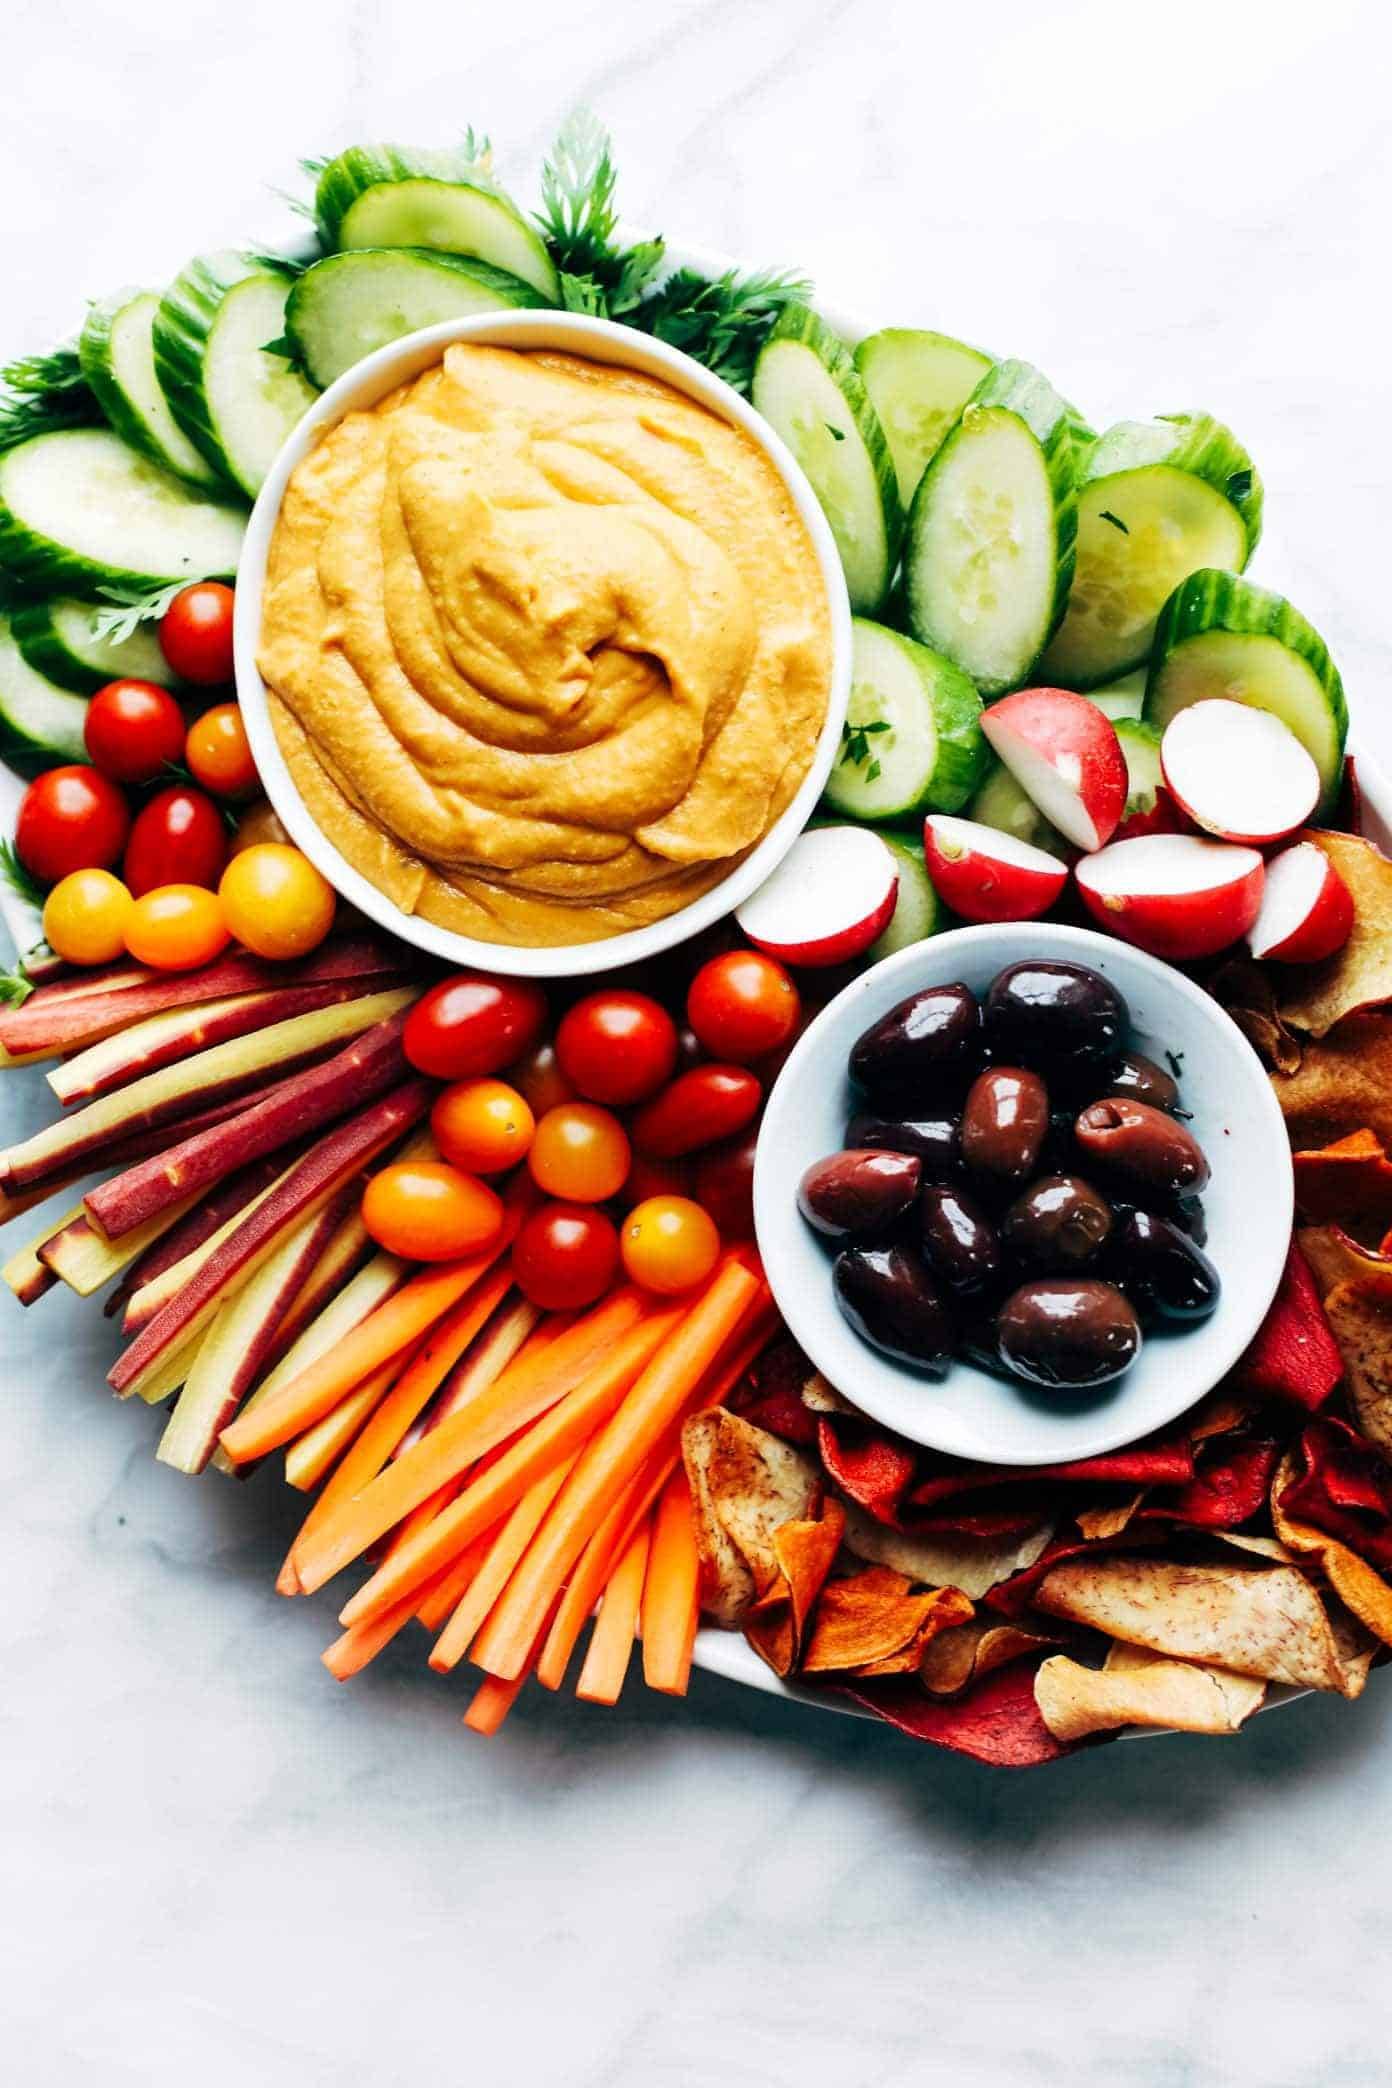
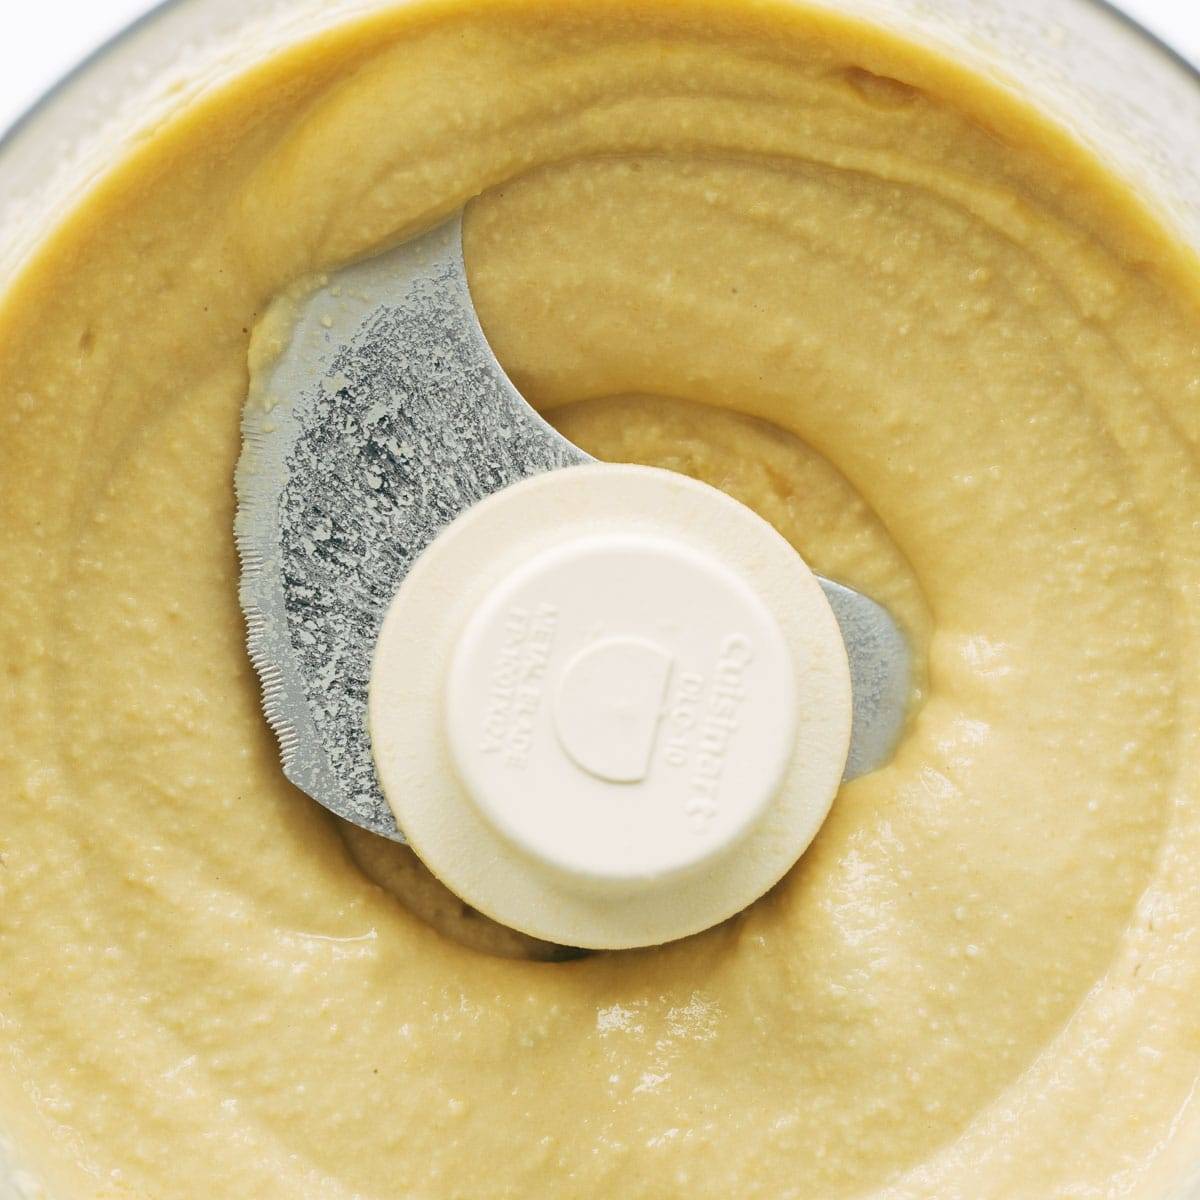 Serve hummus with pita chips, vegetables, or use it as a spread or creamy dressing!