This post contains referral links for products we love. Pinch of Yum earns a small commission on these links at no cost to you, and the links will always be marked with an asterisk. We ♡ honesty!
Do you want to caffeinate your summer mornings (ok fine, and also maybe your afternoons) in the very best way? Of course you do. And we really can’t think of a better suggestion than this creamy, subtly sweet, vanilla mint iced coffee. It’s smooth and lush thanks to the cold brew start and oat milk finish, with SUCH a special blend of flavor from bright, fresh mint, and a gently split whole vanilla bean.
And you are going to be so very excited that you have more of that homemade vanilla mint simple syrup just hanging out in your fridge now so you can be your own little fancy-drink barista any old day of the week.
In This Post: Everything You Need To Make This Iced Coffee
- How to make cold brew
- The low-down on vanilla bean
- Variations on the vanilla mint syrup
- Making vs. buying oat milk
- Products we love for making iced coffee
- What to pair with iced coffee
- Frequently asked questions
First, Let’s Make Some Cold Brew
We like to start this one with a cold brew rather than just a cooled-down strong cup of regular coffee (although that certainly work too in a pinch!). It takes a little more time and has a teeny bit more caffeine (wheeee!) than regular but it is absolutely worth it!
Cold brew also tends to be more smooth and a little less acidic because it is steeped in cold water rather than brewed hot. It can sometimes taste a little sweeter, depending on the beans you’re working with.
For a full rundown of all things cold brew, check out this post!
But real quick, here’s the general how-to:
- Grind your coffee beans to the coarsest setting. This is the grinder* we love.
- Combine your grounds and water in a large mason jar (or cold press maker* if you’re fancy), making sure your grounds are fully saturated.
- Steep on the counter or in the fridge for about 18 hours. That’s the sweet spot!
- Strain. If you’re doing the jar method, put some cheesecloth over a fine-mesh strainer and strain the coffee into a clean jar.
Use what you need for this creamy iced dreamboat and then store the rest of that cold brew in your fridge for up to a week. (But again, you’re a barista now so make sure to slap a “THIS IS FOR MY BUSINESS” label on it in the fridge so no one else drinks it and ruins the rest of your days.)
The Low-Down On Vanilla Bean
Could you use vanilla extract here? For sure. But the true intensity and pureness of flavor that you get from using a whole vanilla bean is honestly unmatched. The absolutely intoxicating scent, the little bean flecks swirling around in your cup, ugh…just so good.
If you’re going to use a whole bean, and again, we really hope you do, you’ll simply cut the pod carefully down the side and then scrape out all those perfect little vanilla seeds with the tip of your knife and add them to the sauce pan along with the pod itself. Easy peasy!
You can find vanilla beans at most grocery stores but you can also scoop some up on Amazon here.*
Syrup Variations To Live Your Best Barista/Bartender Life
You should absolutely try this warm vanilla and fresh bright mint syrup combo in your iced coffee, but now that you’re flavor syrup pro, you have some options!
You could start by:
- Leaving out the vanilla for a plain mint syrup that could be used for other summer drinks, like a mojito, mule or minty lemonade. Get some lime and ginger involved with some of those and now you’re in business. Oh oh! You’ll also have it on hand to make this delicious cozy peppermint mocha come fall/winter! Yesssss.
- Leaving out the mint and going straight and superb vanilla syrup! You could also splash that into other lovelies like maybe this oatmilk honey latte. Or you could start other flavor combos with it like adding in some lavender* for something special?
It keeps well in the fridge, so you can really get your syrup game going and then just keep jazzing up your drinks a couple tablespoons at a time!
Oat Milk: To Make Or Buy?
Oat milks is a definite go-to when it comes to plant-based milks for us. It’s thicker, super creamy, the flavor is really mild and the general oat-iness is just so delicious. ALDI Friendly Farms brand oat milk is pretty top notch in terms of creamy richness, but Oatly, Chobani and Forager are also great!
If you are really looking to win some medals, you could also MAKE YOUR OWN oat milk and for that we bow down to you. Actually, it’s much easier and quicker to make than other nut milks. Here’s a great how-to post if you’re looking to make your own!

Your Iced Coffee Starter Pack
We’ve talked about you having your own personal little coffee shop in your kitchen, so here’s a fun list to get you ready to get your iced brew on this summer:
- a large mason jar with a lid and some cheese cloth for straining (that’s how we make our cold brew!)
- or a cold brew coffee maker* if you want a fancier setup
- some vanilla beans* from Amazon
- a syrup dispenser like this one* so you can really feel official
- maybe some cutie little glass iced coffee tumblers like these* for serving?
Look at you, you at-home barista!
Favorite Products For Iced Coffee
 Buy Now →
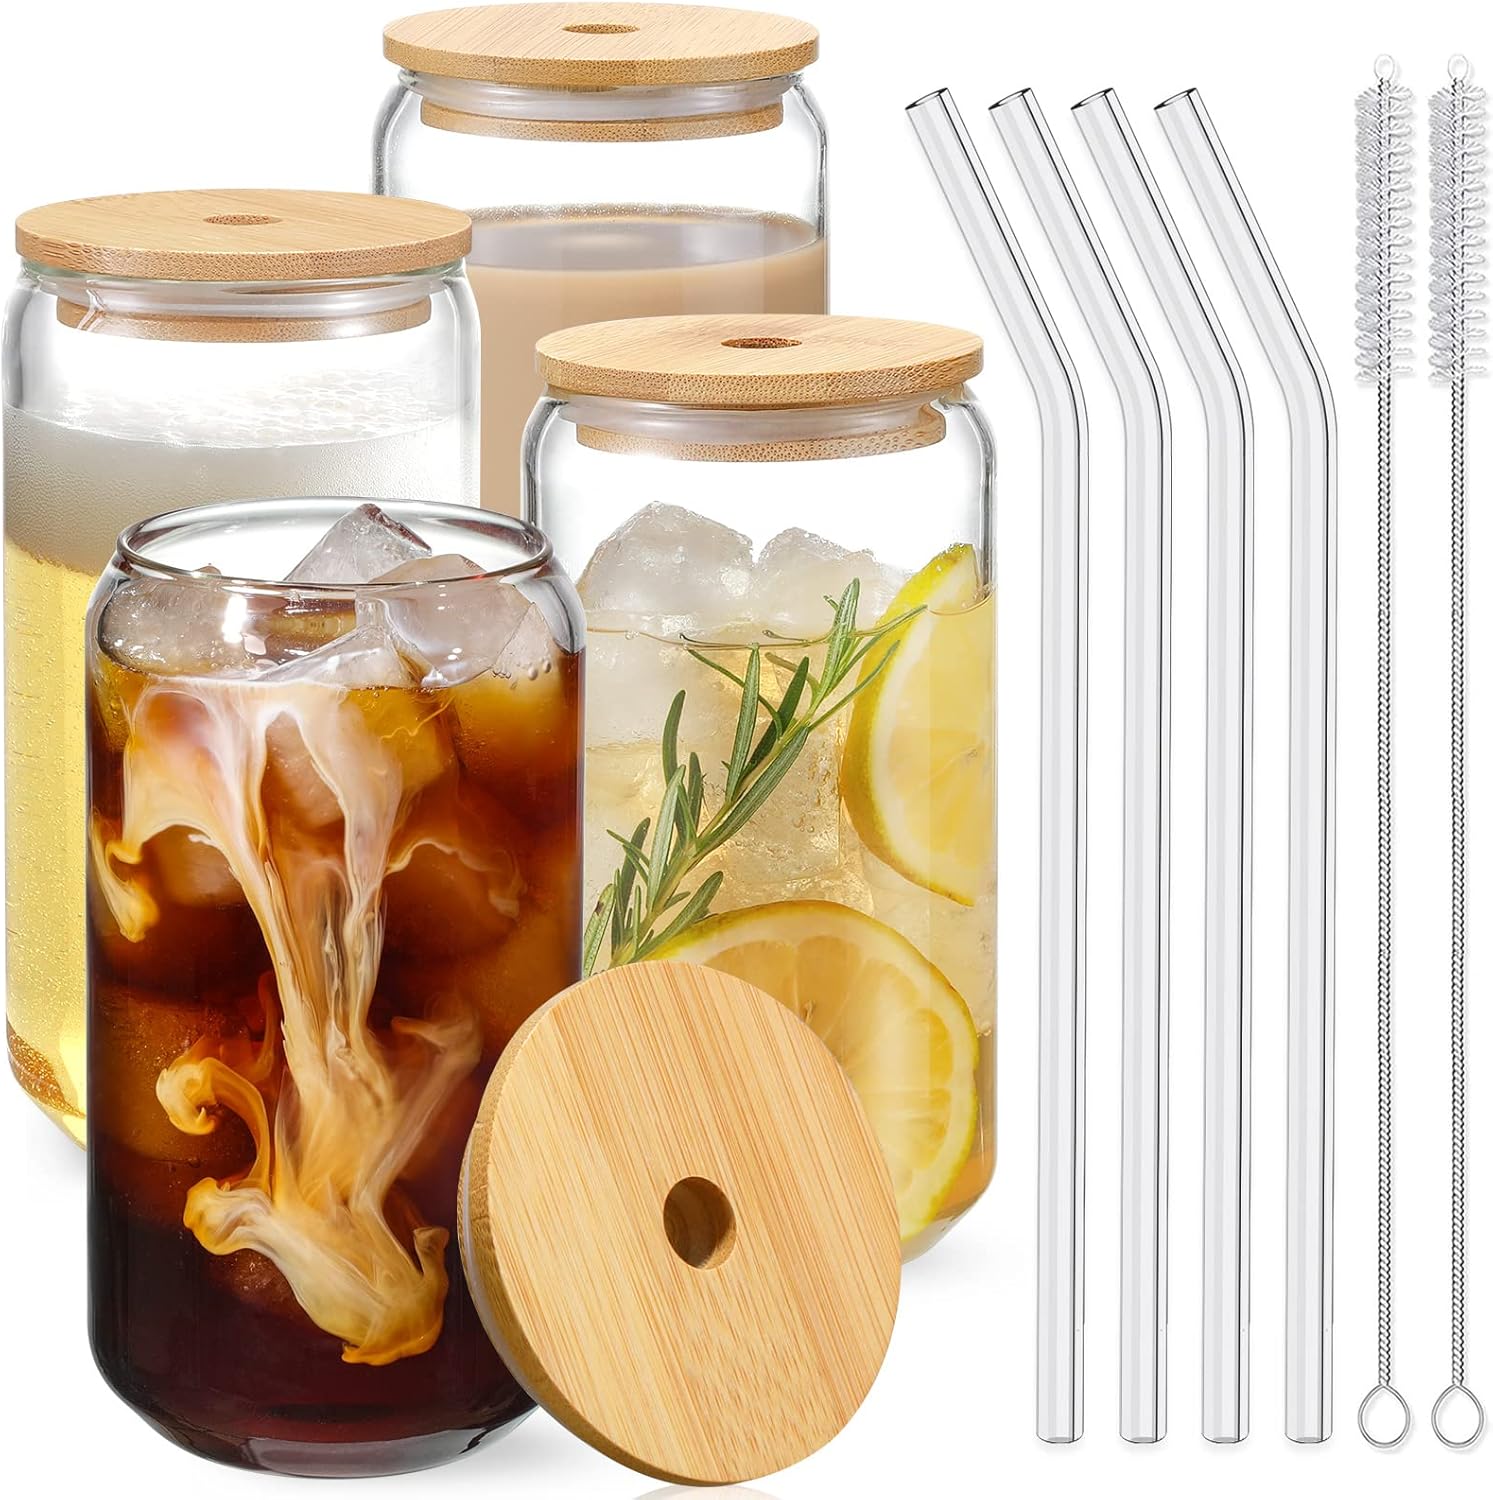 Buy Now →
 Buy Now →
 Buy Now →
 Buy Now →
Perfect Pairings For Iced Coffee
Now that your bevvie is in hand, let’s get you a snacker, shall we? ‘Tis summer after all and you deserve it!
You’re obviously not going to go wrong with a slice of lush lemon poppyseed bread or the truly tears-worthy pistachio loaf.
Do you want some of the most delicious blueberry pancakes or springy blueberry lemon bread with it, or hello, can we get a breakfast crunchwrap in here? Go ultimate breakfast sandwich or go home!
Except that you already are home. Making your own creamy, sweet, perfect iced coffees like a dang barista-champion.
Vanilla Mint Iced Coffee: Frequently Asked Questions
Yep! Just add a tiny bit of vanilla extract to each individual iced coffee, or use a vanilla-flavored milk like vanilla almond milk. I’ve also used just half of the vanilla bean in one batch so you can get twice the amount of usage from your expensive vanilla beans.
Sure! You could make this a hot vanilla mint latte. You can check out our Oatmilk Honey Latte if you want the low-down on making a latte at home!
Method-wise, cold brew coffee is brewed for about 18 hours with cold water, while iced coffee starts with hot coffee that is then poured over ice to be cooled. Cold brew is often more concetrated since it’s not cooled with ice, which adds water.
Flavor-wise, cold brew is often smoother and stronger than iced coffee.

Vanilla Mint Iced Coffee
 Total Time: 20 minutes
 Yield: enough simple syrup for about 8 iced coffees
Description
Creamy, subtly sweet, Vanilla Mint Iced Coffee on repeat! Smooth and lush thanks to the cold brew and oat milk, with a special blend of flavor from bright, fresh mint, and a gently split whole vanilla bean.
Ingredients
Mint Syrup:
- 1 1/2 cups water
- 1 1/2 cups sugar
- fresh mint (about 1/4 to 1/2 cup mint leaves, or one .75 ounce package)
- vanilla bean (optional – see notes)
My Ideal Vanilla Mint Iced Coffee:
- 1/2 cup strong cold brew
- 1 cup oatmilk, or milk of choice
- 2–3 tablespoons mint syrup
- a couple of ice cubes
Instructions
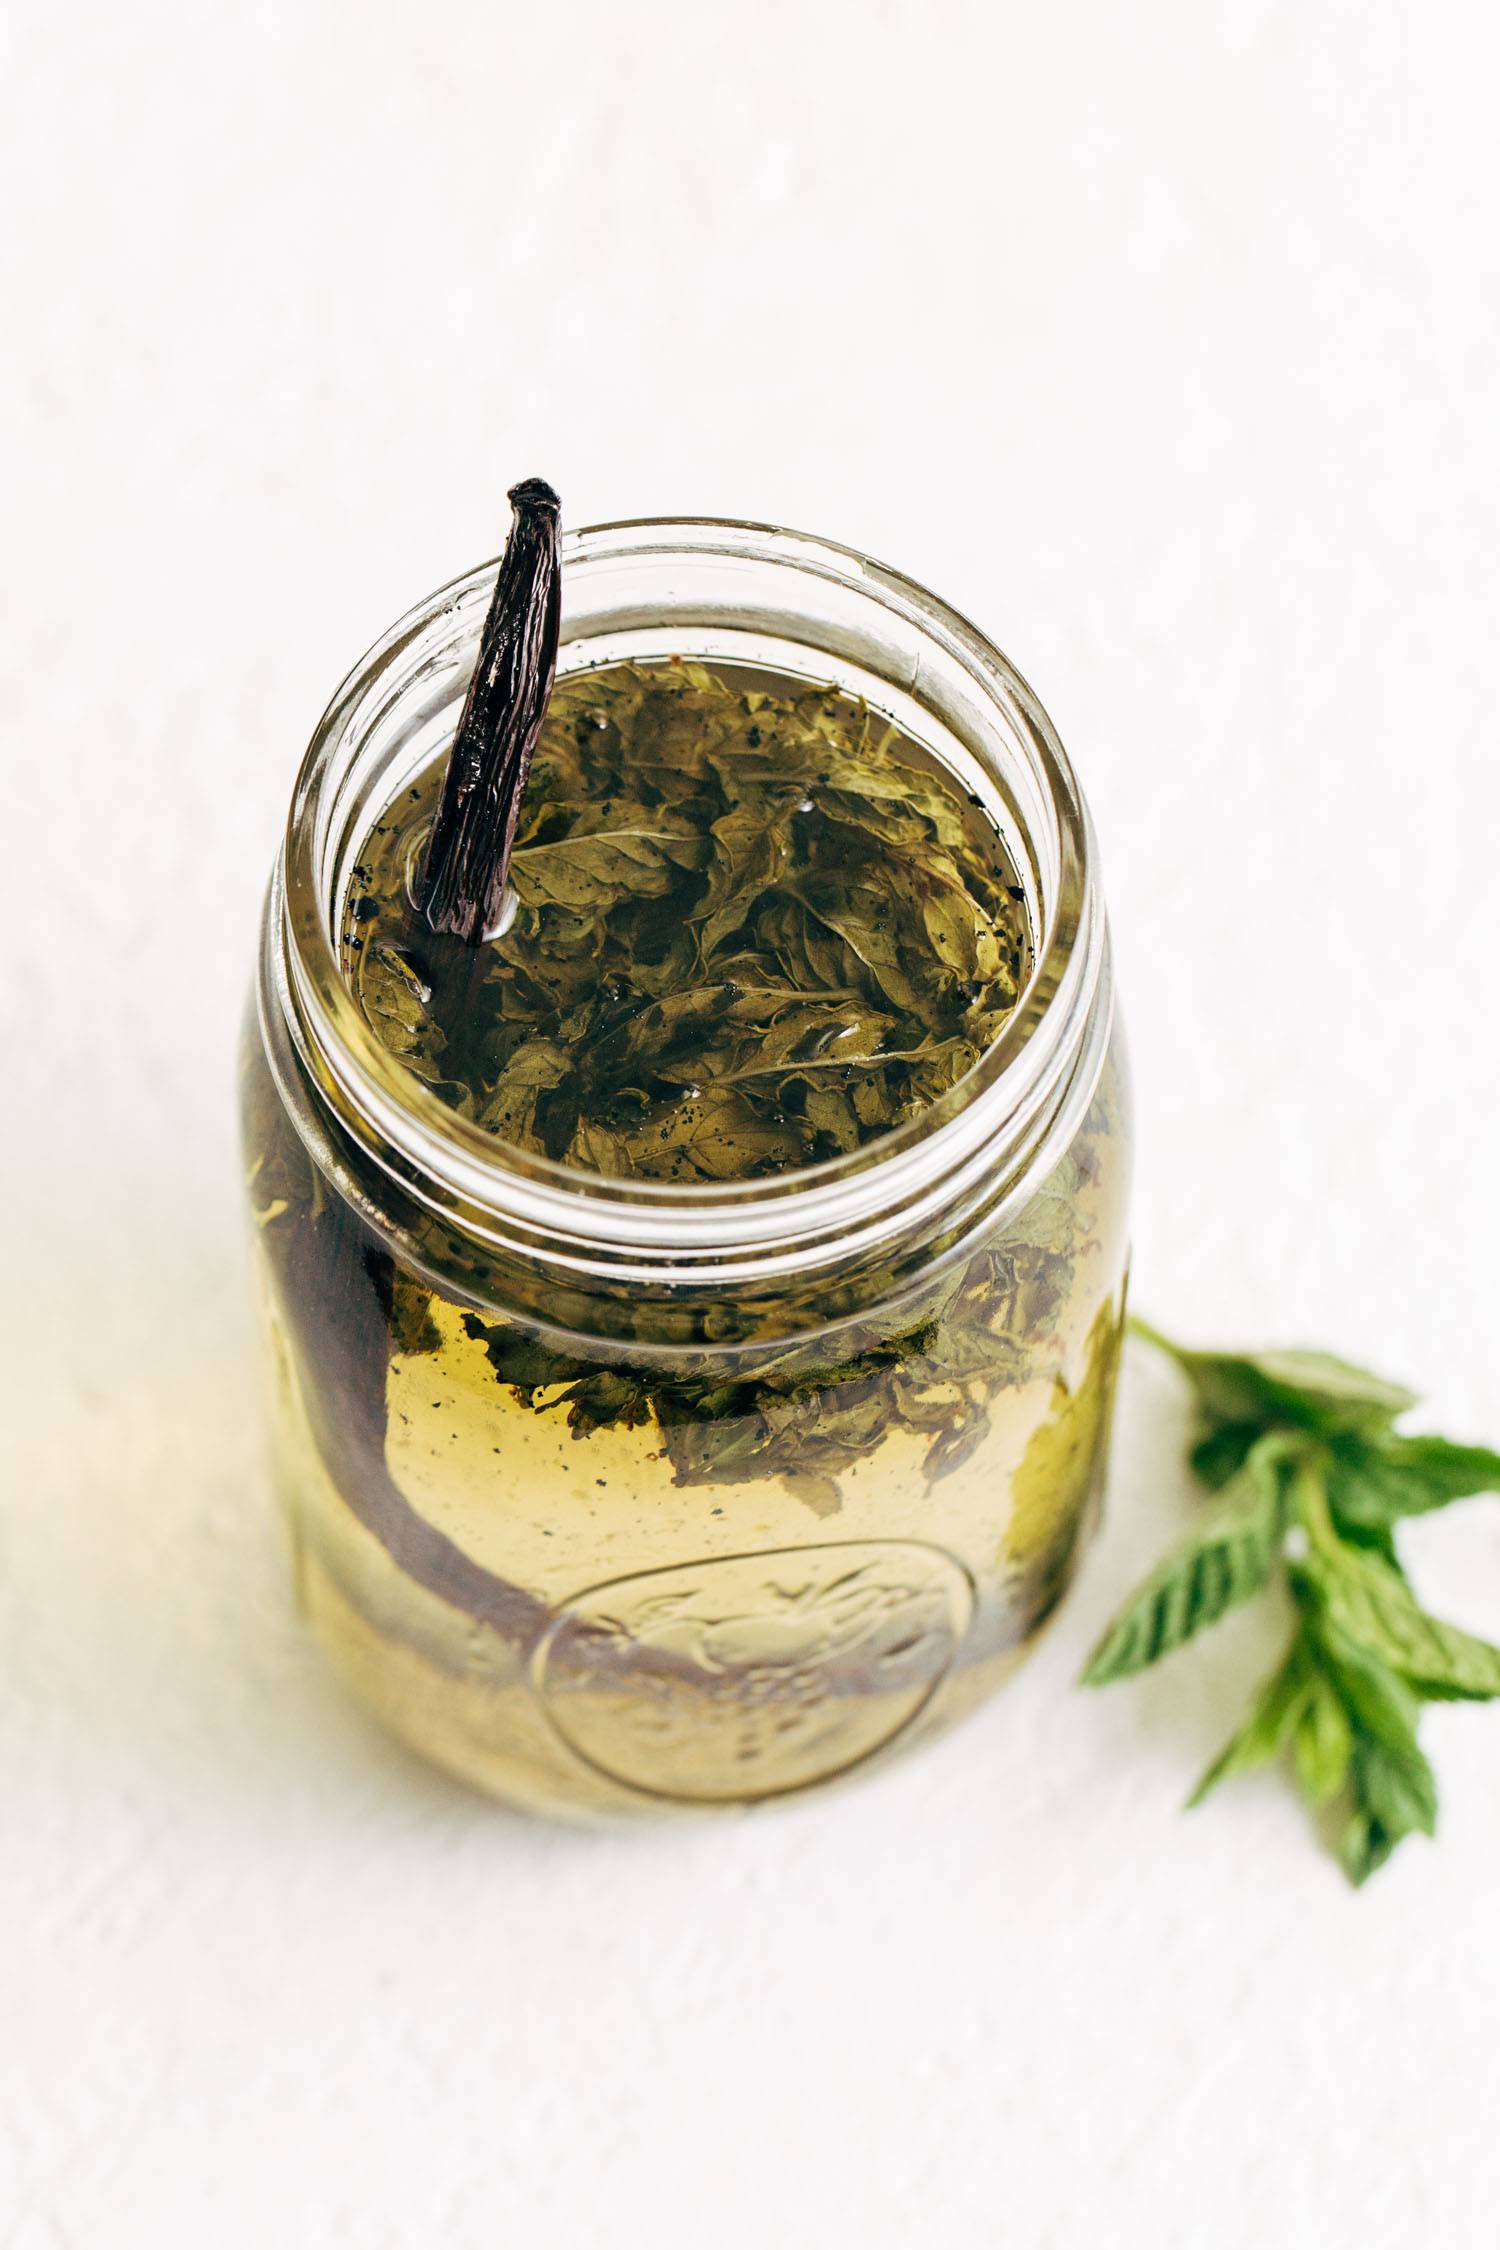
- Simple Syrup: Add the water, sugar, and mint to a small saucepan and bring to a low simmer for about 15-20 minutes, until the sugar has dissolved and the syrup tastes like mint. If using the vanilla bean, split it down the middle and scrape out the seeds; add both the seeds and pod to the saucepan for simmering. Store the simple syrup in the fridge – you can even leave the mint leaves and/or vanilla bean in the jar to concentrate the flavor further. (I usually pull out the mint after a day or two.)
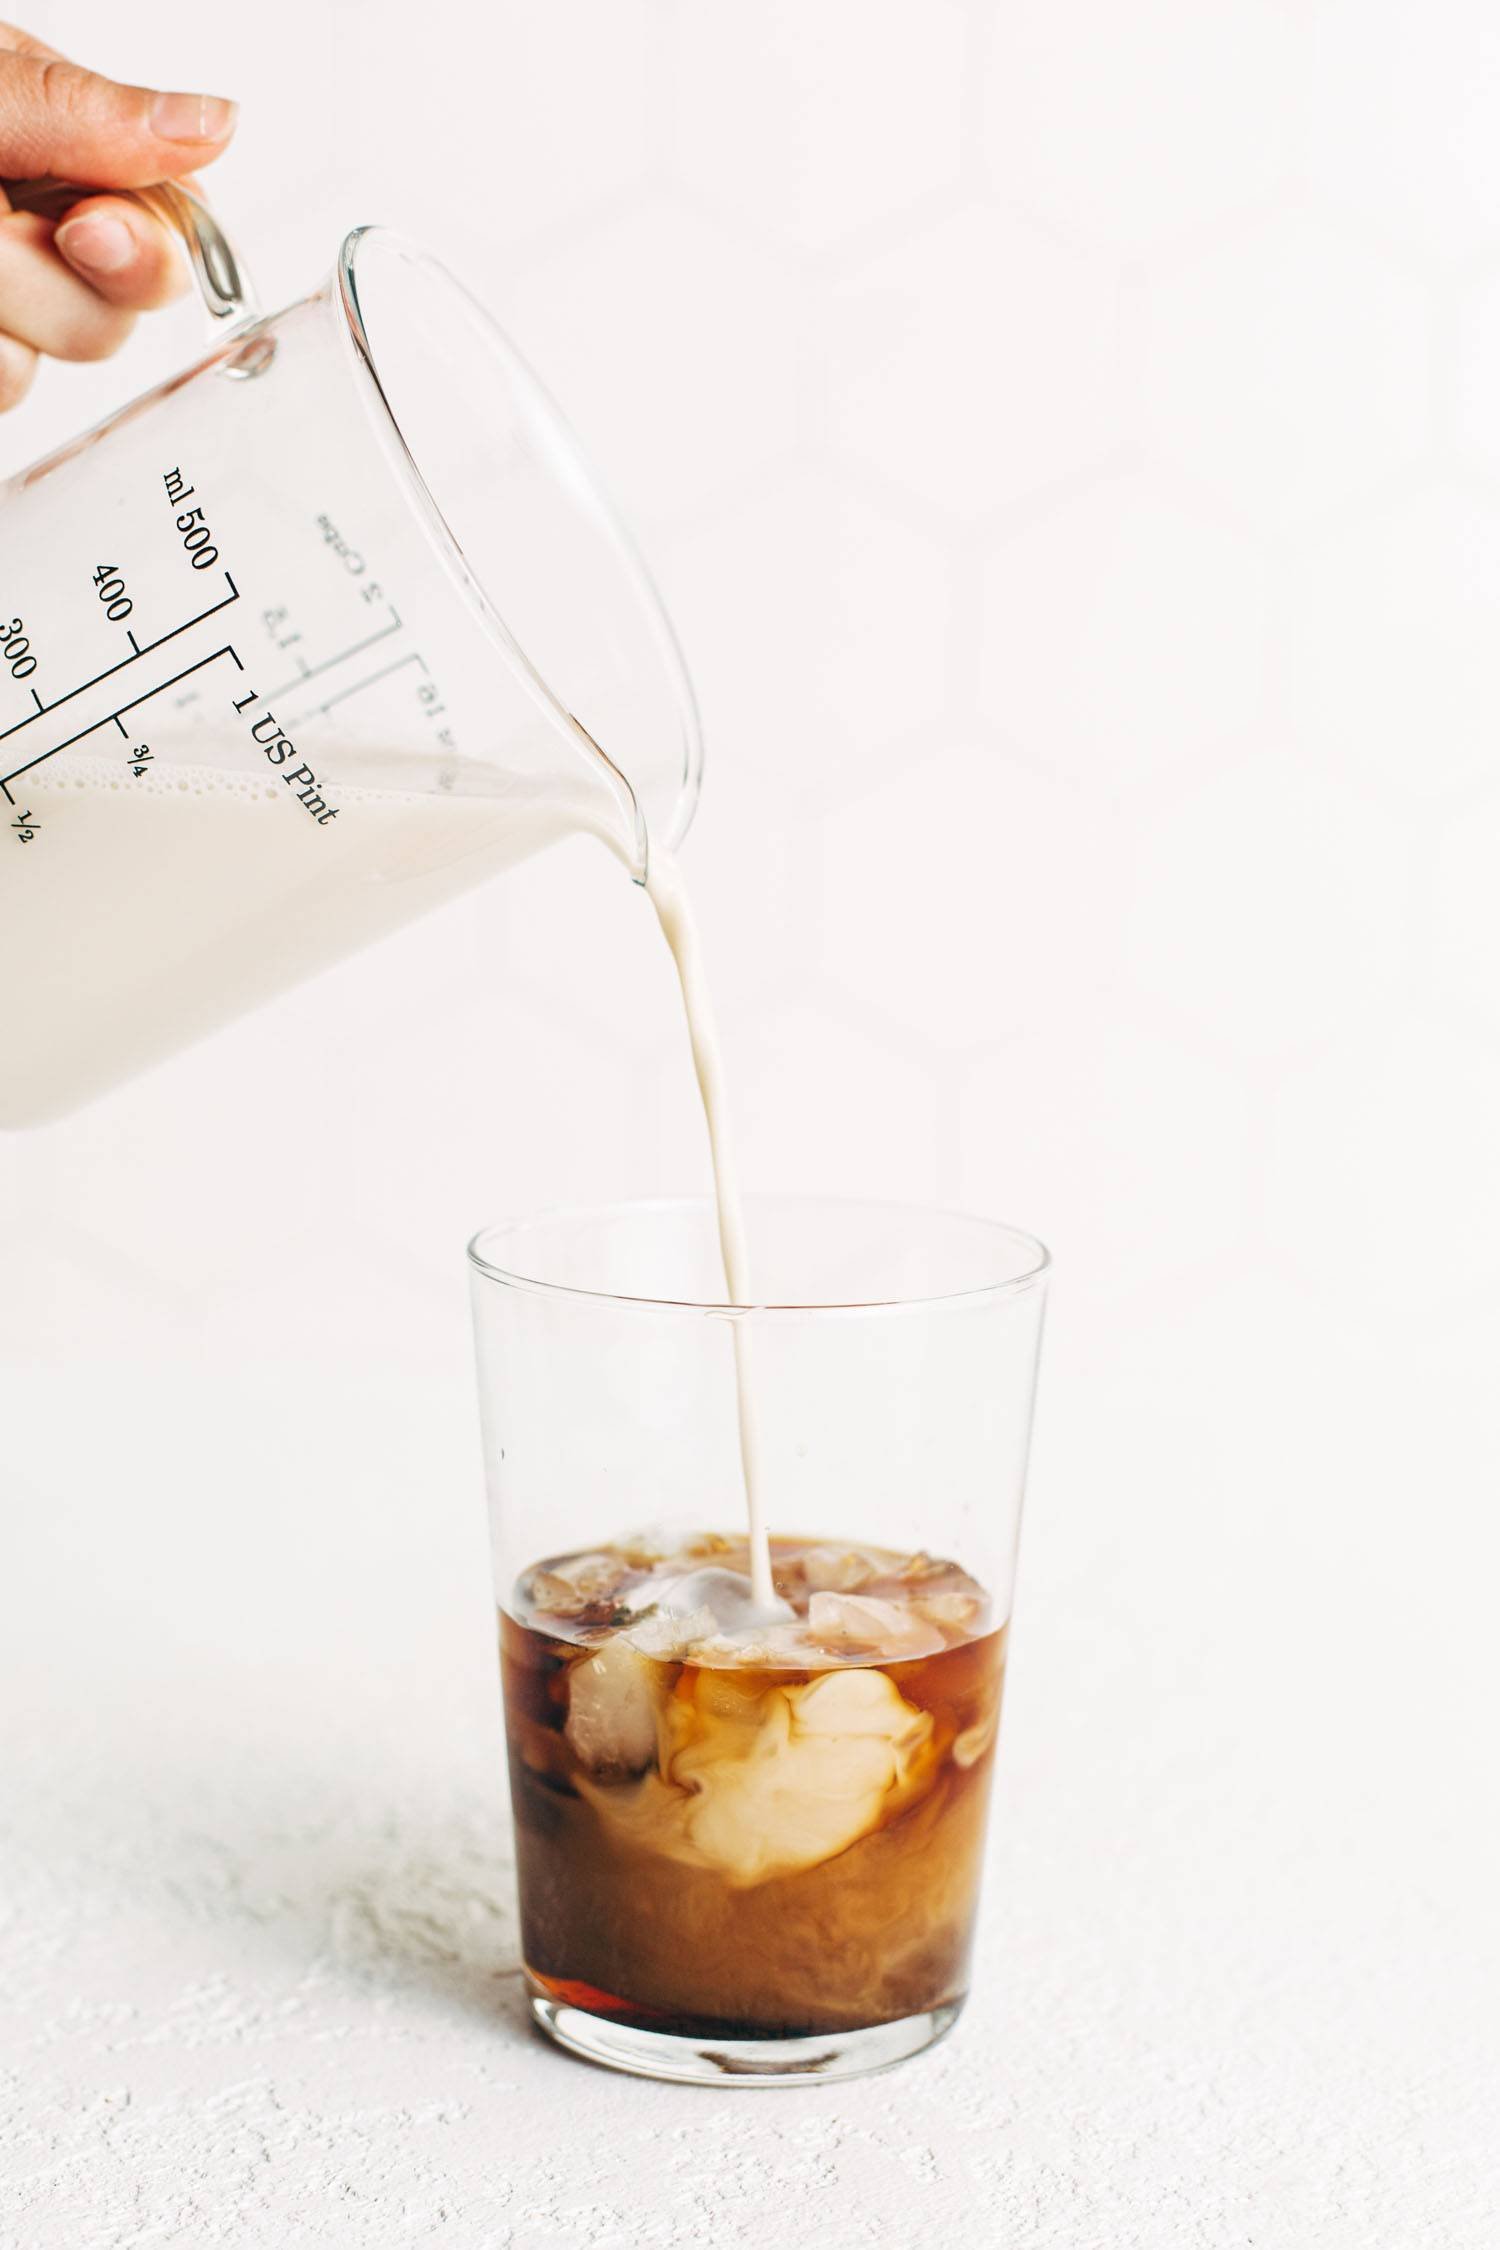
- Iced Coffee: To make the iced coffees, just pour the cold brew, milk of choice, and as much simple syrup as you want into a glass with ice cubes.
Equipment
Buy Now →
Buy Now →
Buy Now →Notes
As an alternative to using a vanilla bean in the simple syrup, just add a tiny bit of vanilla extract to each individual iced coffee, or use a vanilla flavored milk like vanilla almond milk. I’ve also used just half of the vanilla bean in one batch so you can get twice the amount of usage from your expensive vanilla beans. 🙂
This syrup also makes for a delicious hot coffee – I like to brew strong coffee, load up with half and half or heavy cream to make it nice and rich, and then add a couple tablespoons of syrup. It’s a bit more coffee-forward and it’s more of a slow sipper and less of a straw drinker, like the iced coffee, but perfect for colder or rainy mornings.
- Prep Time: 5 minutes
- Cook Time: 15 minutes
 Category: Drinks
 Method: Stovetop
 Cuisine: American
Keywords: ice coffee, mint iced coffee, vanilla mint iced coffee, cold brew
Other A+ Coffee Drink Recipes
- Oatmilk Honey Latte
- Unbelievably Good Cashew Coffee
- Homemade Peppermint Mocha
- Milk and Honey Iced Coffee
The post Vanilla Mint Iced Coffee appeared first on Pinch of Yum.
from Pinch of Yum https://ift.tt/JHZWnvB