Monday, February 26, 2024

Ridiculously Good Air Fryer Tofu

Seasoned tofu in the basket of an air fryer.

This Air Fryer Tofu Is Bonkers Amazing.

This crispy, craggly 15-minute tofu is honestly blowing my mind.

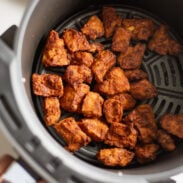
There’s only so much you can do with tofu to get it to knock your socks off, but OH MY! the texture! Like, I can’t even believe you can get this kind of delightful crisp and ruggedy crunch with such low effort and energy.

Why I love this:

  • You get a crispity, crackly golden exterior that looks and tastes like it’s breaded and fried
  • There’s lots of savory saltiness without any one distinct flavor, making it extremely versatile for use in tons of recipes
  • It is an absolutely elite canvas for sauces – they cling to every nook, cranny, and crevice of that golden exterior

AND! If you buy the vacuum-packed tofu, there is no pressing. I repeat: NO PRESSING!

You’re just ripping apart a block of tofu, tossing it in a quick little batter of sorts, and air frying for less than 15 minutes. Holy. Smokes.

This air fryer tofu is already affectionately known in my life as AFT, like the vegetarian cousin to the air fryer chicken (AFC): both extremely easy, versatile, and an absolute go-to that I make multiple times each week.

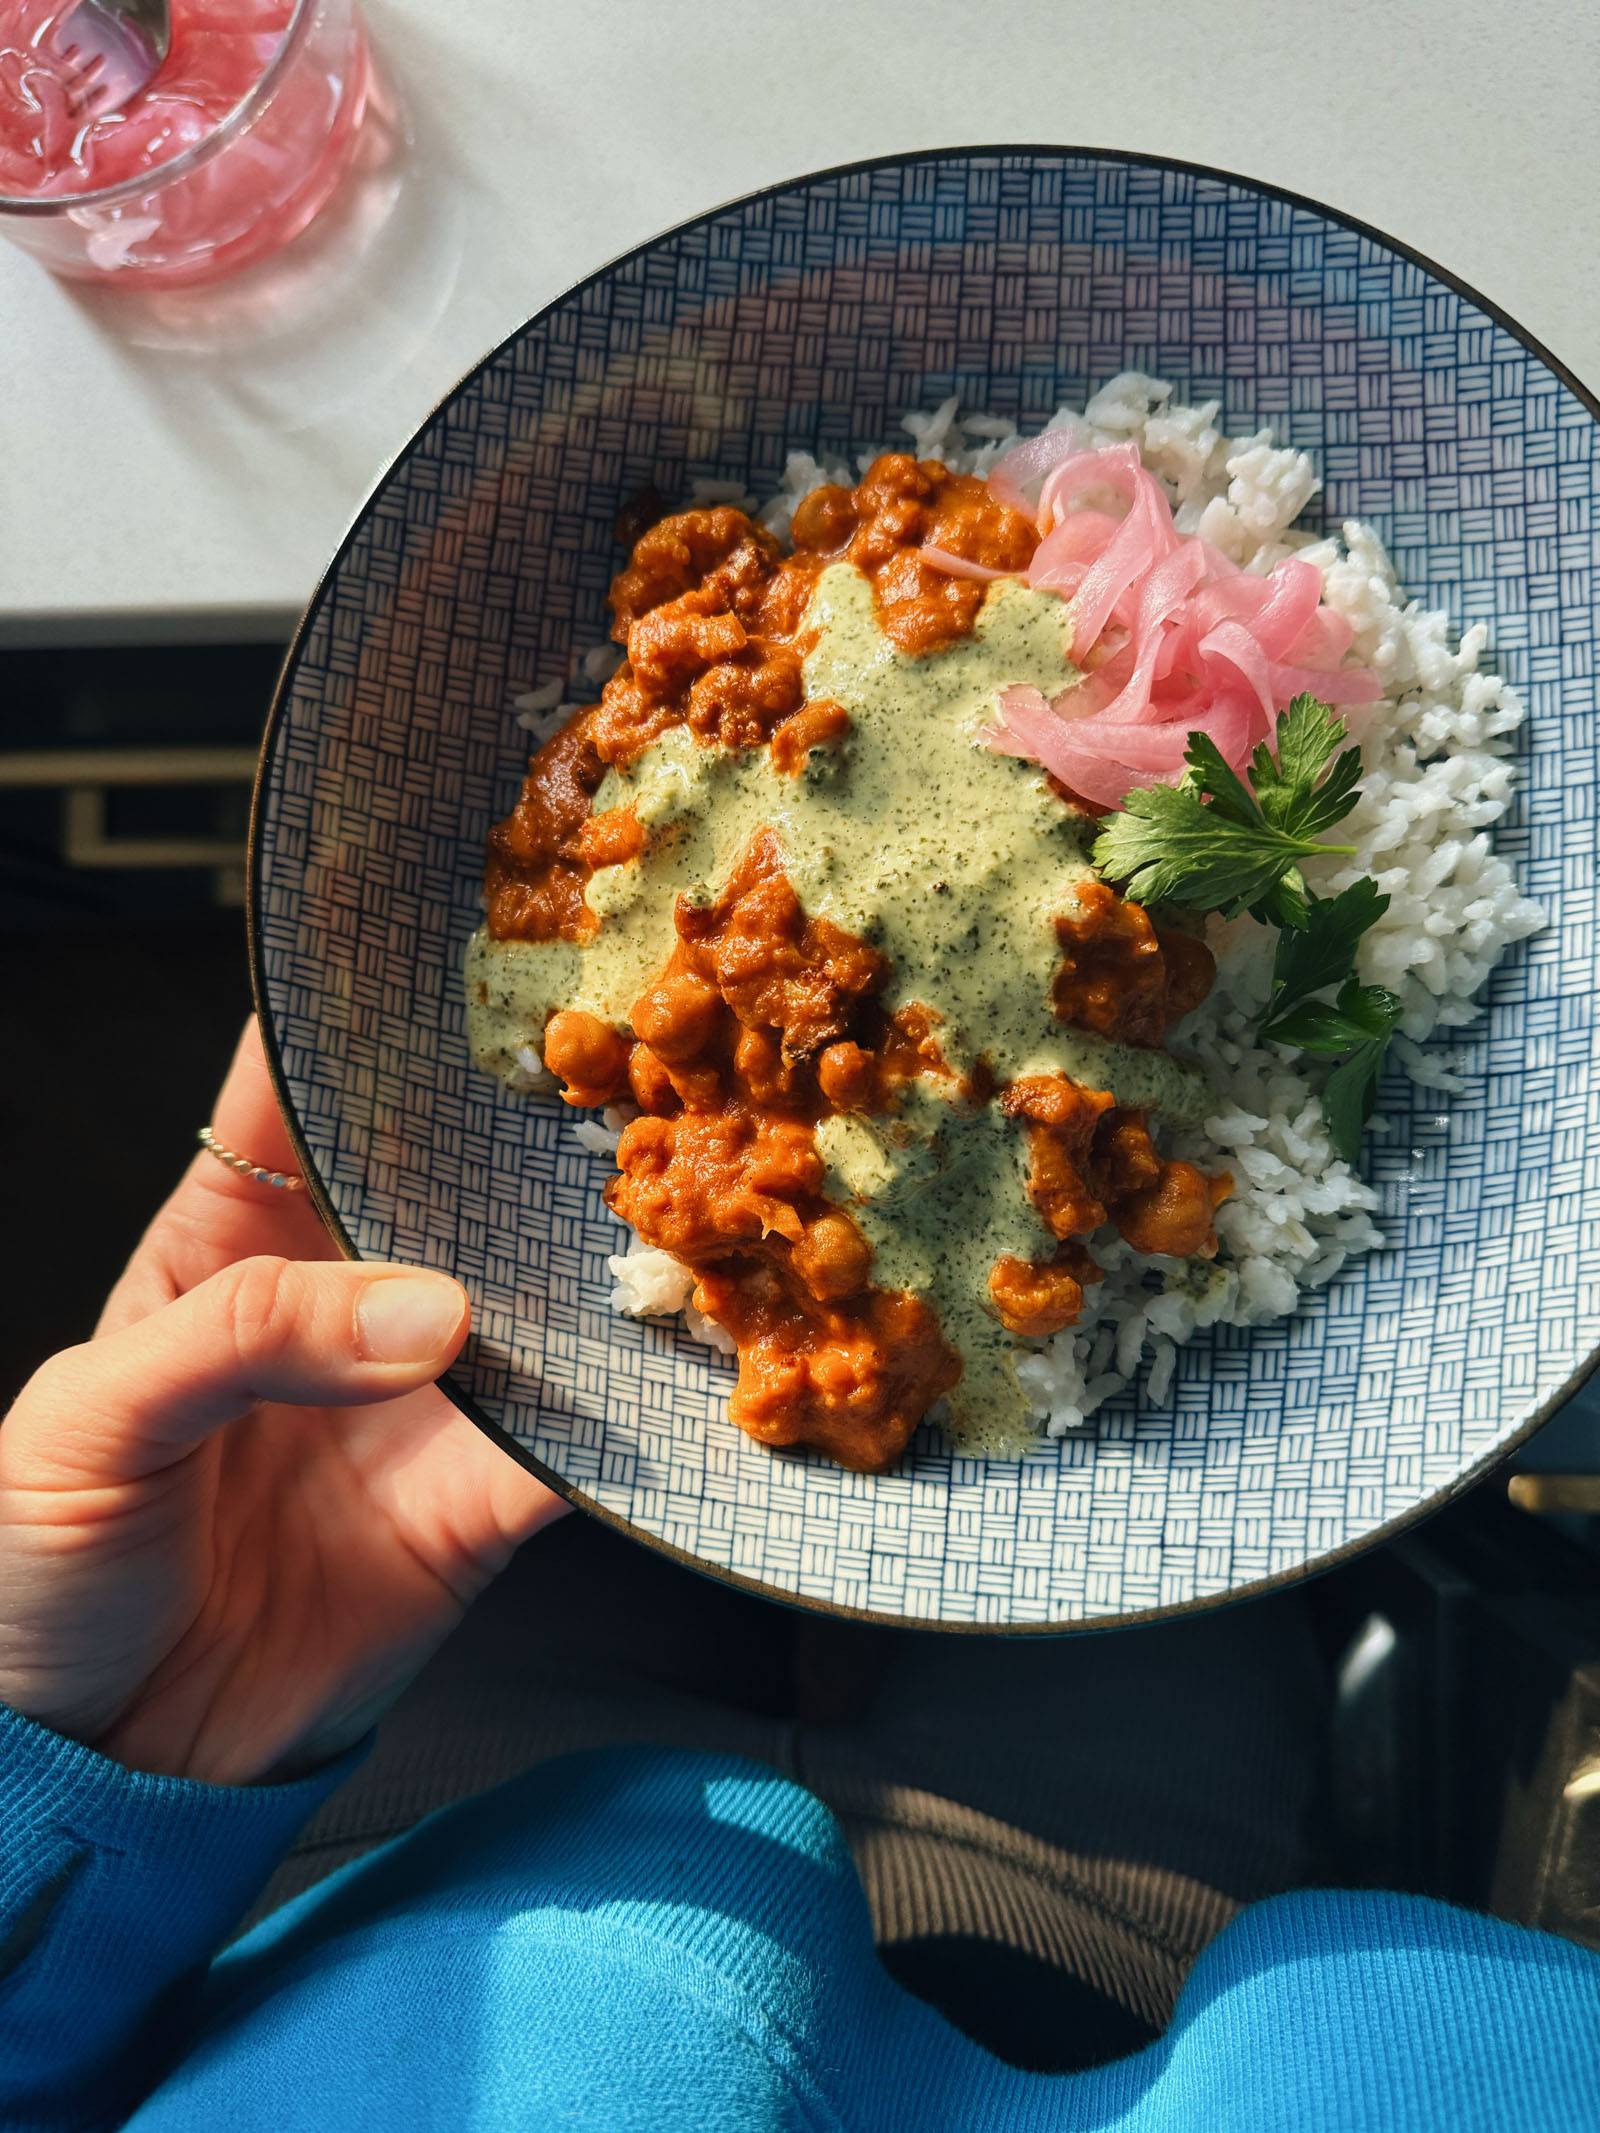
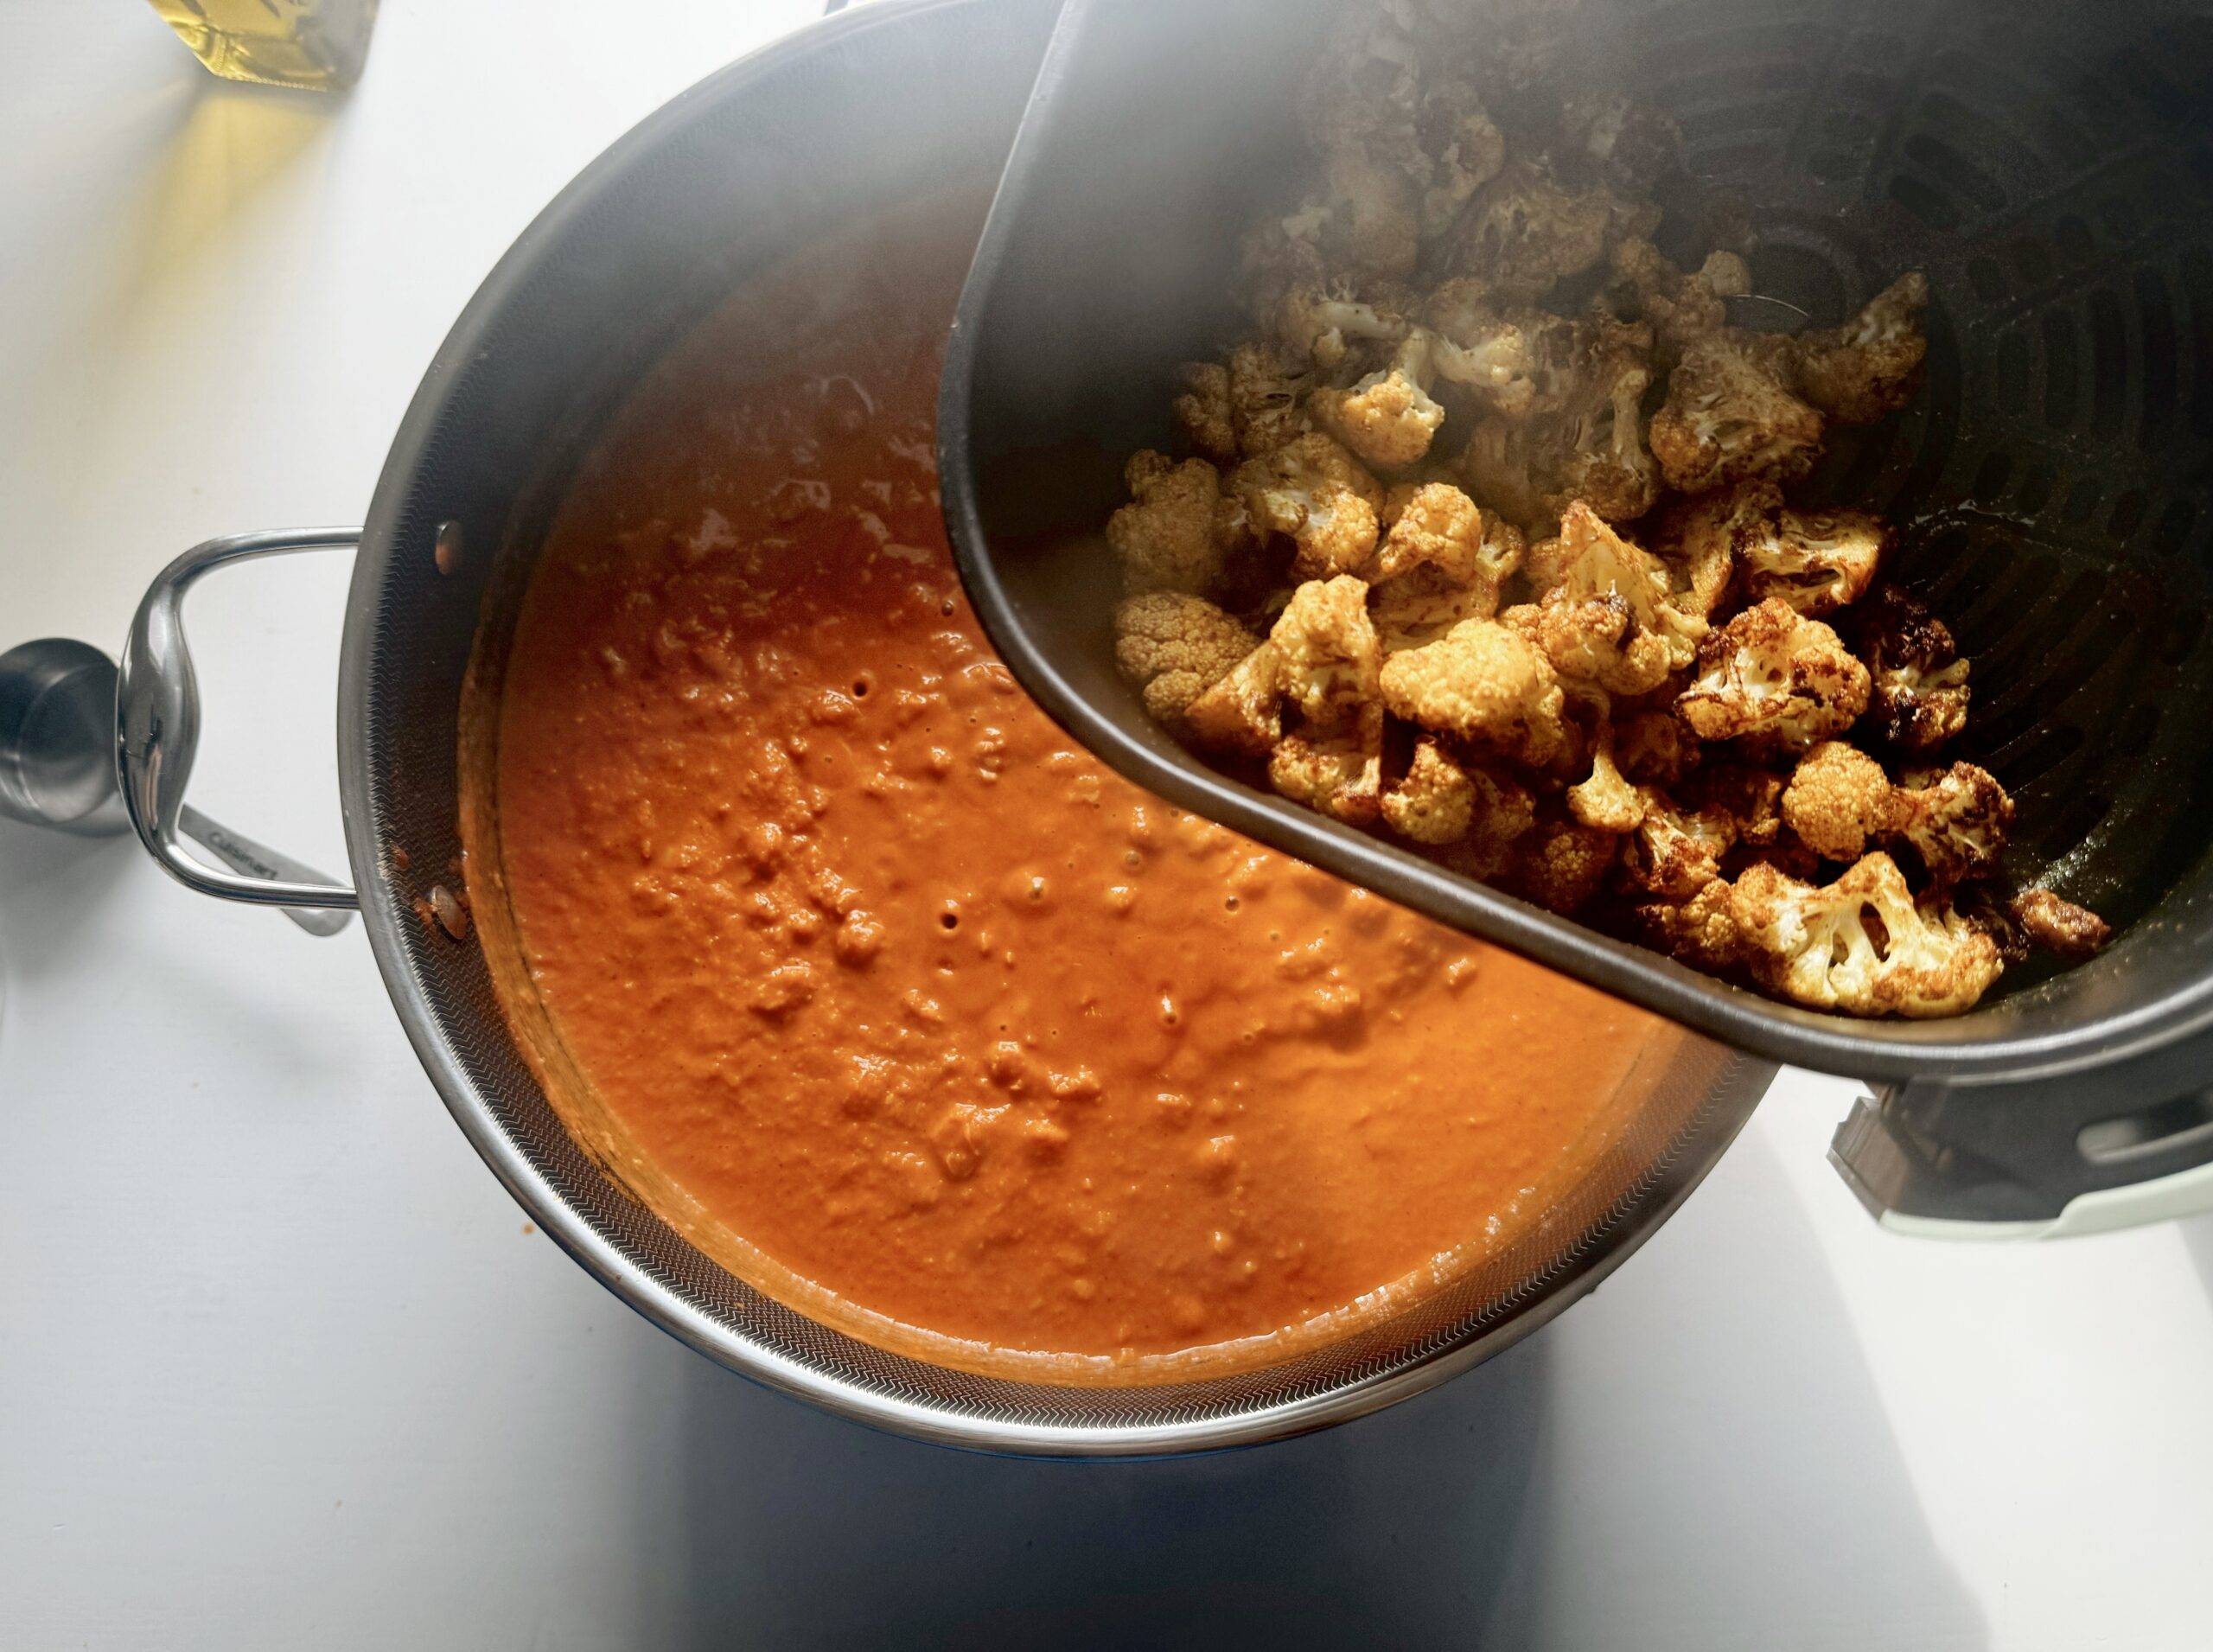
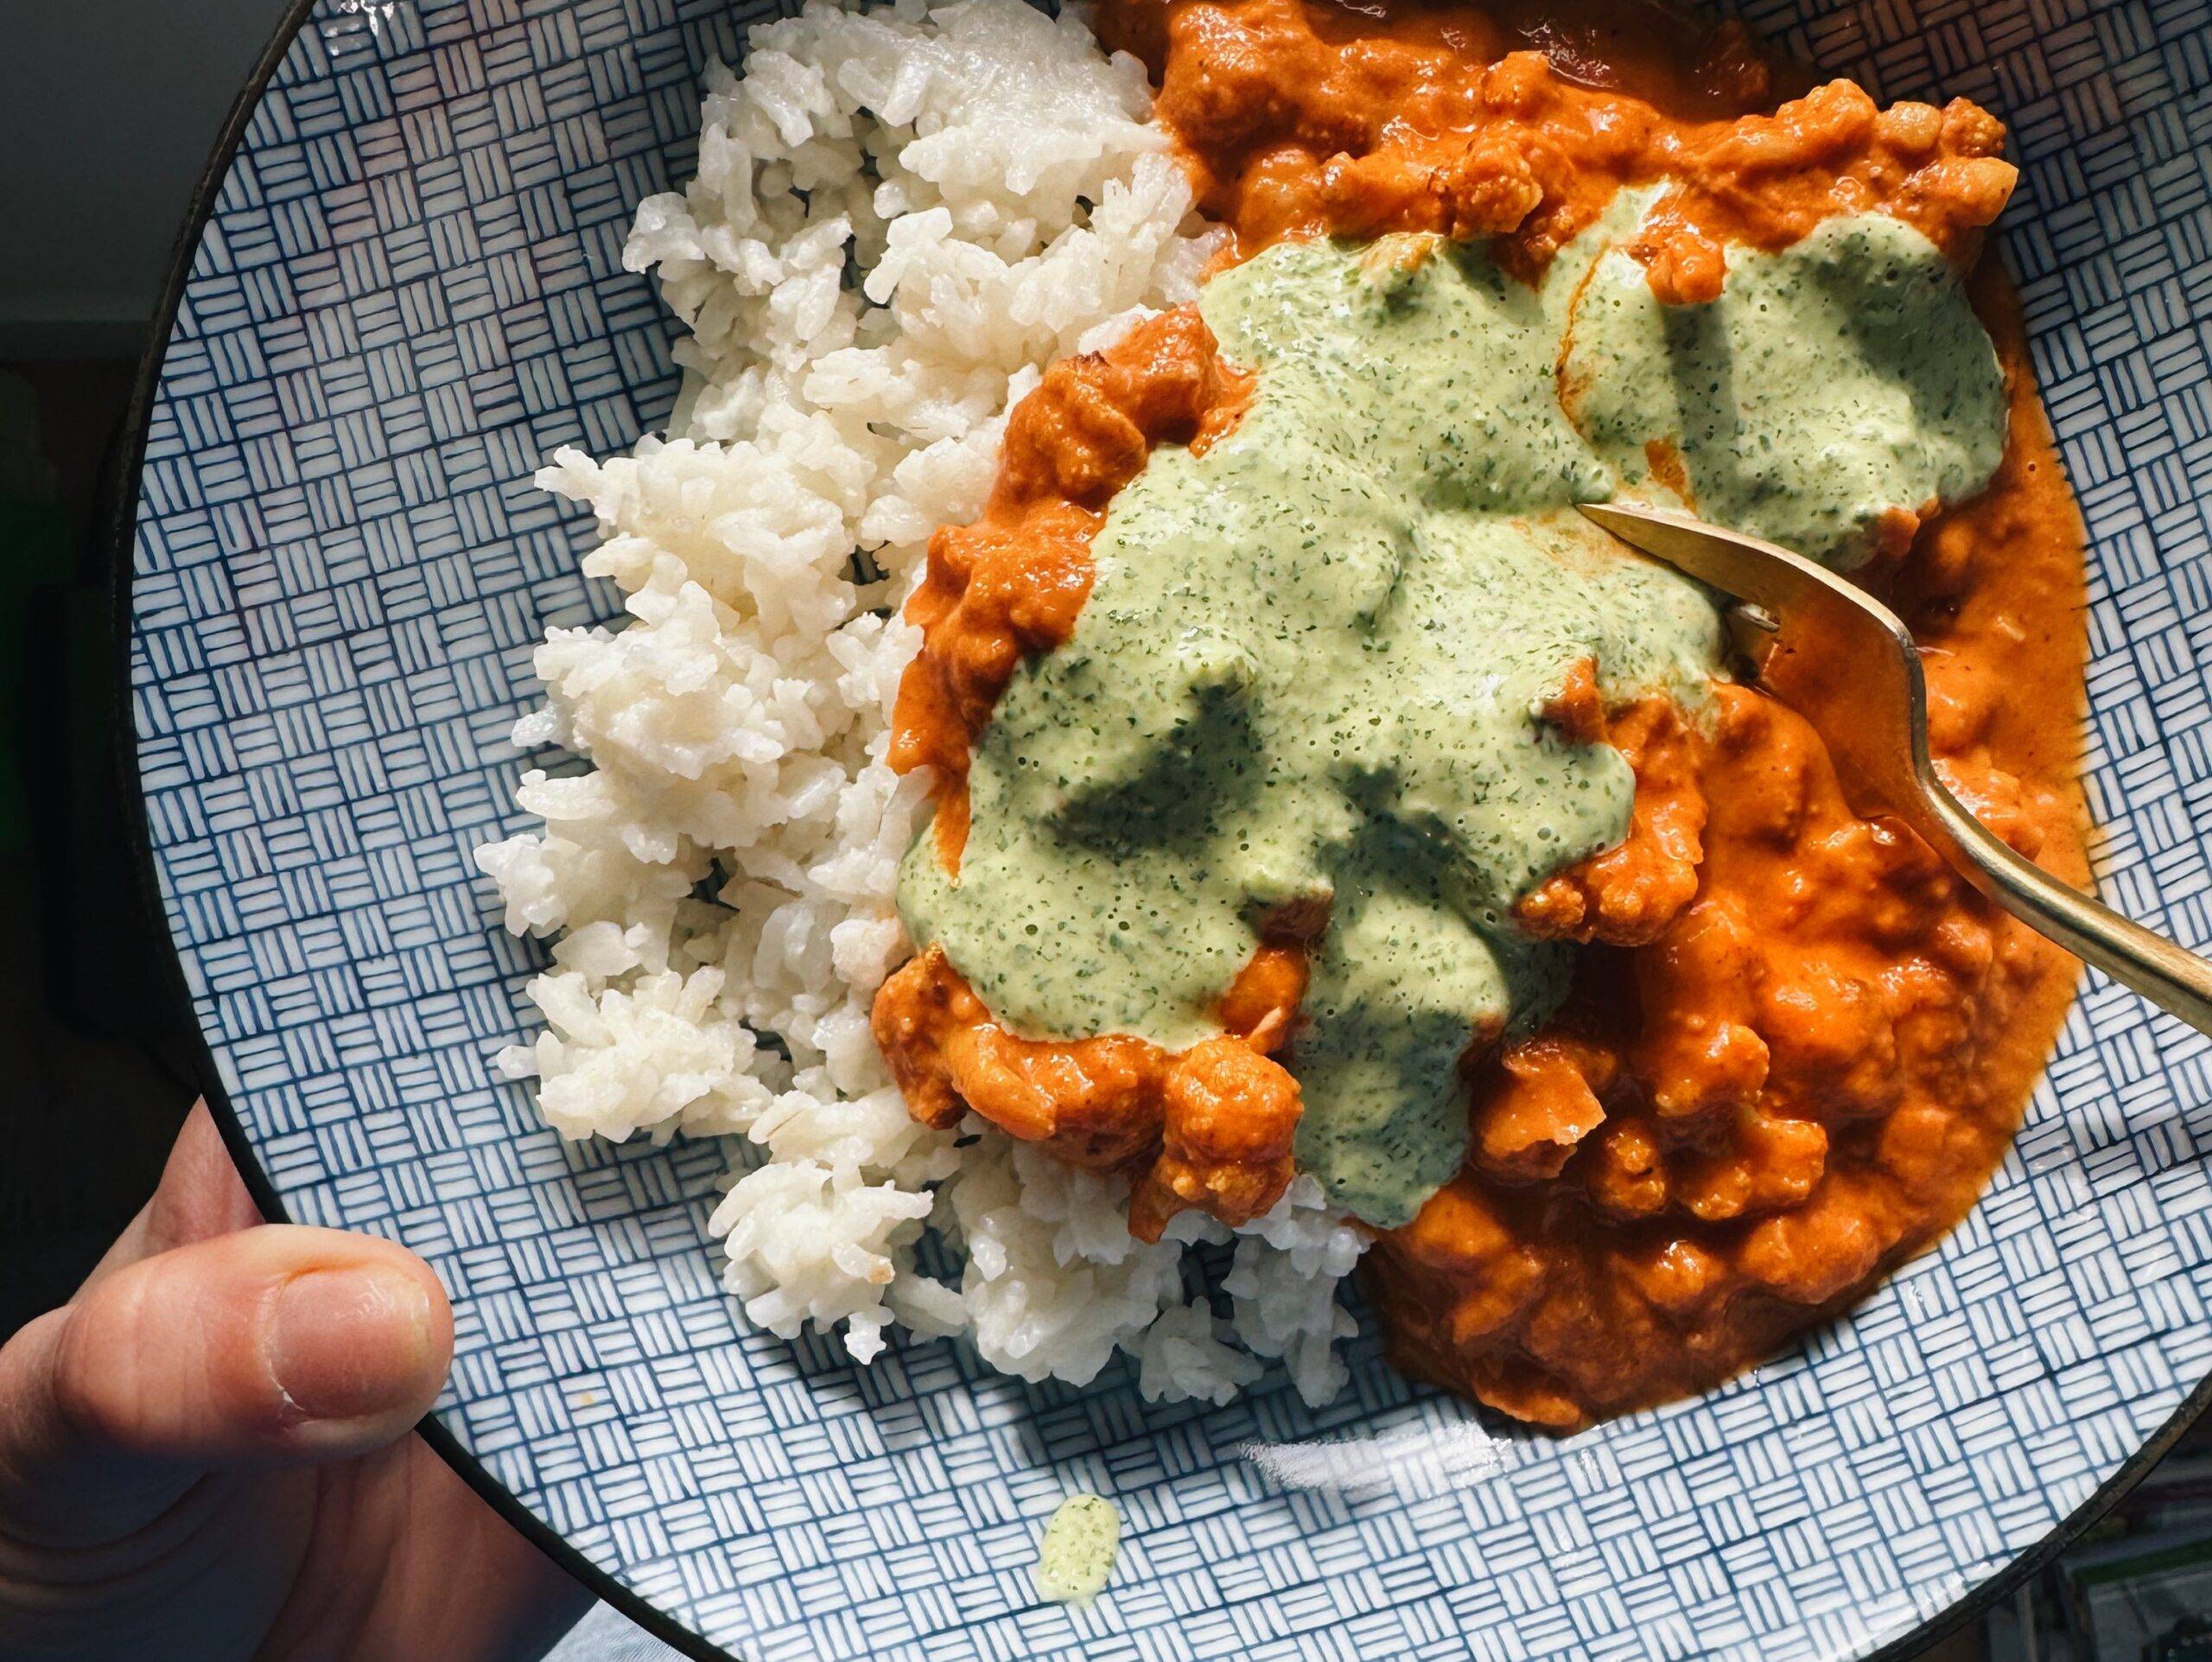
  • Toss it in a curry – yes.
  • Sauce it up and add it to a rice bowl – yes.
  • Throw into a noodle stir-fry – absolutely.
  • Dip it in your favorite sauce like a chicken nugget – big yes. My girls love this.

My favorite sauce for this at the moment is the gochujang sauce from the air fryer chicken post – yep, still on that train. I’ll include it again in the notes of the recipe. I just toss the crispified tofu with a bit of the sauce and it melts right in and it is divine. Have fun!

Welcome To My House! Let’s Make This Air Fryer Tofu.

1

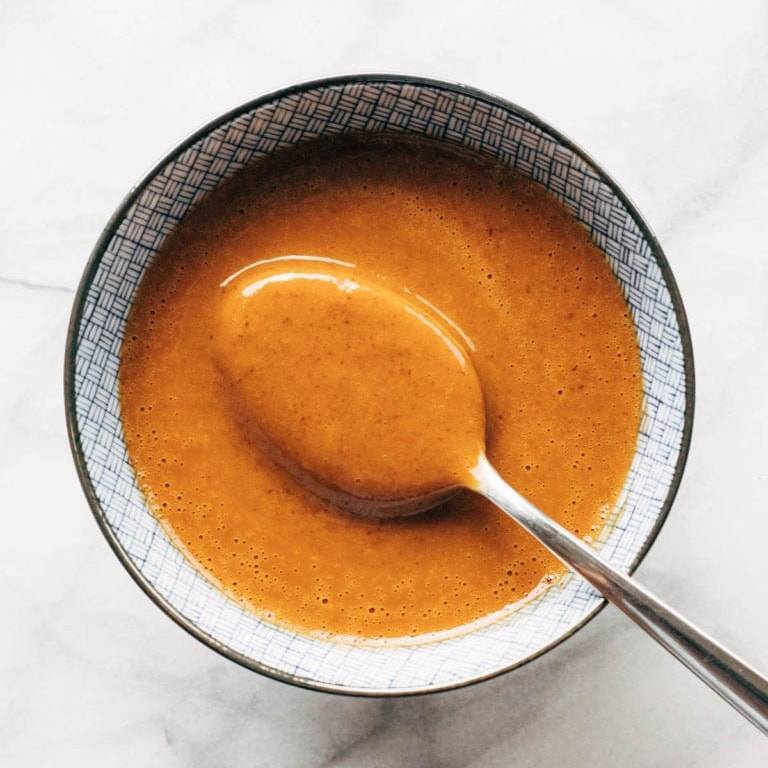
Whisk up your sauce.

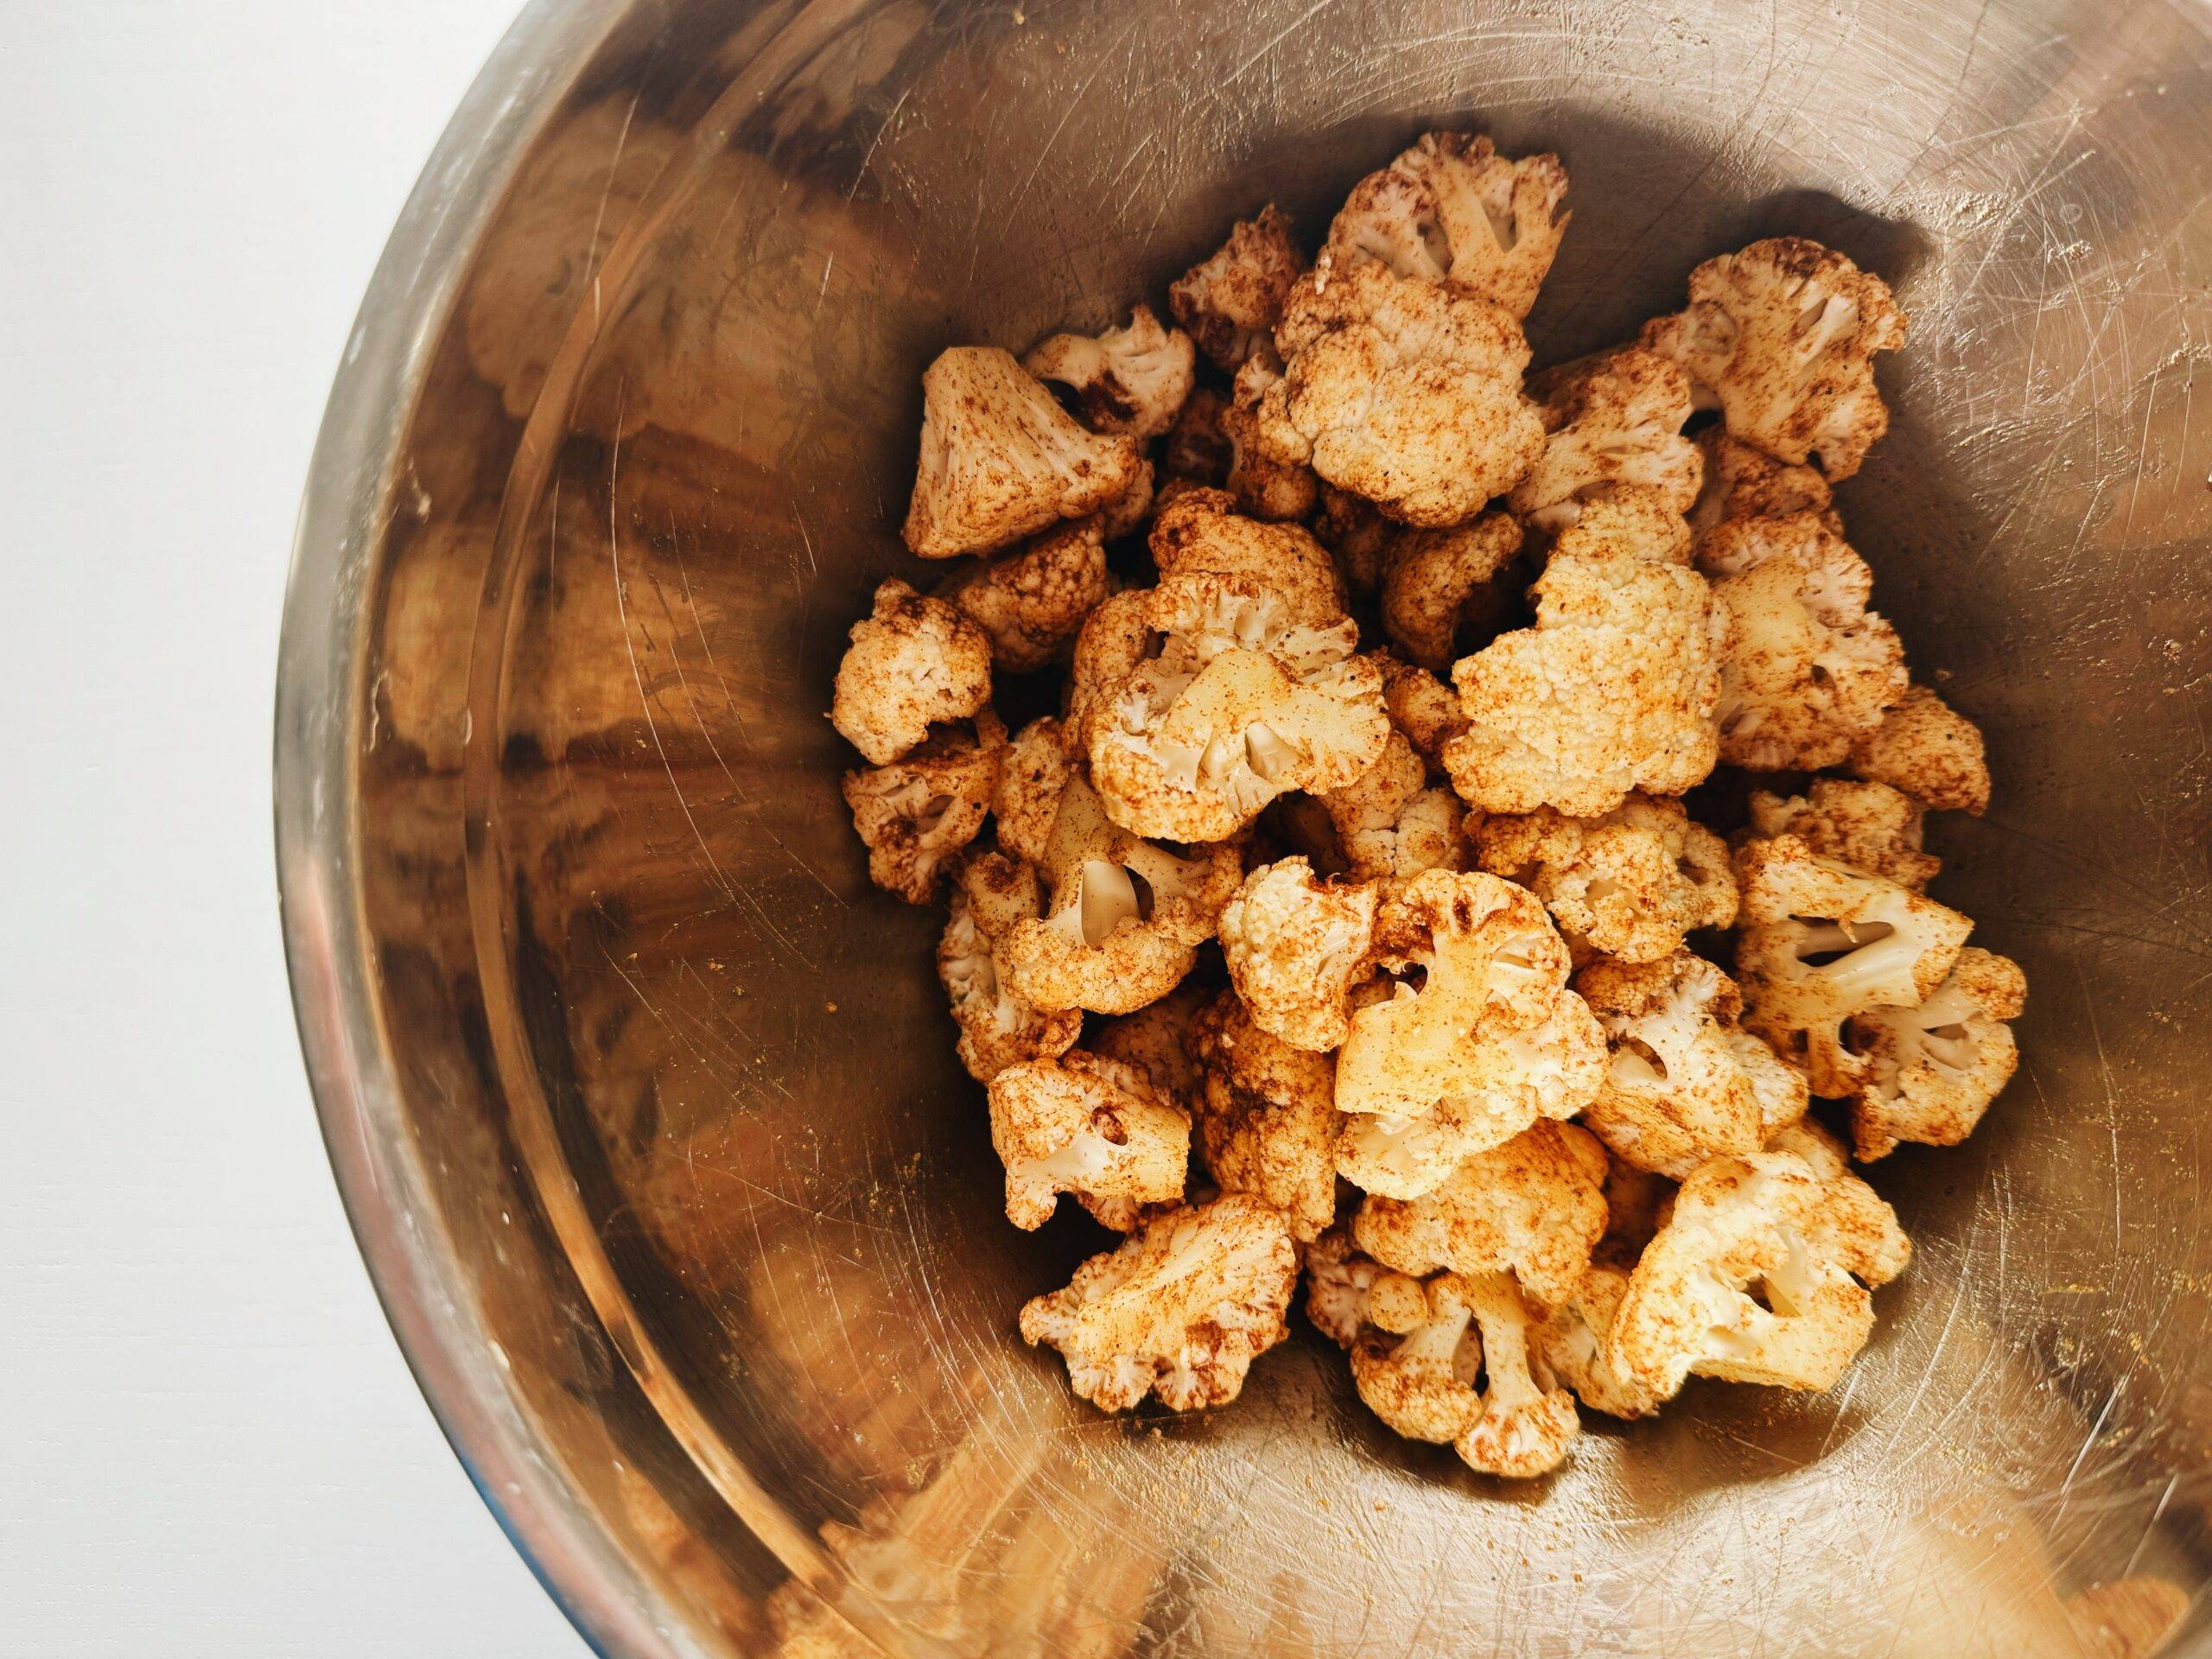
Cornstarch, nutritional yeast, soy sauce, and oil. Add a pinch of spice mix. Voila! It’s your batter.

Whisking up spices in a bowl.

2

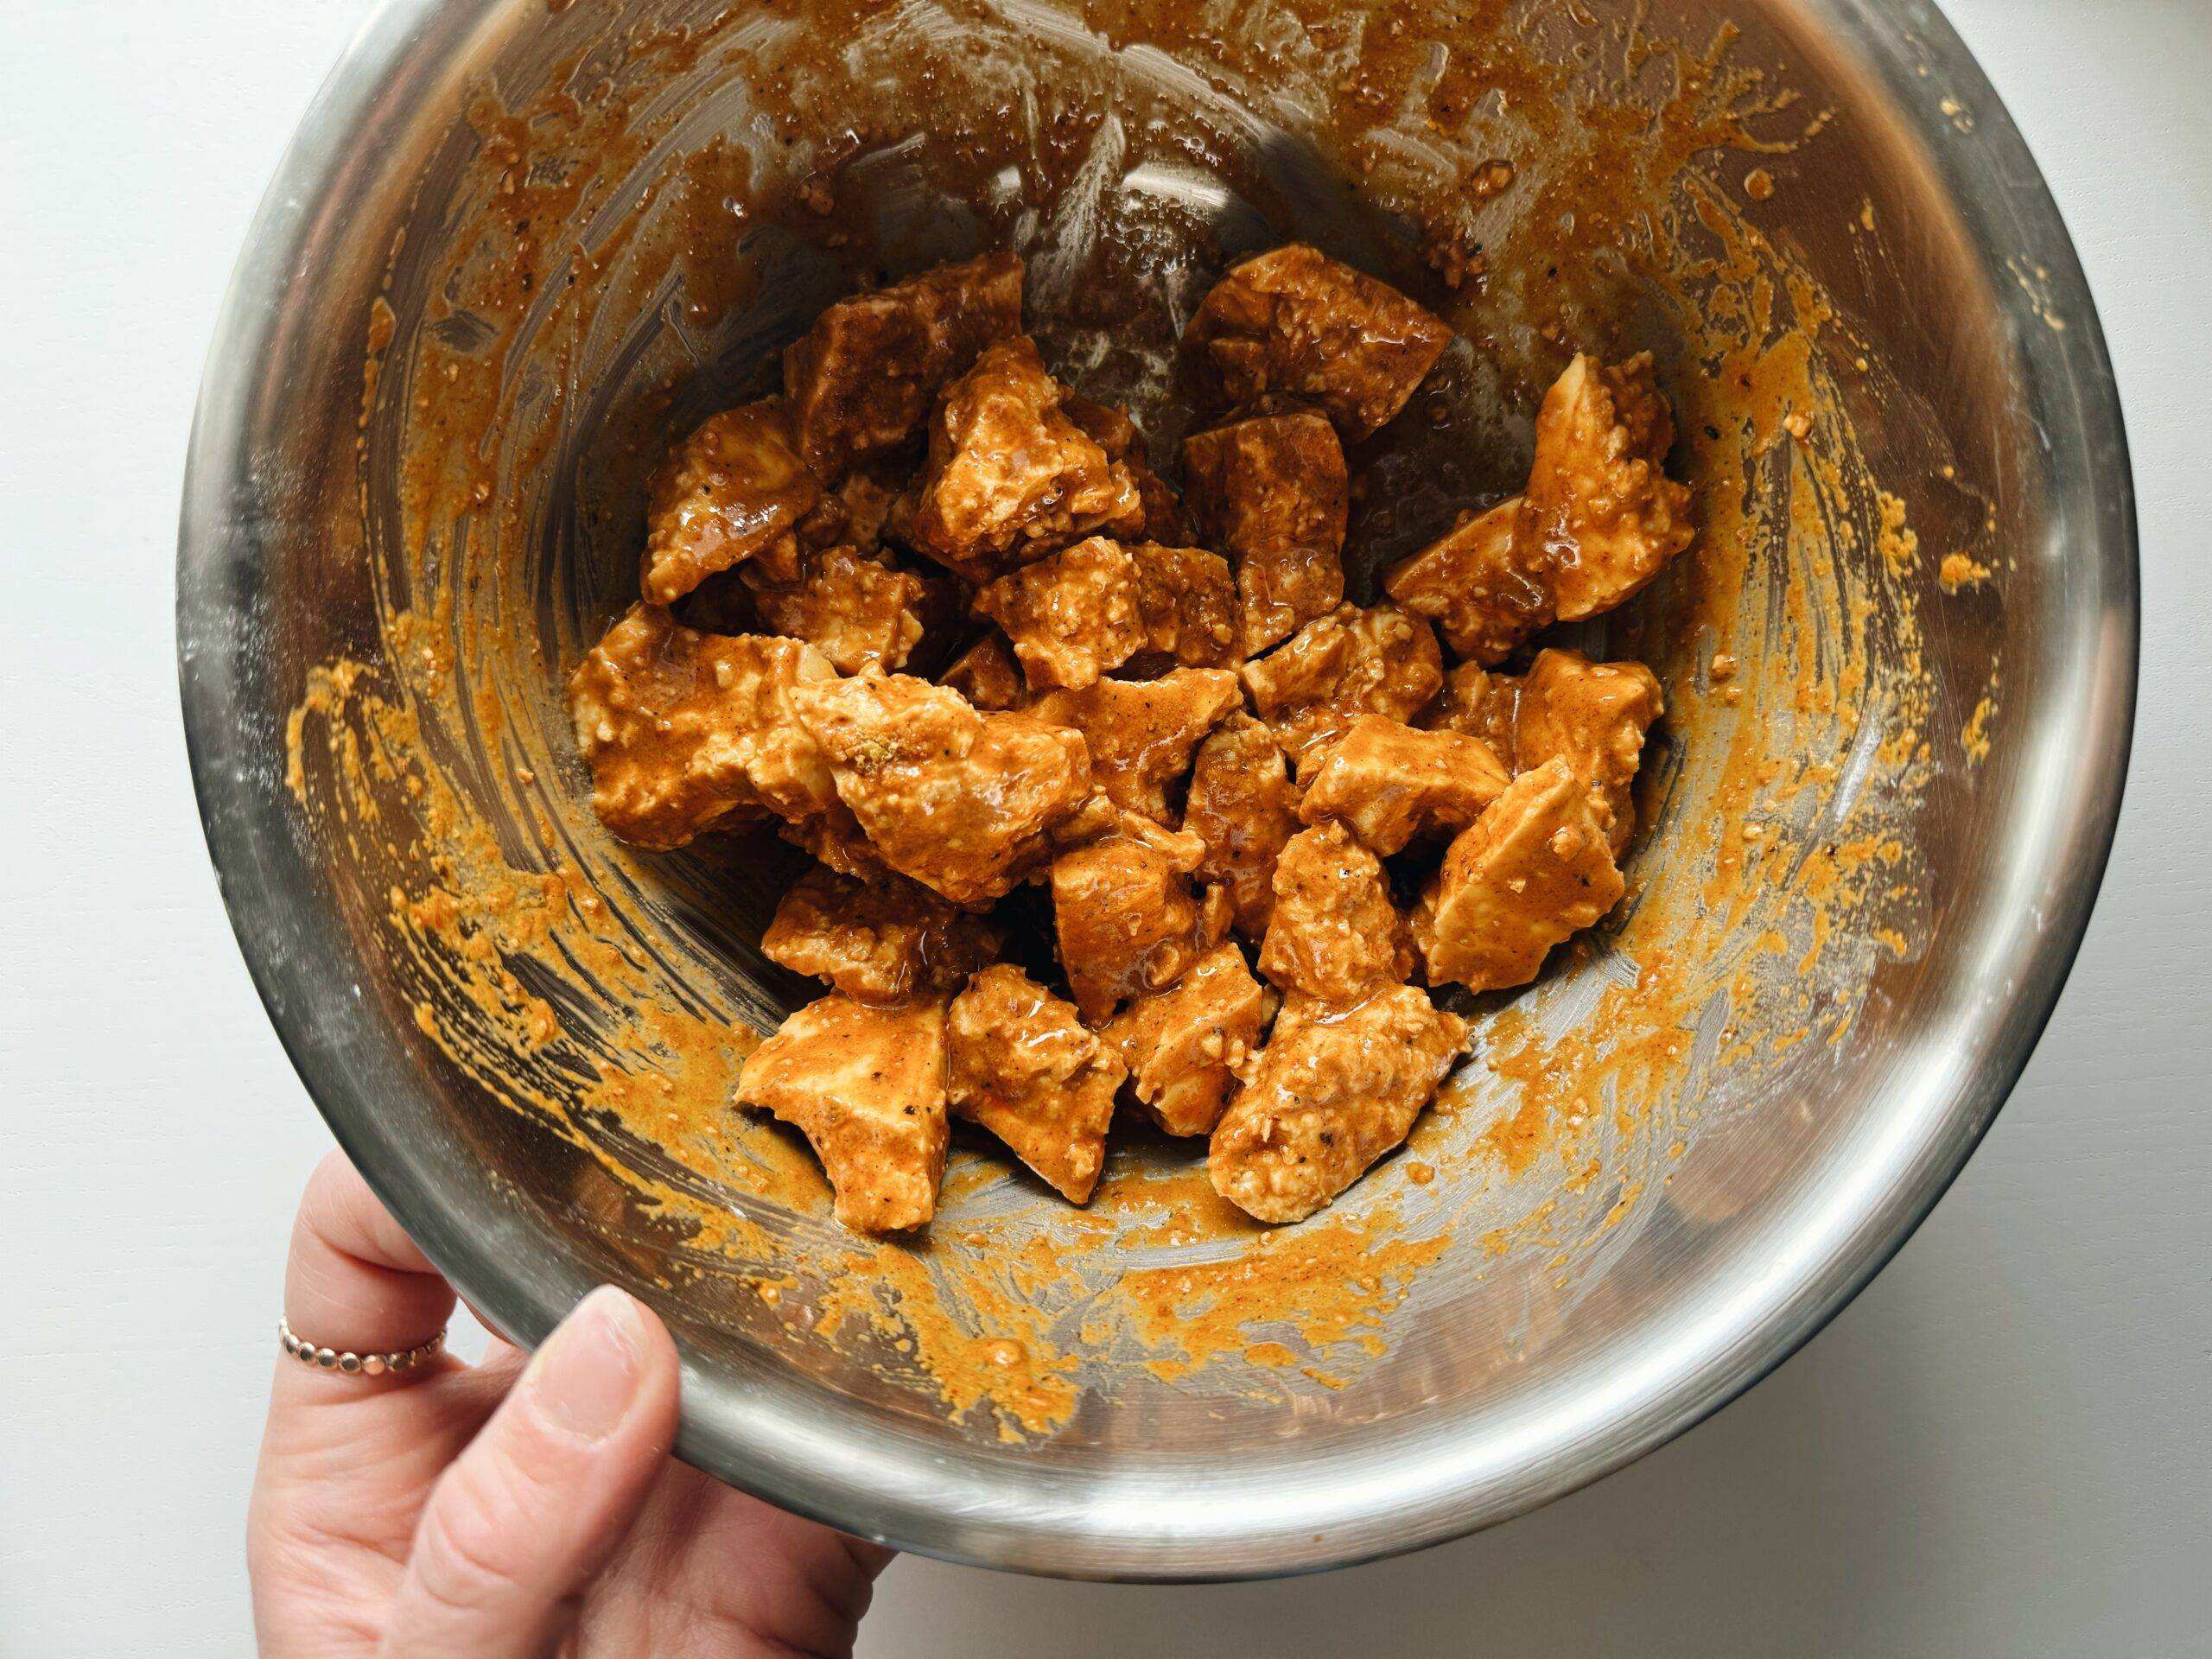
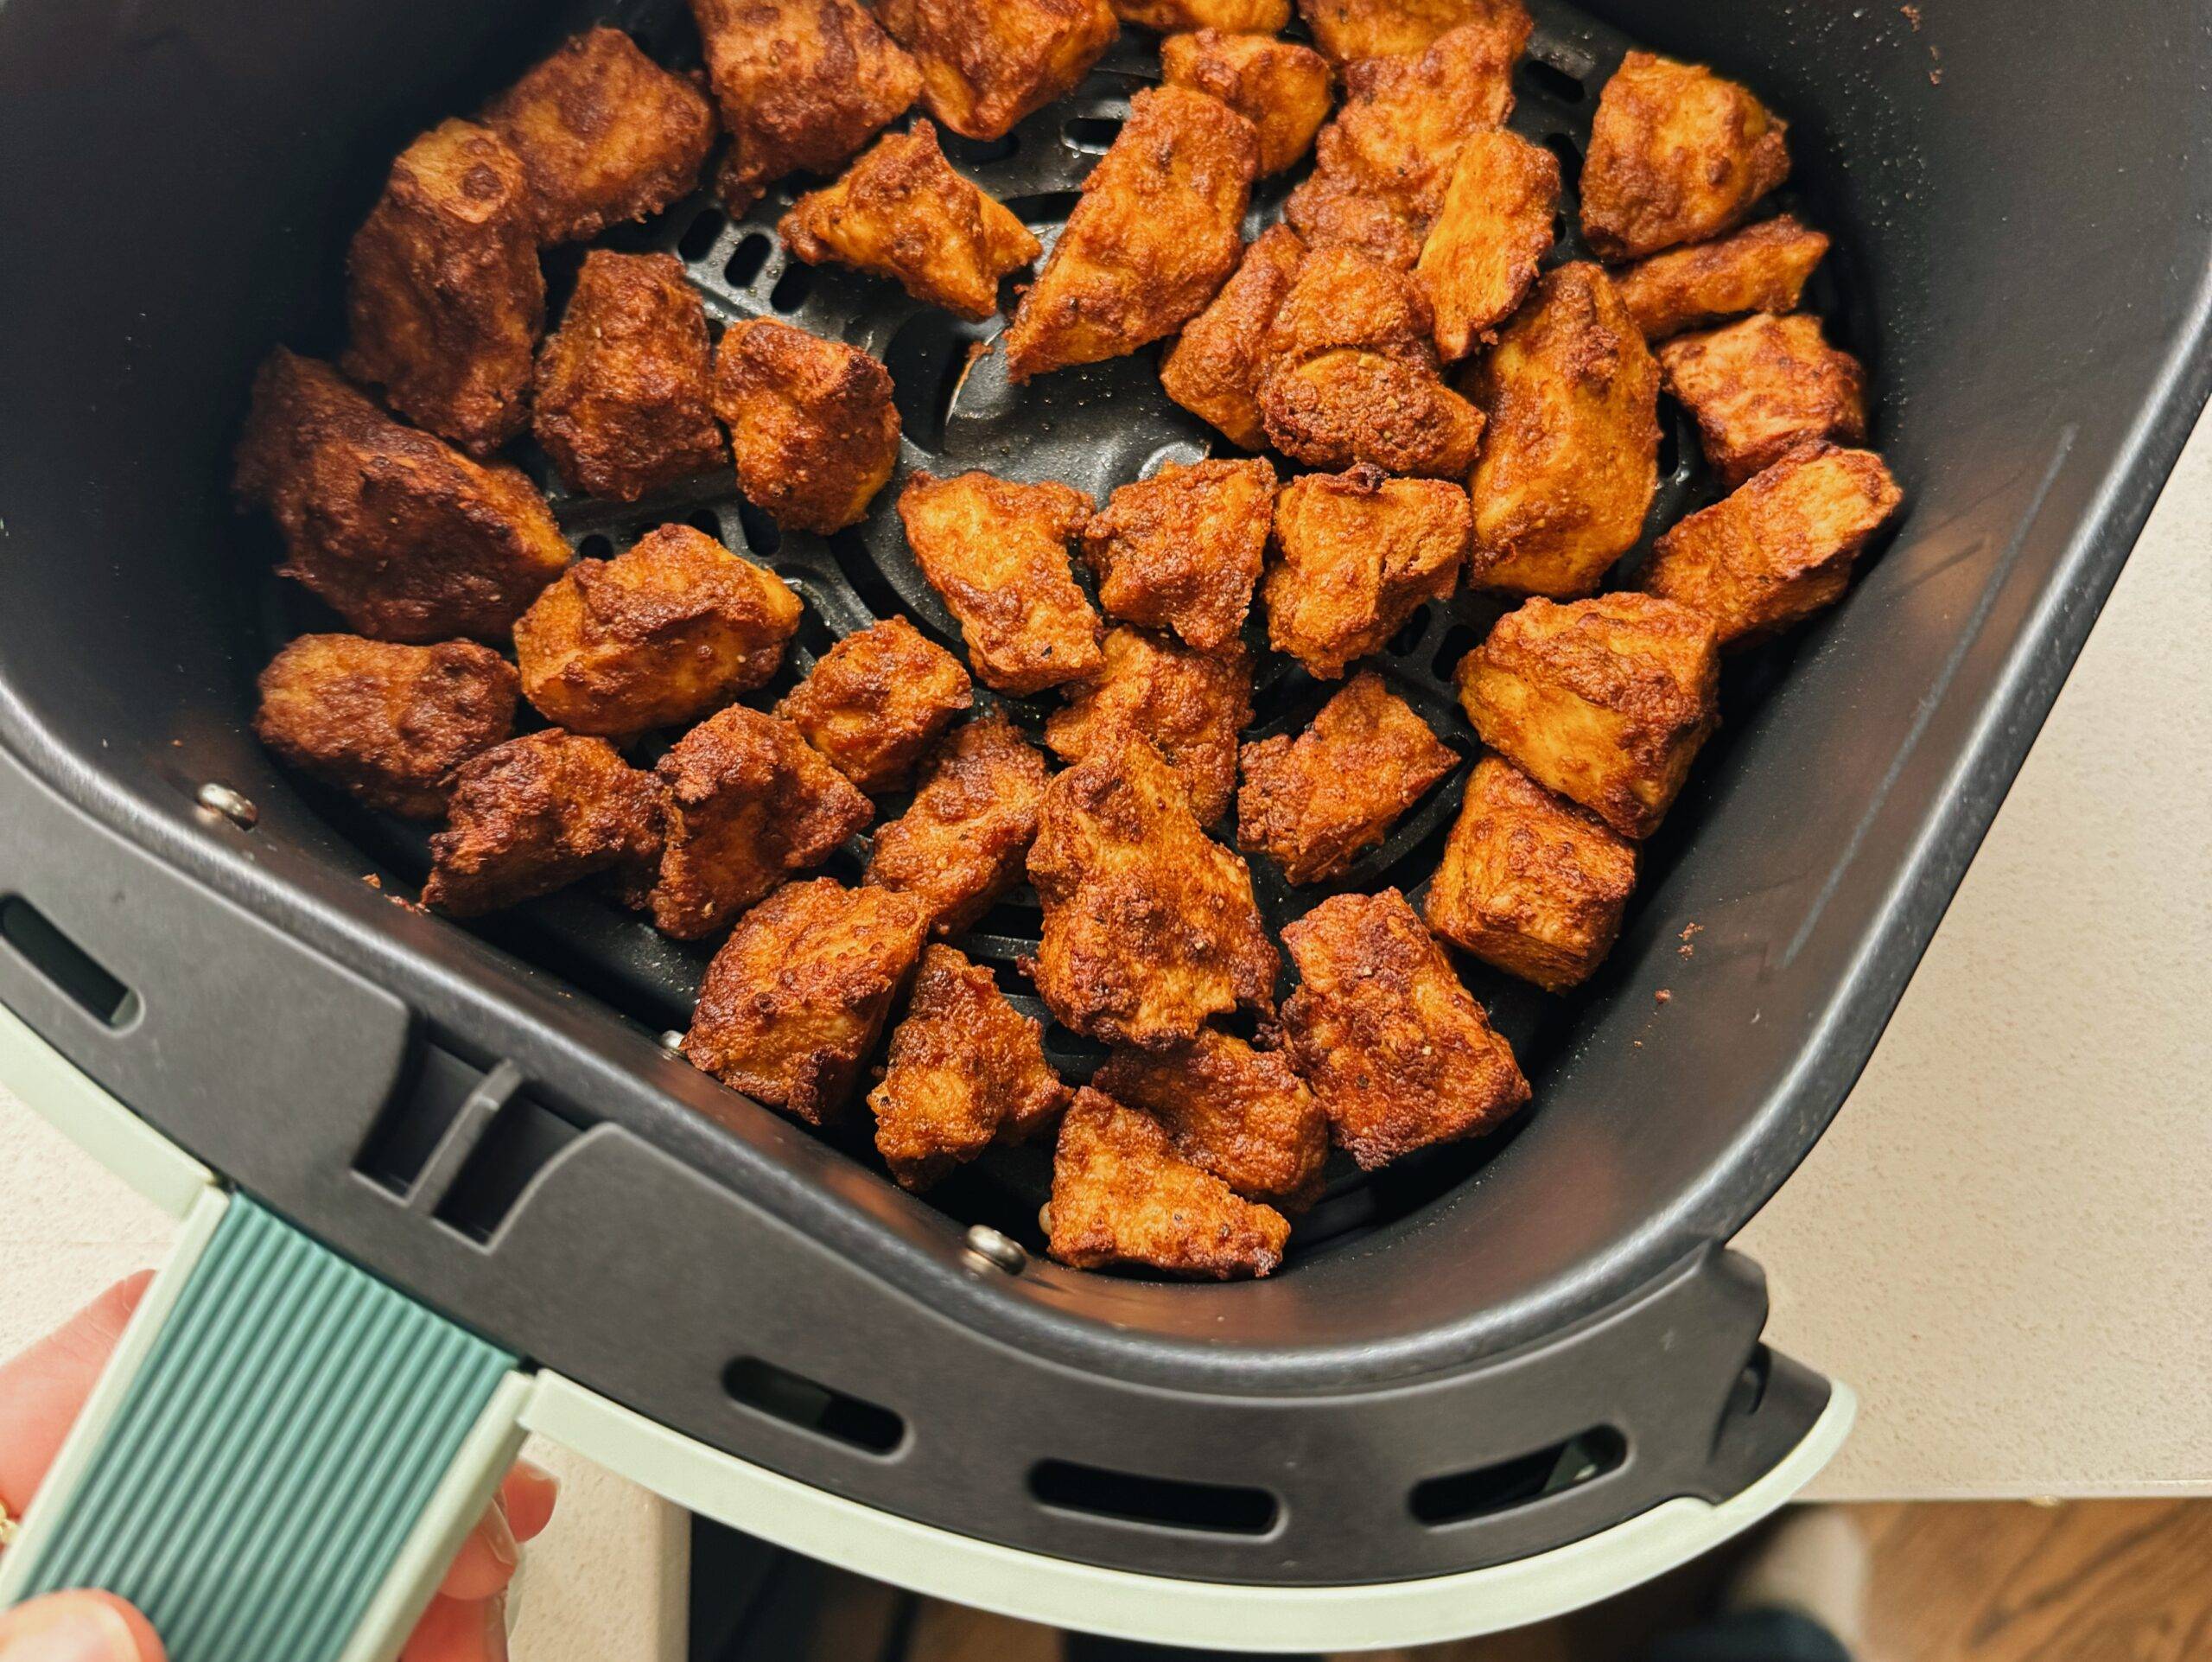
Rip Your Tofu and Toss It In.

I like to rip the tofu apart because it gets those fun craggly edges that hold onto all the batter. So just… rip, toss it in, and give it a gentle stir to coat.

Tossing tofu in batter in a bowl.

3

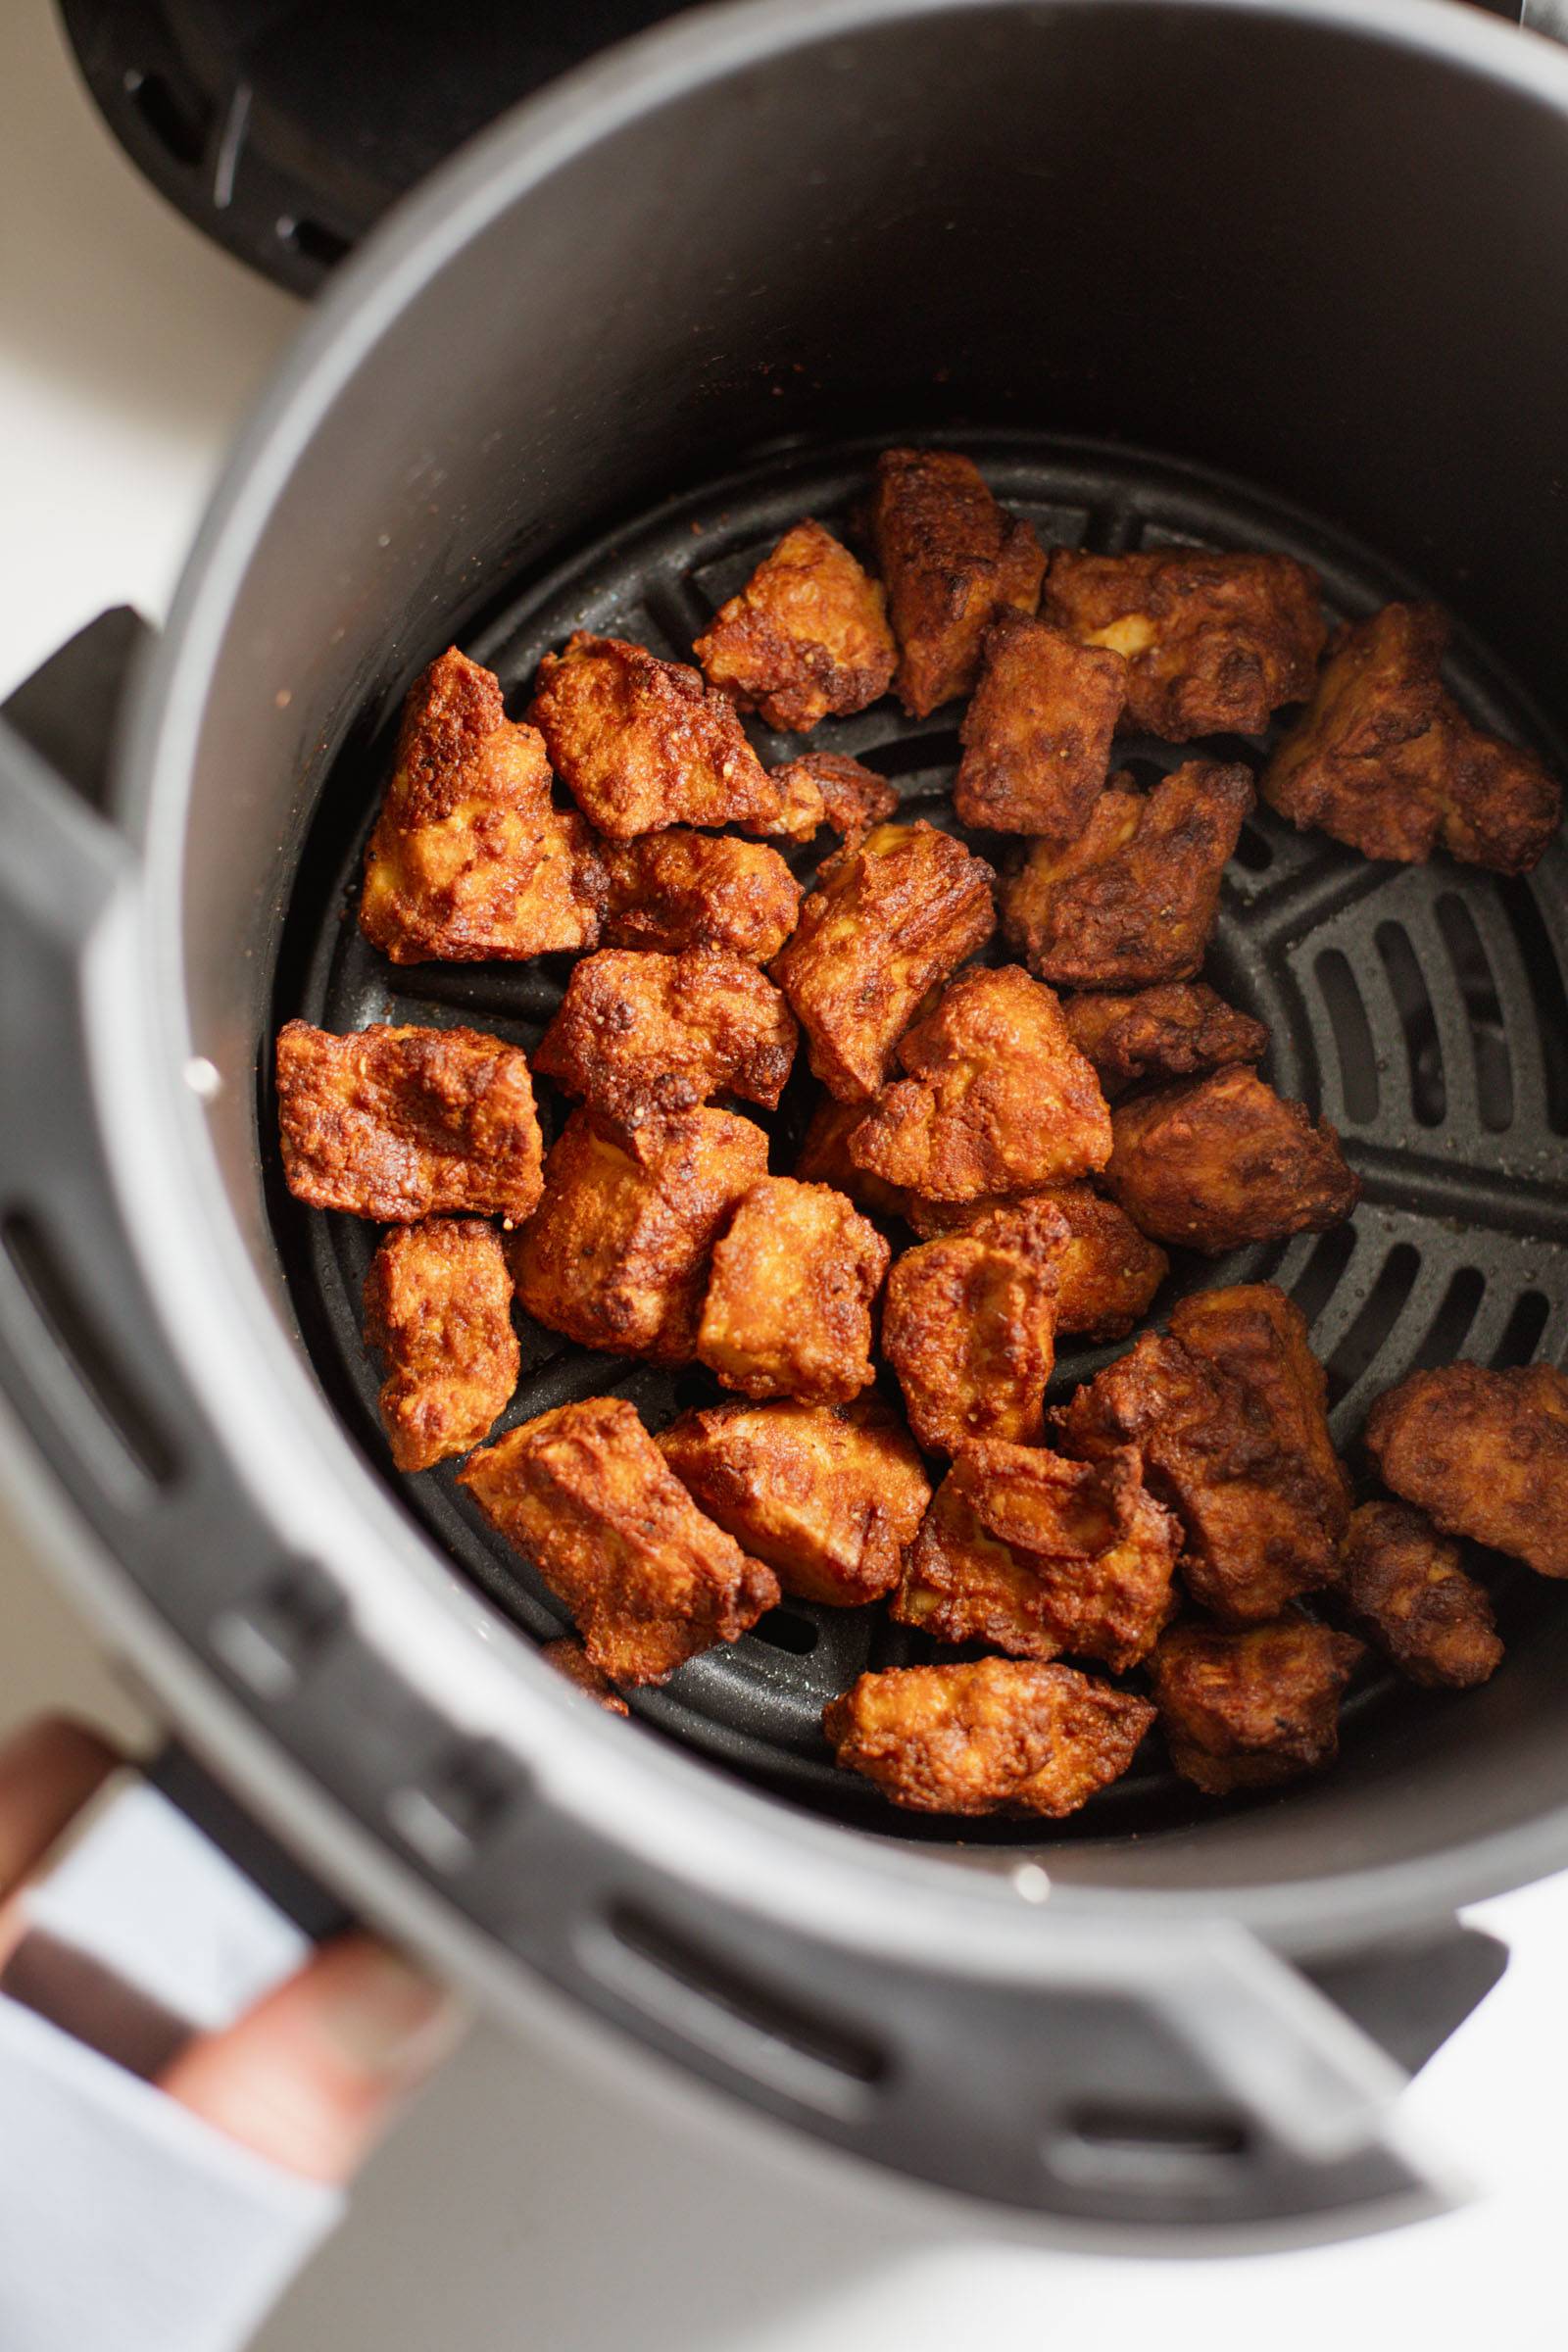
Air Fry for 10-15 Minutes.

I typically do 400 degrees for 8-10 minutes. Then give it a shake, and finish for another 5 minutes to get it extra nice and golden.

Air fried tofu in an air fryer basket.
Print
A picture of Ridiculously Good Air Fryer Tofu

Ridiculously Good Air Fryer Tofu


  • Author: Lindsay
  • Total Time: 20 minutes
  • Yield: 3-4 servings

Description

The crispiest air fryer tofu – in 15 minutes! Extremely easy, incredibly versatile, and an absolute weeknight go-to.


Ingredients

Air Fryer Tofu:

  • 1 block extra firm tofu (look for one that is vacuum-packed so you don’t have to press it! see note 1)

The Batter:

  • 2 1/2 tablespoons cornstarch
  • 2 1/2 tablespoons nutritional yeast (see note 2)
  • 2 tablespoons soy sauce
  • 2 tablespoons avocado oil or olive oil
  • 23 teaspoons all-purpose spice blend (see note 3)

For Serving:

  • your favorite sauce for serving (see note 4)

Instructions

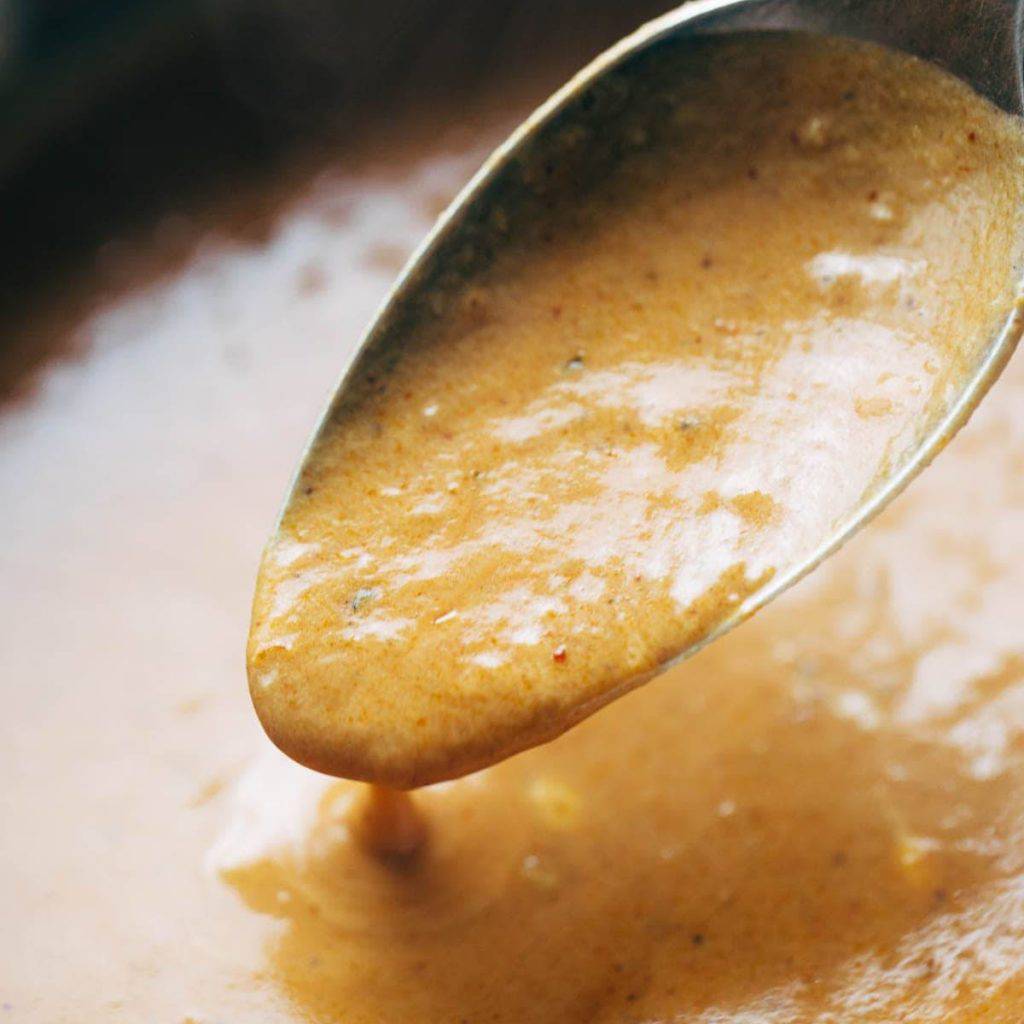
  1. Mix The Batter: In a medium size mixing bowl, whisk the nutritional yeast, cornstarch, soy sauce, oil, and spices into a batter. It should be fairly loose and runny.
  2. Coat The Tofu: Tear the tofu into chunks and place them directly into the batter bowl. Using a wide spatula, gently toss the tofu in tbe batter until it’s entirely coated.
  3. Air Fry: Air fry at 400 degrees for 8-10 minutes (see Note 5). Stop and give it a shake. And now air fry at 400 again for another 5 minutes until you reach your desired level of golden crispiness!
  4. Sauce and Serve: To serve, toss the tofu your favorite sauce for a recipe (curries! stir fries! rice bowls!) or just pop these guys into some dipping sauce like a little nugget. Incredible.

Notes

Note 1 on Tofu: The vacuum sealed extra firm tofu is amazing because it’s not only firm but drier than the kind that comes sitting in water. If you can’t find the vacuum sealed tofu packages, that’s fine – look for extra firm tofu and then press the tofu for a bit to remove excess moisture. To do this, I cut the block of tofu into a few slices, lay them flat with paper towels on top and bottom, and set a heavy pan on top for a few minutes. I find that this tofu also crumbles more easily – so when you’re tossing the tofu in the batter, use a wide spatula and just make a few gentle turns in the bowl to avoid crumbling the tofu entirely (but don’t worry, some breaking is normal and will form delicious crumbles – promise).

Note 2 on Nutritional Yeast: I love nutritional yeast in this for the savory, salty flavor and unique texture it gives to the tofu! I got that idea from Liz at Zardy Plants. But it will still work without nutritional yeast. To make this without nutritional yeast, you can just omit it and increase the cornstarch to 3 tablespoons, or replace the nutritional yeast with breadcrumbs.

Note 3 on Spices: I use and love this rotisserie chicken seasoning for both the air fryer chicken and now this air fryer tofu. If you don’t have a spice blend that you like, use 1 teaspoon paprika, 1/2 teaspoon garlic powder, 1/2 teaspoon onion powder, 1/4 teaspoon smoked paprika, and 1/2 teaspoon salt. And if you are using a spice blend that doesn’t have salt, you may want to add an extra pinch of salt to the tofu batter.

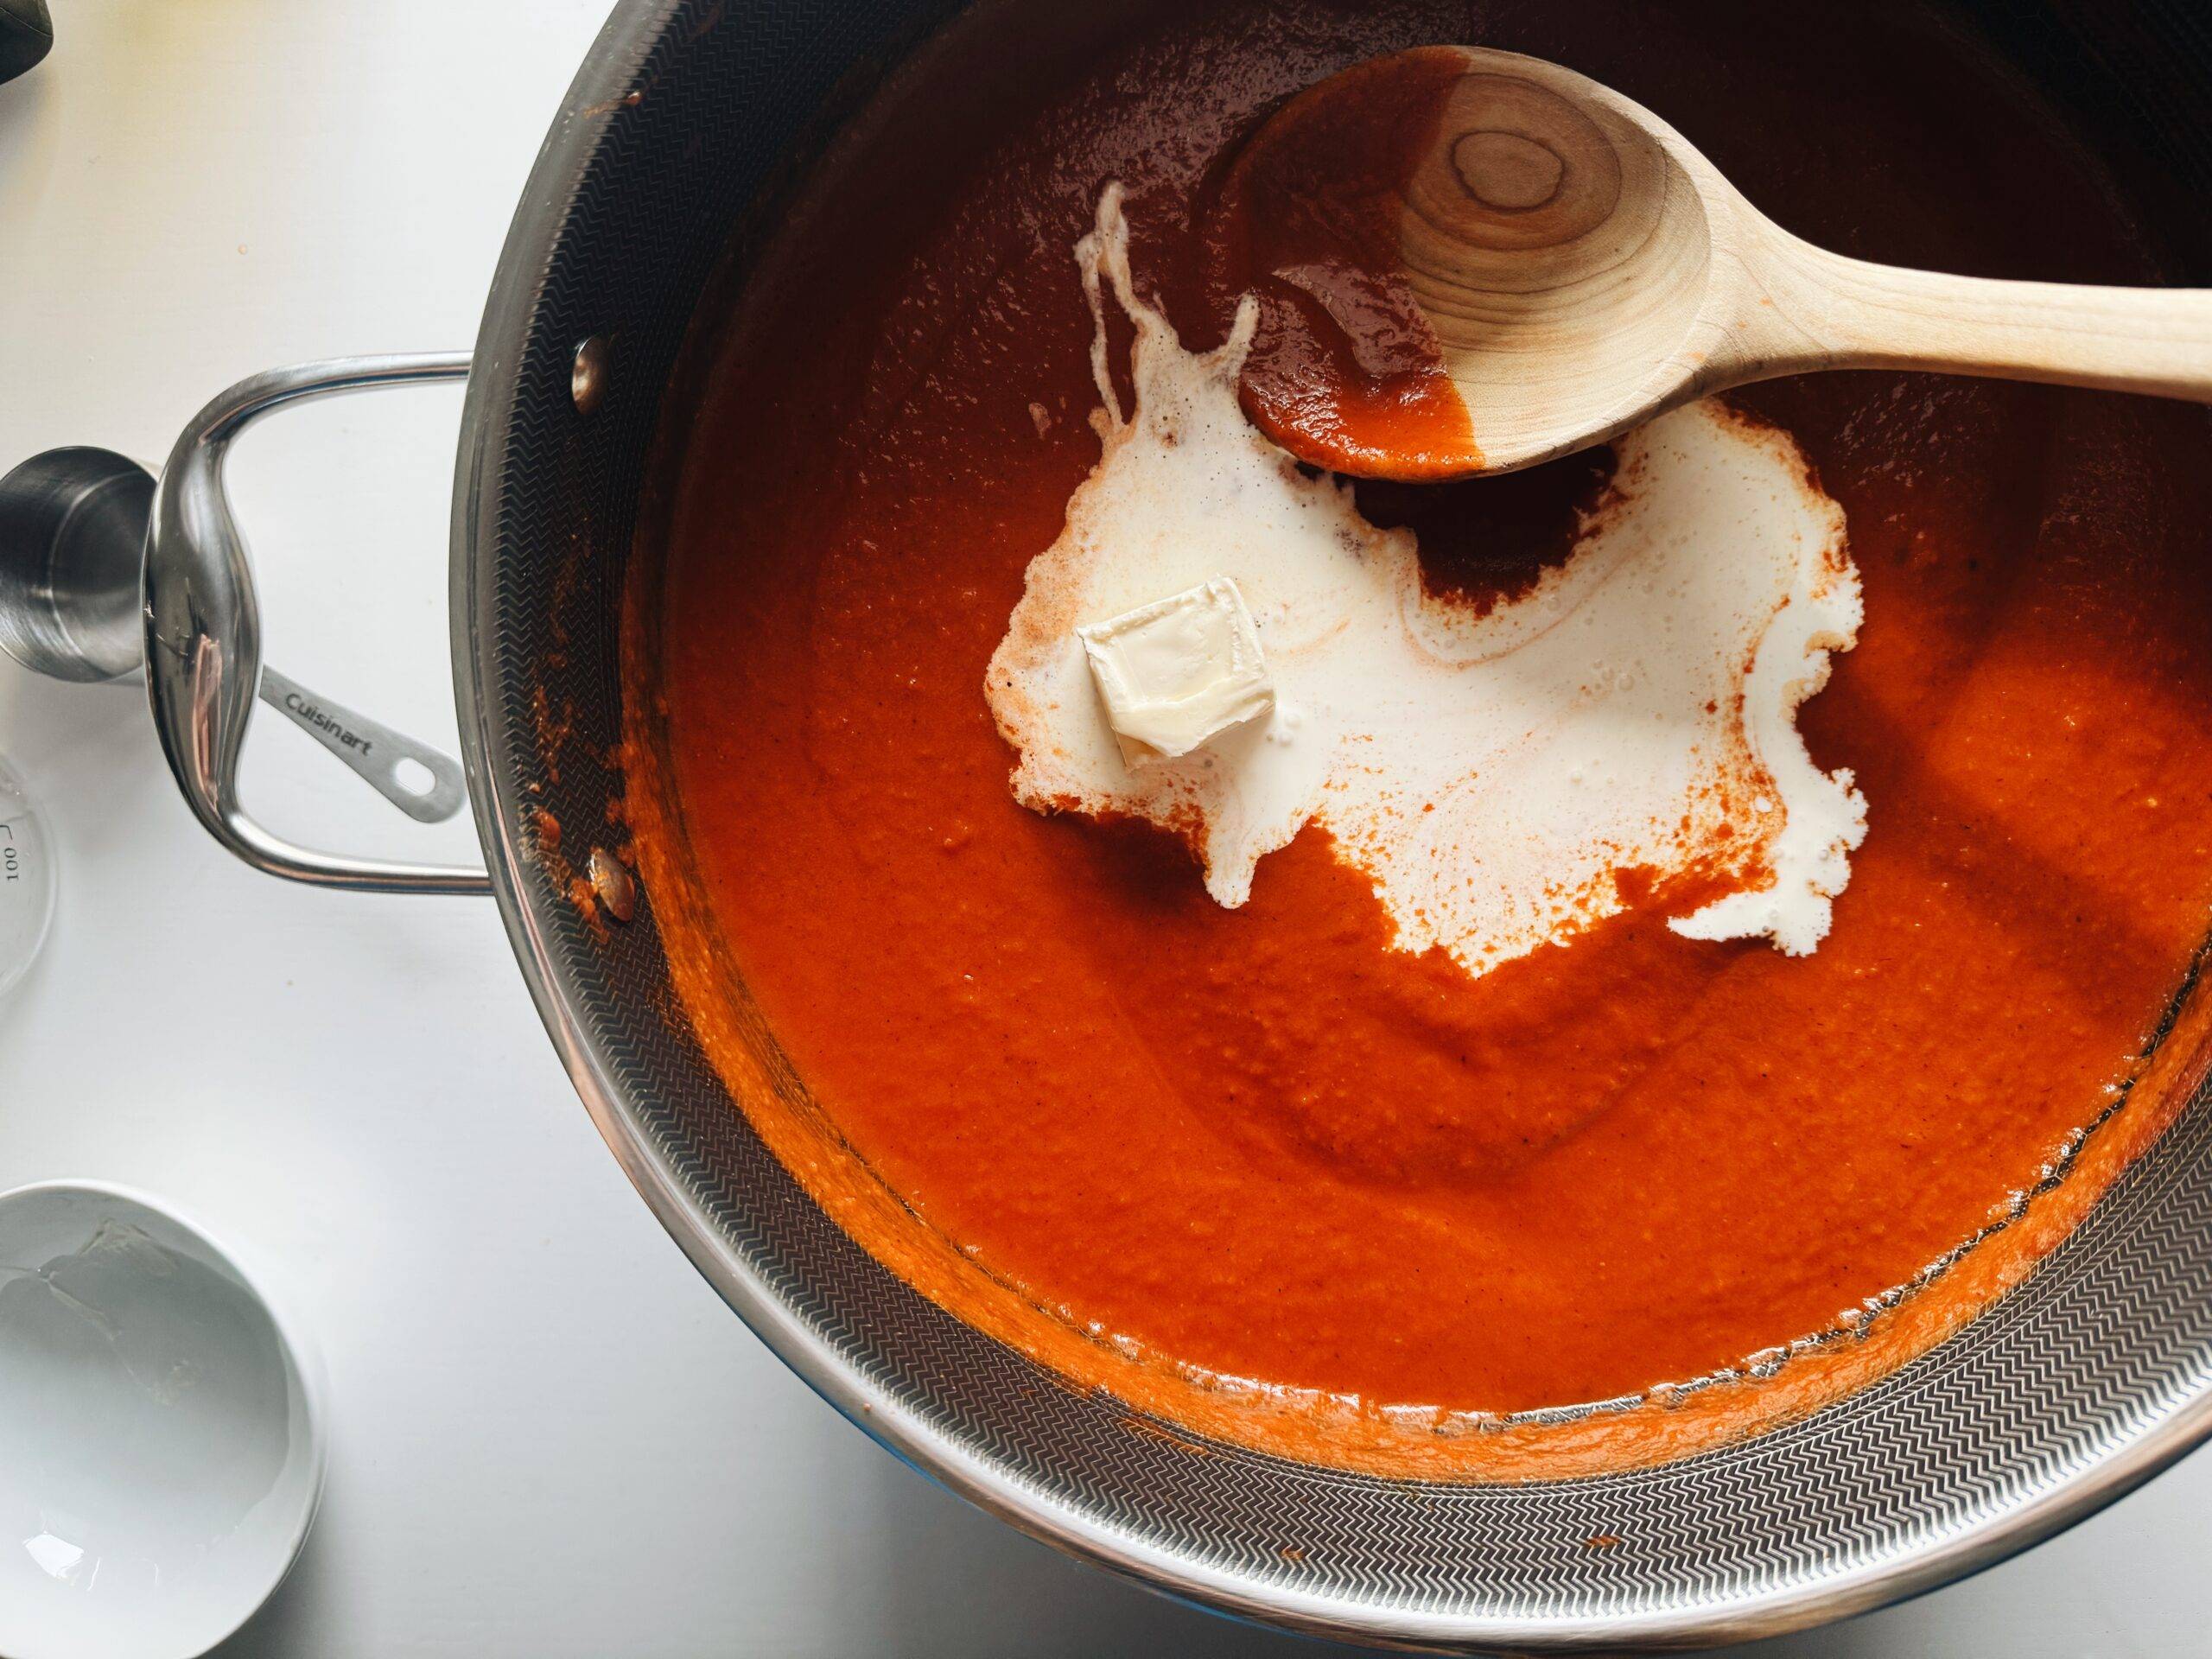
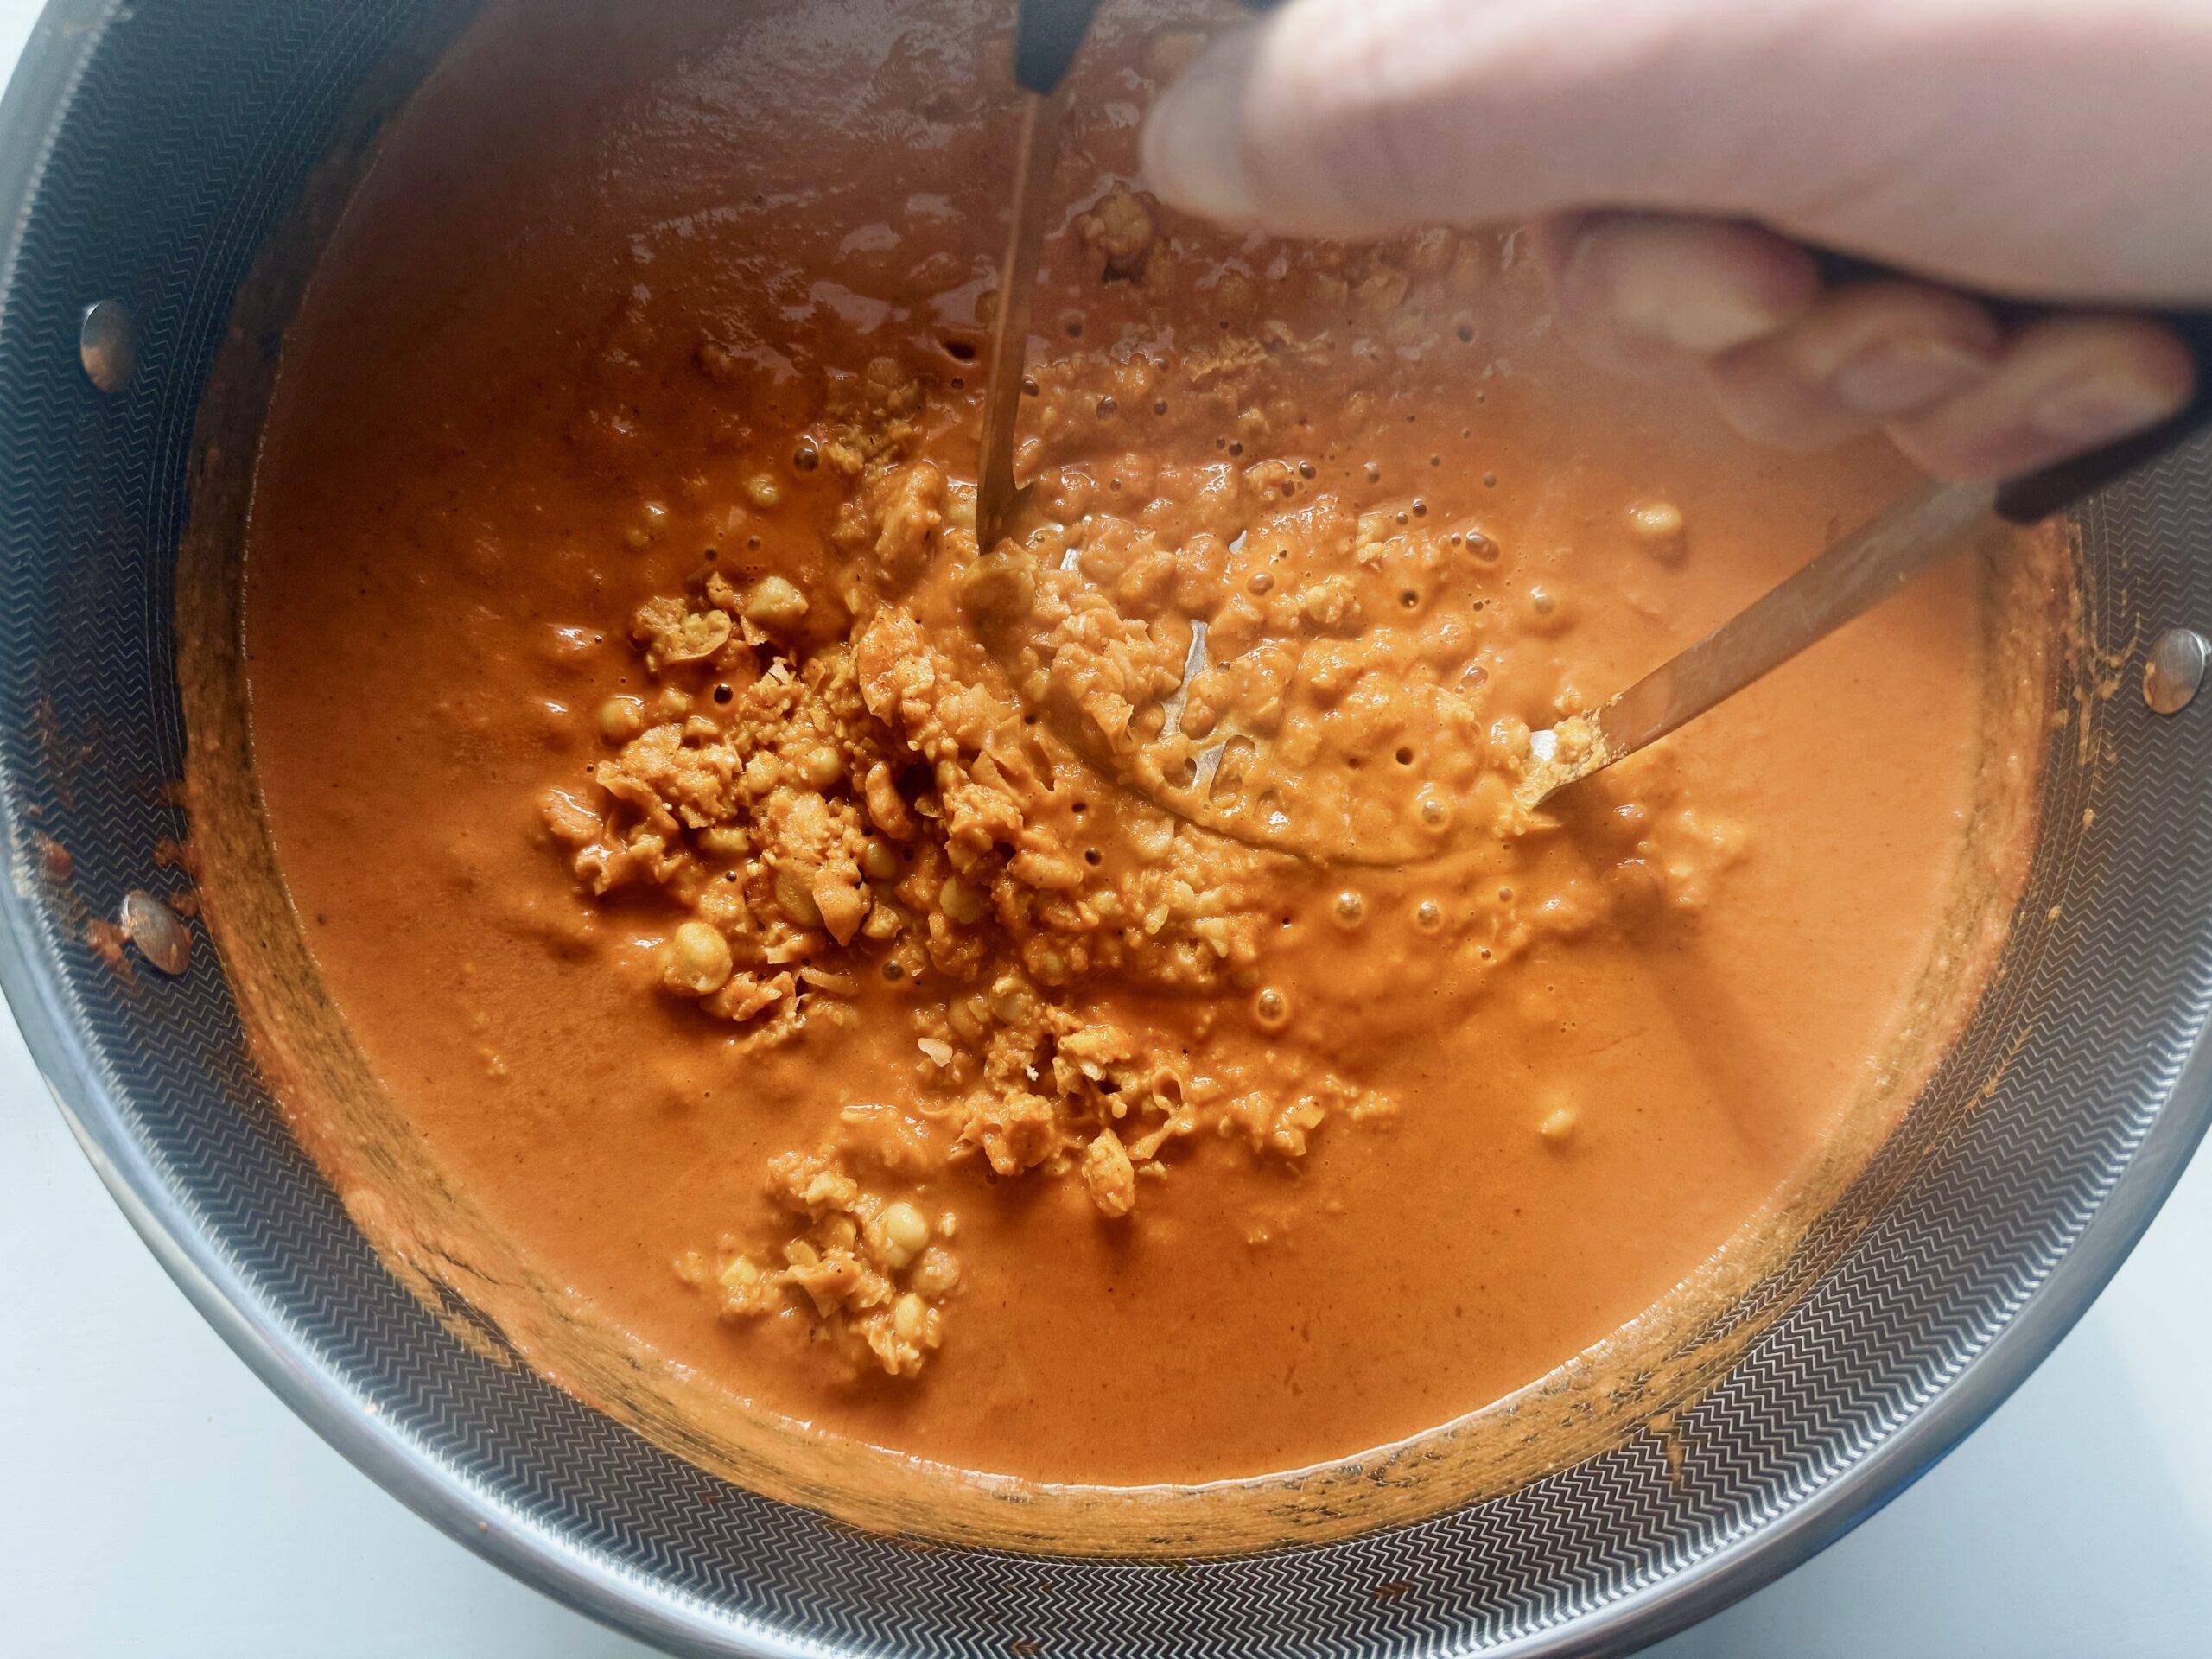
Note 4 on Sauces: I have been hung up on this gochujang sauce for a minute. It’s so good to toss with the crispy tofu. Mix the following: 1/2 cup mayo, 2 tablespooons gochujang sauce (not paste), 1 clove grated garlic, a shot of soy sauce, a dash of rice vinegar, and salt and pepp. I cover the tofu in sauce and toss it together after the tofu is done let it sort of melt in so it creates almost a glaze-like consistency on the outside of the tofu. It’s SO good on a rice bowl. Other sauces I like: this store-bought mango chutney, this honey mustard, or this peanut sauce.

Note 5 on Air Fryer Temp: I have both a Cosori 4 quart air fryer as well as a Ninja 5 quart air fryer (affiliate links). My Cosori does this tofu perfectly at 400 degrees with the timing above, while the Ninja does it perfectly at 390 degrees. If you stop and shake the tofu after 8 minutes and you feel like it’s a tad too dark golden at 400, just reduce the temp slightly for the last 5 to find your perfect temp. I would shoot for anything in the 375-400 range. Air fryer temps and performance will vary slightly!

  • Prep Time: 5 minutes
  • Cook Time: 15 minutes
  • Category: Dinner
  • Method: Air Fryer
  • Cuisine: American

Keywords: tofu recipe, air fryer tofu, crispy tofu, quick and easy tofu, vegetarian recipe

Recipe Card powered by Tasty Recipes logo

Frequently Asked Questions About Air Fryer Tofu

Can you make this without nutritional yeast?

Yes! You can either replace it with an additional tablespoon of cornstarch, or an equal value of breadcrumbs. If you use a bit of extra cornstarch, your batter might be a bit thicker, more like a paste. That’s fine, just coat the tofu as best as you can and it’ll still air fry up with lots of nice texture for you.

Can I use arrowroot starch instead of cornstarch?

Yes! It should work the same.

Does air fryer tofu keep as leftovers?

Yes! As with any “fried” food, it will lose a bit of its crispiness and the texture changes a bit, especially if it has already been tossed or served in a sauce. That said, I have never not liked it when re-toasted in the air fryer or re-heated. 🙂

Can you make this without an air fryer?

Yes! Baking the tofu at 425 for 15-20 minutes should achieve a similar effect.

How can I do this with meat?

I’ve got a recipe for that! Here’s some Ridiculously Good Air Fryer Chicken (similar recipe, but with chicken).

Three Bomb Sauces For Your Air Fryer Tofu

The post Ridiculously Good Air Fryer Tofu appeared first on Pinch of Yum.


from Pinch of Yum https://ift.tt/c278elR

Friday, February 23, 2024

Baked Tortellini with Sausage

Baked Tortellini with Sausage being scooped out of the pan with melty cheese!

This Baked Tortellini Is My Weakness Right Now.

I started making this as a cozy weekend moment – we’re having a friend over for dinner, we’re ready to tuck in at home, we just want a big pan of carby delight to dive into with butter-soaked crispity pieces of garlic bread.

And then it moved into, like, I can’t wait till the weekend for that so let’s make that again on Tuesday night for dinner.

And now it’s just in the permanent repertoire! Unlike the AFC, it’s not really a nightly situation – this guy is heavy and rich and unapologetically extra, and once a week is about all I can handle. So I save it for a night when I am extra hungry and looking for a comfort food hug, and it delivers every time.

I loosely based this around one of my favorite soups of all time – Ang’s Tortellini Soup. But since it’s already pretty heavy with the cheese on top, I don’t think it needs the cream in there. That said, follow your heart. If you’re wanting some creaminess or a few dollops of garlic herb Rondele in there (a weirdly specific vision I’ve had), please don’t deny yourself this joy.

And DO NOT SKIP the garlic bread – I know it’s an extra step, and you can buy it if you must! But dunking a chunk of garlic bread into that skillet and building a perfect bite with sauce, bread, and a little piece of cheesy tortellini is an elite experience that I don’t want you to miss out on.

Welcome To My House! Come Make This Baked Tortellini With Me.

1

Brown Your Sausage.

I like to let it sit for a minute so it gets *actually* crisped and browned on the outside.

Browning Italian sausage in a pan

2

Chop and Sauté Your Veggies.

I am lazy so I did my veggies in the food processor into a very fine mince. But you can also be proper and chop them.

Chopping veggies in a food processor

Sausage gets cooked, veggies get cooked, then they both went back in together. Check out the browning on the sausage. YUMMO!

Sausage and veggies going together in the pan

3

Add Tortellini, Etc.

Here goes the sauce and tortellini…

Adding tortellini and tomato sauce to the pan

And here comes the spinach. We’re going to simmer.

At this point I’ve made a very nice little mess. Typical.

Adding spinach to the tortellini

4

Bake that Baby Up Under a Cheese Blankie.

I use shredded mozz and grated parm! Plus a bit of parsley for beauty.

Baking the tortellini with cheese

5

Eat This With Garlic Bread. Please. Yum.

It’s very carb-on-carb and it’s SO delicious. Chunks of garlic bread are the perfect vehicle to scoop up that flavorful tomatoey, sausagey sauce plus a bite or two of tortellini. OMG I’m drooling.

Serving baked tortellini with garlic bread
Print
A picture of Baked Tortellini with Sausage

Baked Tortellini with Sausage


  • Author: Lindsay
  • Total Time: 40 minutes
  • Yield: 6+ servings

Description

Baked tortellini in a flavorful sausage tomato sauce, lots of celery, onion, garlic, and carrots, some fennel, and a nice little blanket of cheese on top. 


Ingredients

Units

Baked Tortellini:

  • 1 tablespoon avocado or olive oil
  • 1 lb. ground Italian sausage (I use a mild one for my kids, but spicy would be delicious)
  • 23 carrots, chopped
  • 23 stalks of celery, chopped
  • 1 yellow onion, minced
  • 3 large cloves garlic, minced
  • 1 teaspoon fennel seeds, crushed
  • 1 28ounce jar of tomato sauce OR a can of San Marzano tomatoes
  • 1015 ounces of refrigerated cheese tortellini
  • 12 cups chicken broth
  • 2 cups baby spinach, torn

To Go On Top:

  • 1/2 cup shredded mozzarella cheese
  • 1/4 cup grated Parmesan
  • finely chopped parsley

Instructions

  1. Brown the sausage: Heat a very large oven-safe skillet over medium high heat. Add the oil and the sausage; break apart with a wooden spoon and brown until it’s got some nice color. Transfer to a bowl and drain out any of the oil that you don’t want (I usually drain off about a tablespoon, leaving a tablespoon in the pan).
  2. Sauté the veggies: If you’ve got some browning on the bottom of your pan – great. Add the veggies and they should start to pull up some of that yummy brown flavor. Add the fennel seeds. Cook until the veggies are fragrant and soft – you can add a bit of salt or oil if you’re feeling chefy. Then add the sausage back in.
  3. Add everything else: Add your tomato sauce, your tortellini, and 1 cup of broth. The pan will be full. Let it come to a low simmer and cook for 5 minutes or so to cook the tortellini. If you need more broth in order to get enough liquid to cook the tortellini, go ahead and add it. Sometimes I just pop a lid on and leave it for a while on low heat.
  4. Spinach and cheese: Give it a taste – if you used canned tomatoes instead of a jar of sauce, it will probably need some salt. Add the spinach and stir it in until it wilts. Top the whole thing with the mozzarella cheese and pop it into the oven at 375 for 8-10 minutes, or until the cheese is nice and melty. 
  5. Finish: Sprinkle some grated parm on top along with some chopped parsley, and dunk into that baby with some chunks of garlic bread. SO GOOD.

Notes

Package sizes for tortellini range between 10-20 ounces, and the amount of tortellini you add here can be dependent on your pan size – I can never fit a full 20, but sometimes I feel like I can fit a little more than 10? Basically… it’s flexible. Grab a package of tortellini and fit what you can in there.

In the photos above, I’m using a 3 quart All Clad sauté pan. If you have doubts about the size of your pan being big enough, I would suggest just sizing up into a Dutch oven or similar so you don’t run out of room!

  • Prep Time: 20 minutes
  • Cook Time: 20 minutes
Recipe Card powered by Tasty Recipes logo

Frequently Asked Questions For Baked Tortellini

How do you make a meatless baked tortellini?

Use a plant-based ground sausage in place of the regular Italian sausage to make this meatless – I really enjoy the Impossible Sausage. You could also just omit the Italian sausage, but be sure to add a bit more fennel, more salt, and maybe even some Italian seasoning or red pepper flakes to compensate for the flavor.

What is the best brand of tortellini?

I prefer fresh / refrigerated tortellini and I really love the Rana cheese tortellini and the Good and Gather cheese tortellini, both found at Target. I normally love Trader Joe’s… buuut their cheese tortellini is the only brand I’ve tried that I don’t super love. I think it’s something about the shape and the texture that just doesn’t do it for me.

What is the best kind of sauce for baked tortellini?

I enjoy this with both jarred tomato sauce and also just a can of whole peeled San Marzano tomatoes that I smash in the pan. If you’re using a store bought sauce, I’ve found that Rao’s can be a bit oily here – there’s already a lot of fat from the sausage, the cheese, etc. so, while Rao’s is very popular and very yummy, I would opt for something with slightly less oil. I’ve been using Carbone’s sauce lately and really enjoying it, and of course, we love our DeLallo sauces!

How long do baked tortellini leftovers last?

I enjoy the leftovers for 1-2 days. The tortellini will absorb liquid as it sits in the fridge so it will get a bit more mushy and there will be less of a sauce. But it’s still quite delicious and sometimes I just eat it cold out of the fridge.

Some Friends For Baked Tortellini

Garlic bread slices on a cutting board.
House Favorite Garlic Bread (do not skip, it’s a must)
Liz’s Bistro Salad (this would be SO good for a dinner party)
No Knead Bread held by hands.
Miracle No Knead Bread (an easy make ahead bread option)

The post Baked Tortellini with Sausage appeared first on Pinch of Yum.


from Pinch of Yum https://ift.tt/gmUBYza

Thursday, February 22, 2024

Butter Cauliflower and Chickpeas with Mint Cilantro Sauce

Butter cauliflower and chickpeas in a bowl with rice, mint sauce, cilantro, and pickled onions.

This Butter Cauliflower Is a New Weeknight Staple.

It’s 5pm. Here’s what you’re doing (and me, too):

  • Roasting some cauliflower
  • Adding a jar of butter sauce
  • And a can of chickpeas, lightly smashed
  • Piling a steamy scoop on some rice
  • And topping the whole thing with mint cilantro sauce

And it’s the easiest little veg-forward number that three out of four in my family love. (Toddler is the holdout.)

The cauliflower is roasty and seasoned to the max, and the chickpeas get just a little bit chunky and creamy when you give them a few good smashed. They’re just a bit TOO round sometimes, ya know?

You can make a butter sauce from scratch, or you can just do as I’ve been doing and buy the KFI brand butter chicken sauce from Costco which comes in a big jar and works like a charm. I’ve also heard via your DMs on Instagram that their Vindaloo sauce is even better. If you don’t have a Costco, any brand of tikka masala or Indian-spiced simmer sauces that you love would work just as well (and you can give it some love with a bit of extra cream or butter).

Nothing will beat a made-from-scratch sauce, I know, I know. But all I’m trying to beat with this recipe is myself from defaulting to a frozen pizza for dinner. End result: a veg-forward dish that makes the house smell great and that comes together effortlessly. That’s what I’m here for.

If you can swing it, a little tangle of pickled onions on top is very nice.

Make This Butter Cauliflower With Me

1

Season and Roast the Cauliflower.

Coat the cauliflower in spices and some avocado oil. Roast in the oven or air fryer till it’s roasty and yummy.

Raw cauliflower in a bowl tossed in spices.

Don’t skimp on the spices!

2

Activate Your Yummy Butter Sauce.

Homemade, with a pureed base of onions, garlic, ginger, spices, and tomato sauce plus cream and butter, is delicious. Or… just use a store-bought sauce! Costco sells KFI brand butter chicken sauce and I’ve been enjoying it as an SOS option.

Butter and cream in a pot with butter chicken sauce.

Here’s a homemade run – nice lil knob of butter and some cream going in!

3

Add Your Chickpeas and Mash.

Okay, you don’t have to mash them. But sometimes chickpeas are just a bit too round. If you can understand that weird sentiment, you’ll probably enjoy a bit of mashing for texture.

Mashing chickpeas in a pot with sauce.

Add chickpeas and give ’em a few good smashes.

4

Add Cauliflower Back In.

Here she comes, looking nice and roasty!

Adding cauliflower to the chickpea sauce mixture.

Those spices did us well.

5

You’re Done! Yum!

I love, love, love this with some kind of a cilantro sauce which is why you’ll see a waterfall of it on my bowl here.

Butter cauliflower and chickpeas in a bowl with mint sauce on top.

A golden mountain of butter cauliflower topped with rivers of mint sauce.

Print
A picture of Butter Cauliflower and Chickpeas with Mint Cilantro Sauce

Butter Cauliflower and Chickpeas with Mint Cilantro Sauce


  • Author: Lindsay
  • Total Time: 40 minutes
  • Yield: 6

Description

This Butter Cauliflower and Chickpeas is a weeknight staple! Roasty spiced cauliflower, a jar of butter sauce, a can of chickpeas, and a pile of steamy rice with a waterfall of mint sauce on top.


Ingredients

Units

Butter Cauliflower and Chickpeas:

  • 12 tablespoons avocado oil
  • 1 head cauliflower, cut into florets (about 3 cups)
  • 1 teaspoon each cumin, garam masala, and curry powder
  • 1/2 teaspoon smoked paprika
  • 1/2 teaspoon kosher salt
  • 1 can chickpeas, drained and rinsed
  • 1 jar of butter chicken sauce (24.5 ounces) or homemade

Mint Cilantro Sauce:

  • 1/4 cup packed mint leaves
  • 1/4 cup packed cilantro
  • 1/2 cup mayo or plain Greek yogurt
  • 1 clove garlic
  • 1 small chunk of jalapeño, optional
  • 1/2 teaspoon salt
  • juice of 1 lime

Instructions

  1. Roast the cauliflower: Toss the cauliflower with the avocado oil, cumin, garam masala, curry powder, smoked paprika, and salt. Roast at 425 / 20 minutes in the air fryer, or 425 / 30 minutes in the oven until nice and roasty and golden.
  2. Make the mint sauce: Blitz everything up until it’s nice and smooth. I like to really blend this one so it’s less chunky and more of a smooth green sauce.
  3. Butter sauce time: Add butter sauce and chickpeas to a large skillet. Smash the chickpeas lightly with a potato masher to give a more interesting texture if you want (I do want). Add cauliflower back in. 
  4. Serve: Serve the butter cauliflower on rice and top with the mint sauce. Add pickled onions if you want. ENJOY!
  • Prep Time: 10 minutes
  • Cook Time: 30 minutes
  • Category: Dinner
  • Method: Stovetop
  • Cuisine: Indian-Inspired

Keywords: butter chicken, butter sauce, cauliflower, chickpeas, easy dinner

Recipe Card powered by Tasty Recipes logo

Frequently Asked Questions For This Butter Cauliflower

Could I add meat to this?

I think some roughly chopped or shredded boneless skinless chicken thighs could tuck in that sauce nicely with the cauliflower and chickpeas. Or, just go straight for a meat instead of the veggies in the sauce – like these butter chicken meatballs.

How can I make this dairy-free?

Use coconut cream, coconut milk, cashew cream, and/or ghee to make it nice and creamy!

Could you skip roasting the cauliflower and just simmer it in the sauce to cook?

Yes! I will say, I love the roasty bits on the caulfilower and I feel like it adds a lot of flavor, texture, and color. That said, absolutely yes – save yourself some time and just throw that cauliflower right in the pan if you’re not feeling too precious about it.

Three More Cauliflower Favorites

The post Butter Cauliflower and Chickpeas with Mint Cilantro Sauce appeared first on Pinch of Yum.


from Pinch of Yum https://ift.tt/BTonrHN