Tuesday, July 25, 2023

Grilled Chicken with Pepperoncini Garlic Butter

Grilled chicken with pepperoncini garlic butter on a platter

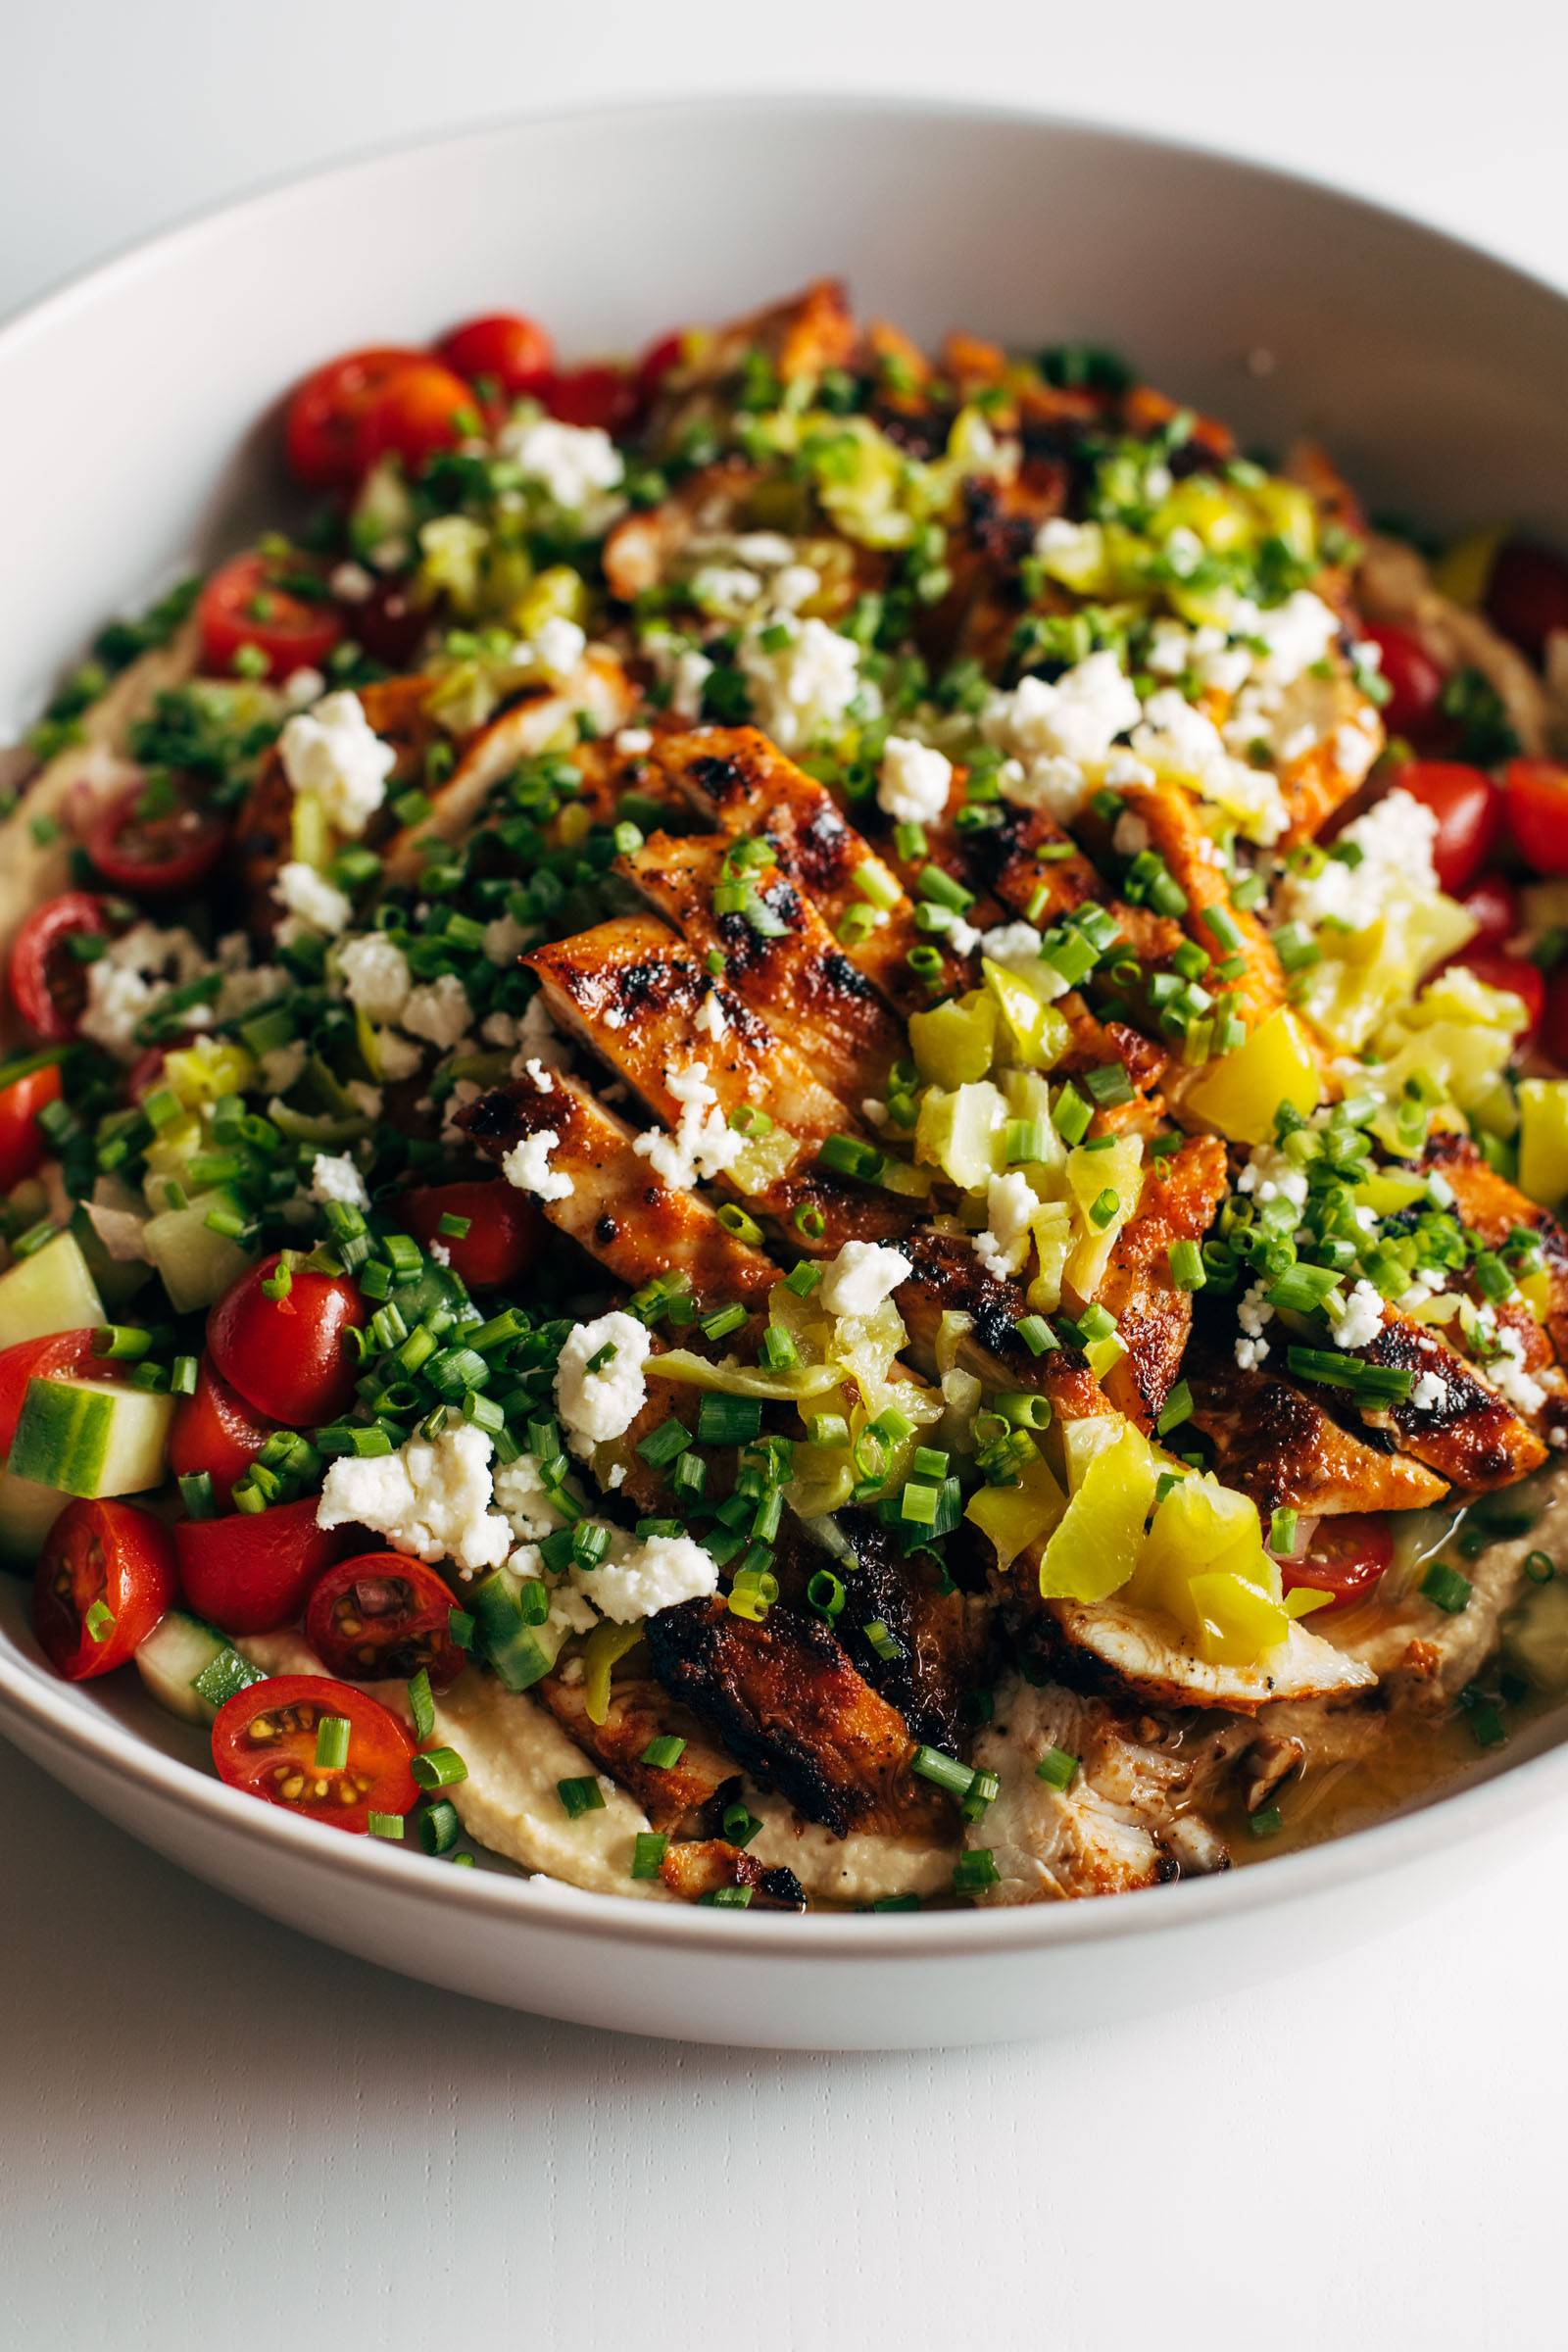
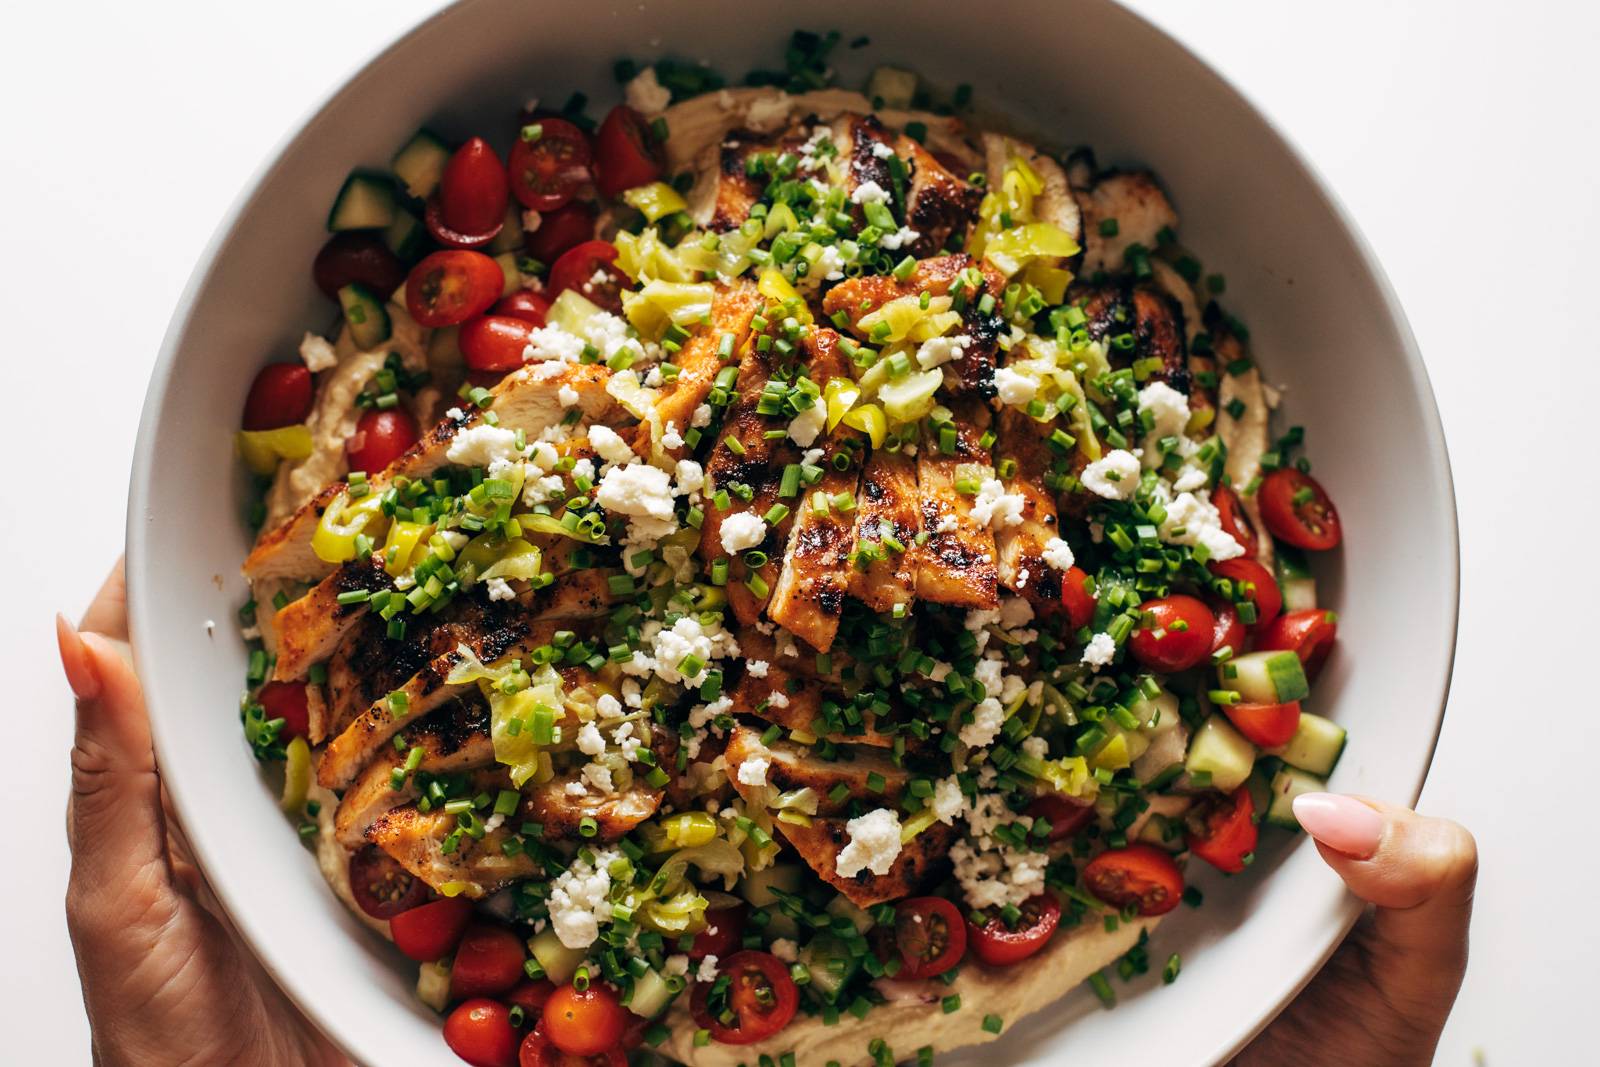
Grilled marinated chicken, cucumber tomato salad, hummus, feta, and a pepperoncini garlic butter sauce. What a showstopper! This is hands-down my new favorite meal!


In This Post


White hand holding a plate of pepperoncini chicken

How To Make This Chicken

Step 1: Marinate the Chicken

Paprika, onion powder, garlic powder, salt, and olive oil. Let it hang out while you prep the other stuff.

Raw chicken being tossed with spices in a bowl.

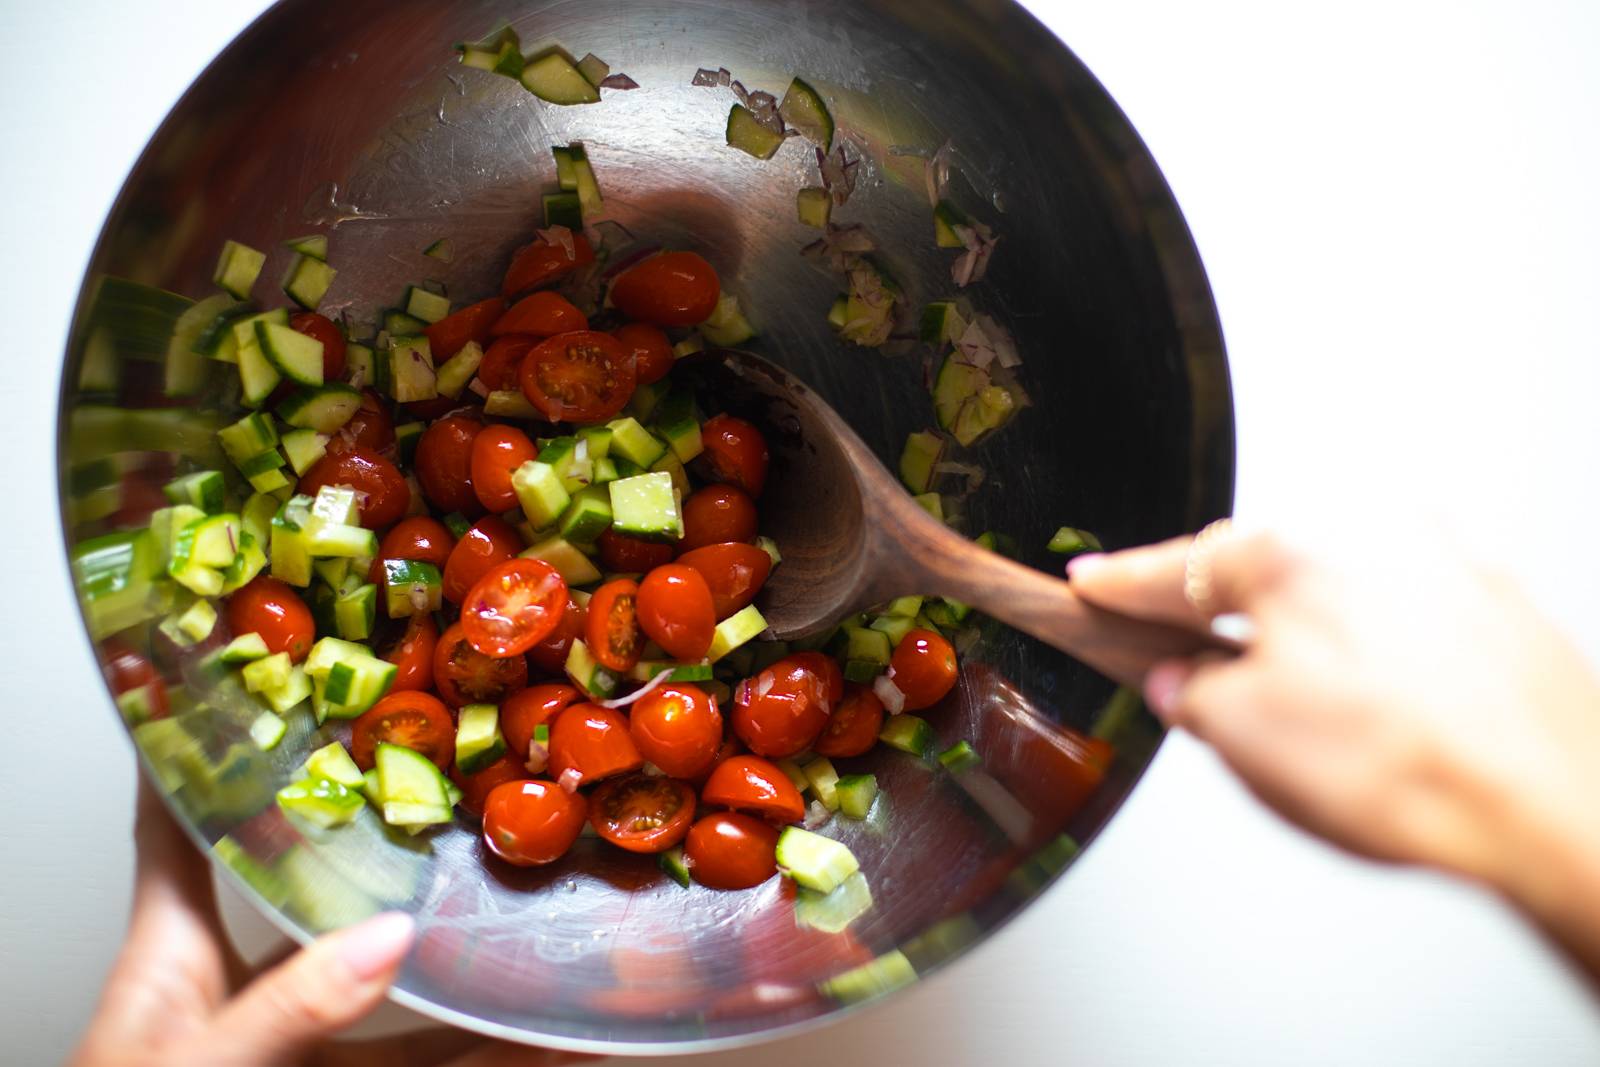
Step 2: Make a Cucumber Tomato Salad

Cucumbers, tomatoes, red onion, and a tiny bit of olive oil, salt, and vinegar.

Cucumber and tomato salad being tossed in a bowl.

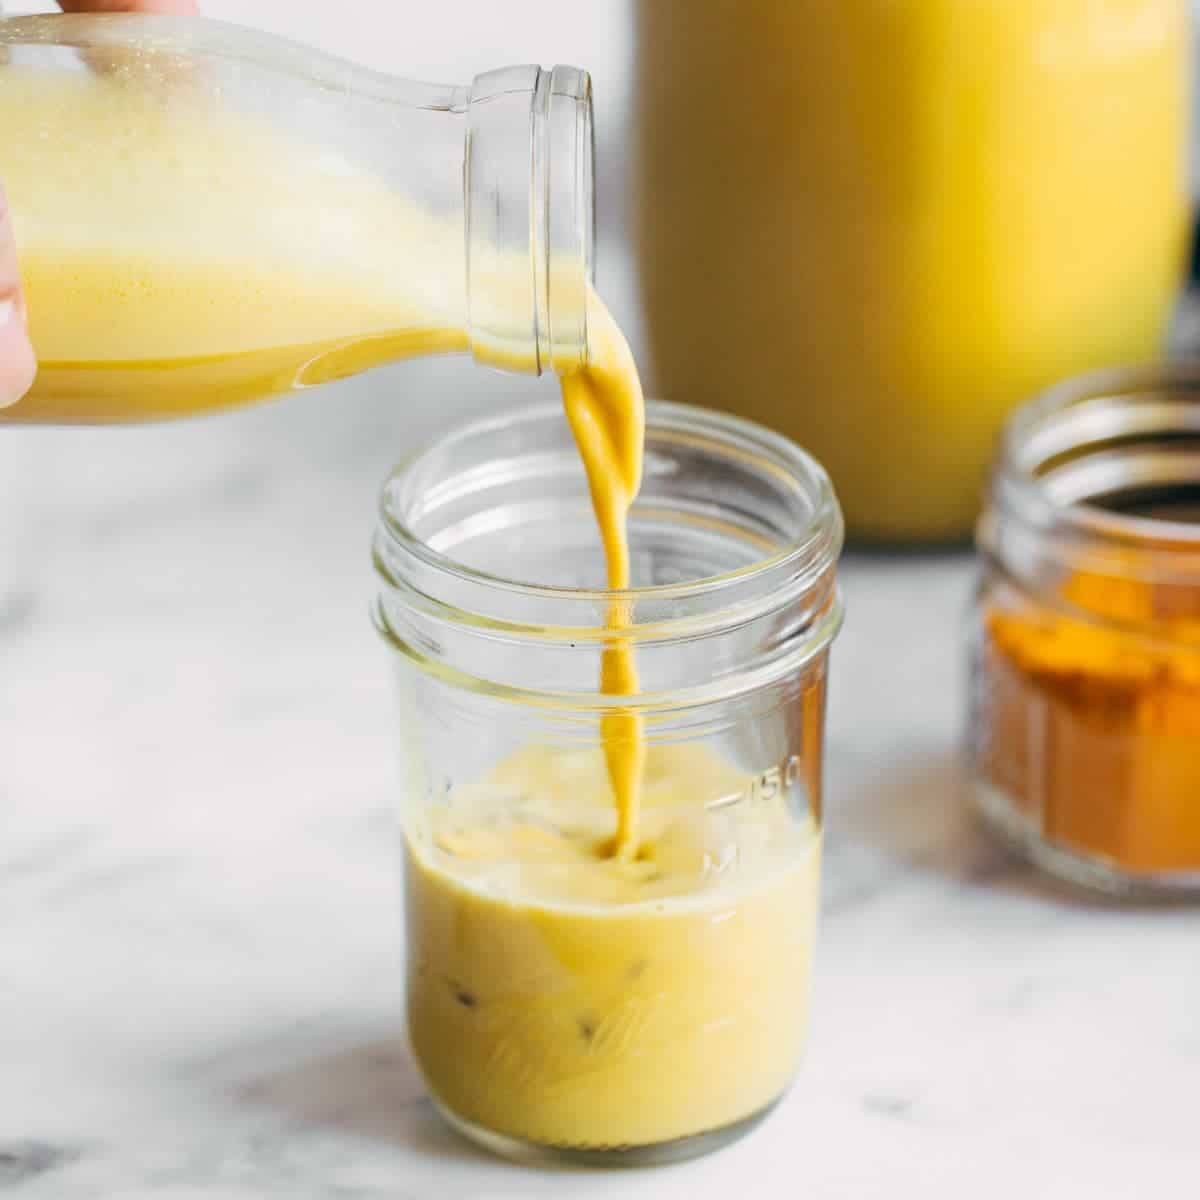
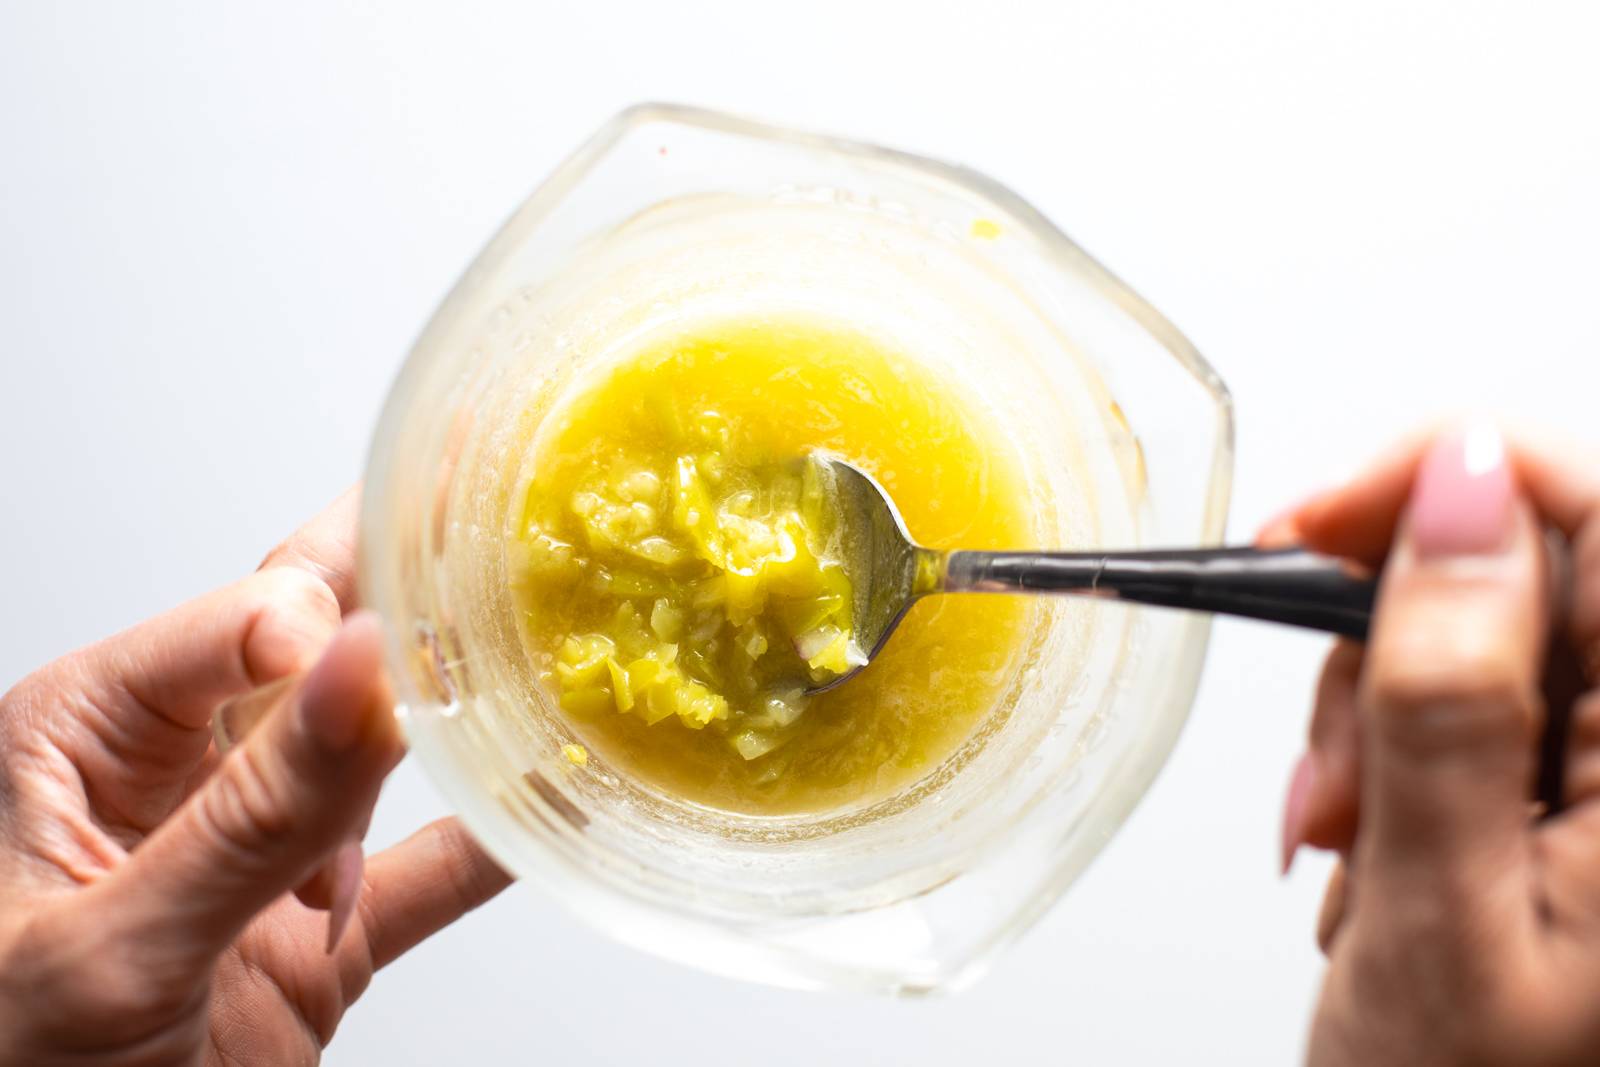
Step 3: Make Pepperoncini Garlic Butter Sauce

Garlic, melted butter, pepperoncini brine, and some pepperoncini peppers get mixed up to make a sauce.

White hand mixing up pepperoncini butter

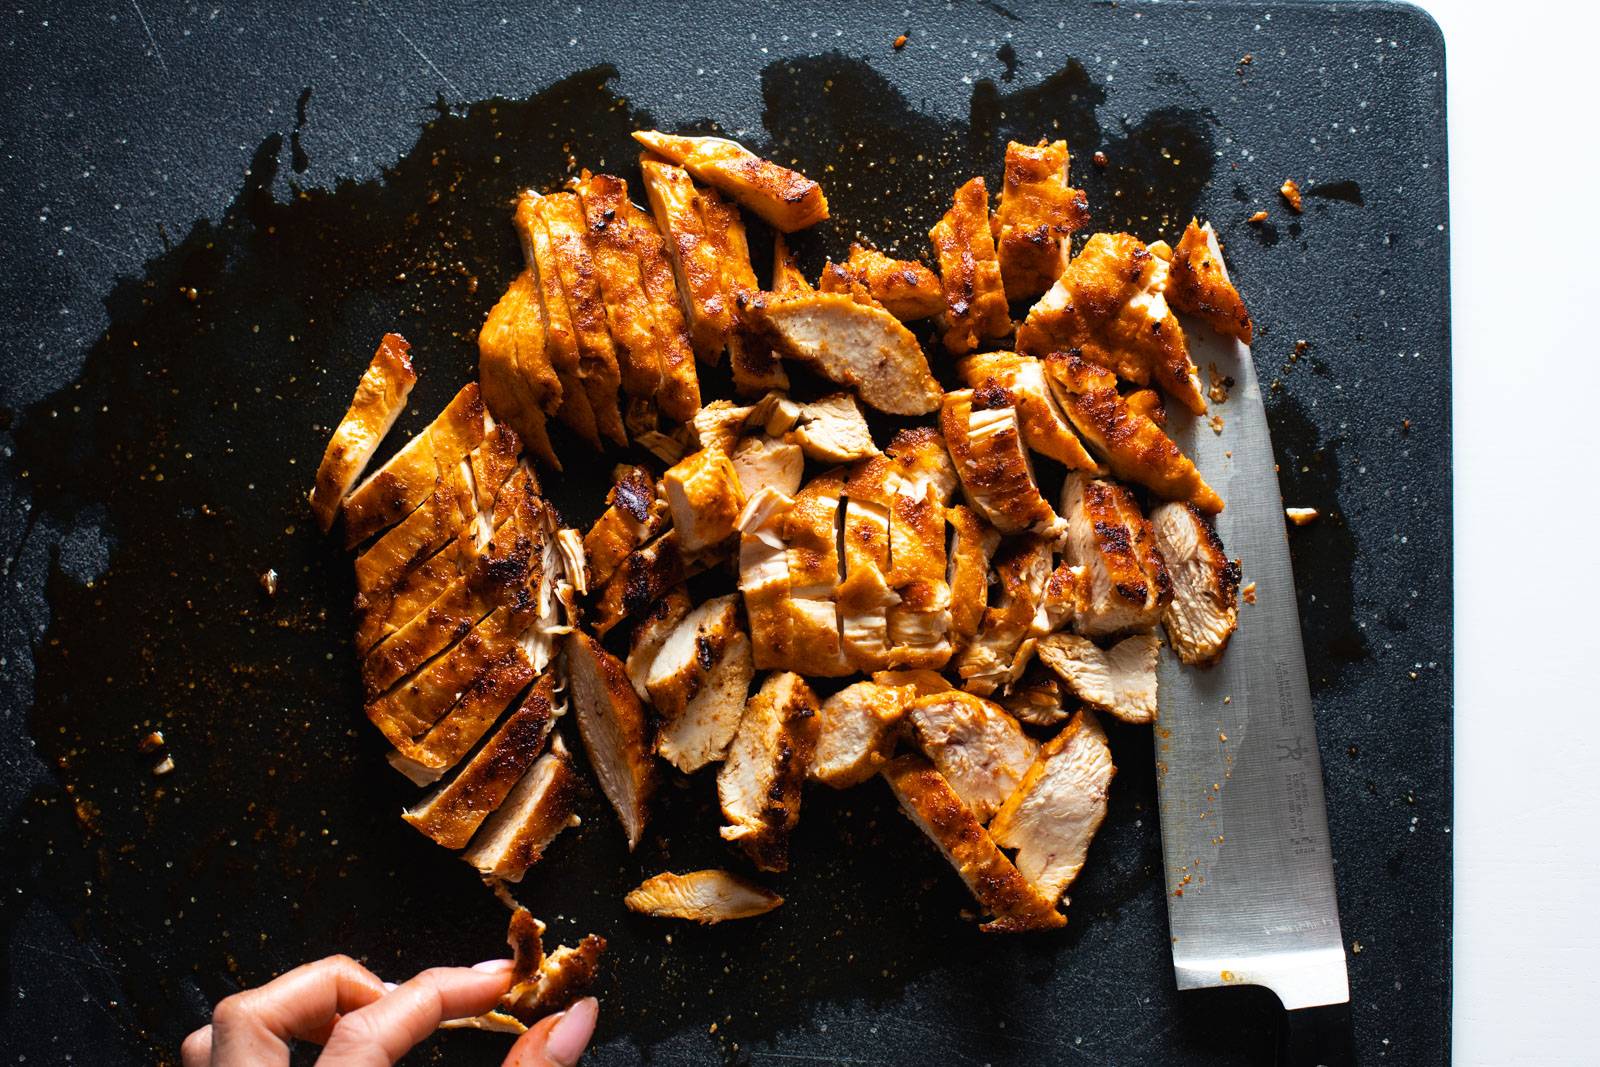
Step 4: Grill the Chicken

I usually use a grill pan because I’m too lazy to get my grill out. But an actual grill (or a regular skillet) will work perfectly.
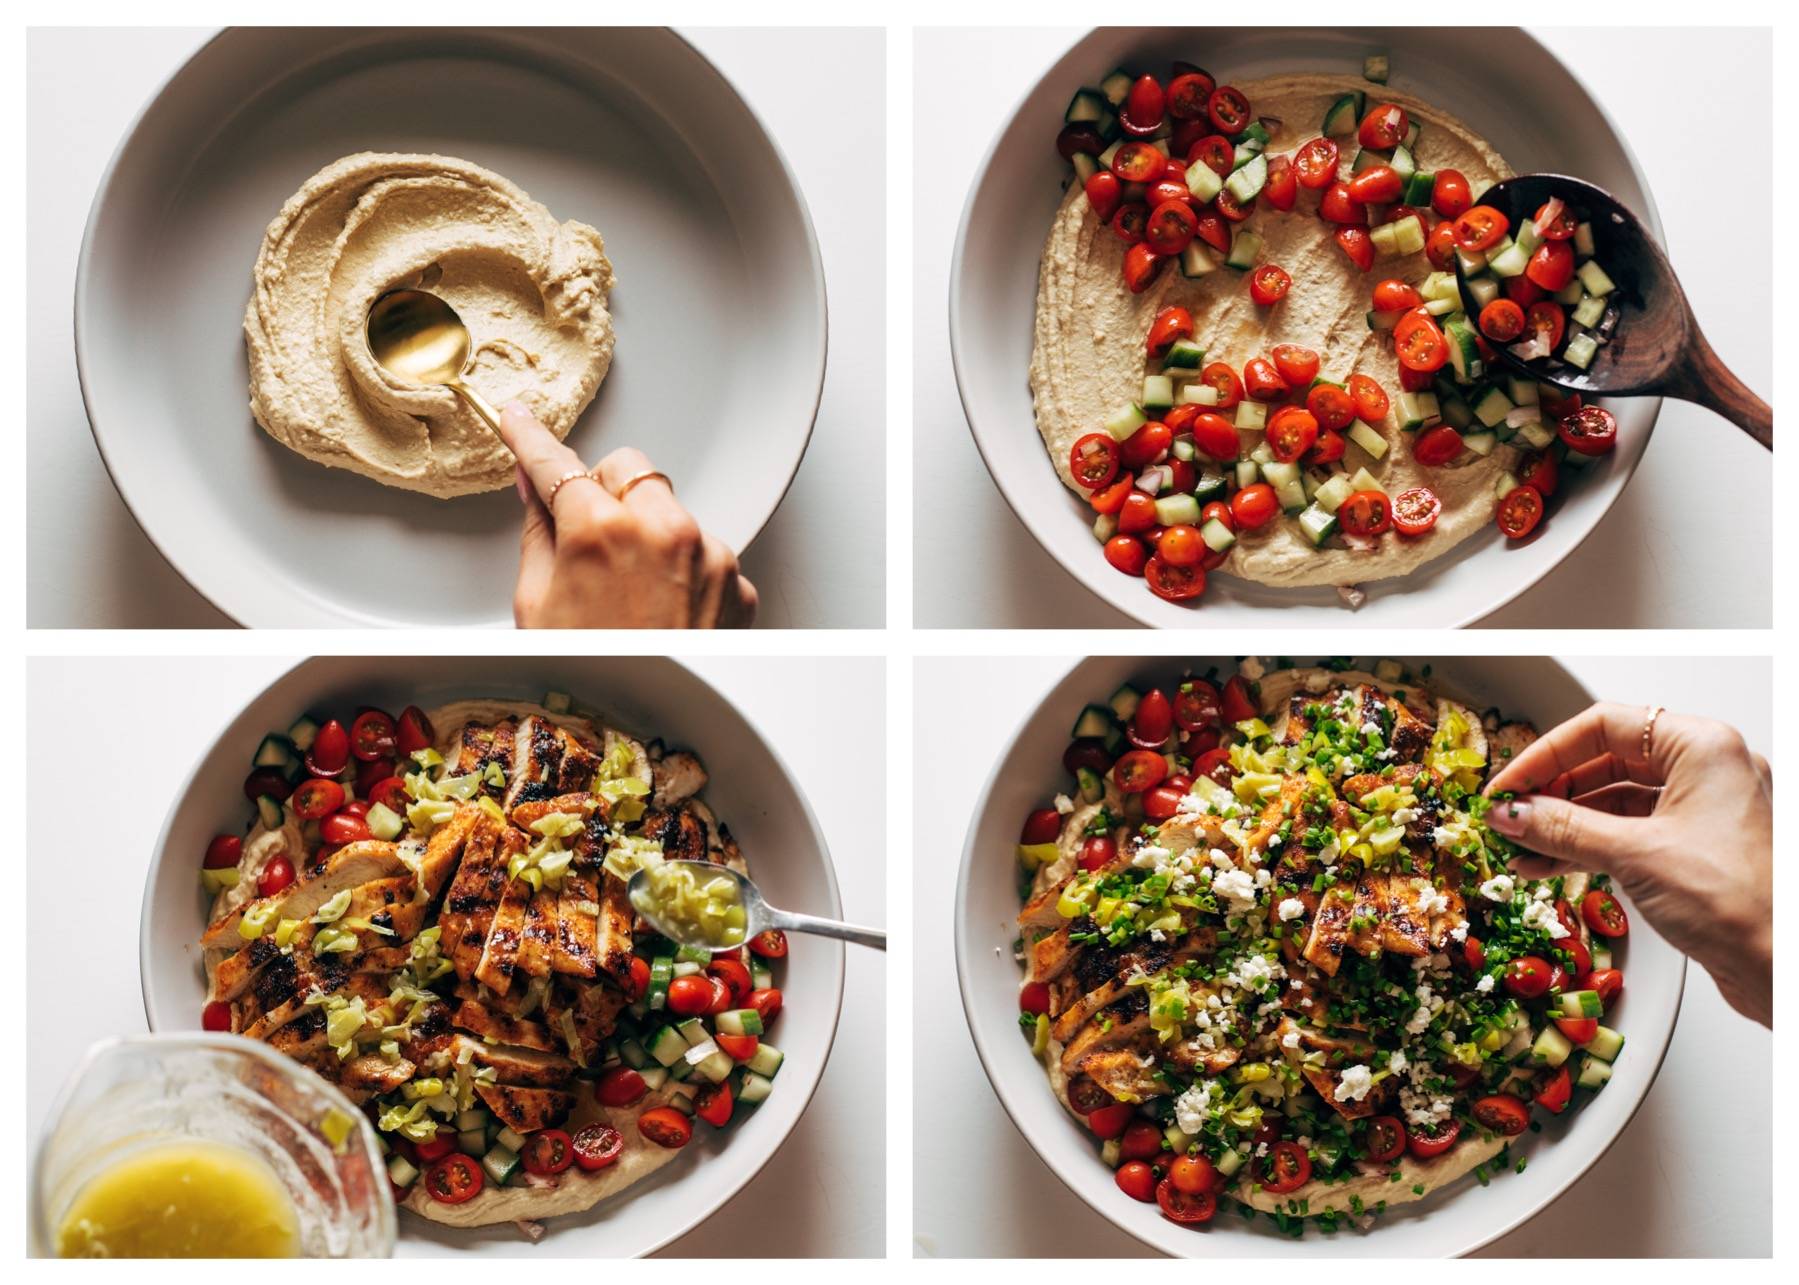
Grilled chicken chopped up on a cutting board

Step 5: Assemble

This is the fun part! Hummus goes first, then tomato cucumber salad, then chicken and sauce.

Finish it off with feta and chives!

Collage of the pepperoncini chicken platter being built in steps

Lindsay’s Notes

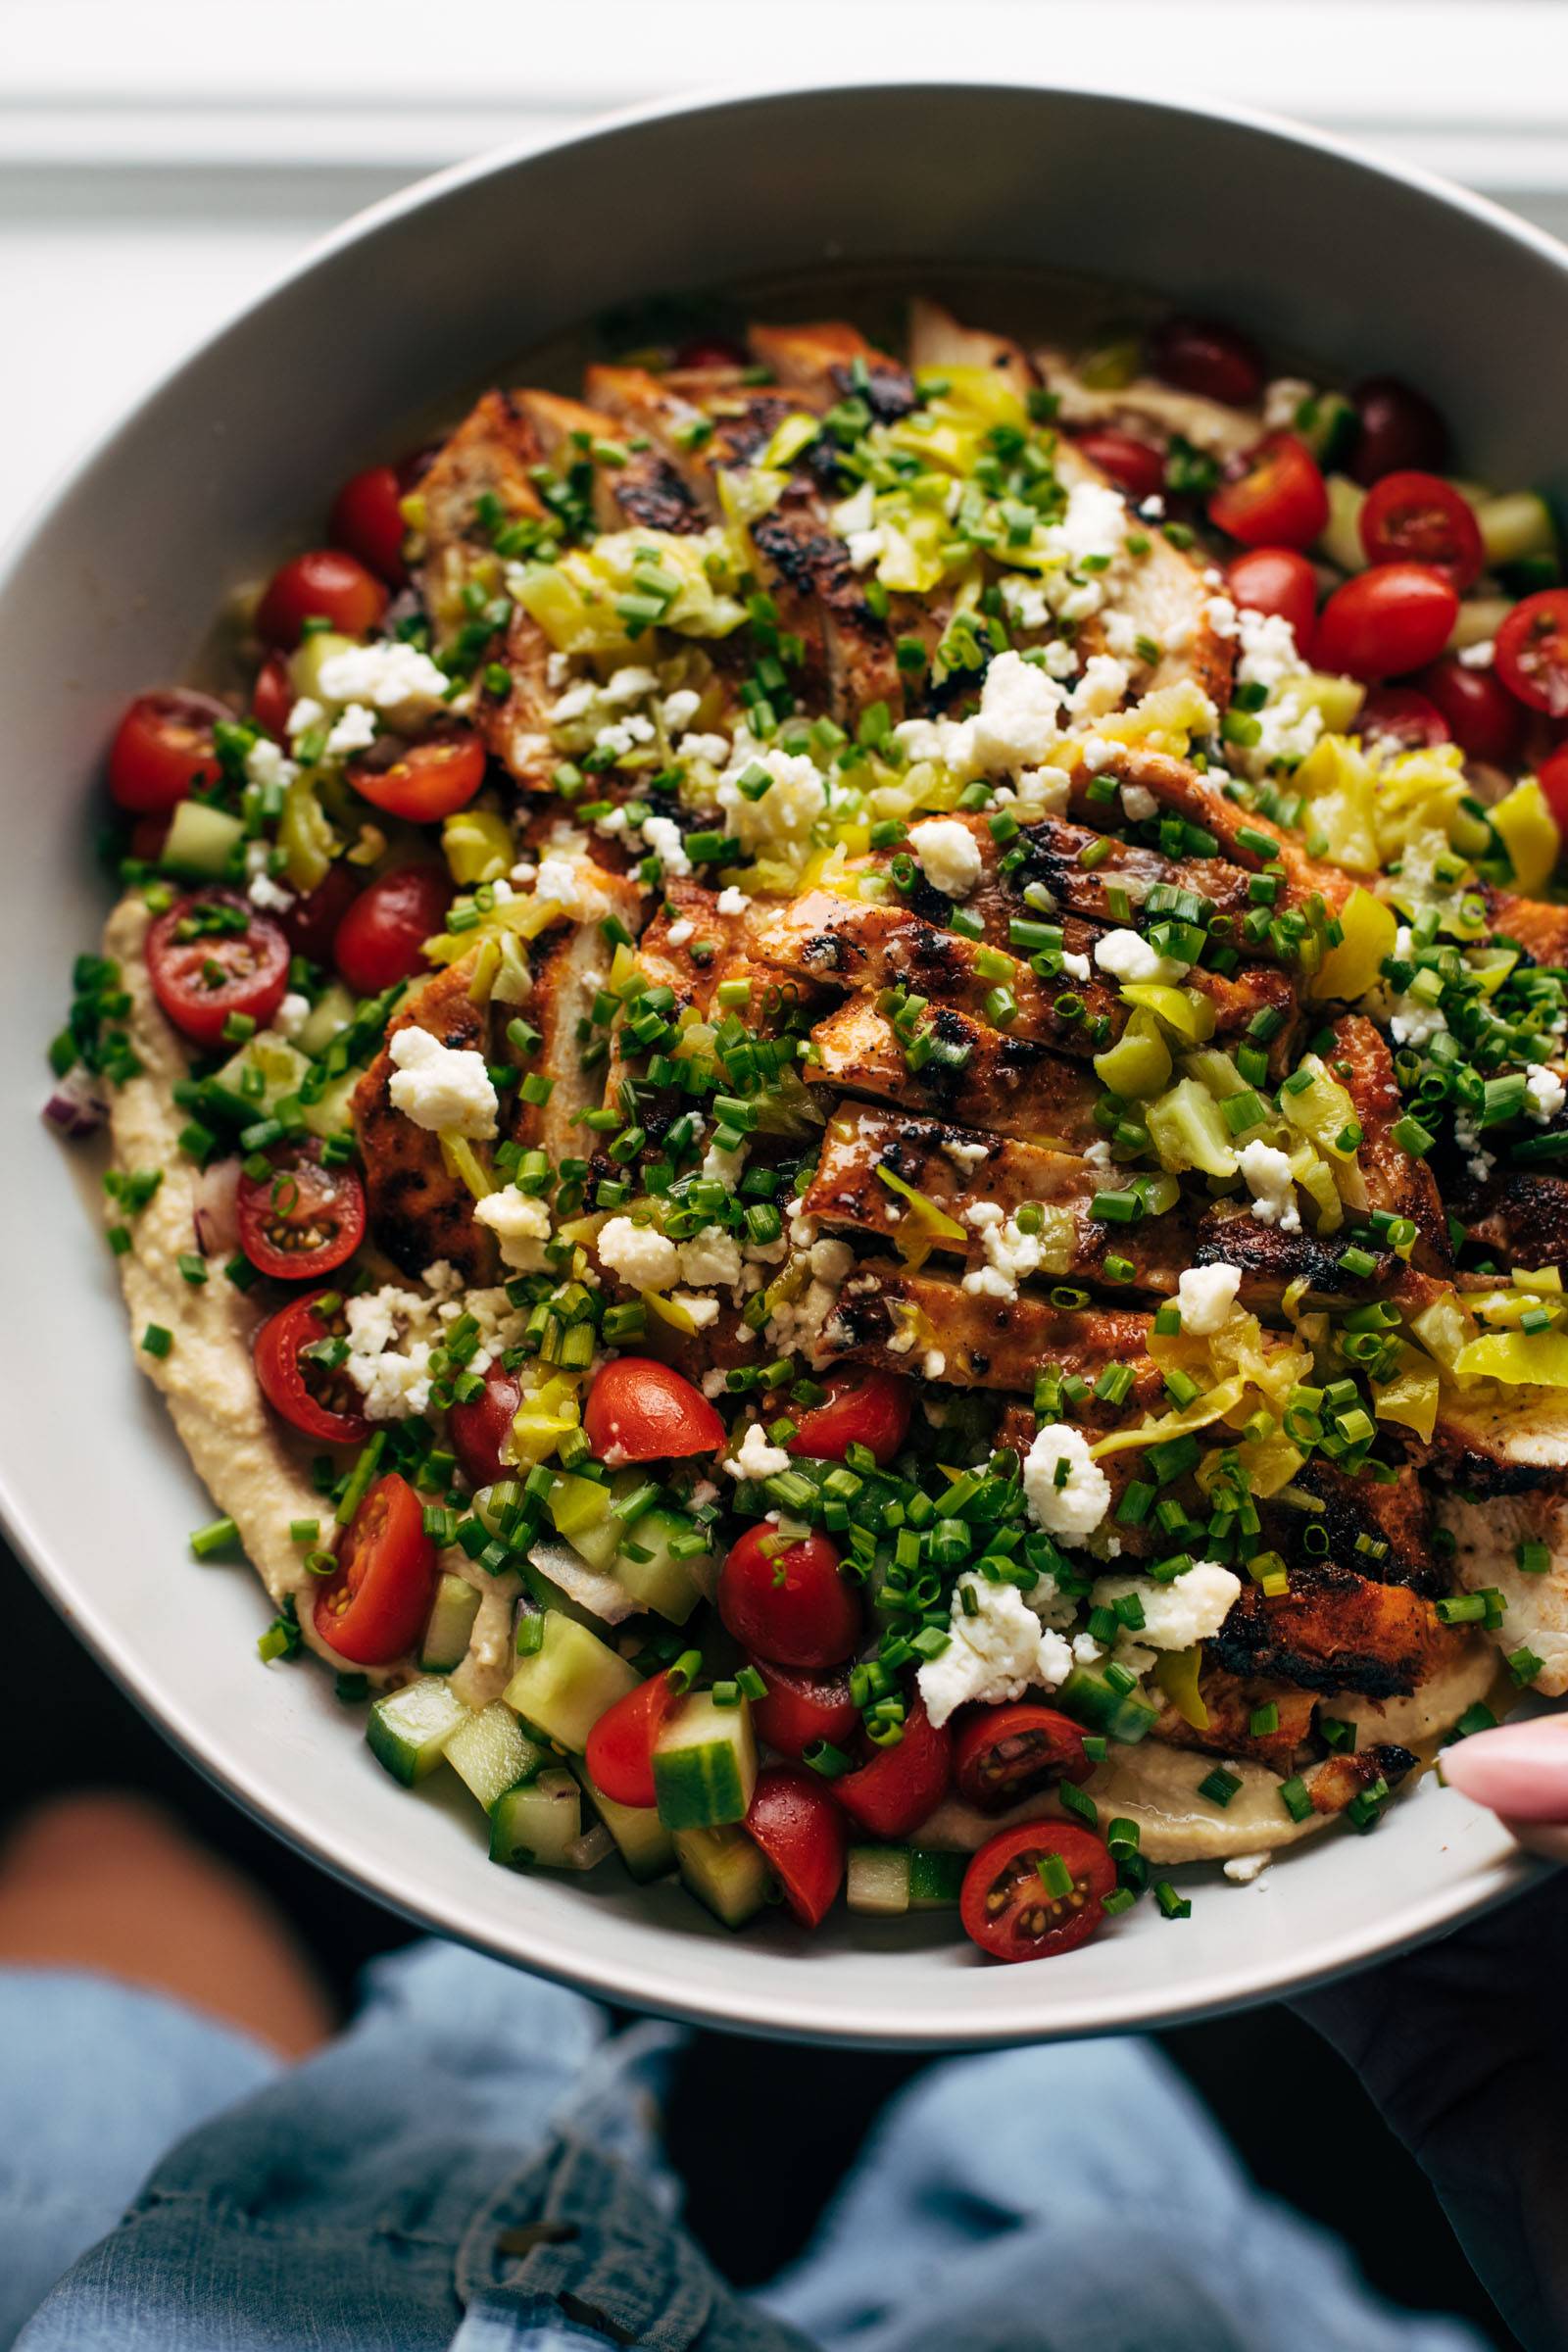
Grilled marinated chicken, tomato cucumber salad, feta, hummus, and a pepperoncini garlic butter sauce. OH BABY, I love this recipe!

I got the idea for this from Sara Tane – got to her site randomly via Threads (okay Threads! coming in clutch with recipe inspo!) and immediately knew it was going to be a banger.

This particular grilled marinated chicken is so simple (just dry spices and olive oil) and yet somehow so good. I honestly think the biggest challenge of this recipe is trying not to eat all of the chicken before it makes its way onto the plate.

And as if that wasn’t enough, get it all laced up with some freshly grated garlic, melted butter, and pepperoncini brine and you’ve got one killer combo.


White hand holding platter of pepperoncini chicken
Print
A picture of Grilled Chicken with Pepperoncini Garlic Butter

Grilled Chicken with Pepperoncini Garlic Butter


Description

This is such a fun one! Grilled marinated chicken, a quick tomato cucumber salad, tangy bits of feta, and a zippy pepperoncini garlic butter sauce poured over the whole thing.


Ingredients

Units

Grilled Chicken: 

  • 1 teaspoon garlic powder
  • 1 teaspoon onion powder
  • 1 teaspoon paprika
  • 1 teaspoon coarse kosher salt
  • 1 lb. chicken breasts
  • 1 tablespoon olive oil

Pepperoncini Butter Sauce:

  • 6 tablespoons butter
  • 1 clove garlic, minced
  • 1/4 cup pepperoncini brine
  • 1/4 to 1/2 cup pepperoncinis, chopped

Cucumber Salad:

  • 1 pint cherry or grape tomatoes, halved
  • half a cucumber, chopped
  • a quarter of a red onion, minced or thinly sliced
  • salt and pepper, olive oil, vinegar

Extras:

  • Chives
  • Feta
  • Hummus
  • Pita Bread

Instructions

  1. Marinate the Chicken: Place the chicken, spices, and olive oil together in a large bowl or plastic bag. Mix until well-coated; set aside in the fridge while you prep the other elements (30 minutes up to several hours).
  2. Make the Cucumber Salad: Toss veggies with a small amount of salt, pepper, olive oil, and vinegar. (If you add too much it becomes watery, so use a light hand!)
  3. Make the Pepperoncini Butter Sauce: Melt the butter (I just do this in the microwave). Stir in the garlic, brine, and pepperoncini pieces. Set aside.
  4. Grill the Chicken: Using a grill, grill pan, or skillet, cook the chicken until cooked through and golden brown on both sides. If you have a meat thermometer, I highly recommend using it so you don’t overcook the chicken! We’re looking for 160 degrees. Let it rest for a moment, then cut into slices.
  5. Assemble: If you want to serve it as a family-style meal – layer the hummus on a large platter. Add the cucumber salad in 3-4 little mounds around the outside of the plate. Add the chicken right in the middle and drizzle with the pepperoncini butter sauce. Add feta, chives, and s&p to finish. Scoop onto plates or dip into the whole thing with pita bread. SO good!

Notes

The garlic butter will start to congeal as it rests, so I would suggest warming that right before serving (if it’s been sitting out for a while) so it’s nice and silky, and then enjoying the whole thing while the butter and chicken are still warm for best mouthfeel! *texture nerd smile*

Nutrition facts do not include extras. 

For tips on how to cook chicken, see our guide here!

  • Prep Time: 20 minutes
  • Cook Time: 15 minutes
  • Category: Dinner
  • Method: Grill
  • Cuisine: Mediterranean-Inspired

Keywords: pepperoncini chicken, grilled chicken, garlic butter pepperoncini sauce

Recipe Card powered by Tasty Recipes logo

Frequently Asked Questions For Grilled Chicken with Pepperoncini Garlic Butter

What can I use instead of chicken?

Shrimp would be awesome!

How do you serve this?

As written, the recipe will serve like a family-style platter! It is a gloriously beautiful thing to set down on a table for a group meal. I put scoops of everything on individual plates and we dip into it with bread and eat it with forks. For individual servings, I would do the same thing, but just layer it onto a plate with amounts for one person.

What else would you serve with this?

To me, this is a complete meal! Veggies, protein, carbs, fiber, and FLAVOR! But if you wanted to throw something else on the table to round it out even more, this bistro salad would be amazing with all the fresh herbs in there! Yum. And of course, the simple green salad never fails me. We make it weekly!

How long do the leftovers last?

The chicken will last for 2-3 days in the fridge. If you’re making this for meal prep, I would suggest storing each element separately until just before serving so it doesn’t all get soggy in the hummus.

Can you make this vegetarian / meatless?

Yes! I think cauliflower would be delicious – just coat the cauliflower florets with the same spices that are written here and roast at 425 for 20 minutes or so.

How do you make this gluten-free and/or dairy-free?

This recipe is naturally gluten-free! To make this dairy free, omit the feta cheese.

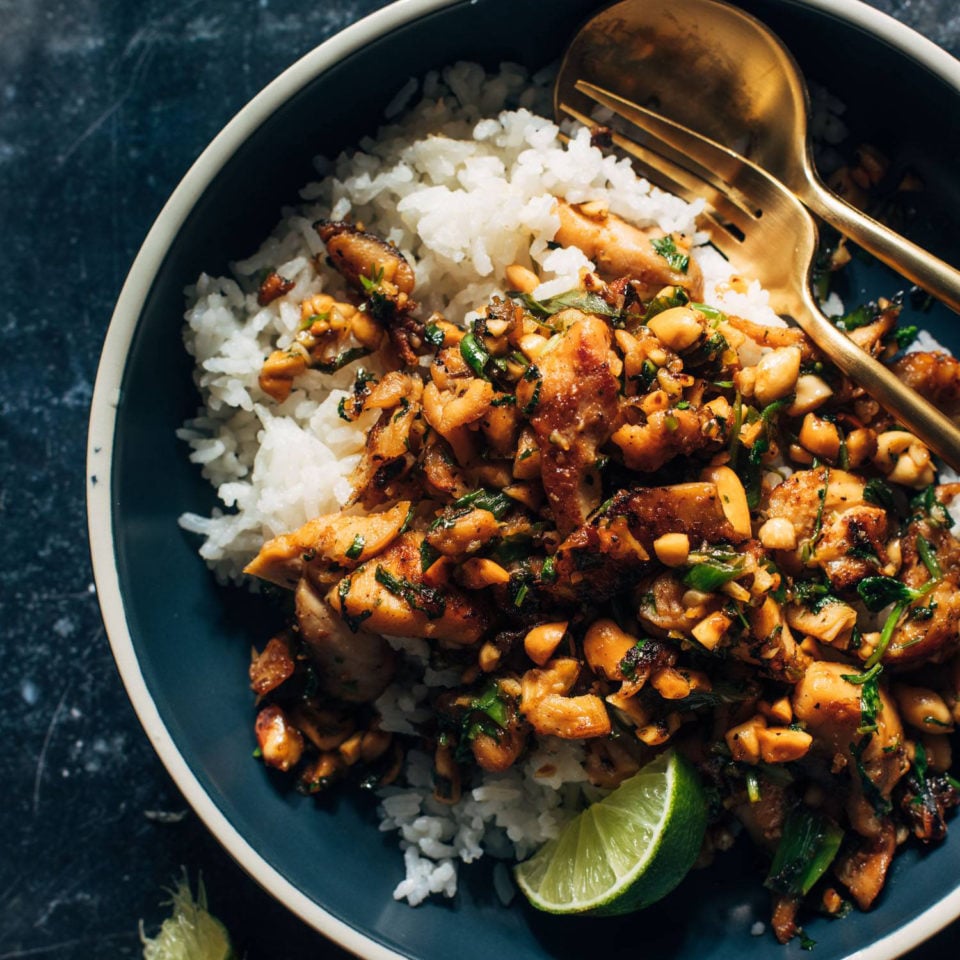
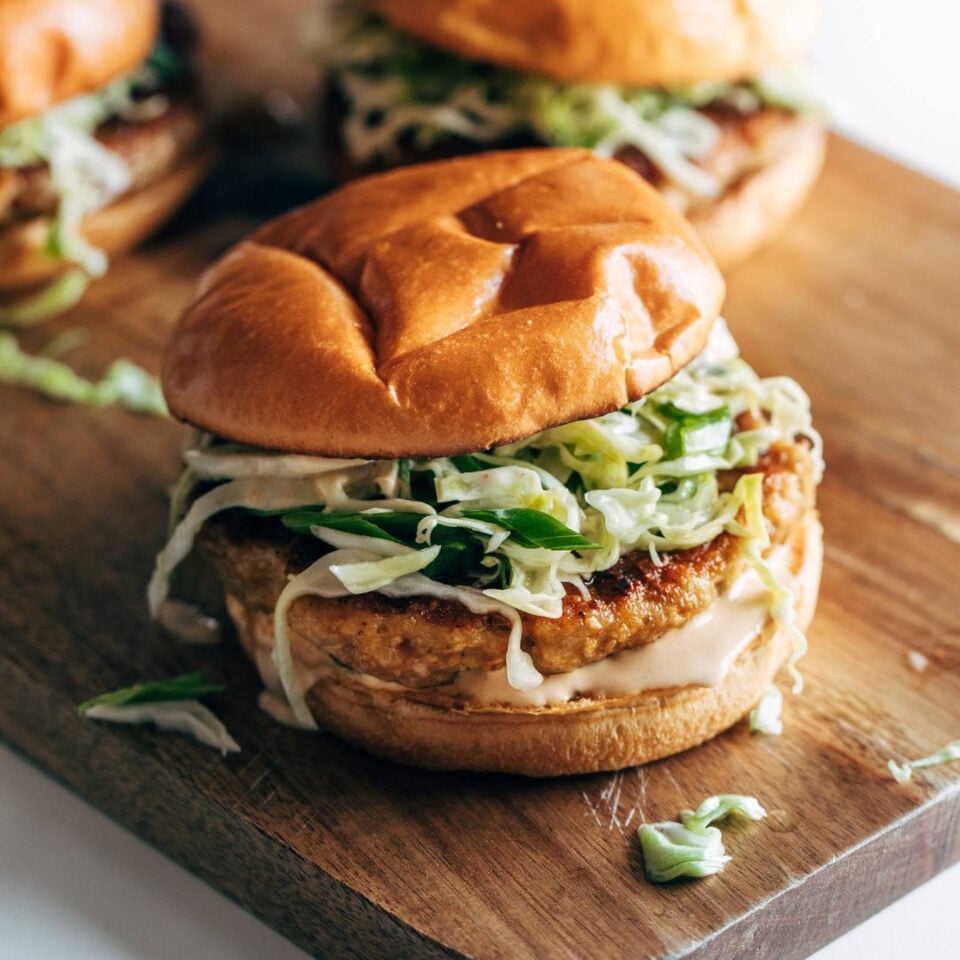
Three More Of My Favorite Chicken Recipes

The post Grilled Chicken with Pepperoncini Garlic Butter appeared first on Pinch of Yum.


from Pinch of Yum https://pinchofyum.com/grilled-chicken-with-pepperoncini-garlic-butter

Monday, July 17, 2023

Blueberry Matcha Latte

Blueberry matcha latte in a glass with a stainless steel straw

This little number is creamy, sweet, and tastes like fresh blueberries! It’s my daily summer day brightener.


In This Post


How To Make This Blueberry Matcha Latte

Step 1: Make the Blueberry Syrup

Just put frozen blueberries and sugar in a jar. And wait a few hours.

Process photos of blueberry syrup being made

Give them a few hours in the fridge to thaw out and release their juices, and mix it all up and you have this yummy blueberry syrup.

If you want to speed the process up, add a bit of water to the jar and/or microwave it so the blueberries start to melt. You can even mash them down a bit to get them to release their juices, and as it mixes with the sugar it’ll create a little syrup that works great in this drink.

Step 2: Make your matcha

I dissolve my matcha powder in warm water by just shaking it up in a jar. I use the Jade Leaf Matcha Latte mix.

Matcha in a jar

Pour it into a glass with ice.

Matcha in a glass with ice

Step 3: Add Your Milk of Choice

Put your matcha and oat milk (or milk of choice) in a glass. Pour the oat milk over a spoon if you don’t want to mix the layers just yet!

Oat milk and matcha in a glass with ice

Step 3: Add the Blueberry Syrup

Drizzle that beautiful syrup right in there.

Blueberry syrup added to the matcha and oat milk

Step 3: Mix It All Up and You’re Good to Go

Love, love, love.


Lindsay’s Notes

Hi! Just me over here, continuing my obsession over this little blueberry matcha latte!

It’s got a creamy oat milk base with a bit of concentrated matcha and a few drizzles and swizzles of a shortcut blueberry syrup that gives it the most beautiful white, green, and purple layers, and the taste of straight summertime.

I first saw this on @schoolnightvegan’s Instagram account (here is the method that inspired his video) and then quickly realized I wasn’t going to be able to wait the required two weeks for the blueberry syrup. So… I made this version instead. Frozen blueberries make the process much faster (2-3 hours!) and give you a rich, deep, blueberry-licious syrup to work with.

In comparison to fresh blueberries, frozen blueberries just have a slightly different, stronger taste to them, and that comes through in the syrup. If you want a pure, mild-tasting blueberry syrup, go for the full 2-week method! If you are like me and you have trouble waiting 2 weeks for ANYTHING, especially a drink that you urgently need, this is your perfect deliciously blueberry-flavored solution.

I am sensitive to caffeine so I wasn’t sure if this little number would be too much for me, especially having it in the afternoon. But with about a third of the amount of caffeine as a cup of coffee, I’ve found that it is the exact right amount to keep me going through the afternoon slump but still allow me to stay calm and sleepy at bedtime.

But the real reason I’m drinking this is because the flavor is sweet, summery, and perfect. Fresh blueberry, creamy oat milk, and a bit of emerald matcha are just a match made in heaven.

matcha oat milk latte with blueberry syrup poured in

How To Make This Blueberry Matcha Latte

Print
A picture of Blueberry Matcha Latte

Blueberry Matcha Latte


  • Author: Lindsay
  • Total Time: 5 minutes
  • Yield: 1 serving (but enough blueberry syrup for 4-6 lattes)

Description

Sweet summery drink perfection! Yummy blueberry syrup mixed into a matcha oat milk latte makes for the perfect iced drink for summertime. Yum!


Ingredients

Units

Matcha Latte:

  • 12 tablespoons matcha of choiceI really like the Jade Leaf matcha latte mix which is made with matcha and sugar, so it’s already a bit sweet and tastes like a coffee shop matcha latte right from the get-go, but unsweetened matcha will also work great, especially if you’d like it less sweet
  • 1/4 cup hot water
  • 1/2 to 3/4 cup oat milk

Blueberry Syrup:

  • 1 1/2 cups frozen blueberries
  • 1/3 cup sugar
  • 3 tablespoons warm water

Instructions

  1. For the blueberry syrup: A few hours ahead of time, place the blueberries in a large jar, and cover with the sugar and the water. Place the jar in the fridge and let it rest for 4-6 hours or overnight to let the sugar draw some of the juices out of the blueberries. When it’s done resting, give it a good stir and add a bit more water if you want it less sweet. (For a faster option, you can muddle the blueberries after they thaw to speed up this process, or just melt them down in the microwave and use the purple blueberry juices that run off the thawed blueberries.) We’re just looking for some rich purple blueberry “syrup” here – nothing too fancy!
  2. For the matcha: Heat the water in a small jar with a lid. Add the matcha powder, cover, and shake until smooth.
  3. Add the milk: Fill a large glass with ice. Pour the matcha over the ice, and then add the oat milk. If you want to preserve distinct color layers for Instagramability, pour the oat milk over the back of a spoon.
  4. Finish with blueberry syrup: Finally, pour a tablespoon or two of the blueberry syrup into the glass and watch it sink to the bottom (more or less to taste, but I find this is a good amount to get the blueberry flavor in there without making it too sweet). Those green and purple layers are so pretty! Stir it up just before serving to get the blueberry flavor in each sip!

Notes

For my matcha measurements – I’m doing about double what’s recommended on the packaging from Jade Leaf so the matcha portion is a bit more concentrated. I would follow the recommendations on whatever brand of matcha you are using and just increase the potency if you want it stronger!

  • Prep Time: 5 minutes
  • Category: Drink
  • Method: Mix
  • Cuisine: Korean-Inspired
Recipe Card powered by Tasty Recipes logo

Frequently Asked Questions For Blueberry Matcha Lattes

How long does the syrup last?

Mine never lasts more than 5-7 days because we use it all up, but I’d think you can keep it in the fridge for a week or two!

What can I use instead of oat milk?

I love oat milk, but regular milk will work just fine here – as will soy milk, almond milk, or any milk alternatives.

What other fruits could I use?

I’ve done this with strawberry (SO GOOD) and peach (pretty good), using the same method with frozen fruits to make the syrups.

Can you make this vegan?

This is naturally vegan since it uses oat milk!

Can you make this ahead?

The syrup will last in the fridge to give you enough batches for the week!

For the latte, I find the matcha settles to the bottom after a while, so I would mix each one up just before serving, or just make them in jars or a pitcher ahead of time with a plan to shake them up before serving.

What are some other uses for the blueberry syrup?

My girls love the leftover fruit (and syrups) mixed into Greek yogurt! Or, of course, vanilla ice cream.

My Favorite Drinks Right Now

The post Blueberry Matcha Latte appeared first on Pinch of Yum.


from Pinch of Yum https://ift.tt/3Qq6waI