Wednesday, August 23, 2023

Roasted Peanut Kale Crunch Salad

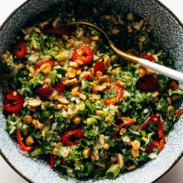
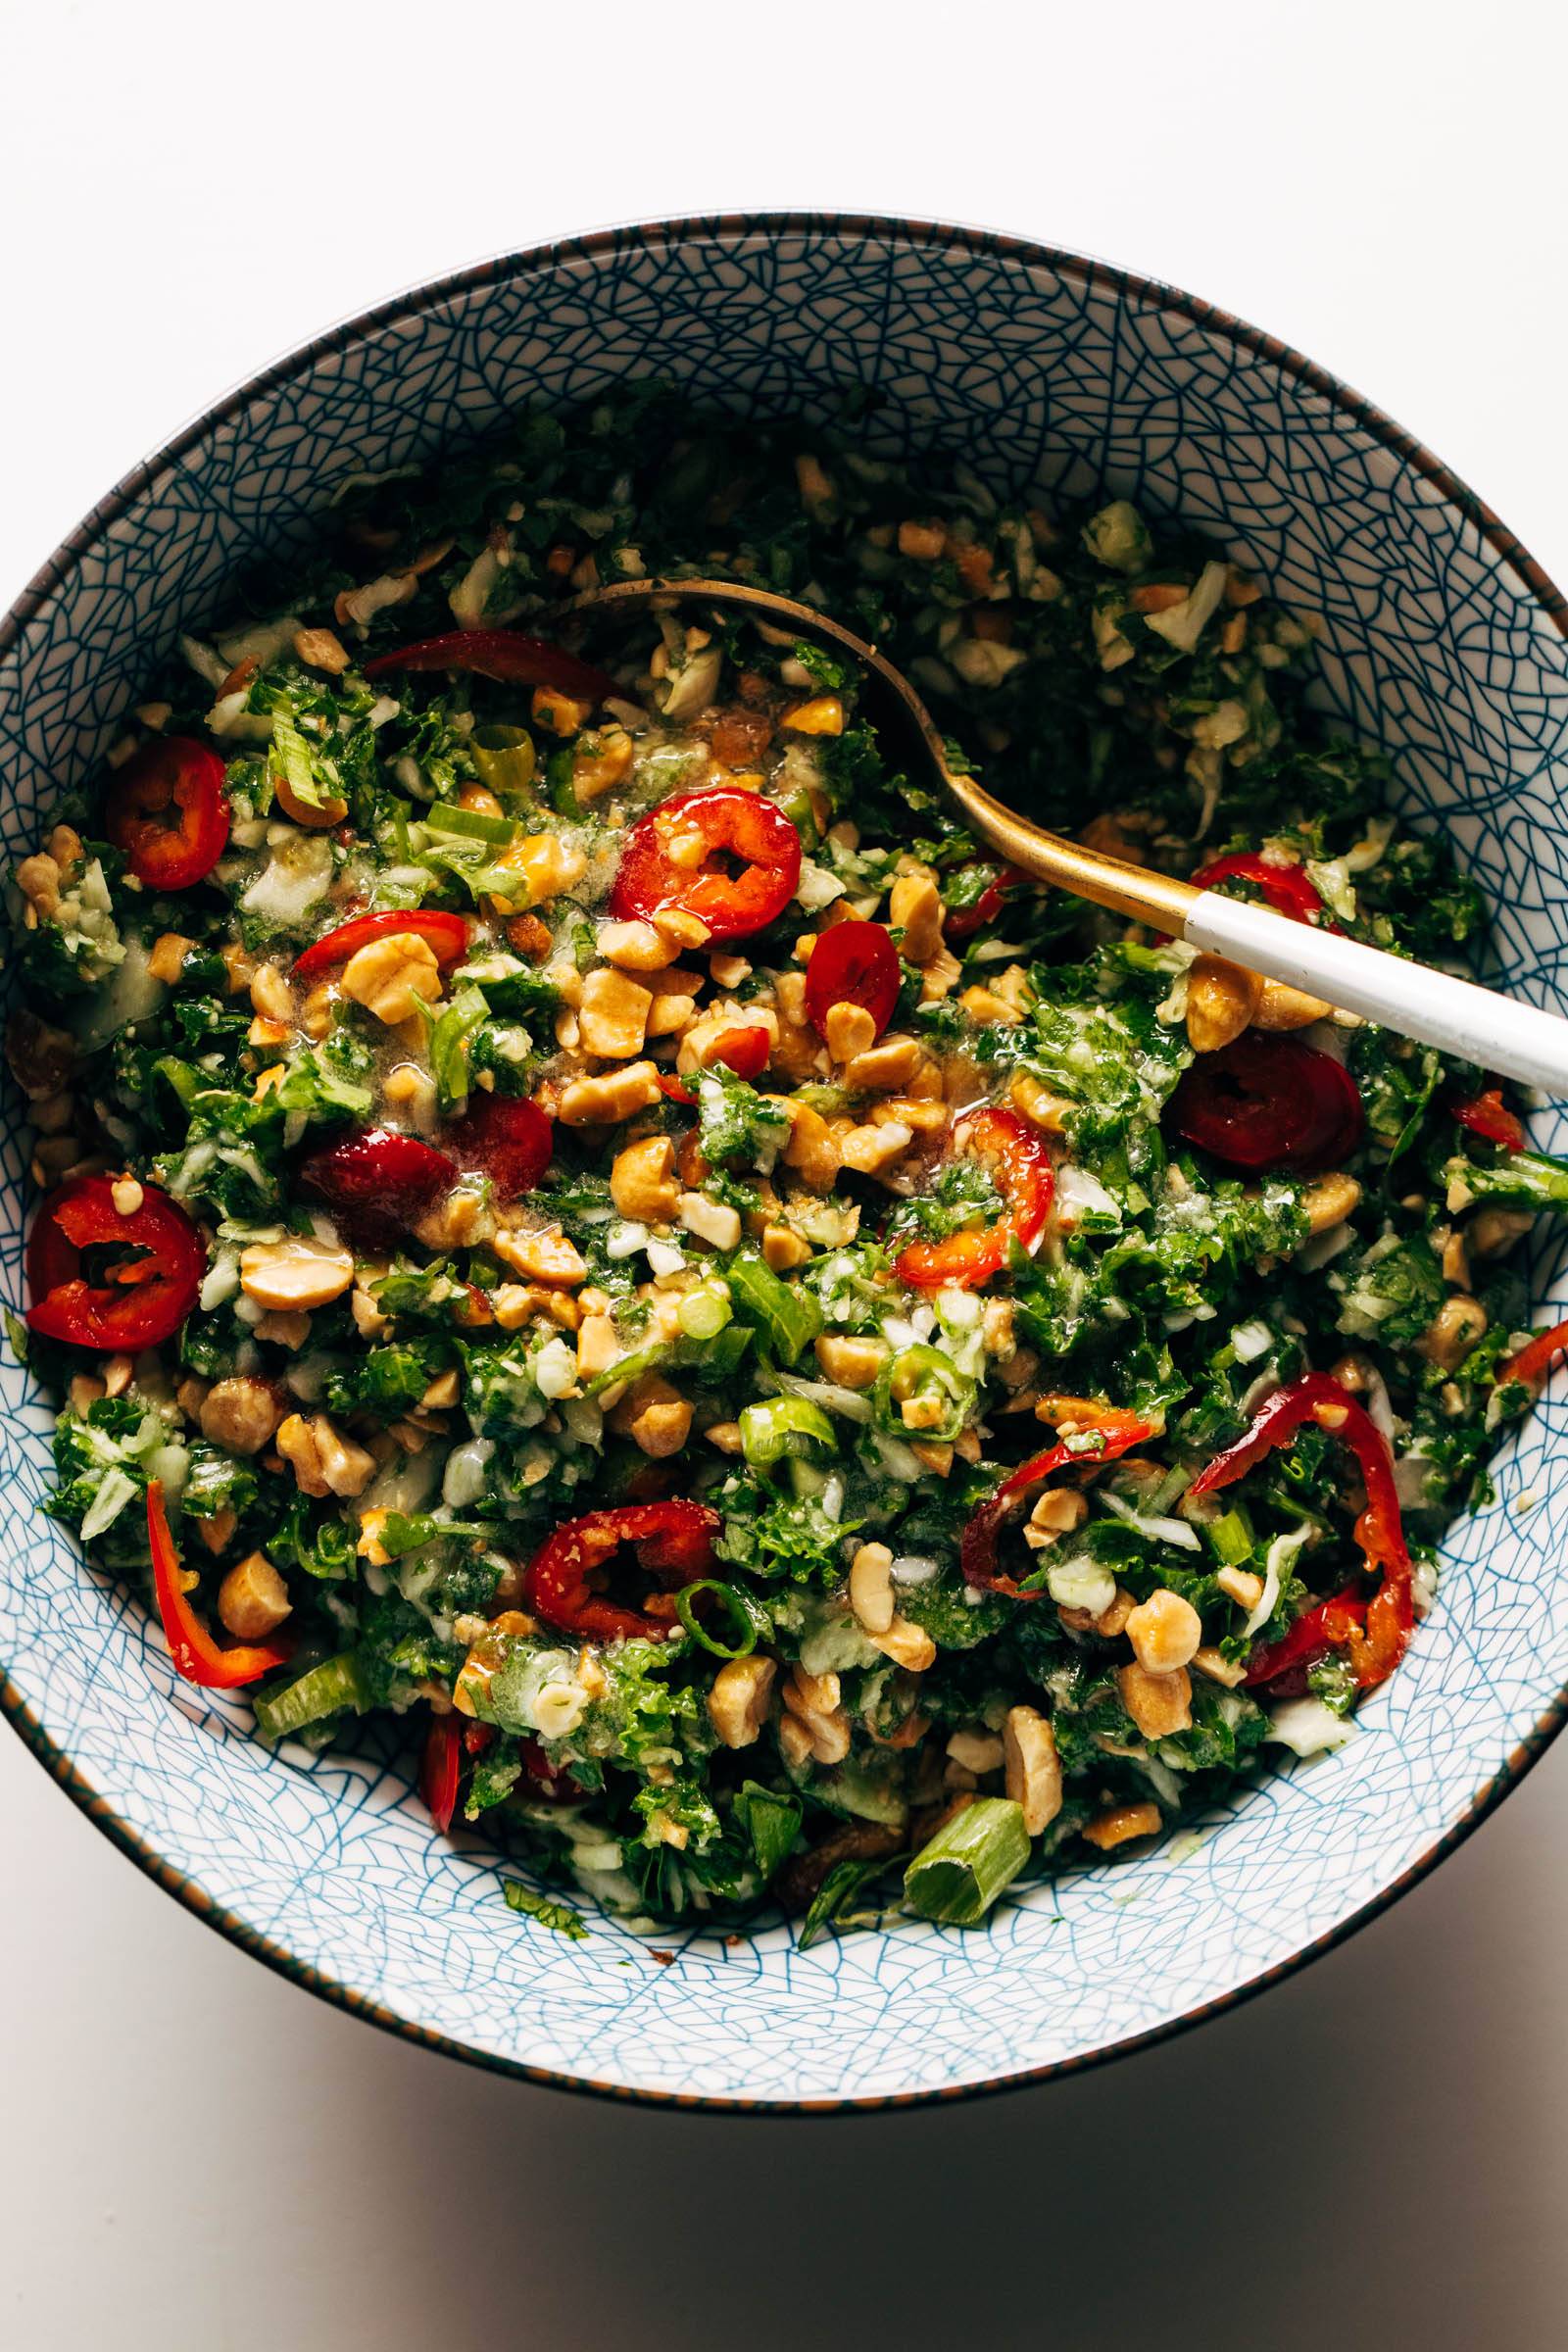
Peanut kale salad in a bowl with a spoon

This Roasted Peanut Kale Crunch Salad is SO yummy! I am very picky about kale in a salad, and this one is so pleasant to eat because of the finely chopped texture on the kale! Plus it’s juiced up and slicked down in the best way possible with a light roasted peanut vinaigrette that is slightly sweet and just really delightful.


In This Post: Everything You Need For Roasted Peanut Kale Crunch Salad


Lindsay’s Notes
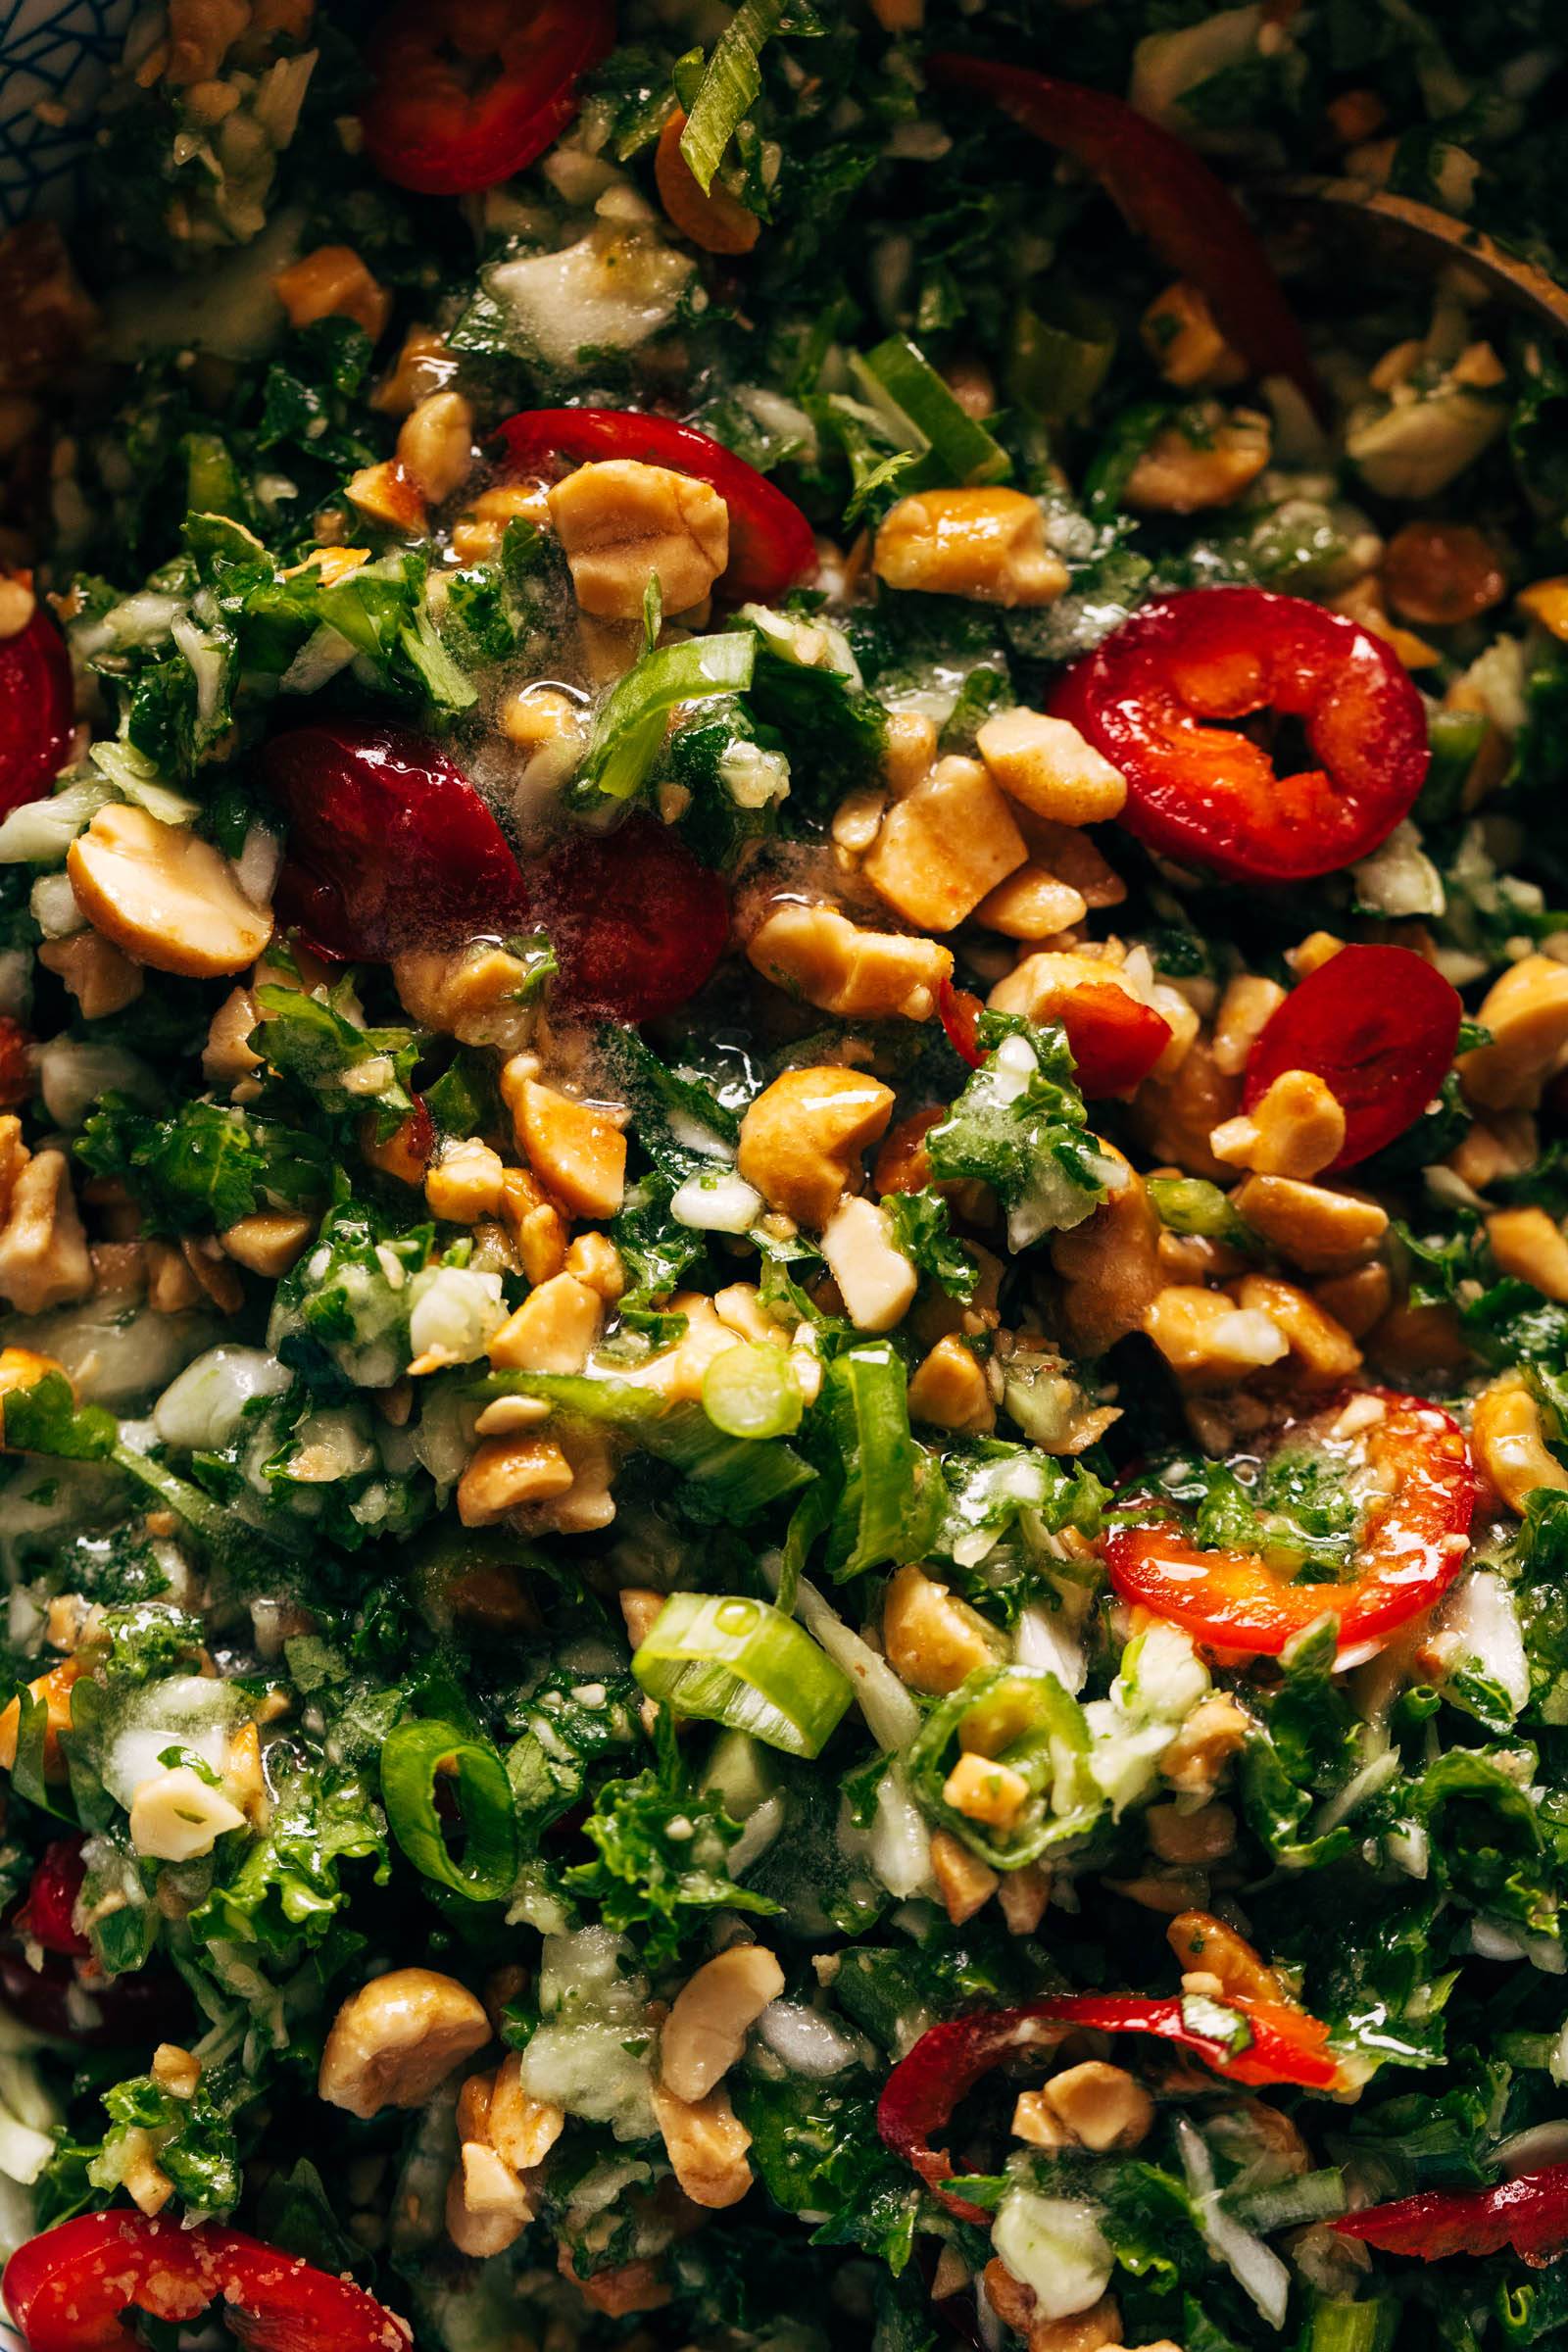
Close-up off kale salad with peanuts

Holy moly, I’ve lost count of how many times we’ve eaten this salad in the last few weeks!

First of all, let it be known that roasted peanut vinaigrette is the only way I want to live from here on out. It gives all the flavor of a peanut dressing but none of the heaviness; it’s much lighter and saucier, getting into every nook and cranny of this salad the way a regular peanut dressing wouldn’t be able to. It’s fantastic. Plus, the texture on the cabbage and the kale makes this salad TRULY ENJOYABLE to eat, and tossing it all up with some peanuts and thinly sliced fresno peppers makes this crunchy, spicy, filling, and perfect.

The typical order of events for this salad is:

  • I make it for lunch.
  • We have the rest of it for dinner.

It actually lasts shockingly well, even with dressing on it, because the kale and cabbage are so hearty! I often enjoy our dinner leftovers as much as I did the original lunch salad because the kale softens even more as it sits in the dressing.

But we don’t always do this all in one day – it works great for meal prep as well. I’ve been known to tuck a container of the shredded up kale, cabbage, and herbs in the fridge, plus a container of the dressing, and basically just toss together individual salads all week long for amazingly fast little lunch salads that I always, always look forward to.

You can eat this salad on its own, and I often do, especially as a lunch salad! Or you can do what we did last night for dinner and throw some herby shrimp on the side with a hunk of buttered bread. Or what we did the night before – serving it alongside leftover grilled chicken and rice.

This roasted peanut kale crunch salad is my new BFF.


How To Make This Roasted Peanut Kale Crunch Salad

Step 1: Make a Quick Roasted Peanut Vinaigrette

Whisk or blitz a quick little roasted peanut vinaigrette! The magic ingredient here is the roasted peanut oil (affiliate link) – it gives this dressing the taste of a peanut dressing but maintains a light, silky vinaigrette texture. This might require a trip to a separate store depending on where you shop, but when you find it, I’d recommend buying multiple bottles – I’ve very quickly gone through 2 bottles with several batches of this salad!

If you can’t find roasted peanut oil or just honestly don’t want to bother with finding it (I get it), you could use this peanut dressing, or use avocado oil in its place for a different flavor but similar texture.
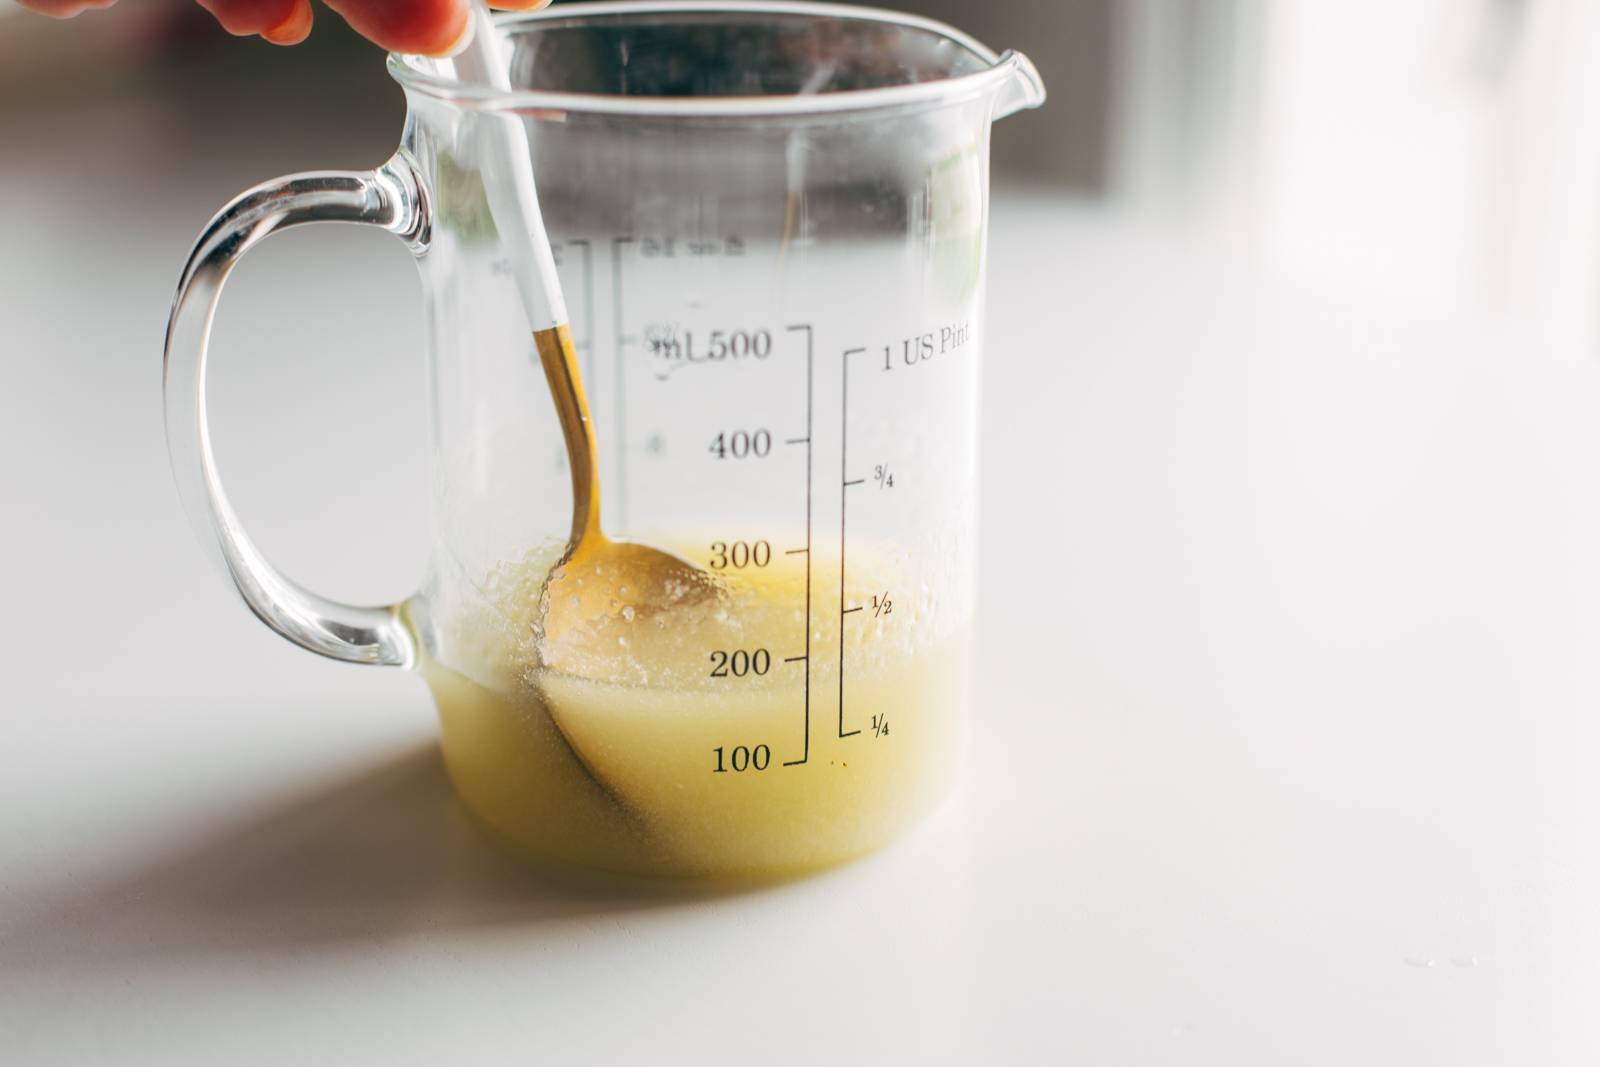
Peanut vinaigrette mixed up in a liquid measuring cup

Step 2: Chop Your Veggies

I do these ones by hand: cilantro, green onion, fresno peppers, and peanuts.
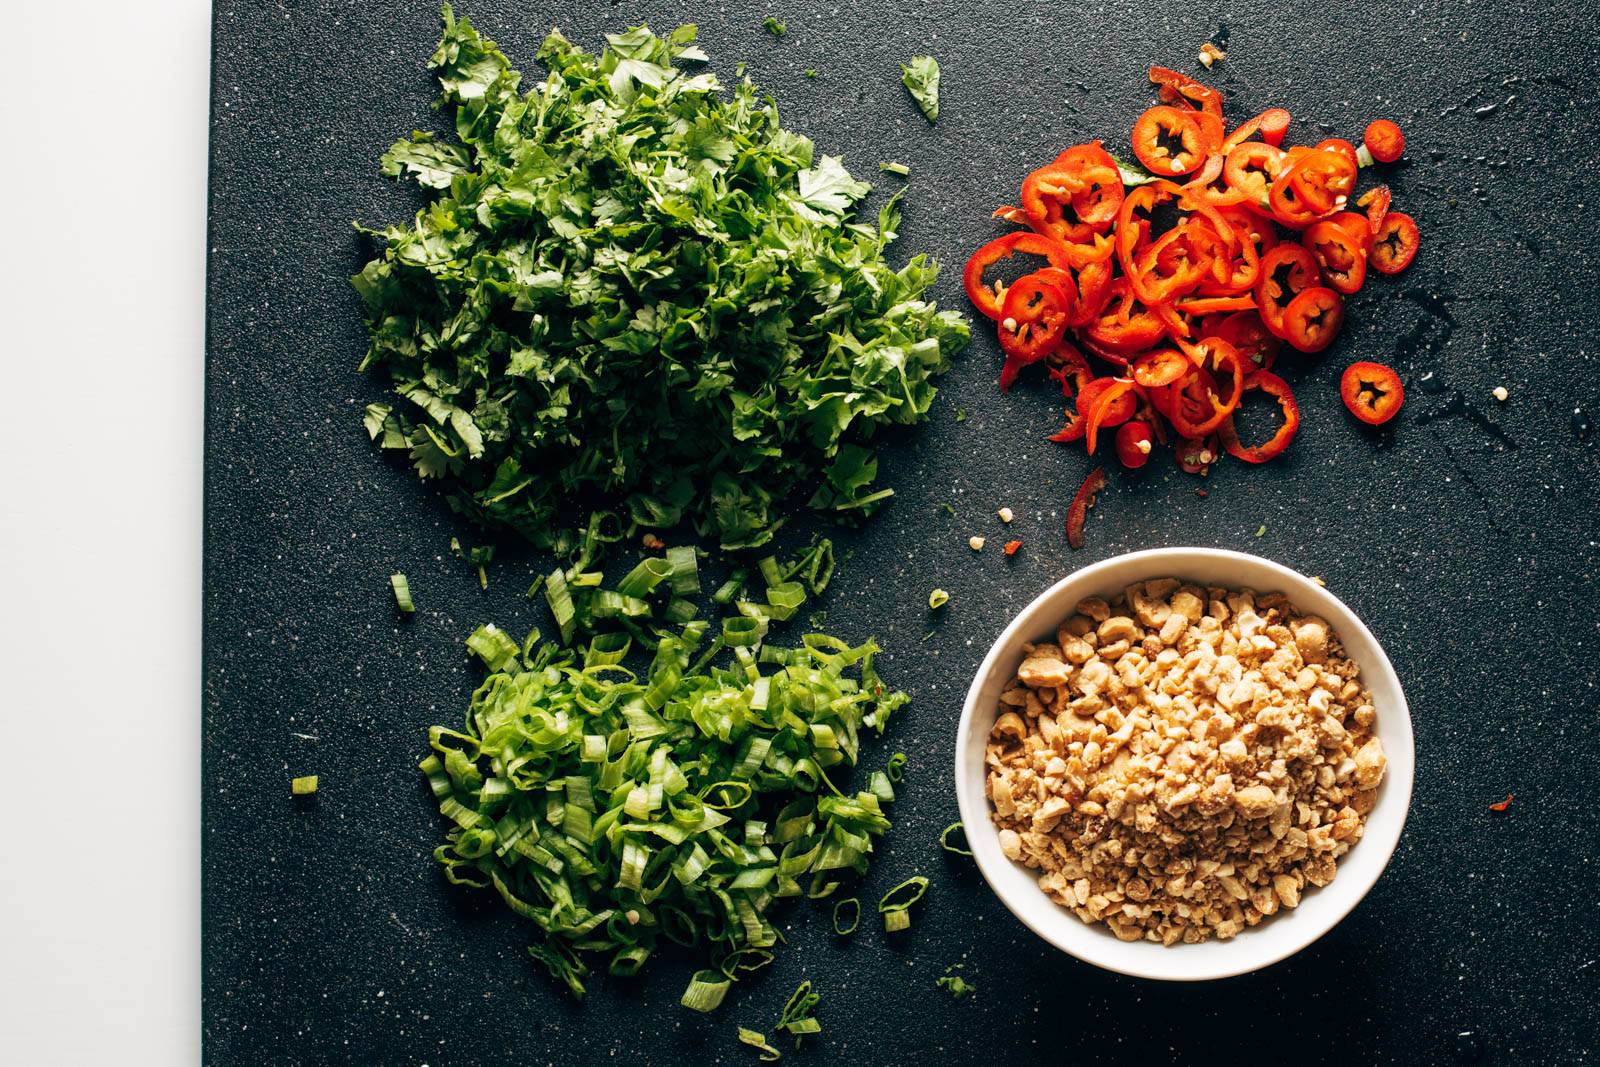
Chopped herbs, peppers, and peanuts on a cutting board

Step 3: Finely Chop Your Greens

Finely chop your kale and cabbage in a food processor for the ultimate in teeny-tiny chopped texture. I would recommend cutting the vegetables into chunks first so they process more evenly and doing this in several batches. If they start to release too much water, just give them a gentle pat or squeeze with a paper towel.

You can store the kale and cabbage together in one bowl or container!
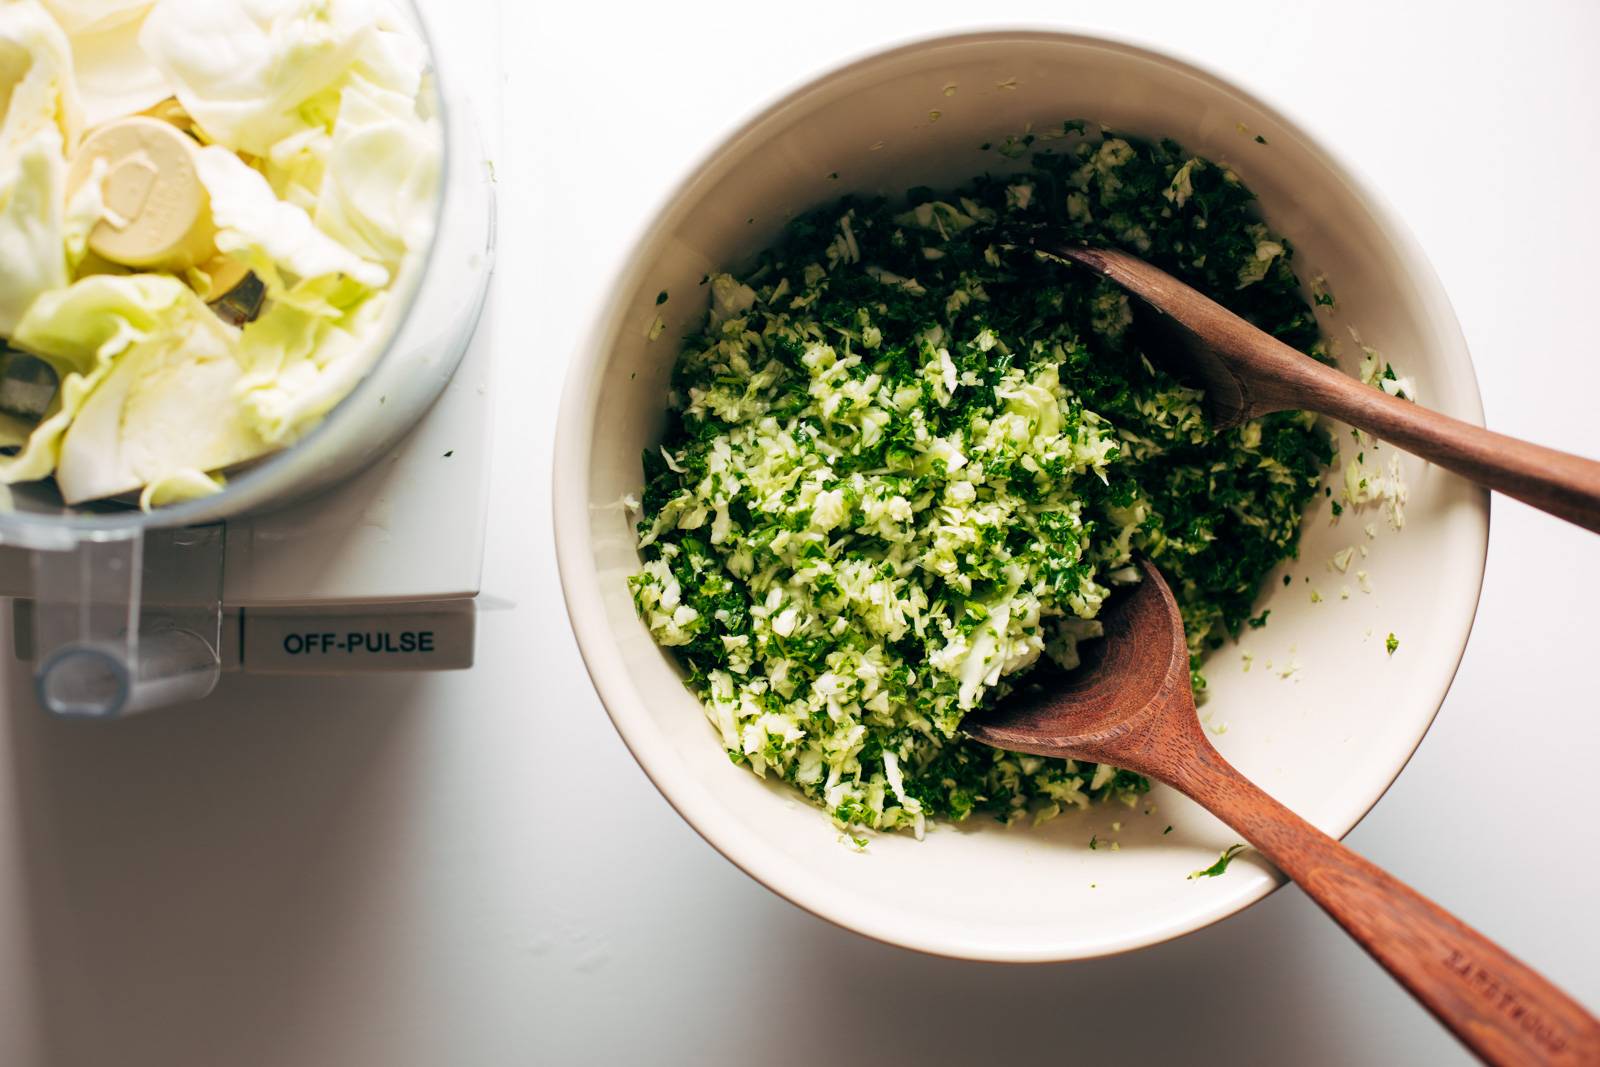
Kale and cabbage finely chopped in a food processor

Step 4: Combine It All

Toss your dressing, peppers, herbs, peanuts, and greens all together! ENJOY YOUR LIFE!
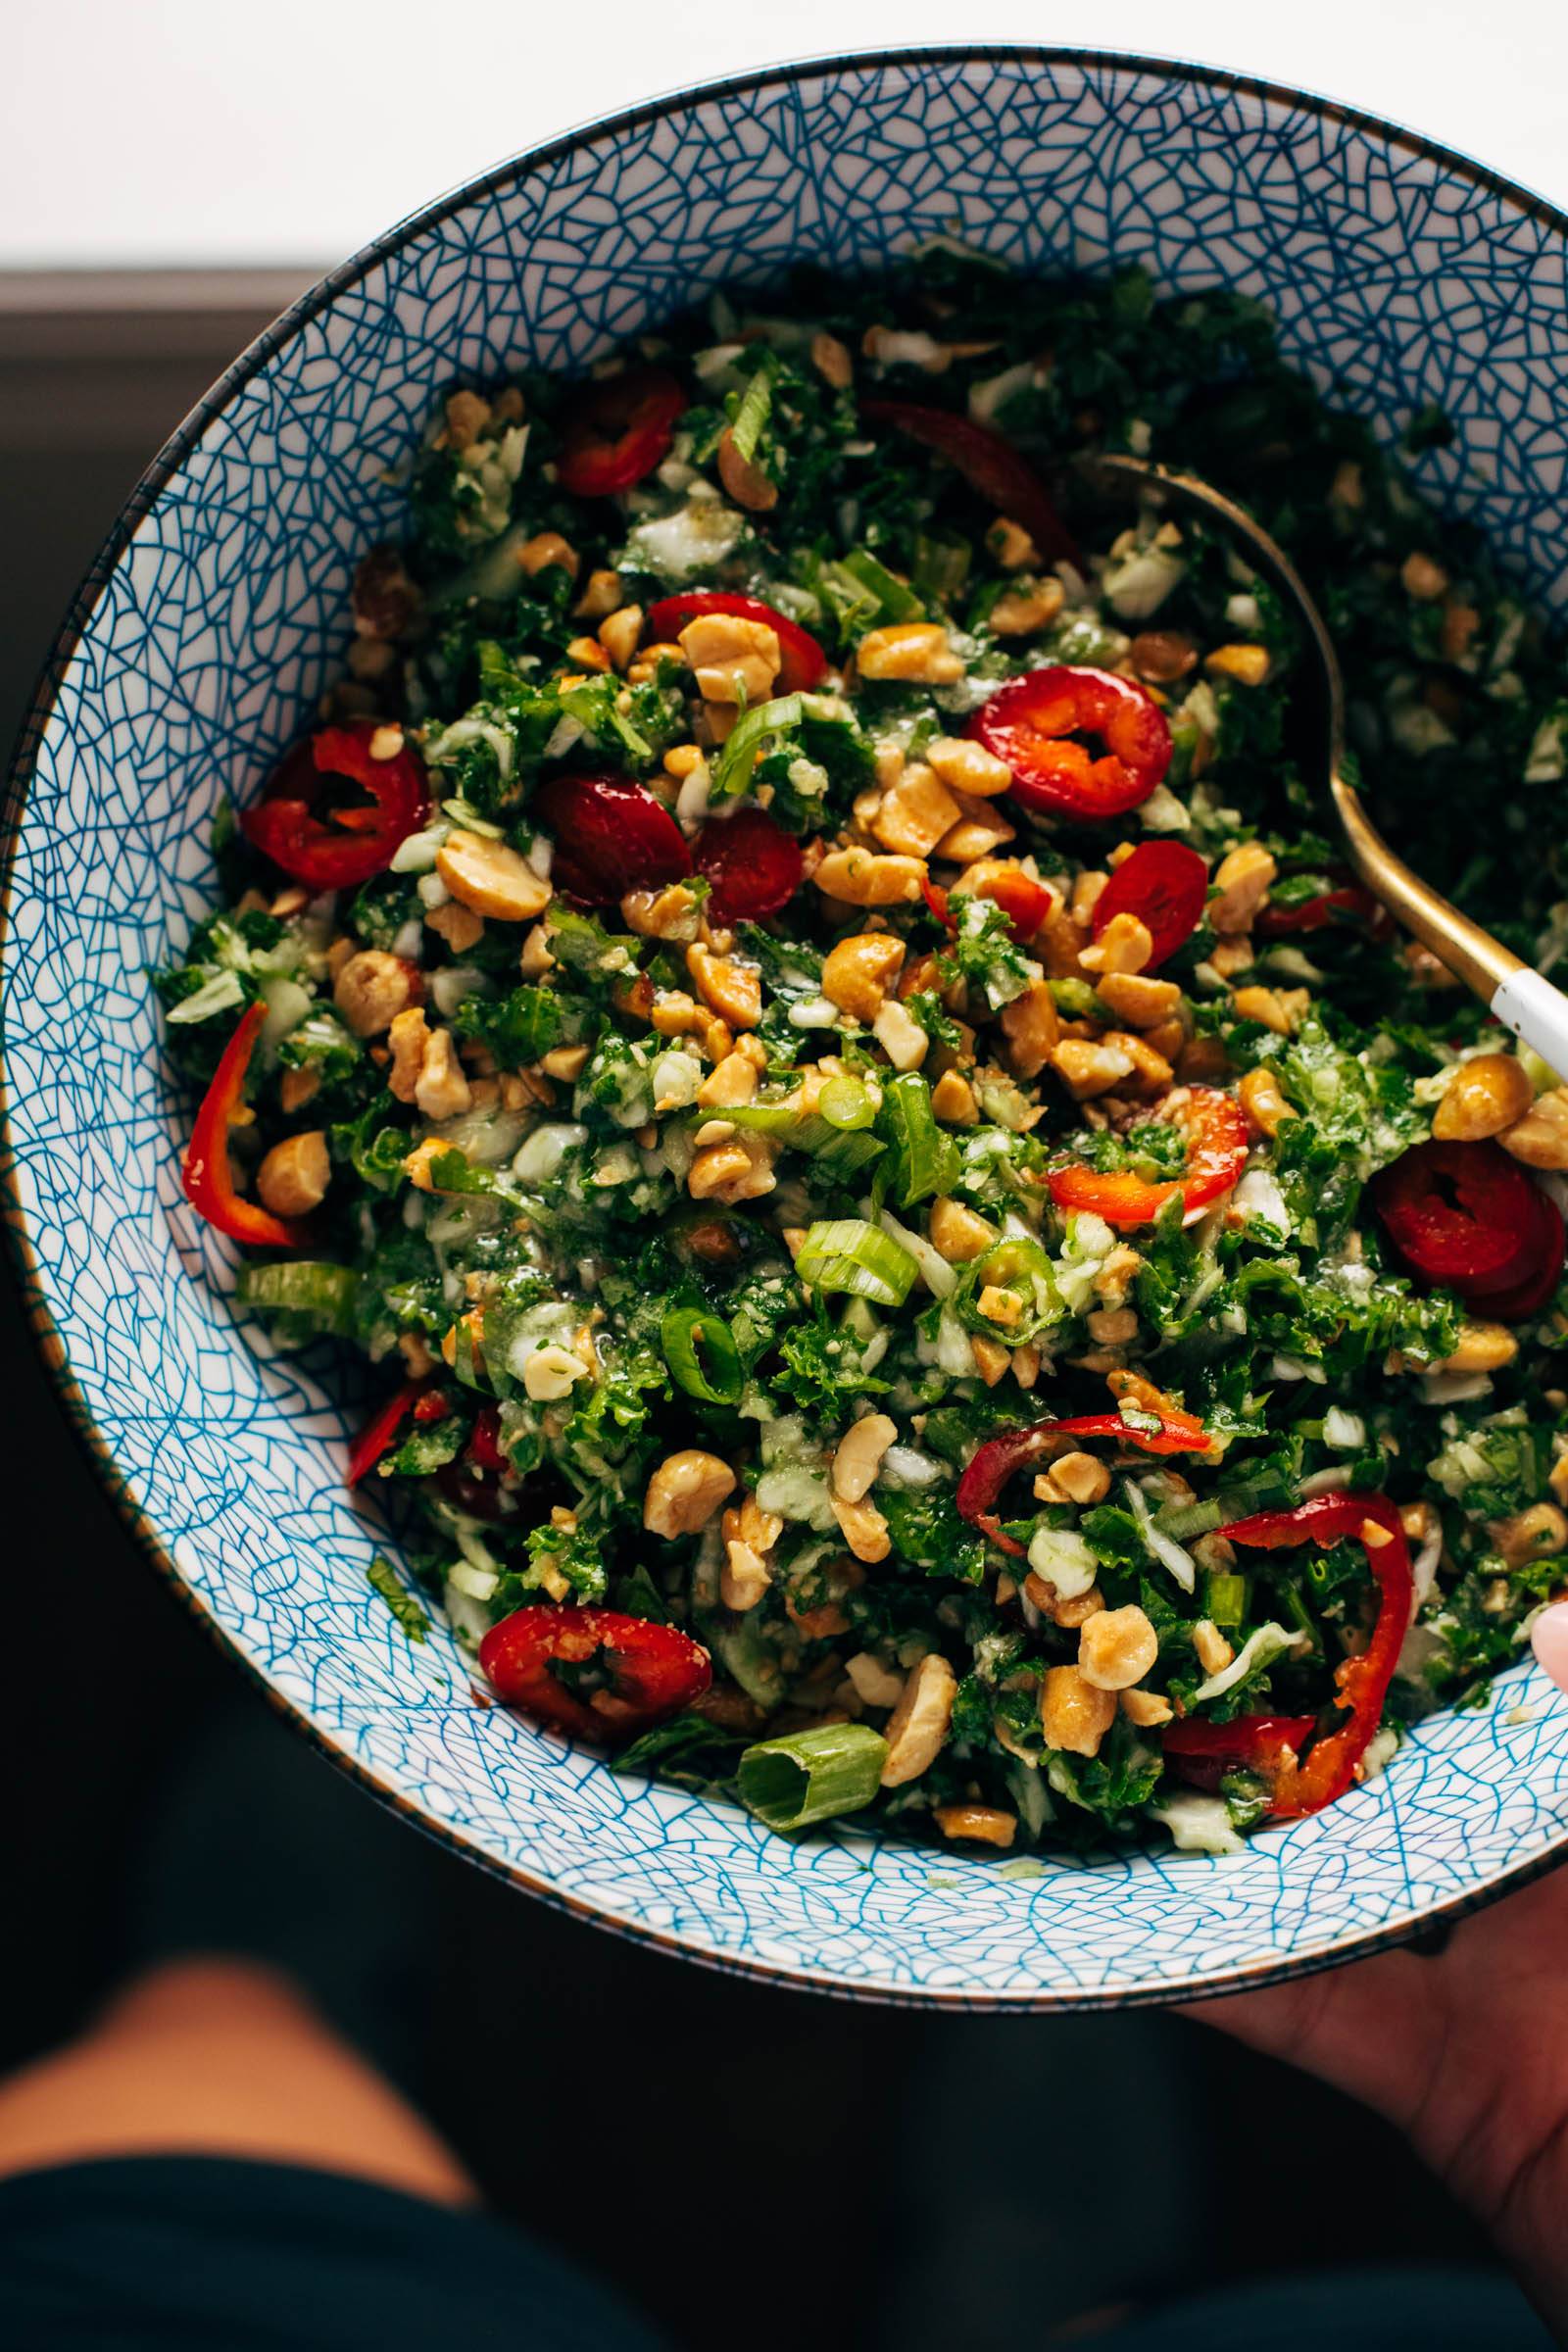
Roasted peanut kale crunch salad in a blue bowl

Print
A picture of Roasted Peanut Kale Crunch Salad

Roasted Peanut Kale Crunch Salad


  • Author: Lindsay
  • Total Time: 15 minutes
  • Yield: 4-6 servings

Description

OOOH BABY, this salad is so good! Crunchy kale and cabbage, fresh herbs and fresno peppers, chopped peanuts, and a perfect roasted peanut vinaigrette that tucks into all the salad nooks and crannies. 


Ingredients

Units

Kale Crunch Salad:

  • 4 large stalks kale, stems removed
  • half a head of green cabbage
  • 2 small fresno peppers, sliced
  • 1 cup peanuts, chopped
  • 1/2 cup chopped cilantro
  • 1/2 cup chopped green onions

Roasted Peanut Vinaigrette:

  • 1/2 cup roasted peanut oil
  • 2 tablespoons rice vinegar
  • 1 clove garlic
  • 2 1/2 tablespoons sugar
  • 1 teaspoon coarse kosher salt (more to taste)
  • freshly ground black pepper

Instructions

  1. Make the Roasted Peanut Vinaigrette: Blend all ingredients in a small blender or food processor until smooth. (This is mostly to incorporate the garlic, so if you’d rather, you can grate the garlic into the jar with the other ingredients and shake thoroughly to combine.)
  2. Prep the Salad: Chop your herbs, peanuts, and fresno peppers.
  3. Chop the Kale and Cabbage: Using a food processor, pulse the kale and cabbage in batches until it is very finely chopped, stopping before the greens get too mushy. If they release too much water, just give them a gentle squeeze with a paper towel. Transfer to a large bowl.
  4. Mix and Serve: Toss your kale and cabbage with some of the dressing; massage it together with your hands for a minute to make sure the kale is tender! Add peanuts, peppers, and the rest of the dressing. YUM!
  • Prep Time: 15 minutes
  • Category: Salad
  • Method: Chop
  • Cuisine: American

Keywords: peanut salad, kale peanut salad, kale crunch salad

Recipe Card powered by Tasty Recipes logo

Frequently Asked Questions For Roasted Peanut Kale Crunch Salad

What can I use instead of roasted peanut oil?

You can make this salad dressing with avocado oil in place of the peanut oil – the flavor will change quite significantly (less peanut flavor, obviously), but the texture will be similar! Or, if you want to keep the peanut flavor, you could use this amazing peanut dressing / sauce.

How long does this salad last?

Once you toss it all together, it lasts pretty well in the fridge for 4-6 hours.

How do you prep and store this for meal prep?

Toss the kale, cabbage, and herbs together; store all together in one container in the fridge. Slice the peppers; store in the fridge. Blitz the dressing; store in the fridge. Chop the peanuts; store at room temperature. When you’re ready to eat, assemble your salad elements!

What other protein would work well here?

I have made this with grilled chicken, shrimp, and edamame!

How do you make this gluten-free and/or dairy-free?

This is gluten-free and dairy-free as written!

Can you chop the kale and cabbage without a food processor?

Yes – I would recommend using a mandoline instead of chopping by hand to get a very fine shredded texture! But if all you have is a knife, that will work, too! 🙂 Just chop everything very finely.

Don’t Miss These 3 Kale Recipes

The post Roasted Peanut Kale Crunch Salad appeared first on Pinch of Yum.


from Pinch of Yum https://ift.tt/o7b59Dq
Monday, August 21, 2023

Aji Verde

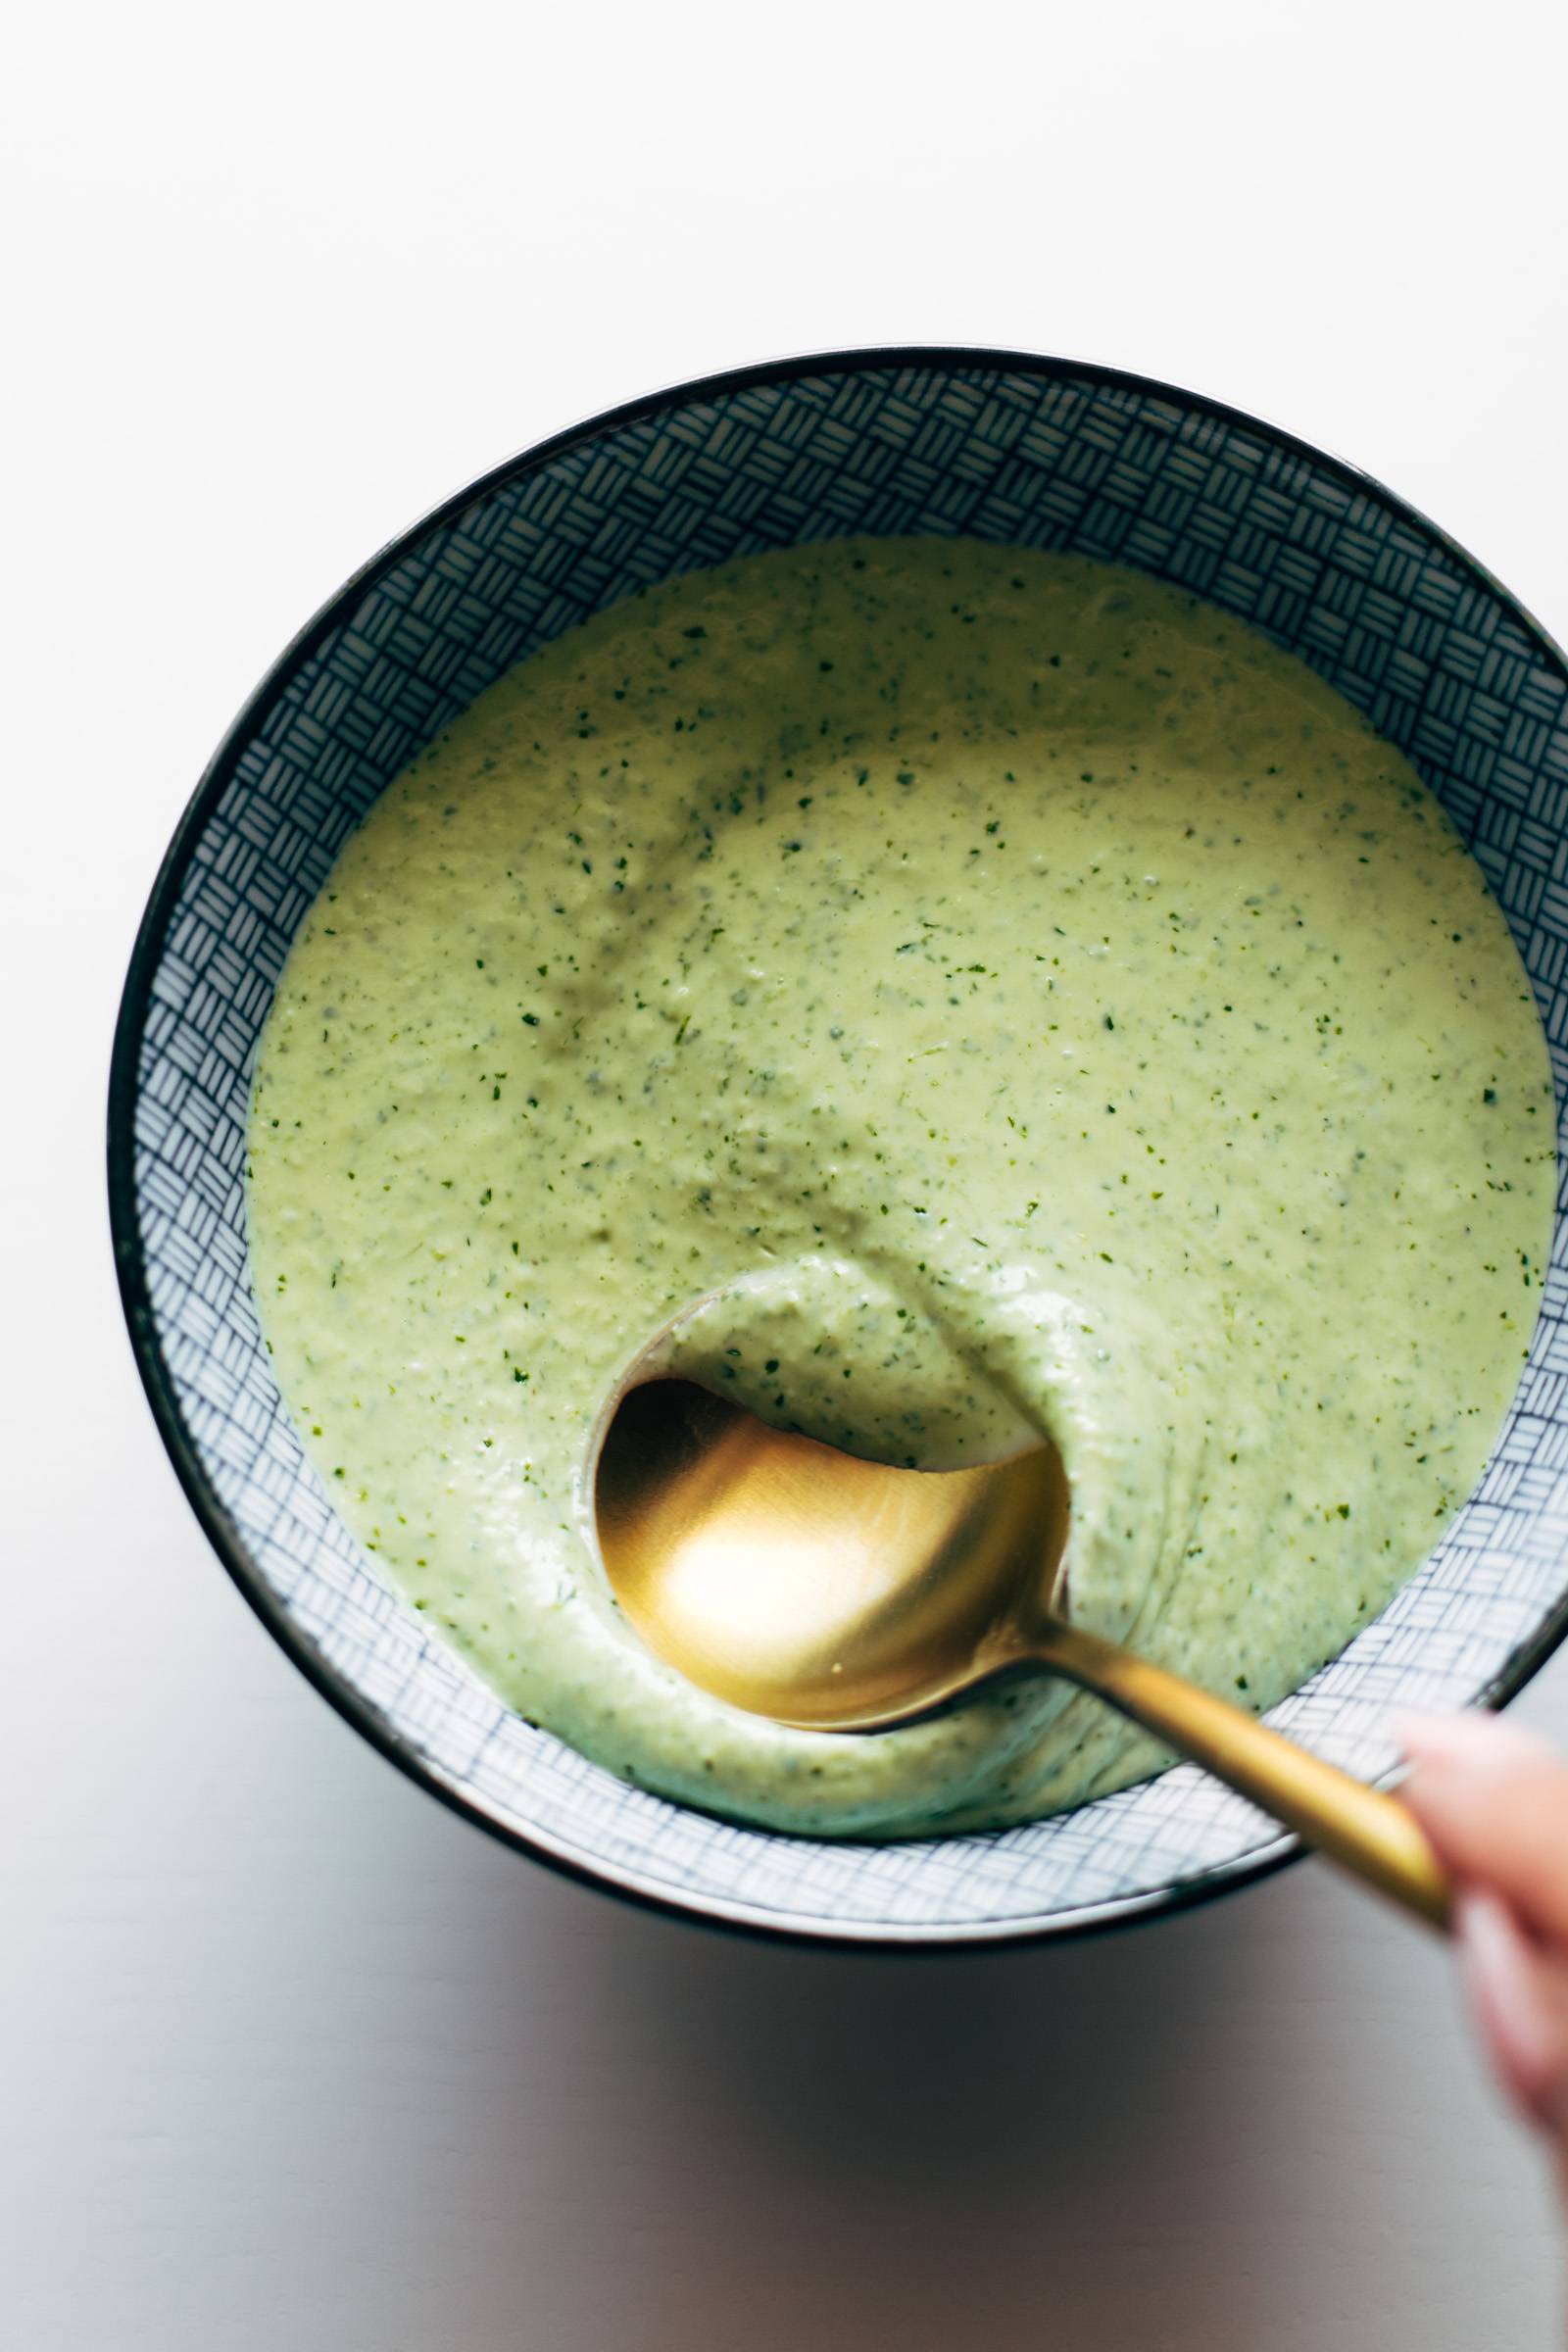
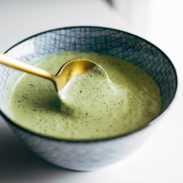
Aji verde in a bowl with a spoon

Aji verde is the most addictingly delicious spicy green sauce made with cilantro, peppers, queso fresco, mayo, garlic, and lime! It’s SO good on tacos, bowls, salads, grilled meats and veggies, and my personal favorite at the moment – scrambled eggs and hash browns.


In This Post: Everything You Need For Aji Verde


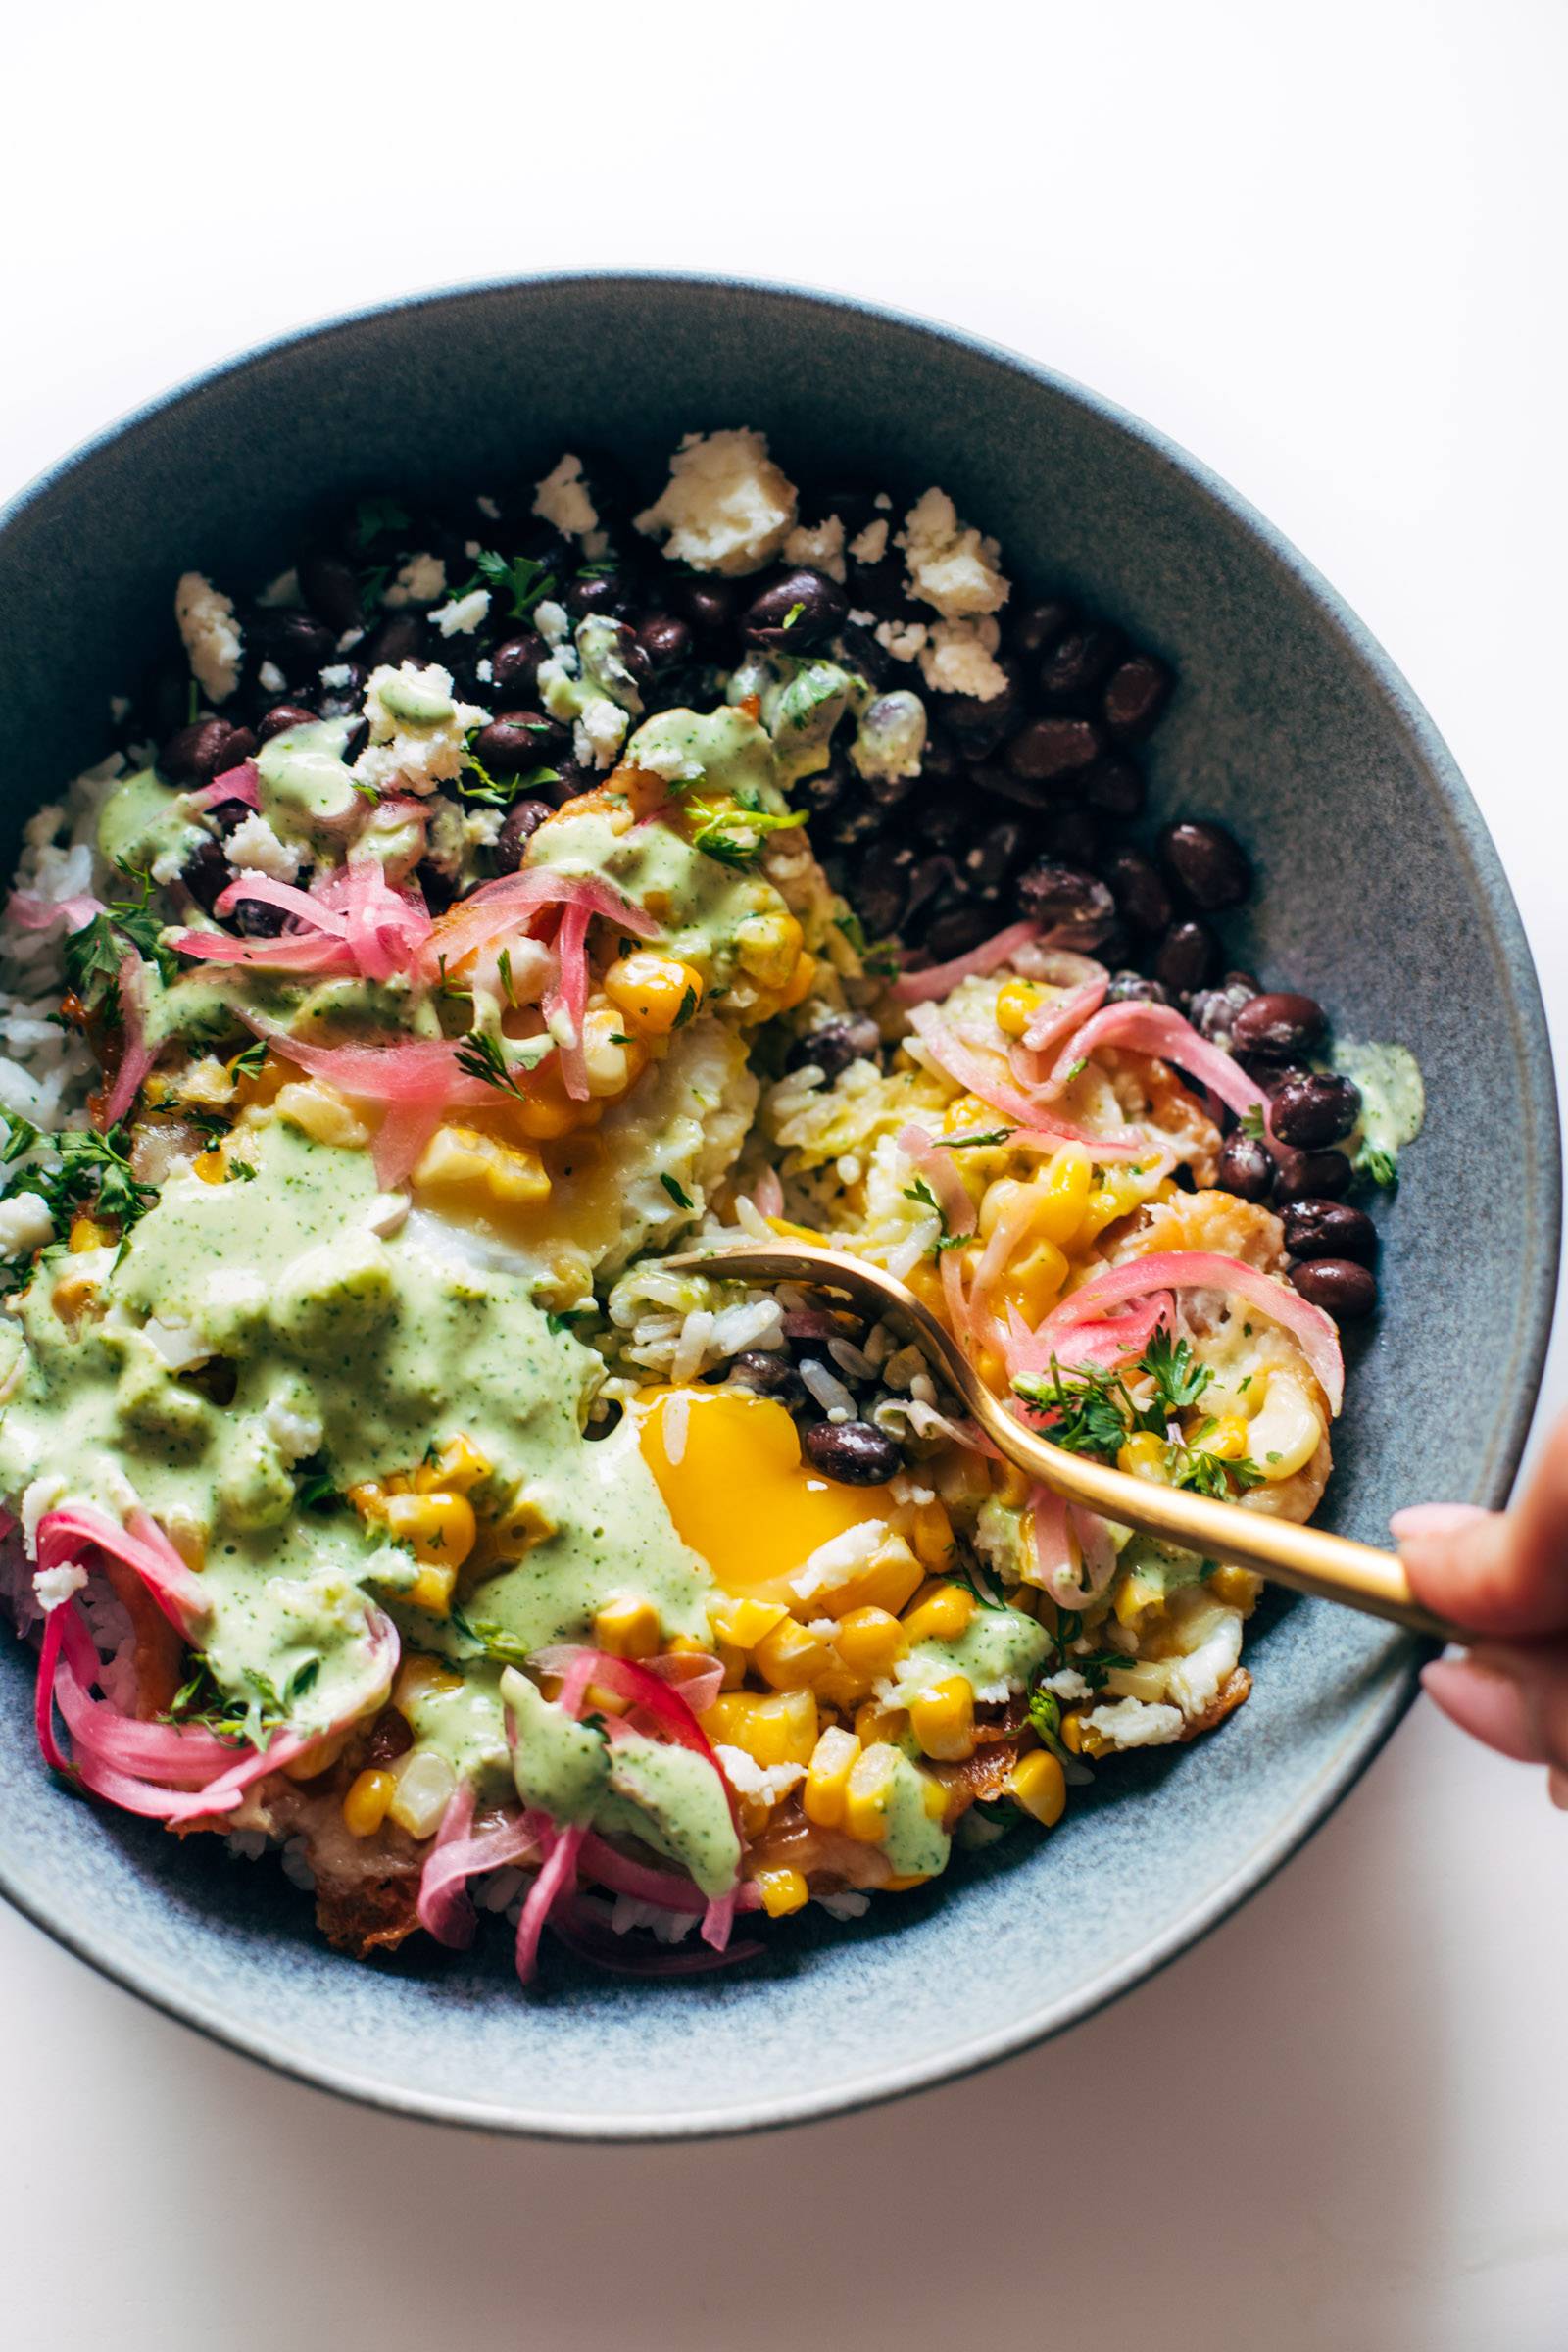
Elote fried egg bowls with aji verde

Lindsay’s Notes

This little green sauce is NUMMY central! She’s spicy, she’s versatile, and she is wanting to be put on every food you eat.

Aji Verde is a Peruvian spicy green sauce that’s used as a table sauce – think drizzles, swoops, and dips on top of all your favorite things.

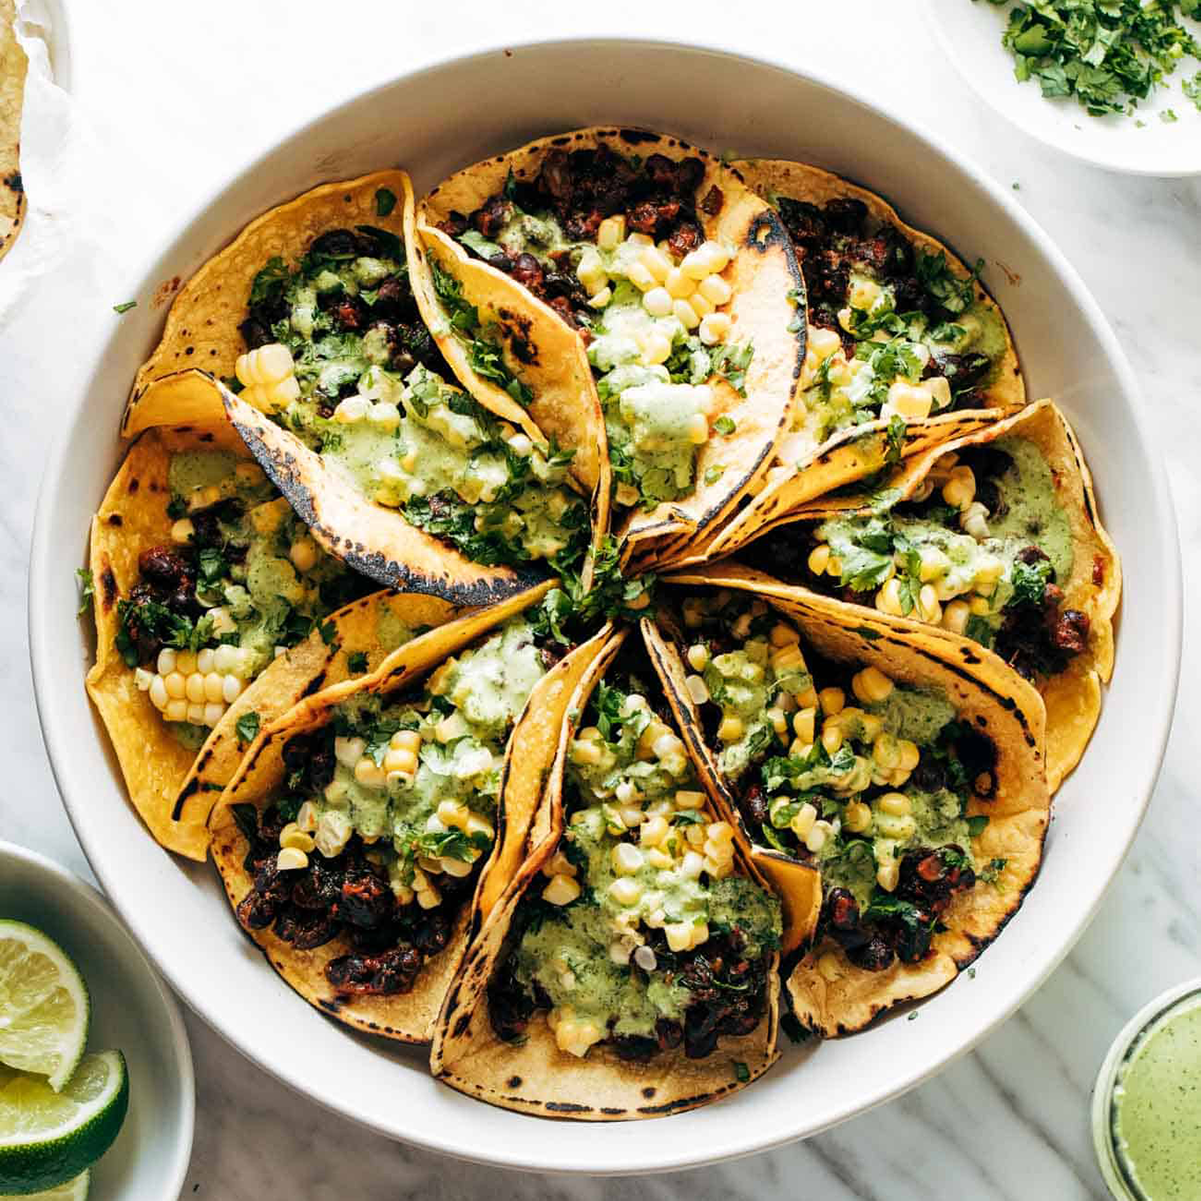
  • This takes these black bean tacos to the next level.
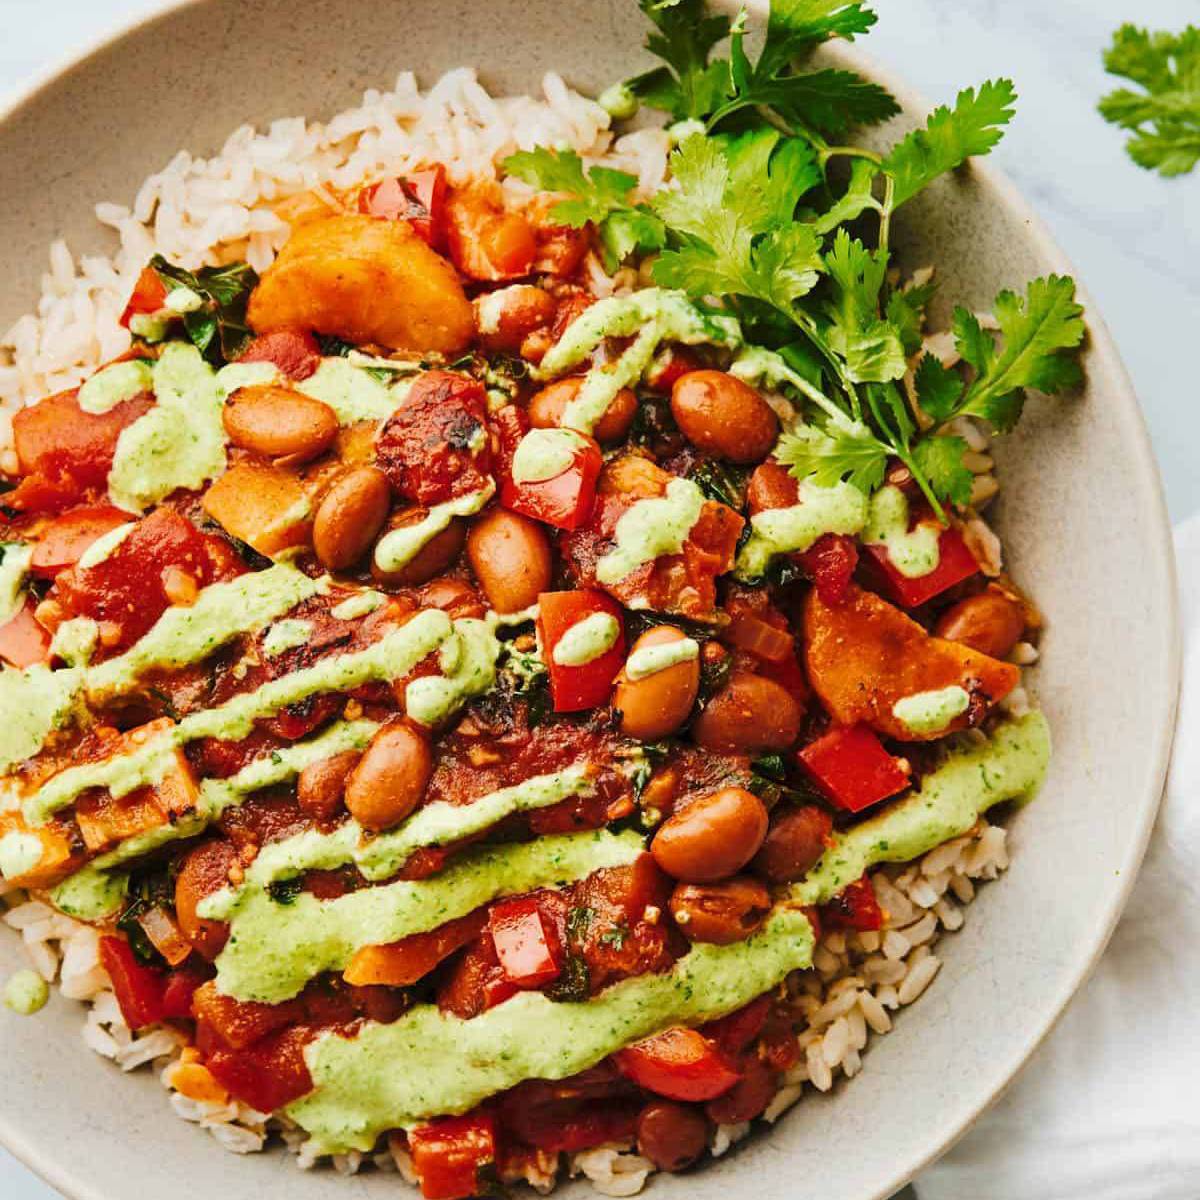
  • It is so fun as a swizzle on top of this plantain stew.
  • It’s so delightful as a condiment for scrambled eggs and hashbrowns – one of my favorite weekend breakfasts!
  • And I’m not above using it as a chip dip. Just ADDICTING.

I love a good green sauce (see also: basil sauce, magic green sauce, avocado mojo sauce). What makes this one unique is the creaminess that comes from the mayo and queso fresco (yum) and also the spice level. It is definitely a more pepper-forward sauce and packs a bit of heat, which you can scale up or down with the number of peppers you use.

I made this using the ingredients that are readily available to me – instead of serranos, I often use jalapeños because they are easier for me to find. And I omit the more traditional additions of huacatay and aji amarillo pastes so I don’t have to make multiple trips around town or place any online orders for single-use ingredients.

I just go with what I have (what you’ll see written here), and it’s irresistibly delicious. Prepare to have your whole life covered in this spicy Peruvian green sauce!


How To Make Aji Verde

Step 1: Put Everything in a Food Processor or Blender

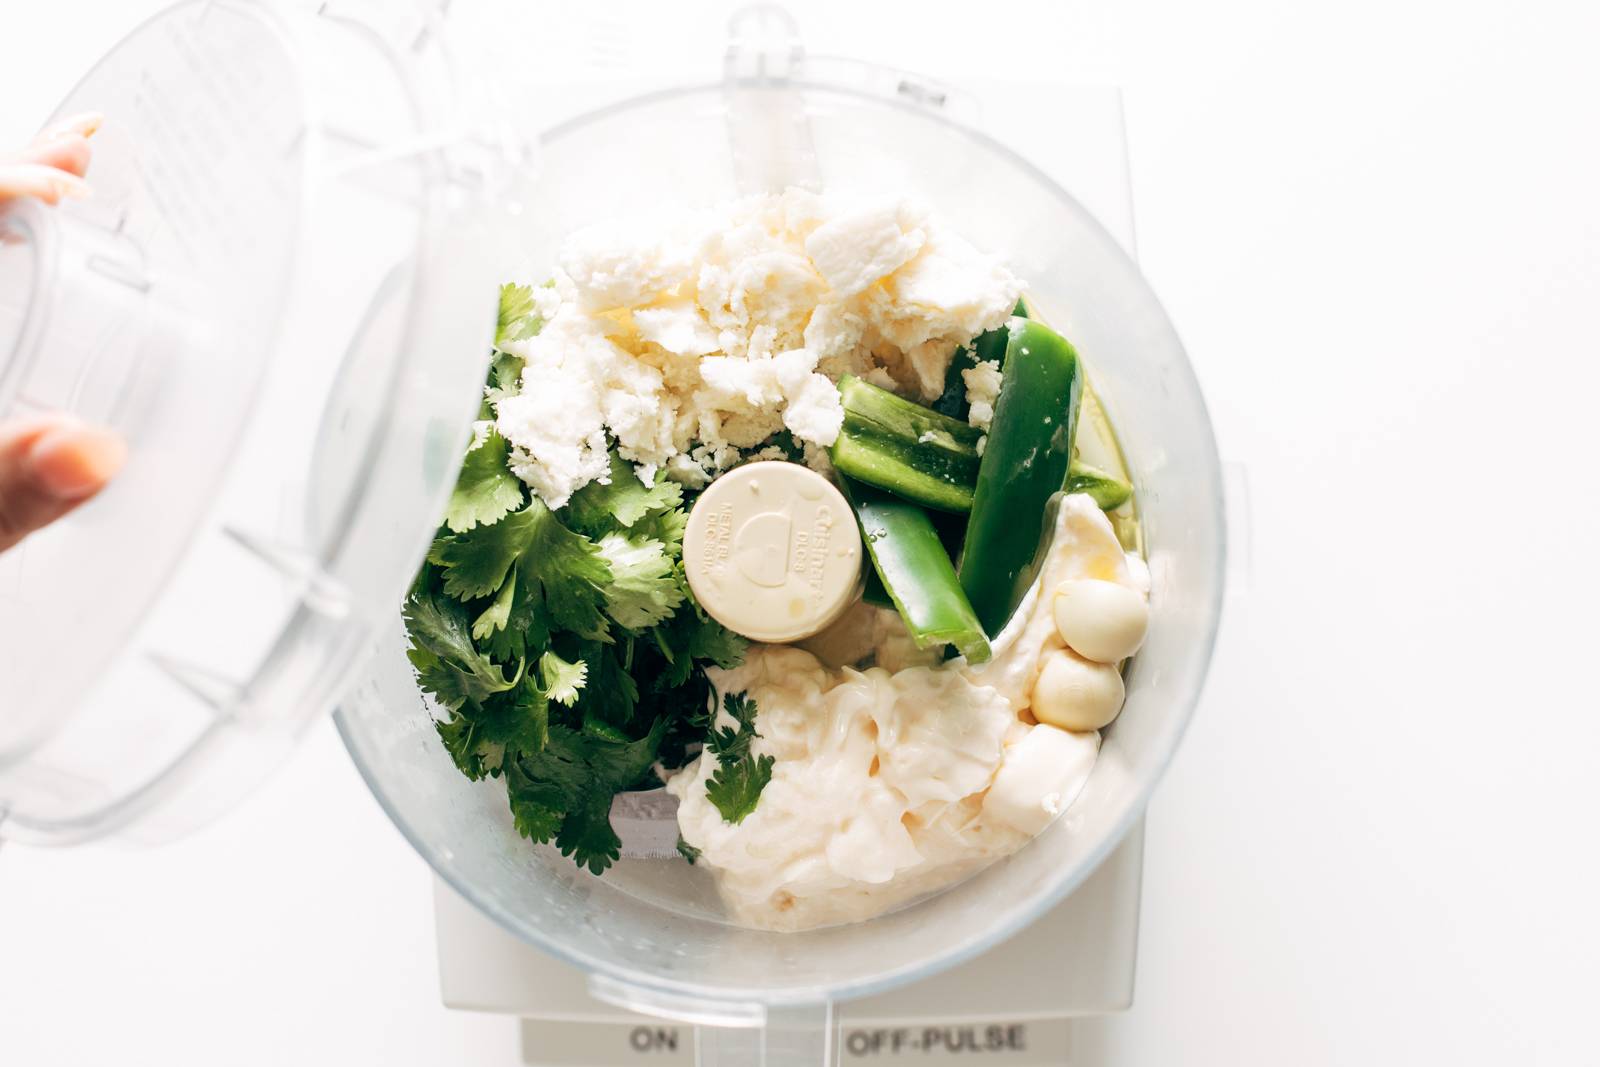
Lots of good stuff here: cilantro, jalapeño, queso fresco, mayo, garlic, and lime juice.

Ingredients for aji verde added to a food processor.

Step 2: Blend It Up

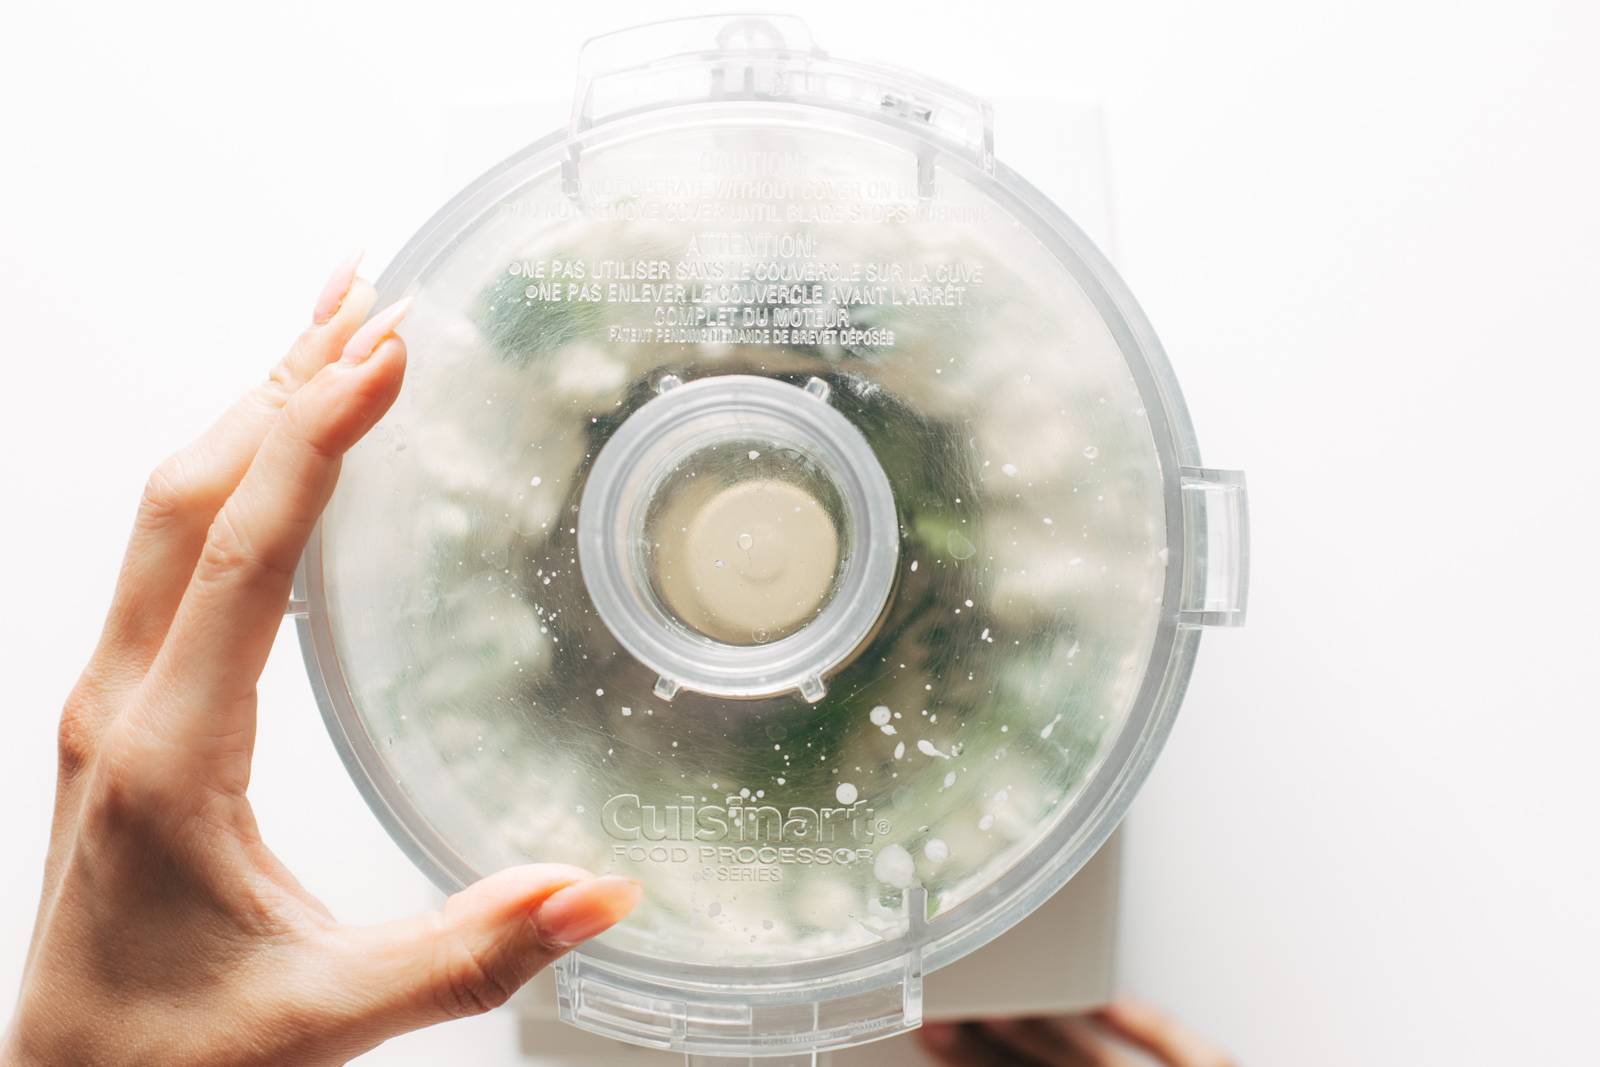
You can choose how chunky (or not chunky) to make this! I prefer a smoother sauce for this one.

Aji verde sauce gets blended in a food processor

Step 3: Done! Enjoy!

This is great on tacos, bowls, salads, and just for dipping into with chips and veggies and crackers and literally EVERYTHING. It’s irresistible.

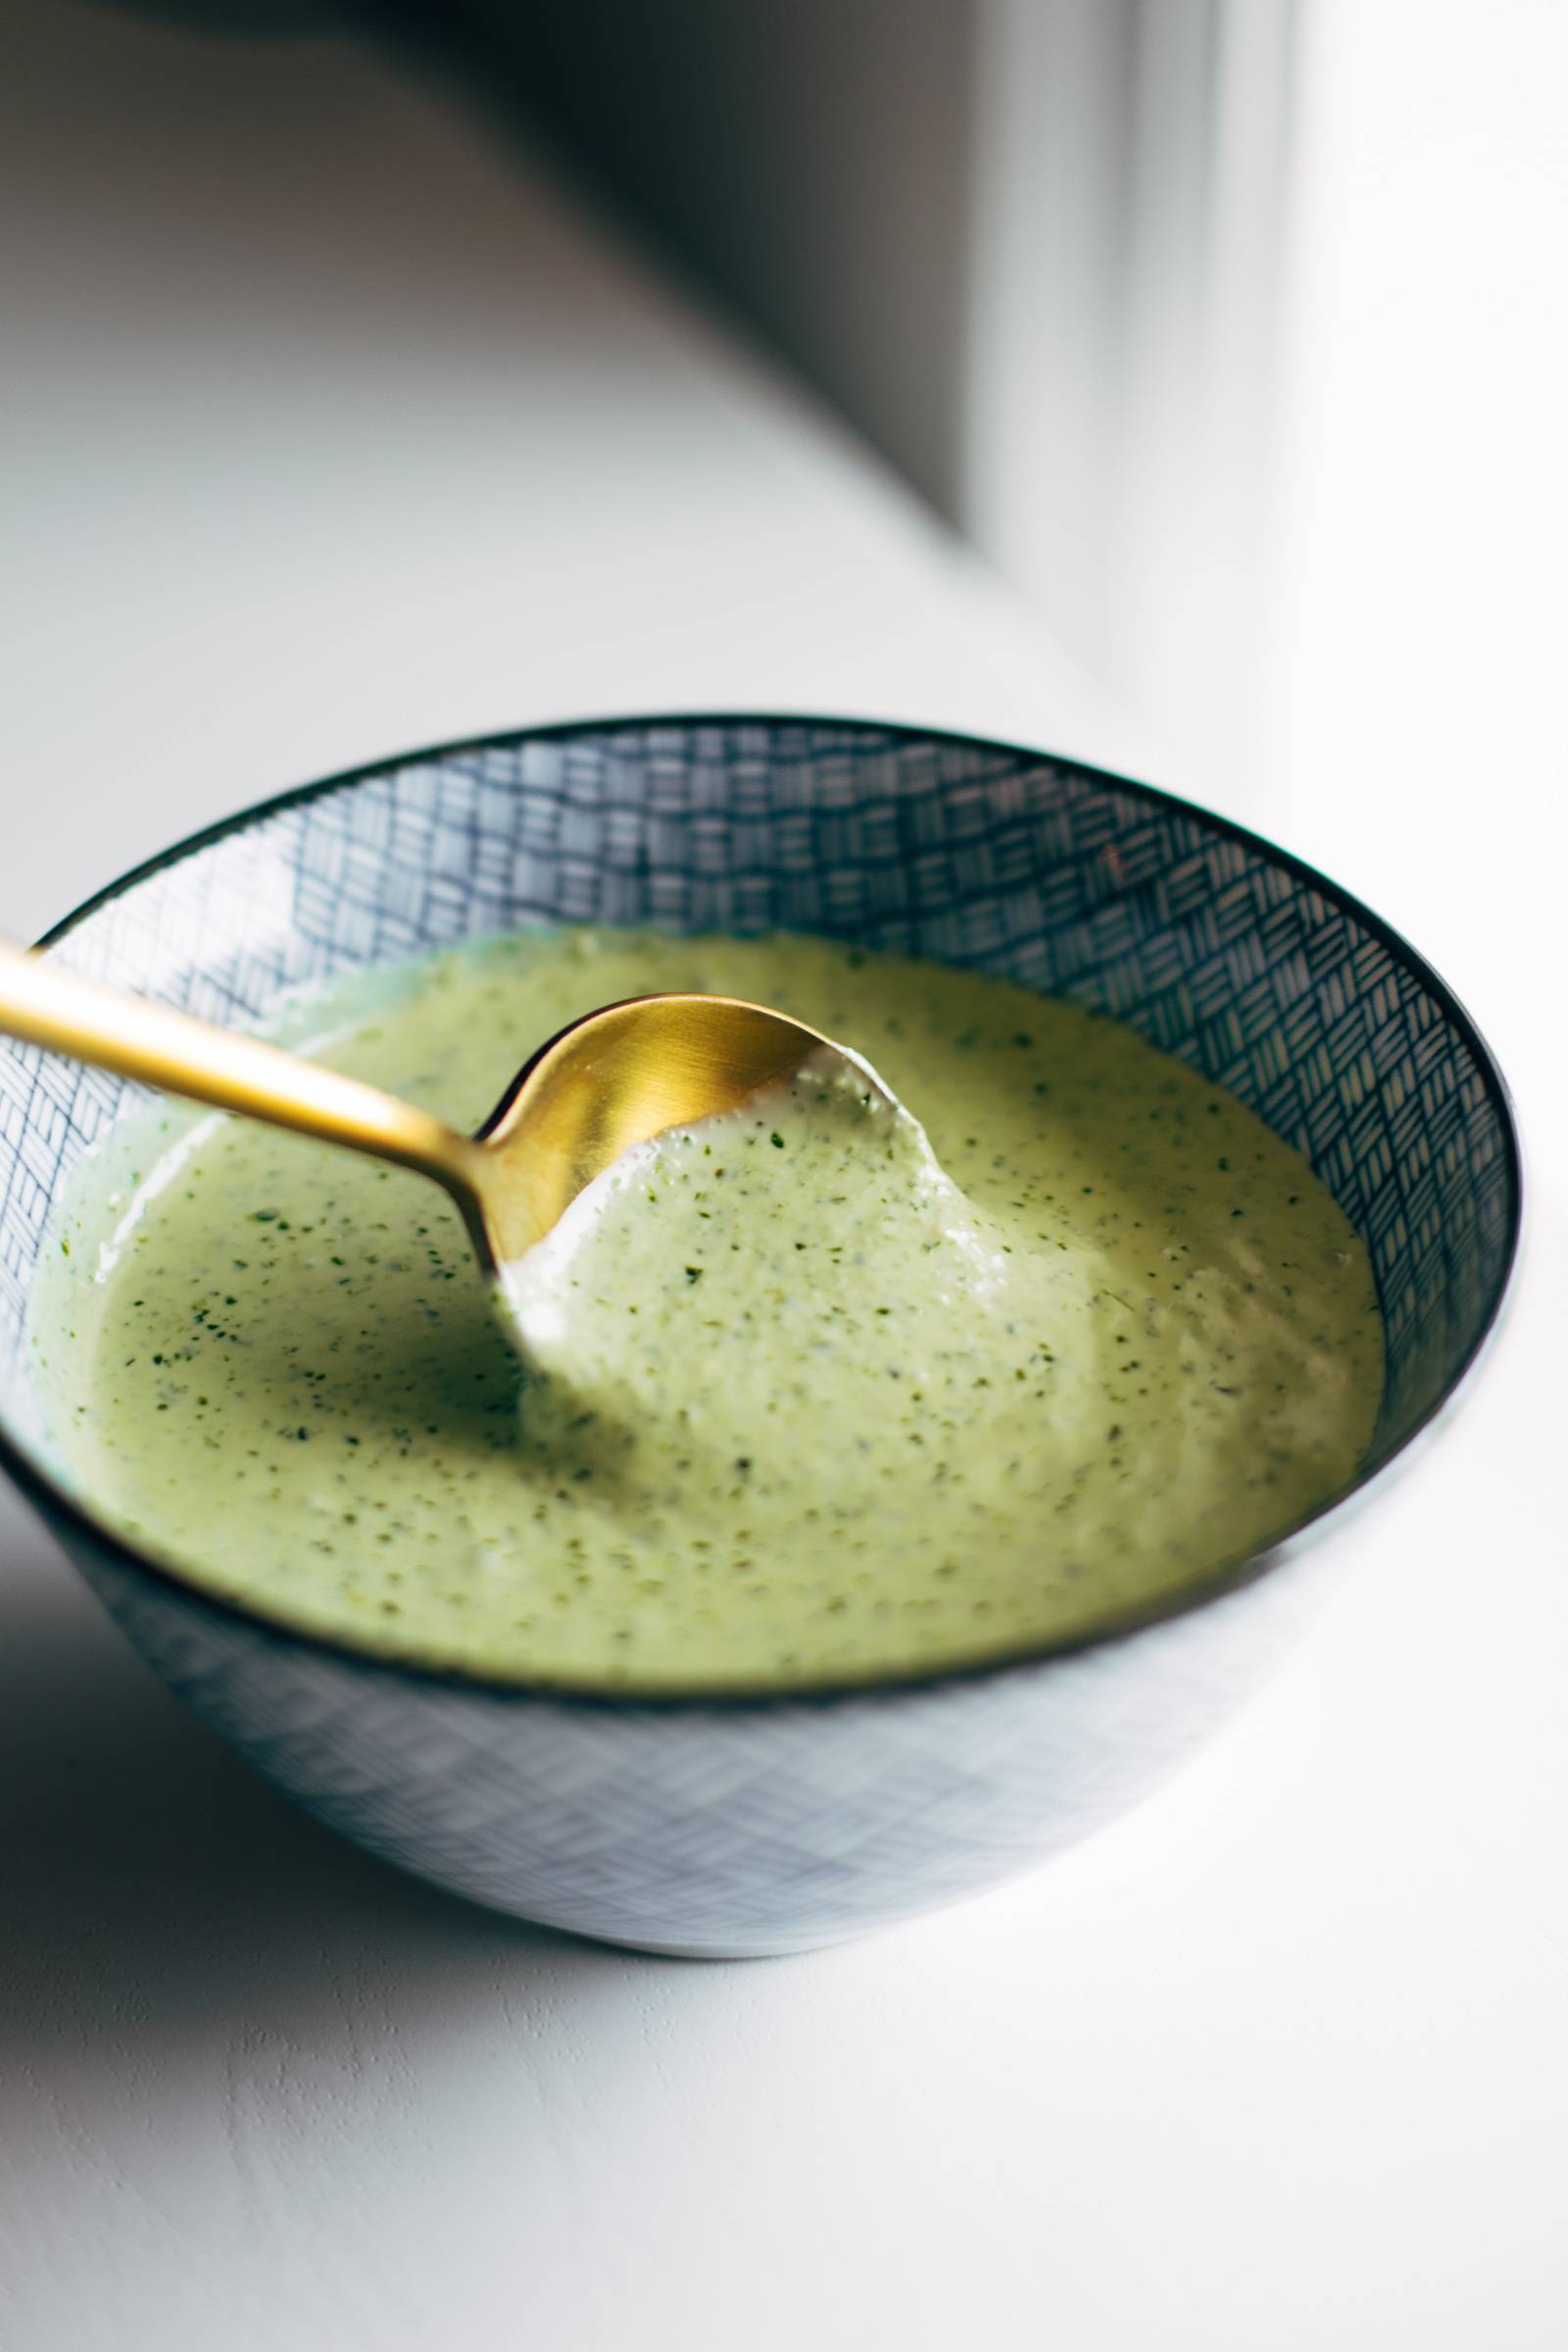
Gold spoon dips into bowl of aji verde

Something brand new we added this week: a button to add all your ingredients to your Target cart! Just tap the button to get all these ingredients – it’ll create your list and pop you over to the Target app where you can just order it all for Drive Up. It’s literally the easy button!

Print
A picture of Aji Verde

Aji Verde


  • Author: Lindsay
  • Total Time: 5 minutes
  • Yield: about 8 servings

Description

This Aji Verde is the most addicting spicy green sauce! It is SO good on tacos, bowls, salads, grilled meats and veggies, and my personal favorite – scrambled eggs and hash browns.


Ingredients

Units
  • 2 tablespoons olive oil
  • 1/2 cup mayo
  • 3 ounces (a little chunk) queso fresco
  • 1 jalapeño pepper (for a mild sauce, remove the ribs and seeds – you can also use a serrano pepper)
  • 1 cup cilantro
  • 2 cloves of garlic
  • juice of 1 lime
  • a pinch of salt, to taste

Instructions

  1. Blend all ingredients in a food processor or blender until smooth-ish. I like to go until it smoothly drips off a spoon – no more chunks but just a little bit of texture to it.
  2. You’re done! Serve with grilled meats and veggies, tacos, salads, bowls, or just dip into it with some chips. It’s incredible.
  • Prep Time: 5 minutes

Keywords: aji verde, peruvian sauce, aji verde sauce

Recipe Card powered by Tasty Recipes logo

Frequently Asked Questions For Aji Verde

What ingredients are in aji verde?

Typically ingredients will include spicy peppers, cilantro, garlic, lime, and mayo and/or cheese to give it a creamy texture. Traditional aji verde might also include pepper-based pastes like huacatay or aji amarillo, but those can be more challenging to find depending on where you live. This version is made without them since they are not ingredients that are readily accessible to me. And even without them, this aji verde so delicious.

What country does aji verde come from?

Aji verde is a spicy Peruvian green sauce and has been made since the Incan Empire!

What is the best way to serve aji verde?

I love it as a topping for tacos, bowls, grilled meats and vegetables. It’s also exceptionally good with eggs and I *love* it in a breakfast bowl. Hashbrowns, fried eggs, and aji verde might be my perfect breakfast. And, it might not be traditional, but it’s so good that I will often find myself just dipping into it with chips or raw veggies.

How long does the aji verde last as leftovers?

It keeps pretty well! I usually keep it in a sealed jar in the fridge for 5-7 days.

How do you make this gluten-free and/or dairy-free?

It is naturally gluten-free! To make it dairy-free, omit the cheese. (Still delicious, although you may find you want to add a bit of salt to make up for the lost salt with removing the cheese.)

Can you make the aji verde without a blender or food processor?

Yes! I could be wrong but I’m guessing the Incans were not out there making aji verde with their Vitamixes. To make without a blender, mince everything very finely, or grate it, and stir it up a in a small bowl. You could also use a mortar and pestle to grind up the herbs, garlic, etc. before mixing in with the rest of the ingredients. If you have a blender, though, I’d recommend this method because I love the smooth and creamy barely-flecked texture of it.

The Perfect Match For Your Aji Verde

The post Aji Verde appeared first on Pinch of Yum.


from Pinch of Yum https://ift.tt/fbNpdiz

Thursday, August 10, 2023

My Go-To Pickled Red Onions

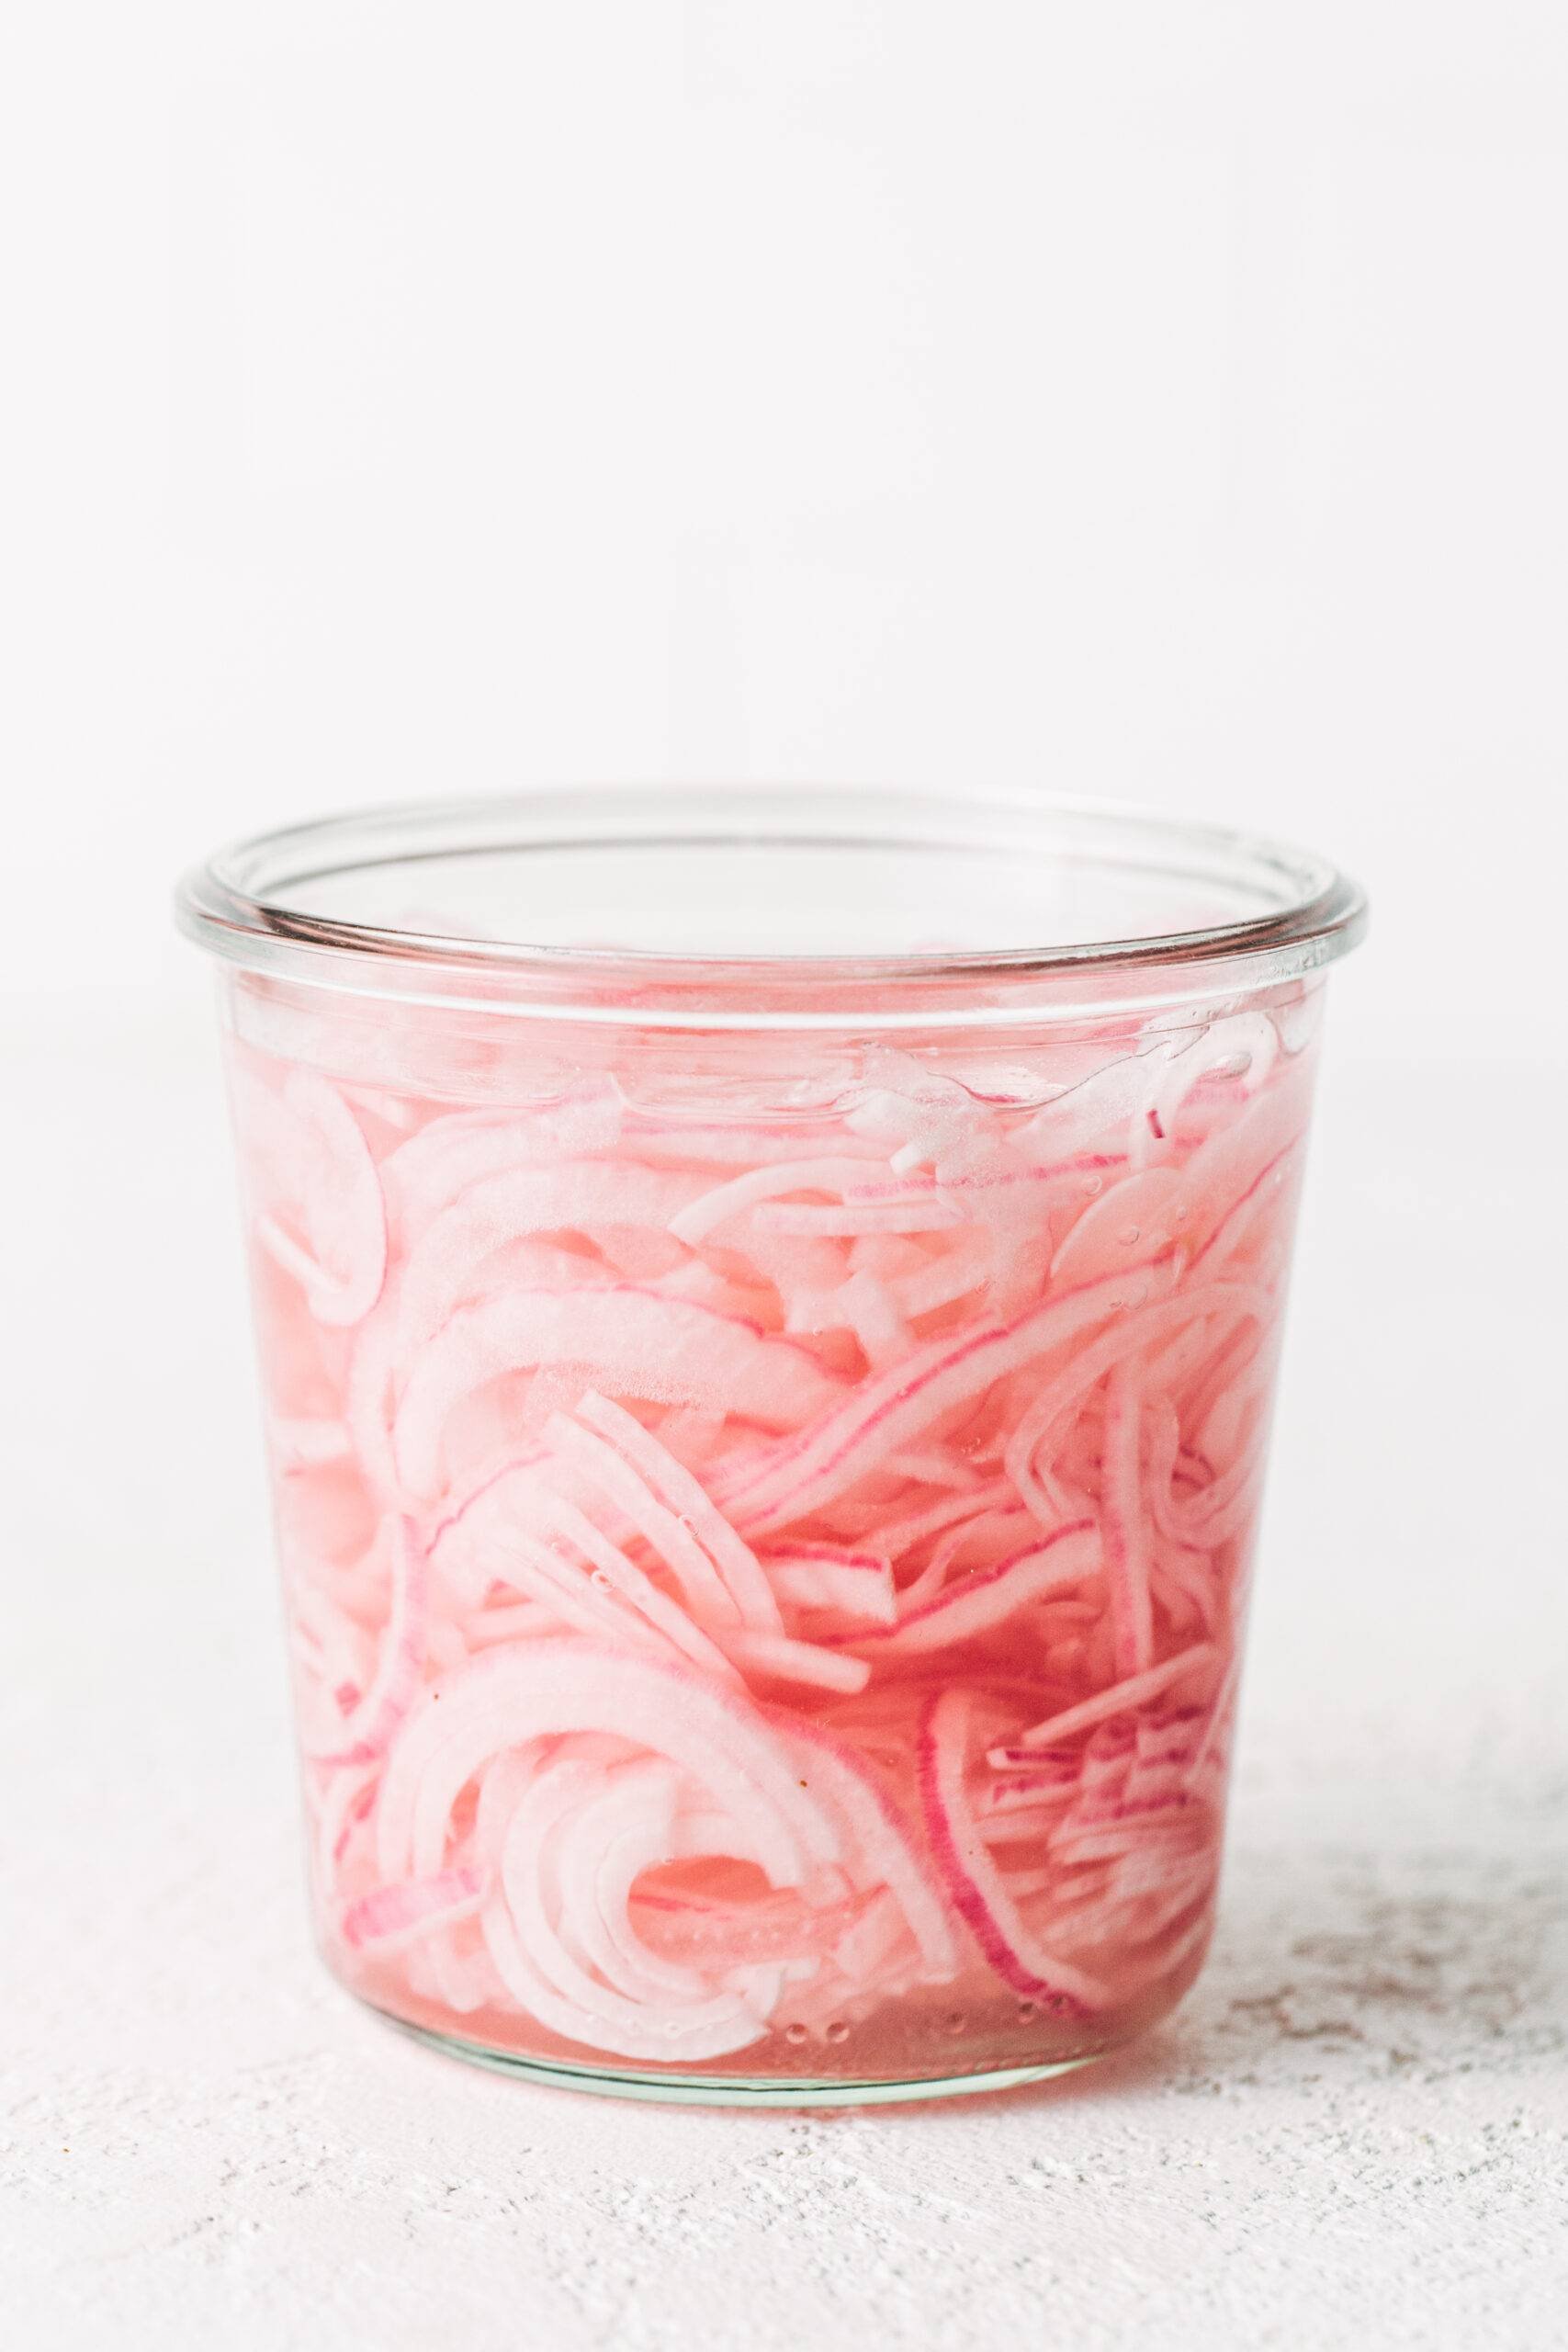
Pickled red onions in a jar

It’s a fact: pickled red onions make everything better. A little extra bite, a little extra tang, and those beautiful ribbony bits of purple and pink. This is one of my favorite fast and easy ways to make any meal a little (lot) more exciting.


In This Post: Everything You Need For Pickled Red Onions


My Go-To Method For Pickled Red Onions

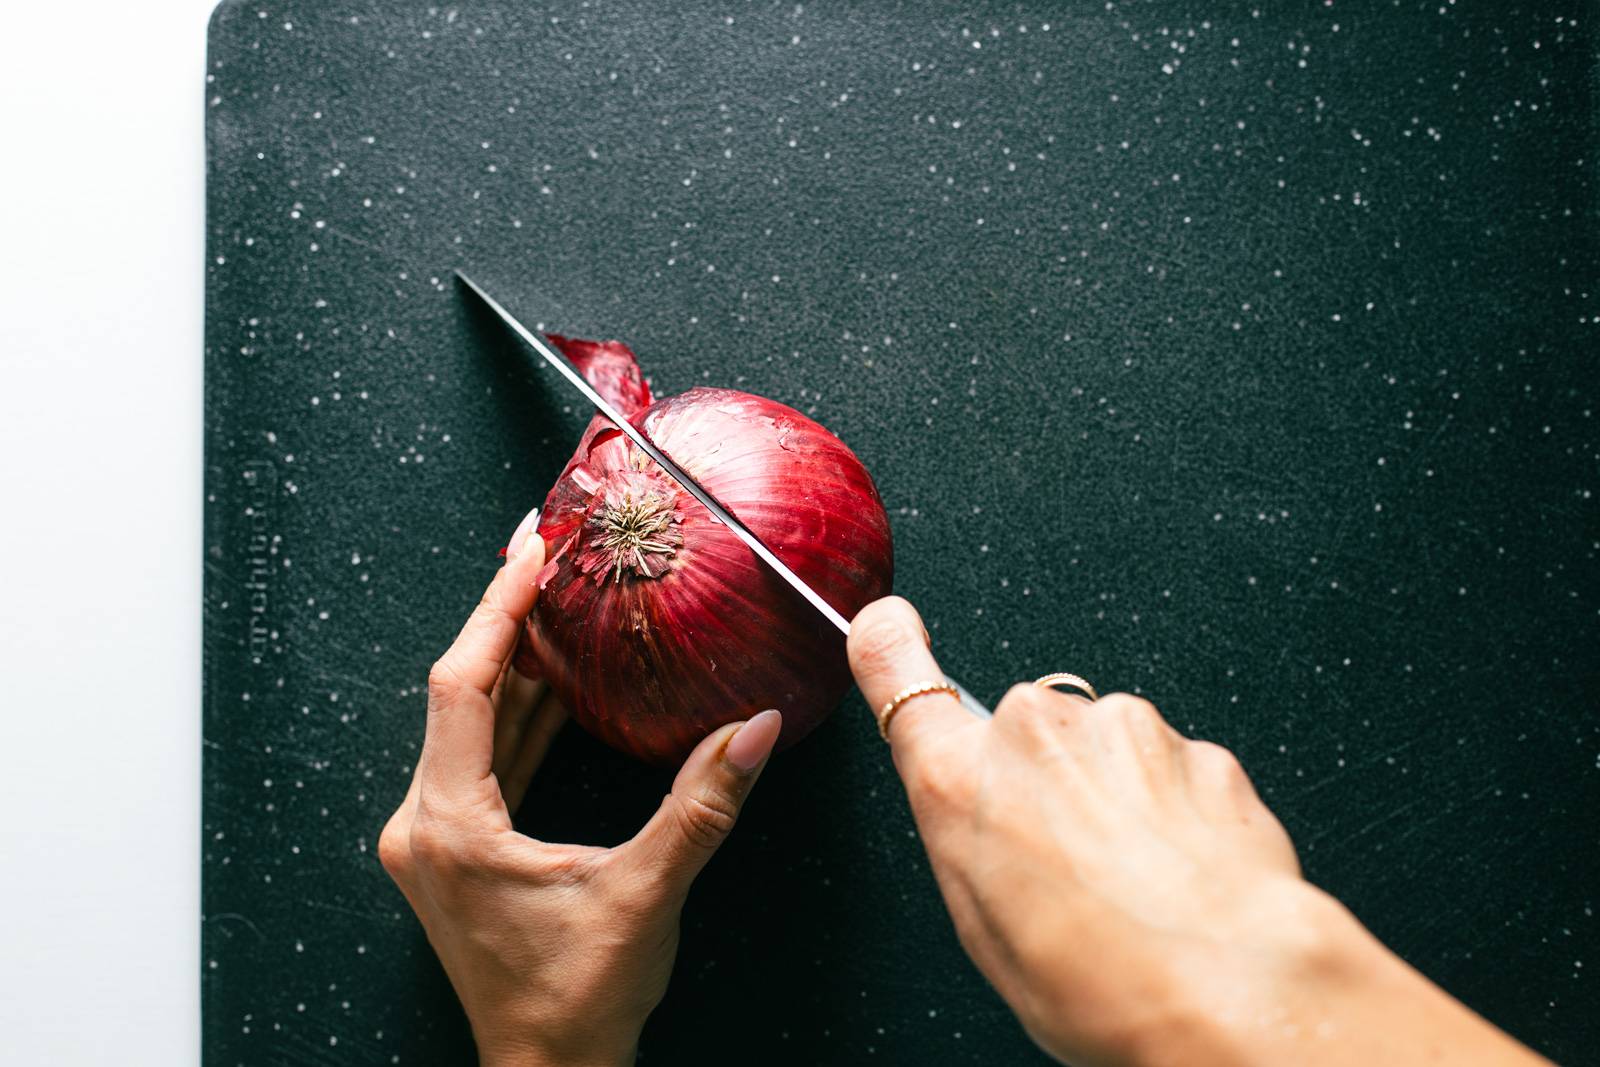
Step 1: Cut a Chunk Off the Onion.

I cut just to the side of the stem, going straight down. Remove the peel.

White hand cutting red onion in half

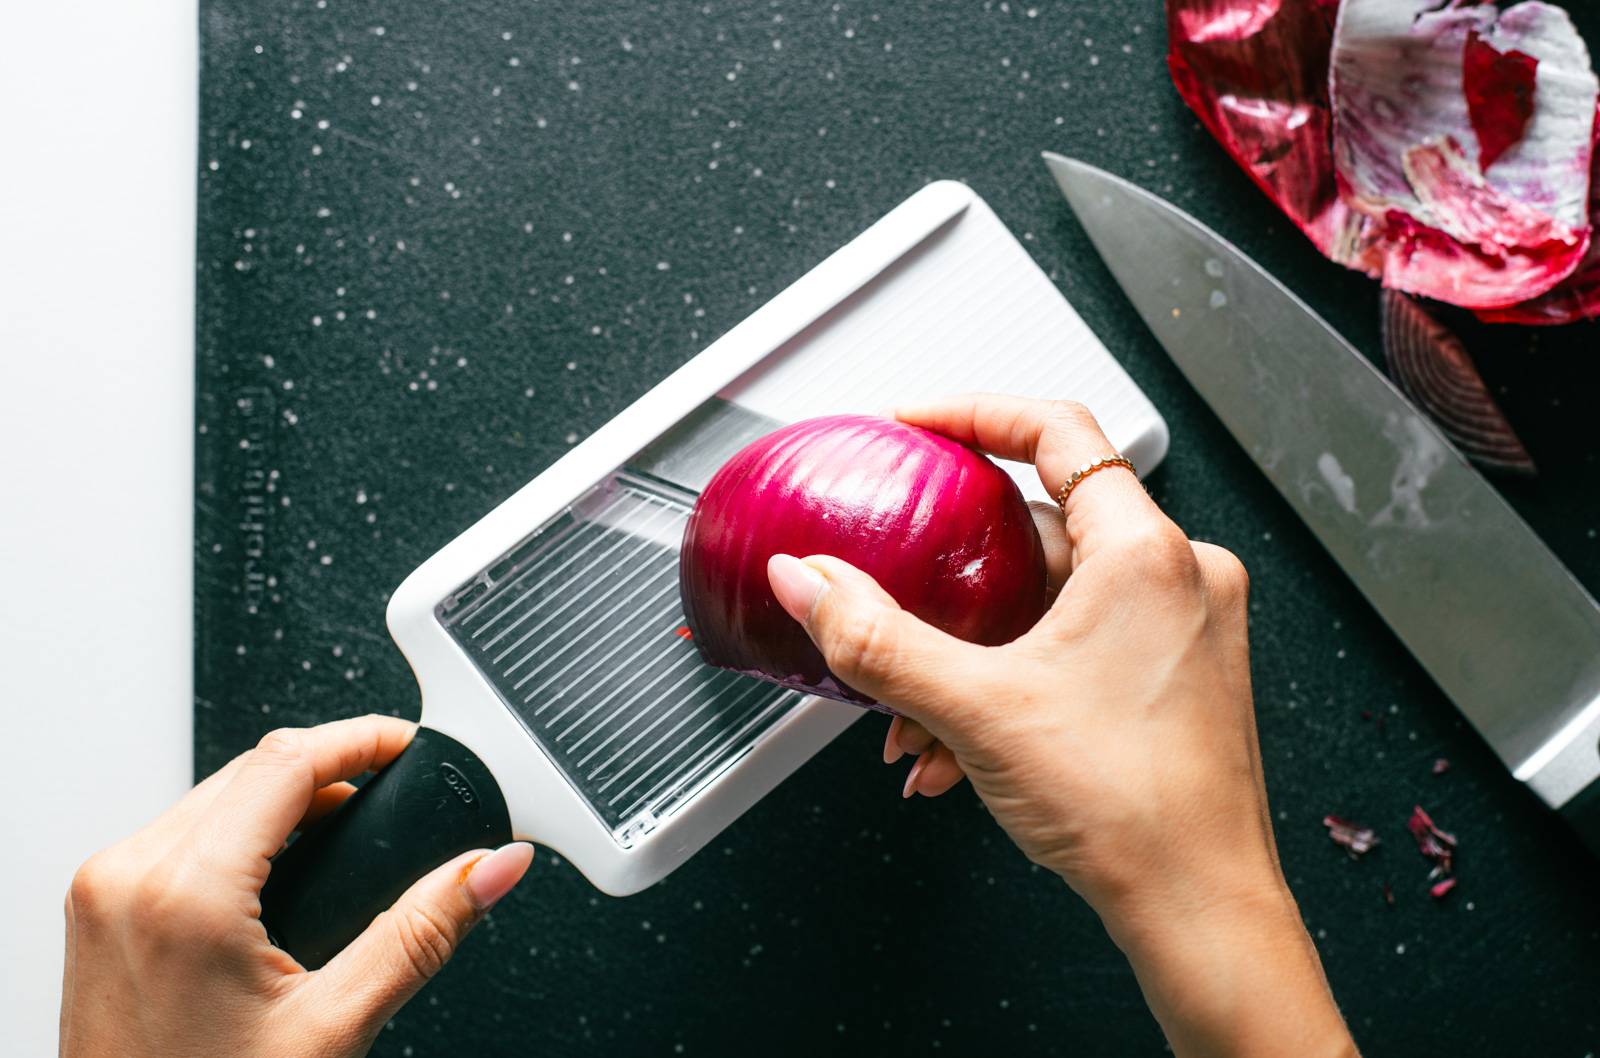
Step 2: Slice On a Mandoline.

This is where the magic happens.

I put my OXO mandoline (affiliate link) on setting #1 – the thinnest setting.

White hand cutting red onion on white mandoline.

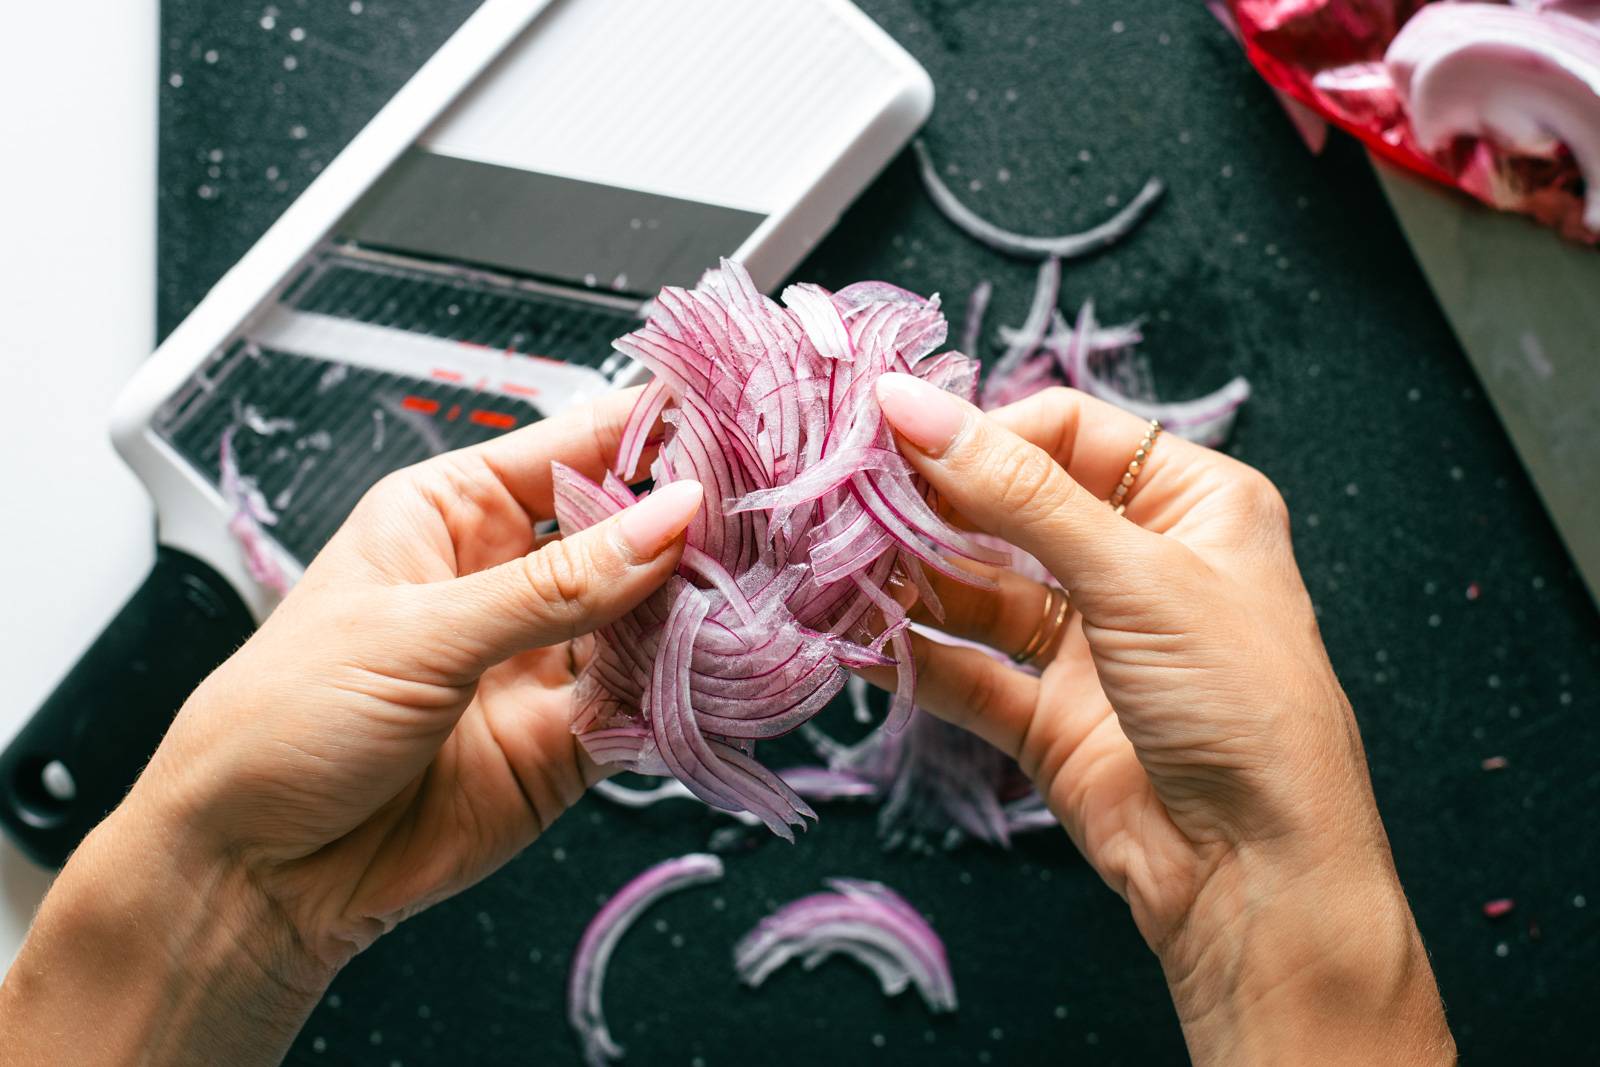
I turn the onion sideways and run it down the mandoline so that I get very thin little onion C-shapes.

In my opinion, the cut of the onion is very important in achieving an end result that is thin, ribbony, and beautiful. It’s also important to maximize the surface area of the absorbent onion flesh (not the skin) so that the onions really get saturated with all that vinegary goodness.

White hand holding thinly sliced red onions.

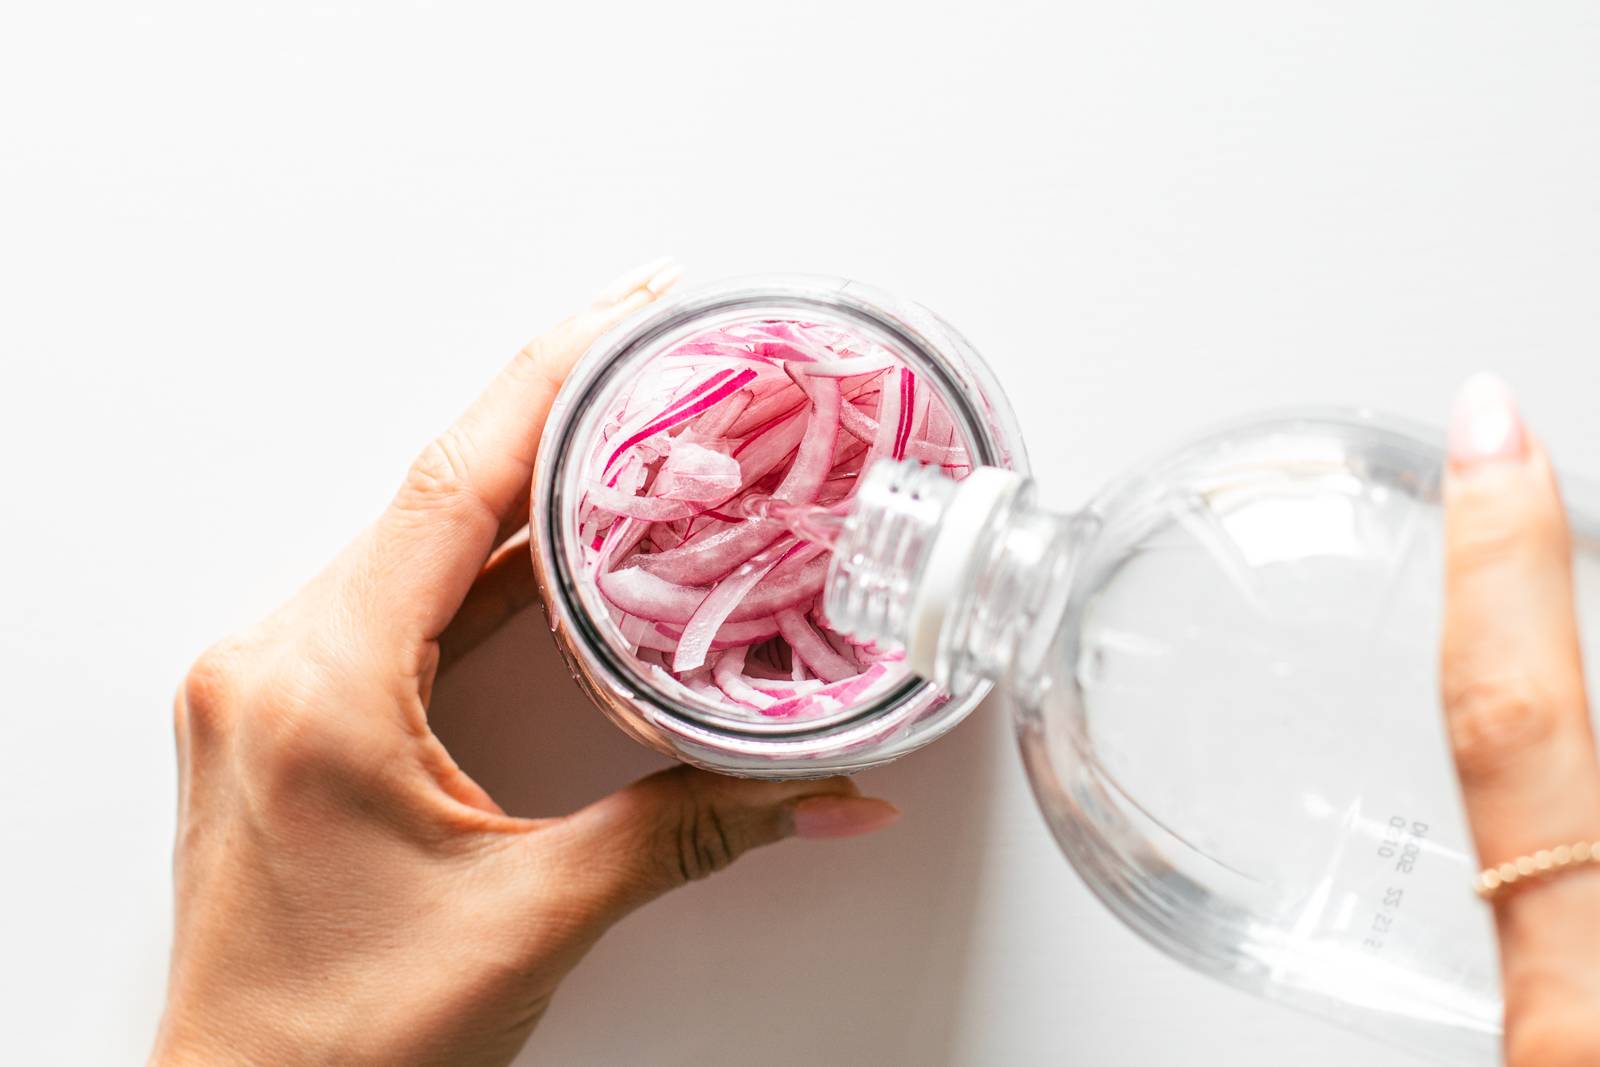
Step 3: Add the Vinegar, Water, and Salt.

Transfer your onions to a jar. Add a pinch of salt and sugar.

Fill the jar 1/3 to 1/2 way with white vinegar. And fill it the rest of the way with water.

White vinegar being poured into a jar of red onions.

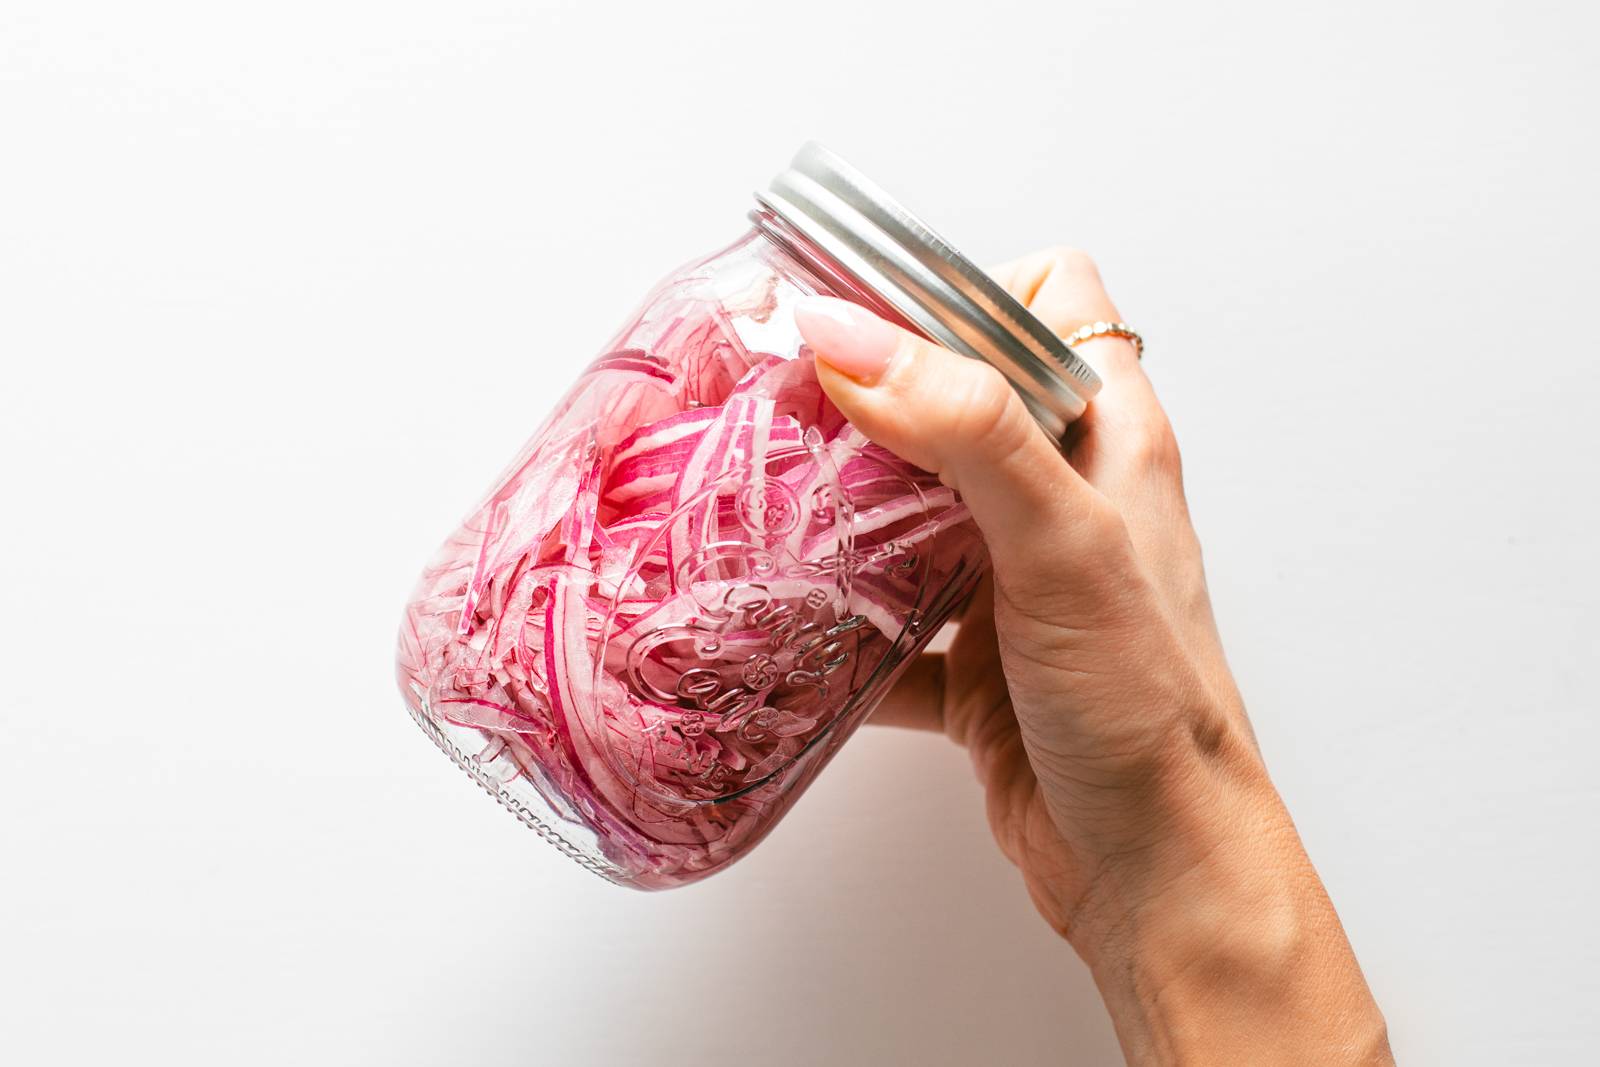
Step 4: Rest!

Give these guys a little rest: 30 minutes minimum, and (personal preference) 5-7 days in the fridge.

White hand holding a jar of red onions.

I don’t heat up my liquids which is why I don’t keep them around much longer than 5-7 days. (I also prefer the taste and texture within a few days!) This method is considered quick pickling: just putting raw onion slices in a brine and refrigerating. It works like a charm!


Lindsay’s Notes

Pickled red onions add so much to a sandwich, a bowl, a taco, and more. They are pretty, they are tasty, and I really really love them.

But – hot take – I strongly dislike adding a bunch of extra steps to a recipe just for something that is added at the end as a garnish. Getting out a full-blown saucepan for my garnishes is a line that I don’t like to cross.

This is my solution to both: a super fast, easy jar of beautifully ribboned pickled red onions that can be made in about five minutes flat.

Two key things that I do that might be different from other methods:

  • The Cut: I use a mandoline to slice the onions very, very thin. This helps with getting maximum onion surface area to absorb the brine, and it also helps to create beautifully twisty, thin little ribbons that can be piled in a pretty little tangle on top of your bowls, sandwiches, etc.
  • The No-Heat Method: I add the water and vinegar directly to the jar. No boiling, no extras. Just straight white vinegar, water, sugar, and salt. This is considered quick pickling and works great if you’re just making one jar to be used in recipes throughout the week (versus doing the water bath and canning).

After my five minutes of prep, they hang out in the fridge while I make the rest of dinner. And they’re ready to be eaten by the time I’m done cooking! Yay for pickled red onions.


Watch How To Make Pickled Red Onions

Print
White hand holding a jar of red onions.

My Go-To Pickled Red Onions


  • Author: Lindsay
  • Total Time: 5 minutes
  • Yield: 1 jar of pickled red onions

Description

These pickled red onions are super fast, super easy, and add a beautiful tangle of tangy onion flavor just about to any recipe!


Ingredients

  • 1 red onion, peeled and cut into several chunks (see photos above)
  • white vinegar (roughly 1/3 cup)
  • water (roughly 2/3 cup)
  • 1/2 teaspoon coarse kosher salt
  • 1/2 teaspoon sugar

Instructions

  1. Thinly slice your chunks of onion into C-shapes using a mandoline on the thinnest setting. (This is what I prefer – if you want the onions more chunky, adjust as needed.)
  2. Place the onions in a jar and add vinegar – I just eyeball it until the jar is about one third of the way full.
  3. Fill the rest of the jar with water. Add salt and sugar; shake a few times to combine. 
  4. Let them rest in the fridge for 30 minutes to 1 hour – then they’re ready to use! They can stay in the fridge up to 5-7 days.
  • Prep Time: 5 minutes
Recipe Card powered by Tasty Recipes logo

Frequently Asked Questions For Pickled Red Onions

What can I use instead of white vinegar?

Some people prefer to use red wine vinegar! I like white vinegar here (and in many recipes) because it’s just extra punchy.

How long will pickled onions last?

These will last for 5-7 days in the fridge. You could probably keep them longer; however, I don’t like to keep them any longer than that because 1) I don’t boil my liquid first, and 2) I prefer the taste within the first few days.

Why do some people boil the liquid for pickled onions?

I do not boil the liquid, and I think my pickled onions are exceptional! *grins* So I am living proof that you don’t need to boil the liquid. That said, the two main reasons that people boil their liquid for pickled onions are:
1) for canning purposes or to make them last longer.
2) to help the liquid get absorbed into the onions faster.

In my opinion and experience, a really strategically thin slice of your onions can accomplish the same thing and allows for super fast absorption of the liquid in the same way that boiling does.

Are pickled onions gluten-free and/or dairy-free?

Yes to both!

What mandoline do you use?

I use the OXO mandoline (affiliate link) and I love it. I use it on setting #1 for these onions so they get nice and papery thin.

What are the best onions for pickling?

I always use red onions (hence this recipe: pickled red onions). Their bite and their color make them very delightful to add to so many things.

What are pickled onions used for?

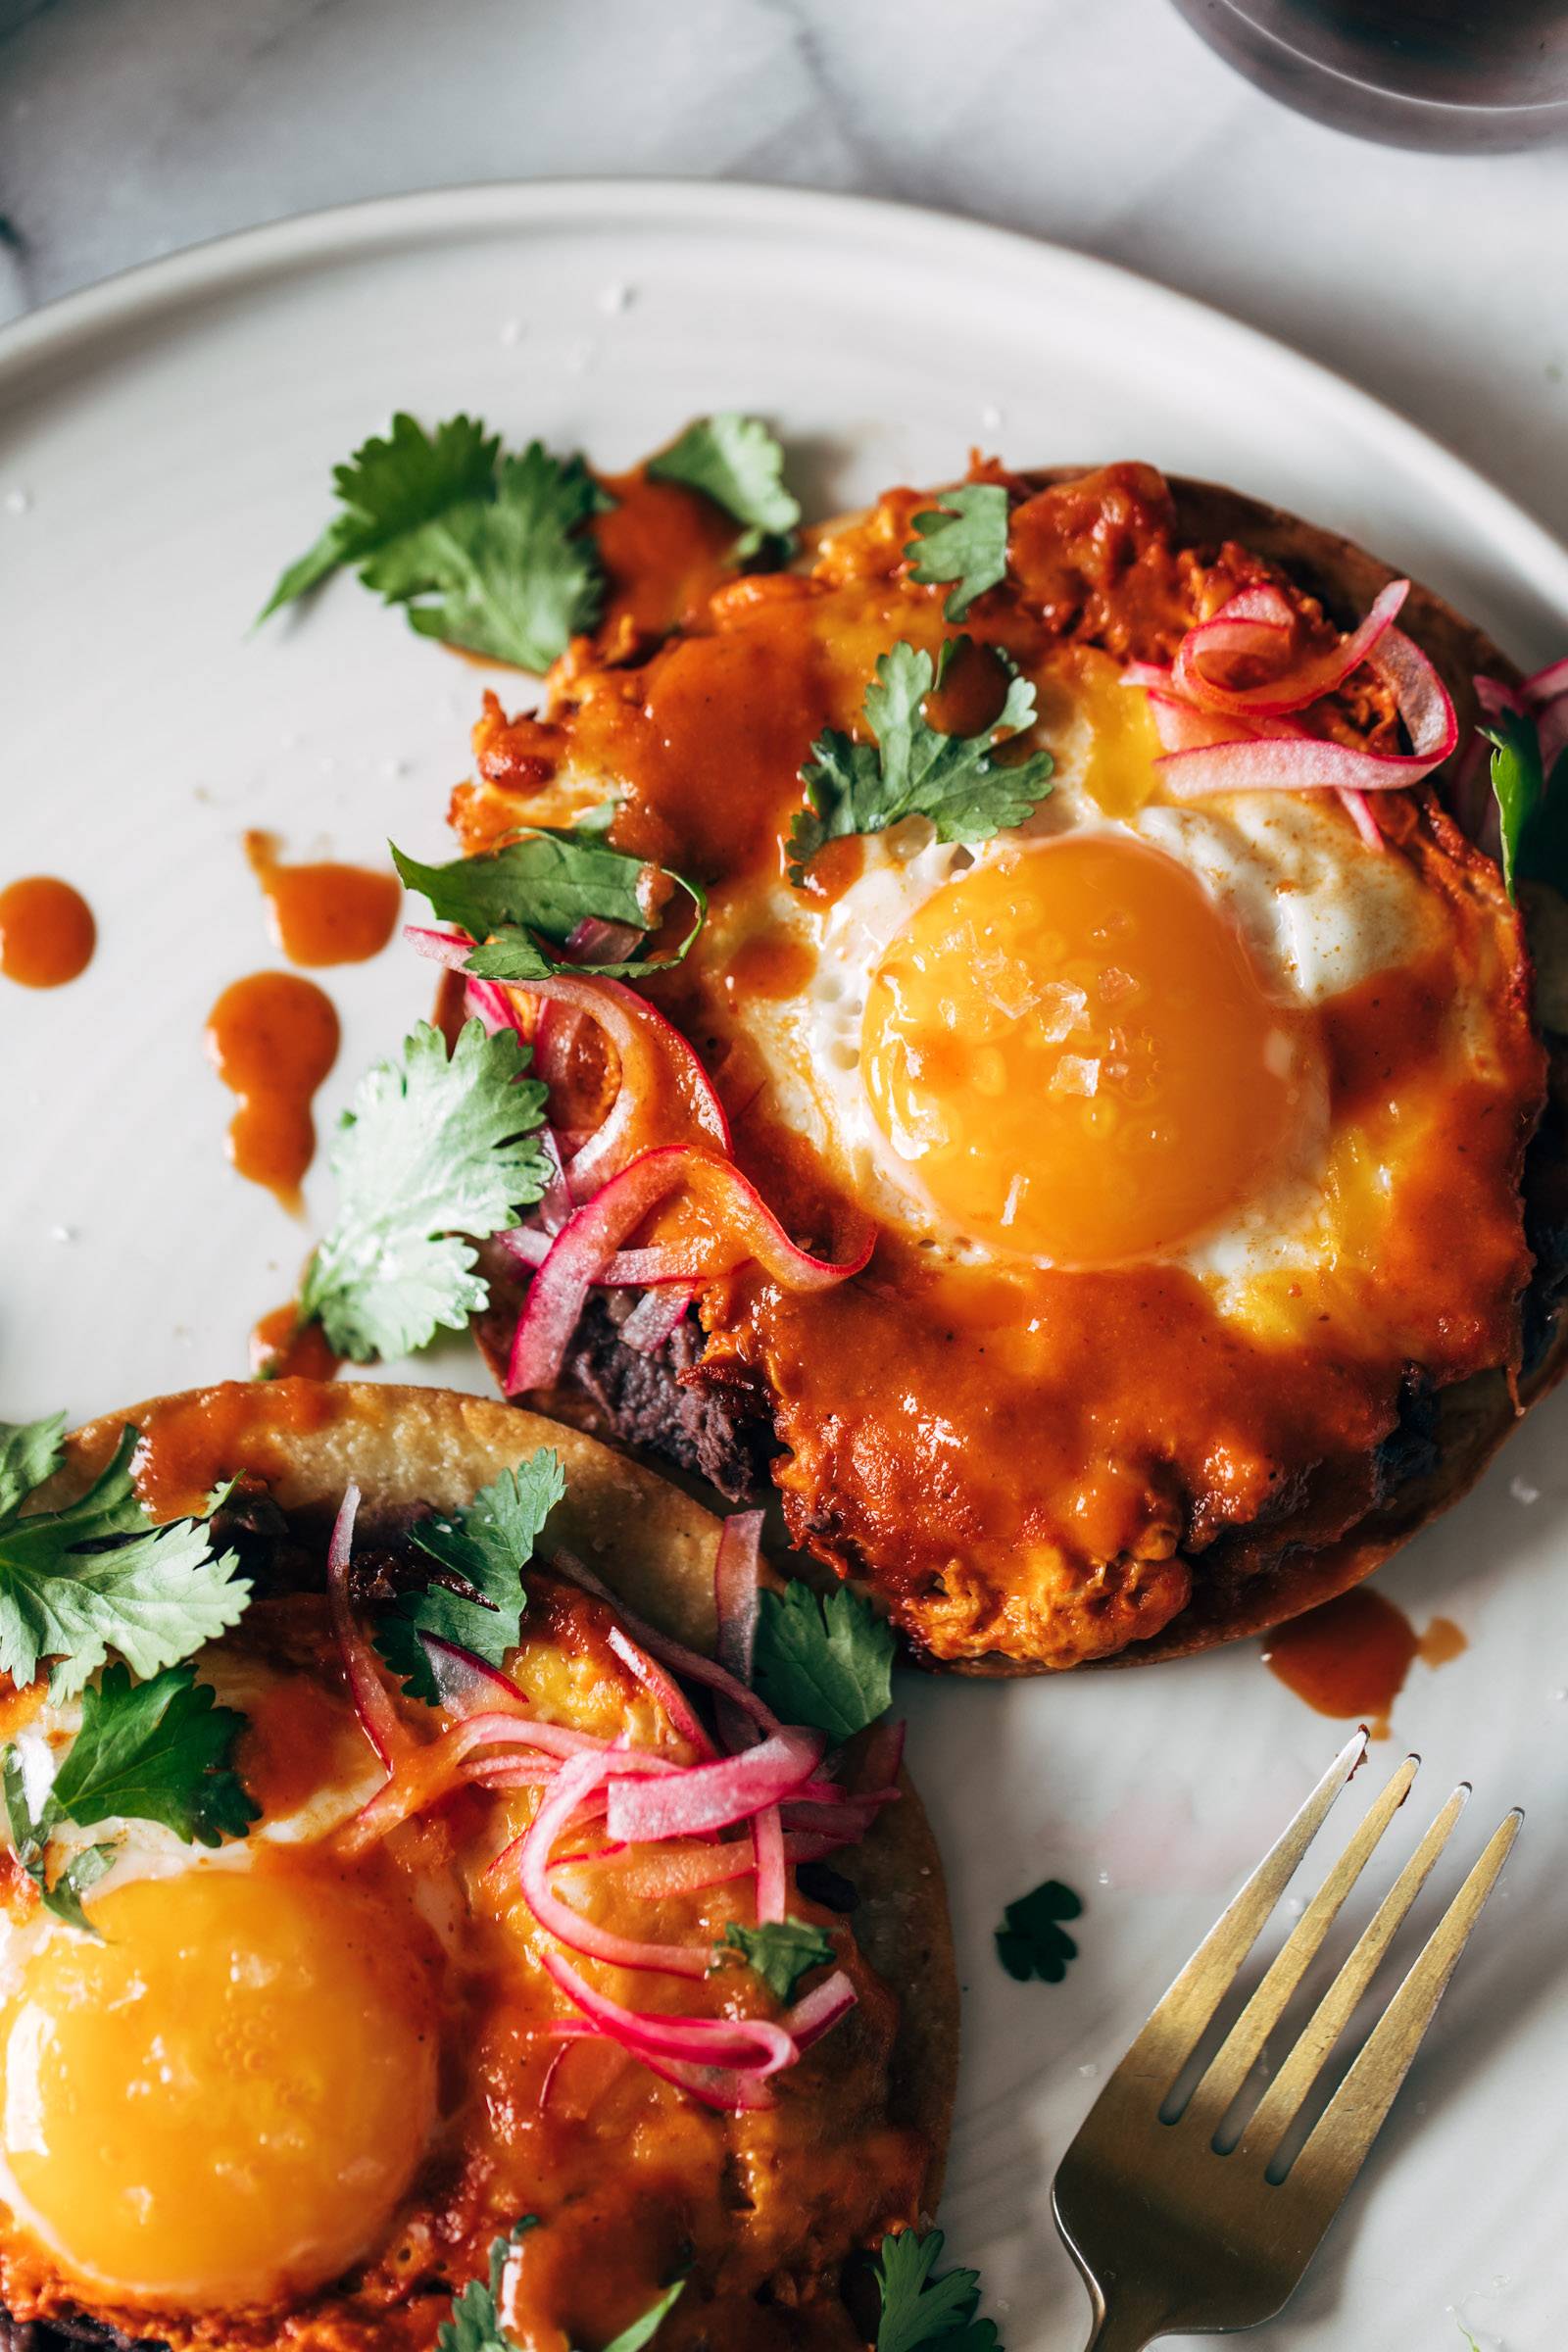
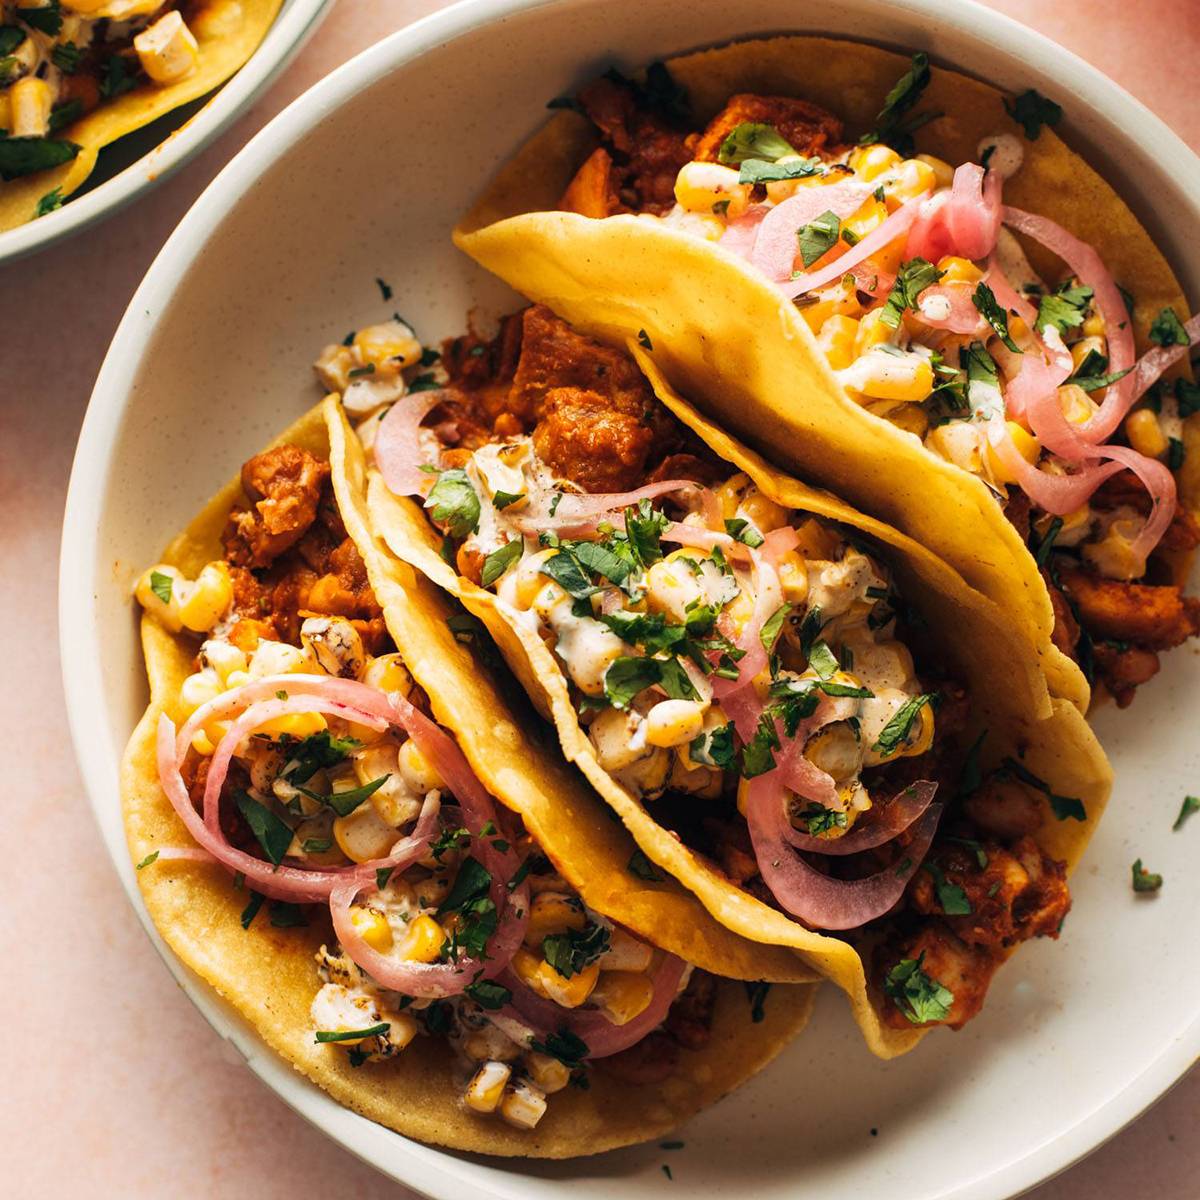
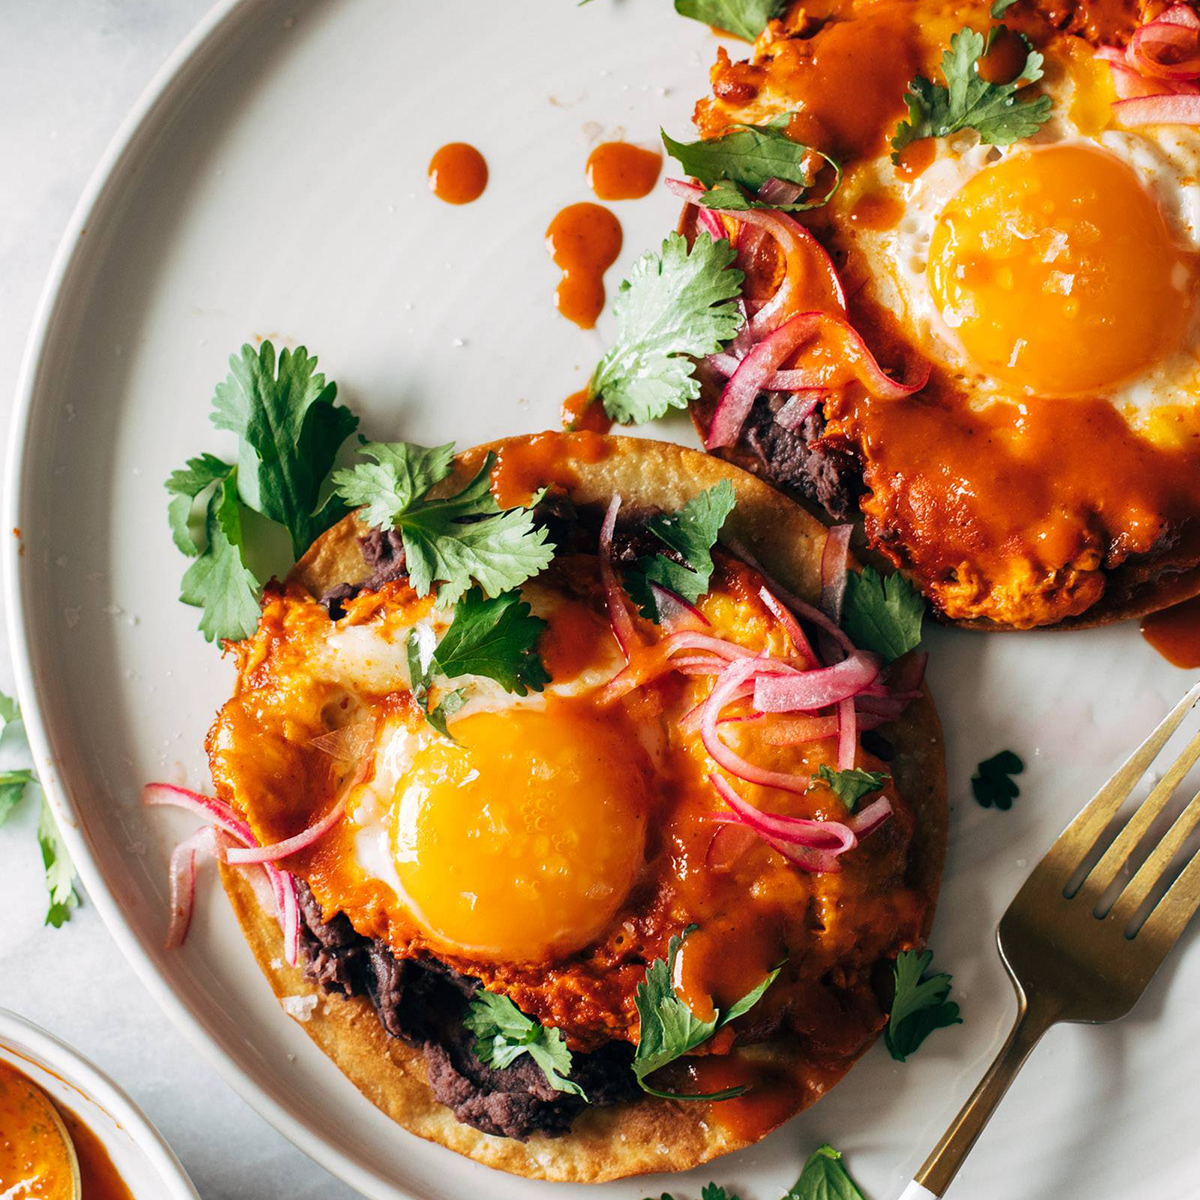
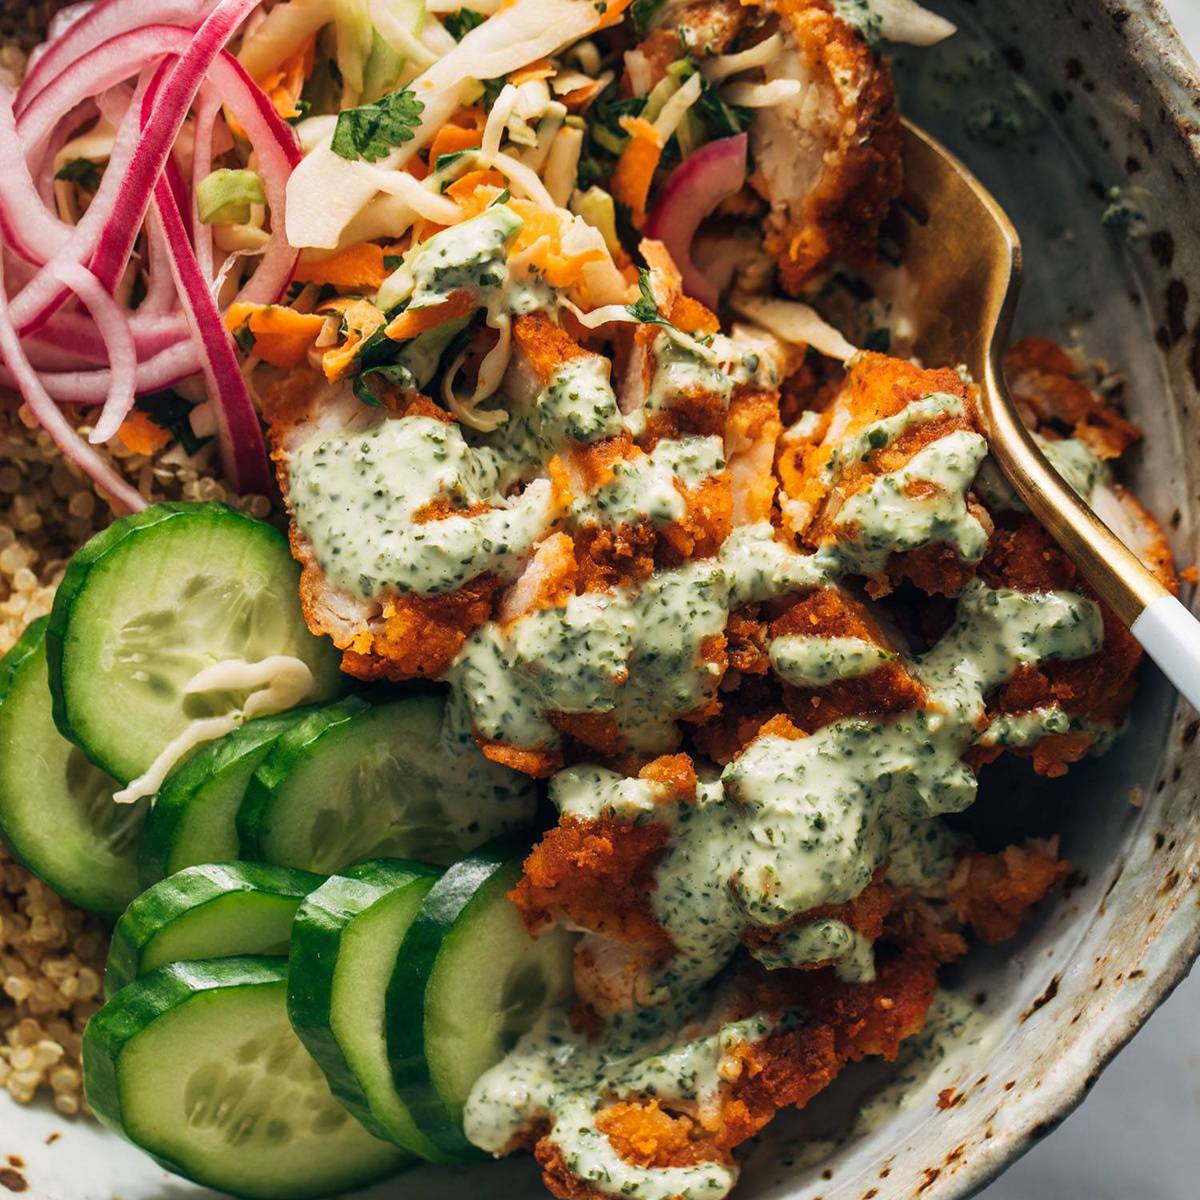
I primarily use them as a garnish. They’re perfect in a little tangled pile on tostadas, tacos, sandwiches, wraps, bowls, pizzas, all of the above, and more. They add tanginess, color, and oniony bite – like a raw onion, but less offensive and more nuanced.

What are the health benefits of eating pickled onions?

Red onions have a lot of good-for-you vitamins and minerals in them to begin with, but the most notable health benefits here might be from the pickling process itself. This produces probiotics which can help with digestion – you can read more about it here.

My Favorite Uses For Pickled Red Onions

The post My Go-To Pickled Red Onions appeared first on Pinch of Yum.


from Pinch of Yum https://ift.tt/dgnuXHG