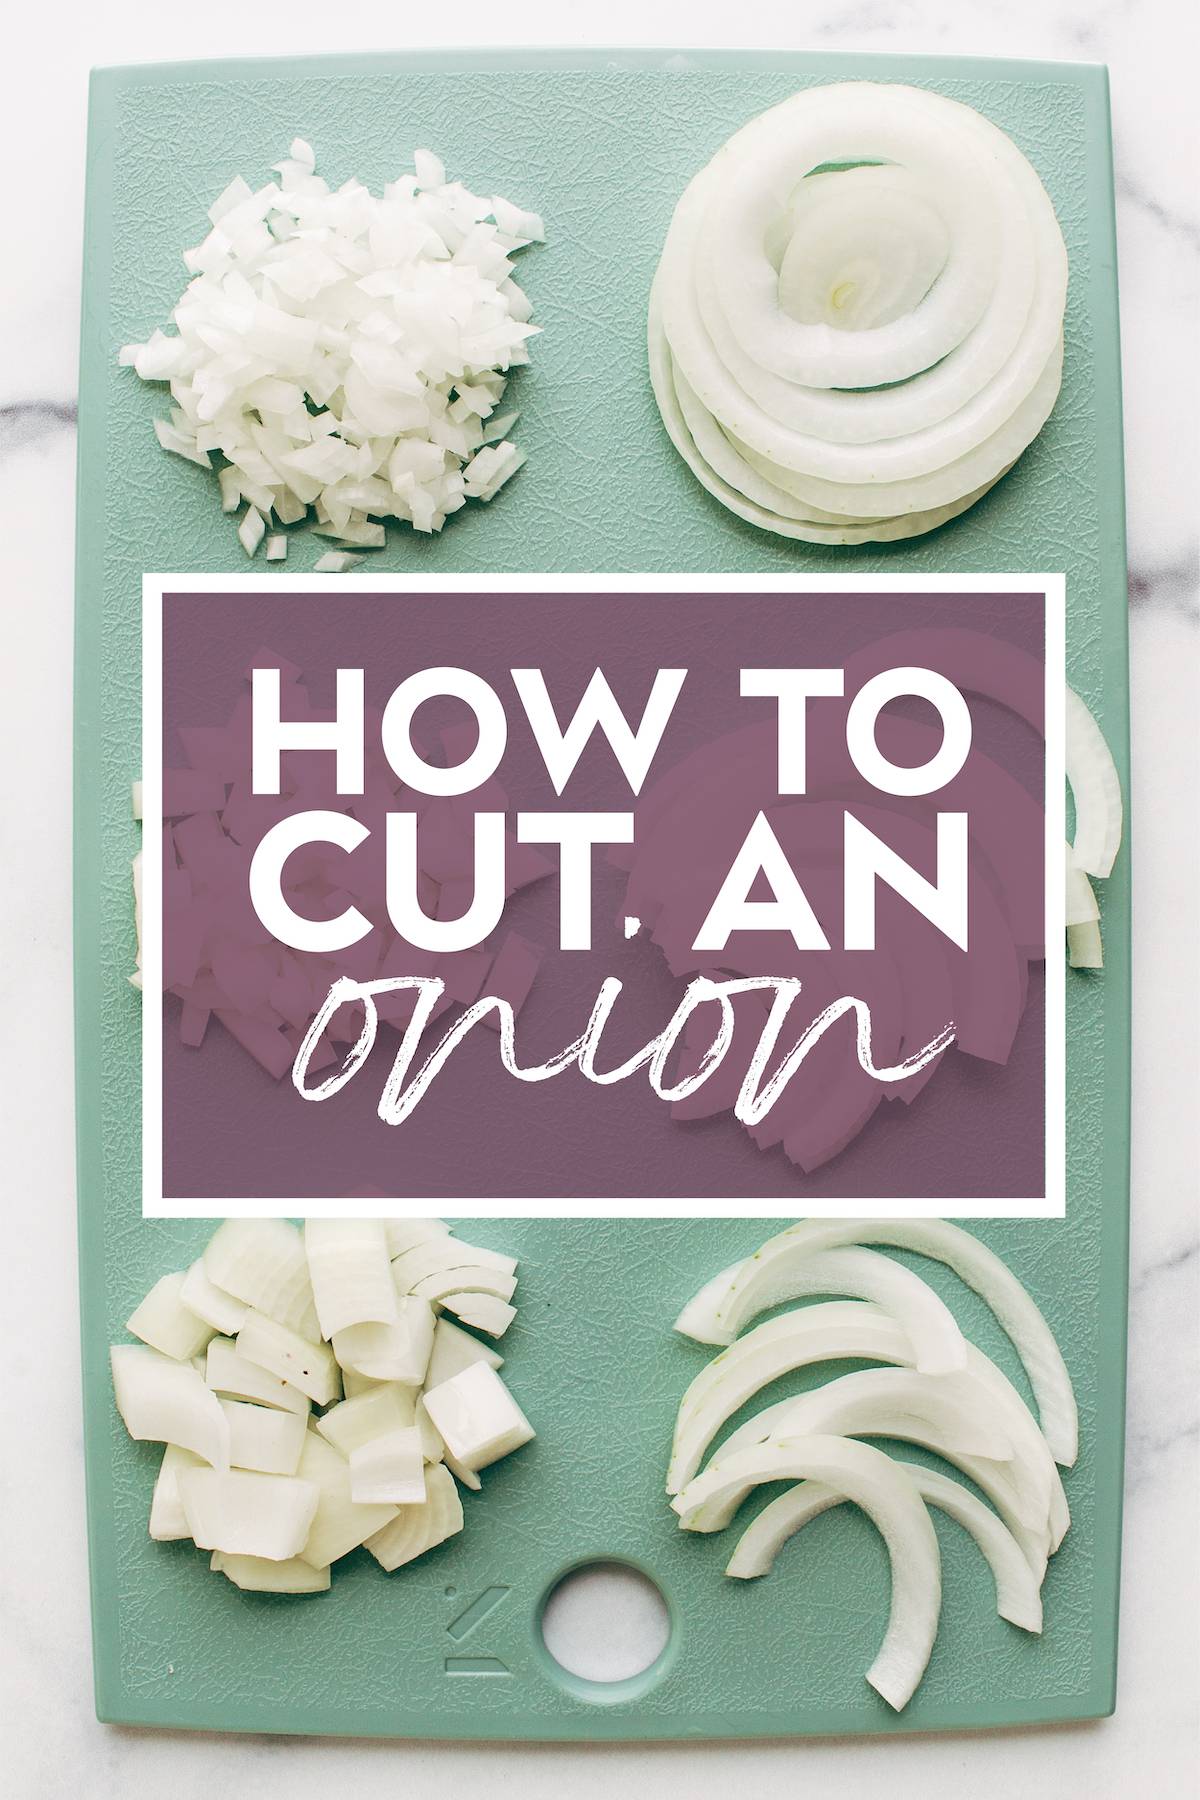
The mighty onion! Seems like you’re always going to find one of these little guys at the base of, like, every recipe. So much flavor! But what’s up with all this slicing, dicing, chopping, mincing, crying? Let’s take a look at all things onion, shall we?
Also, hot tip alert. Please keep in mind that an onion already has some built-in slices for you so we’ll be using that to our advantage! Some methods may have told you to slice horizontally, but, slicing horizontally through a slippery vegetable with a very sharp knife sneaking under your fingers and headed TOWARDS your body…feels just kinda downright bananas. Also unnecessary – those cuts already exist!
Let’s dive in, shall we?
In This Post: Everything You Need For How To Cut An Onion
Methods for Cutting An Onion
- Knife (classic)
- Mandoline (for slices)
- Food Processor (for mince)
- Onion Cut Types and Their Uses
Onion Extras
- Types of Onions
- How to Not Cry While Cutting Onions
- Getting Onion Smell Off Your Hands
- Onion Cut Cheats, Tricks, and Tools
- How to Store Cut Onions
- Recipes Using Onions
Methods For Cutting An Onion
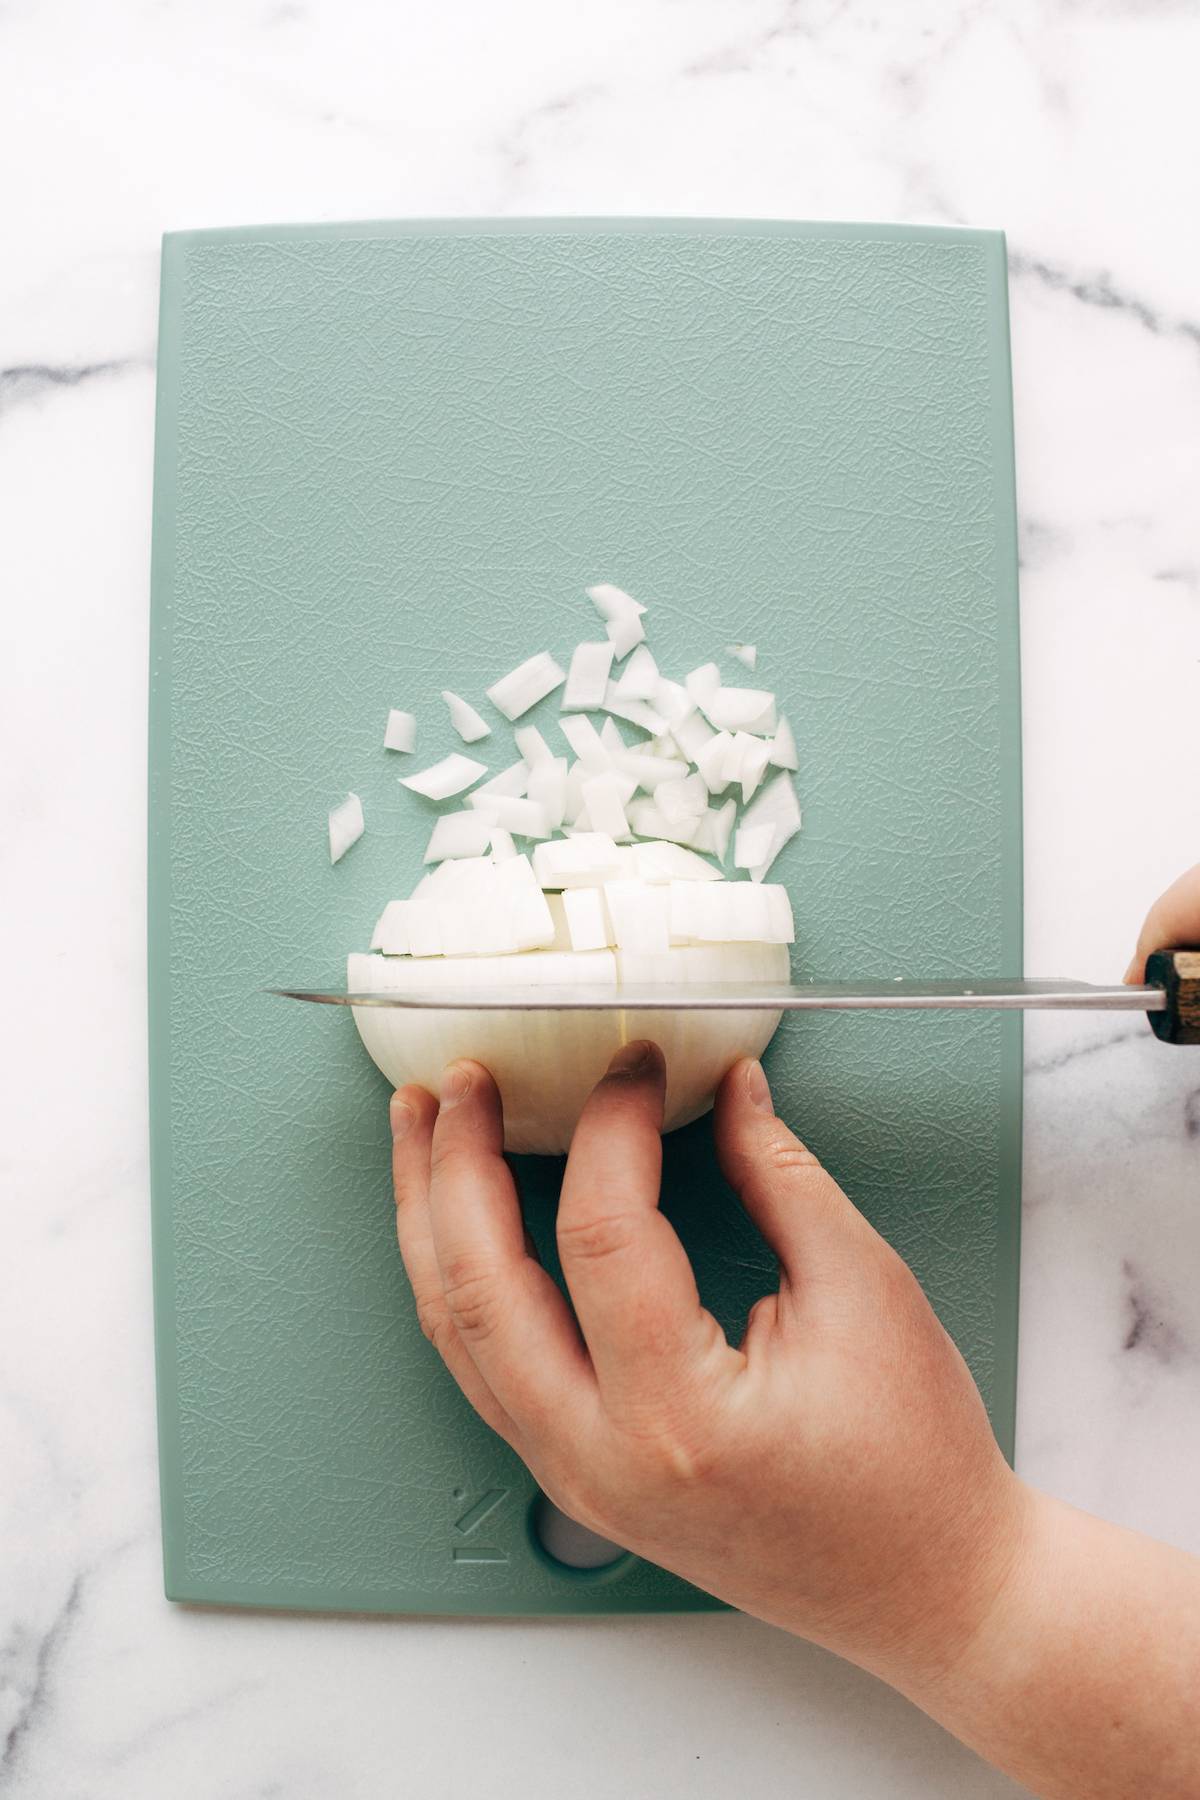
Knife Method

This is probably the most common method when it comes to cutting an onion – whether you need a rough chop, an even dice, or a fine mince. Luckily, they all start pretty much the same. Get your tear ducts ready, here we go!
- Cut in half. Turn the onion upright on one of the flat ends and cut it down the middle.
- Trim the end. Trim one end of the onion and keep the other as kind of a little handle. (You could chop both ends but this way it helps the onion half stay intact.)
- Remove the skins. If the onion skin doesn’t come off easily, remove the outermost layer of the onion too.
- Slice the onion. Place one half of the onion large, flat cut-side down on your cutting board. Make even vertical slices against the grain, thin or thick depending on the size chop you want, without slicing all the way through your “handle” end so that the slices stay intact.
- Turn and chop! Holding the handle end, gently squeeze the onion to help secure your vertical slices and make relatively evenly spaced slices through your original cuts. Those cubes will start falling onto your board and you’ll have a lovely rough chop! Then repeat with the other half.

Mandoline Method
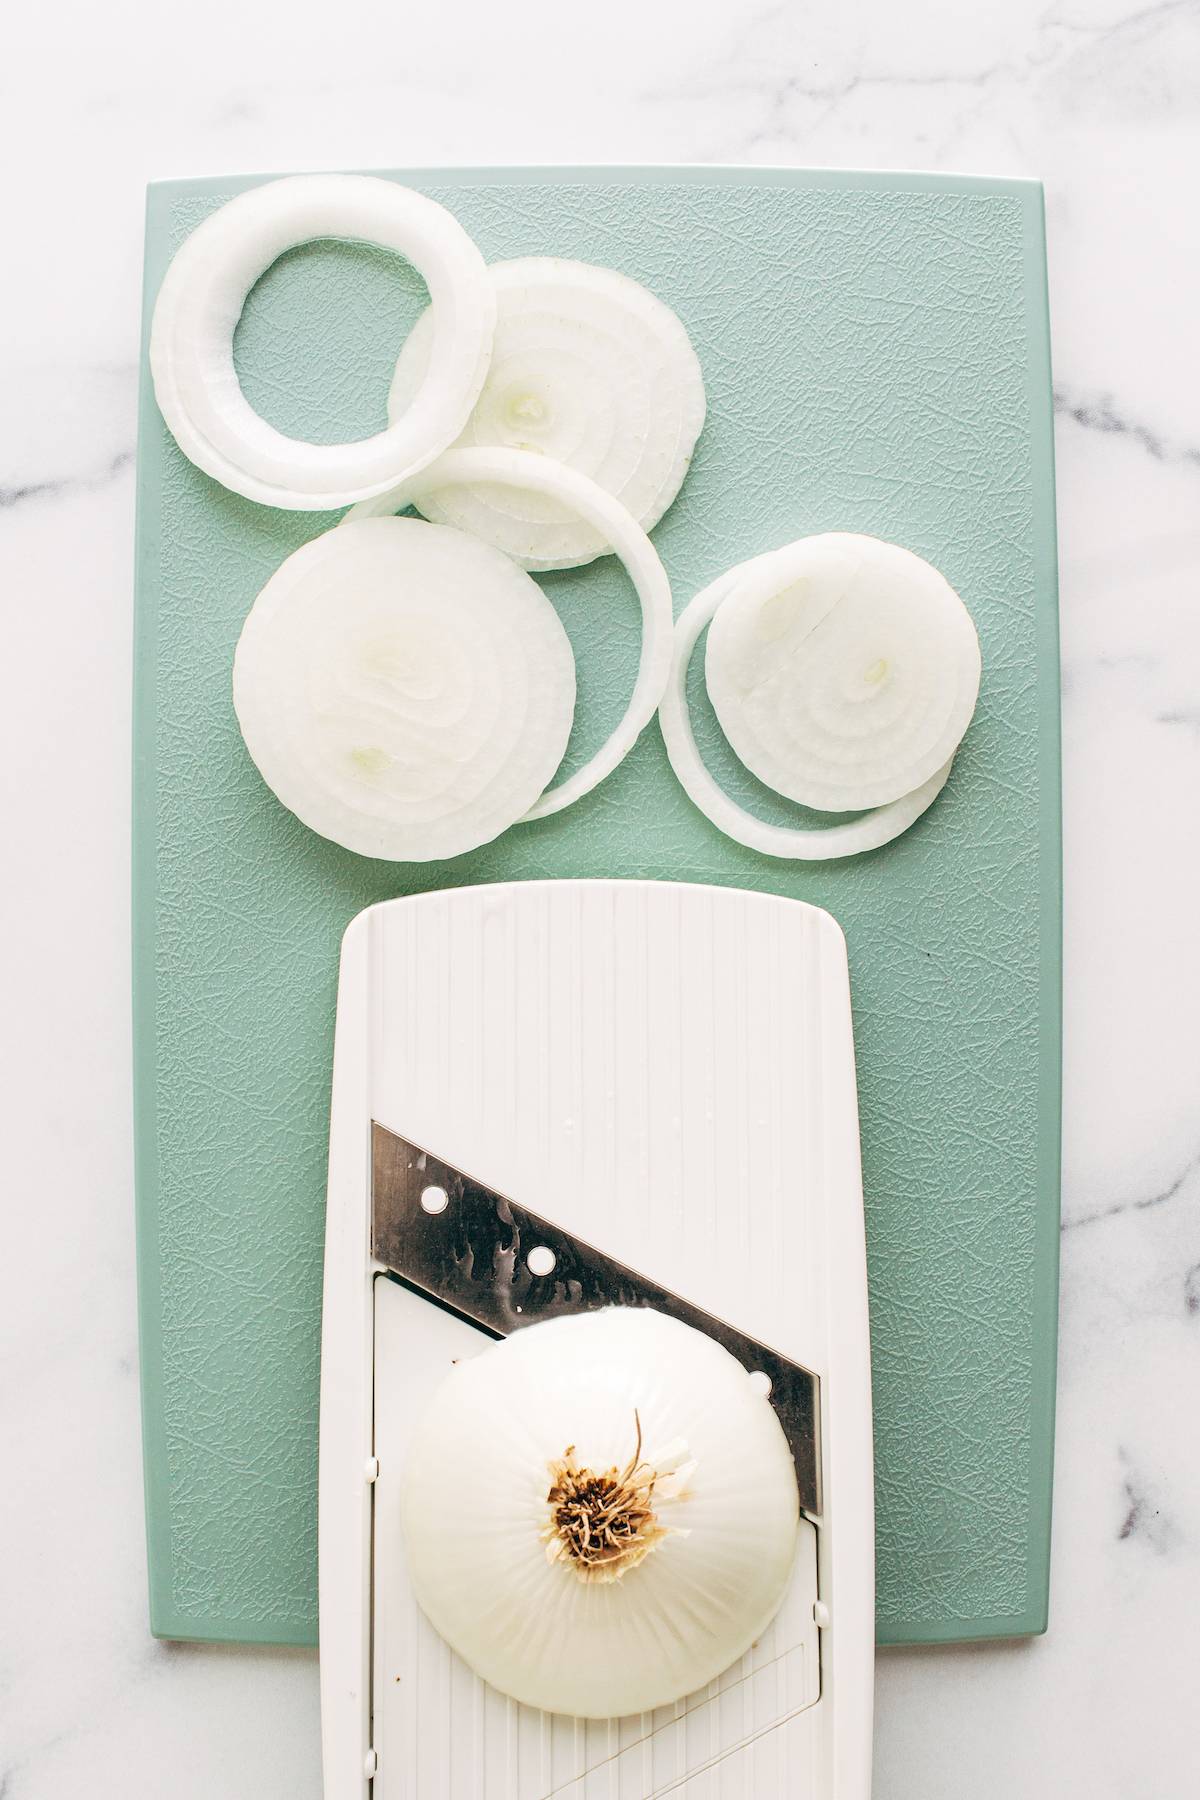
We love our mandoline* for many things, but to slice an onion? It’s seriously clutch. This method is typically used for rings and half moons (as you can see above), but if you want to pull out your knife and chop them up even more from there, you do you!
- Cut off top of the bulb. You don’t need to cut off much – just about 1/2 of an inch.
- Cut in half, root to top (optional). If you want slices instead of rings, you can cut it in half from root to top. See video below for reference.
- Remove the skin. Keep the root intact and peel back the outer layer of the onion.
- Get your mandoline ready. There should be 3-4 different thickness levels on your mandoline that you can choose from based on what you’re looking for. Set your mandoline and you’re ready!
- Slice your onion. Put the cut side against the mandoline and move it back and forth to create slices or rings. Use a mandoline protector to keep your hands safe or stop before the root gets too close!
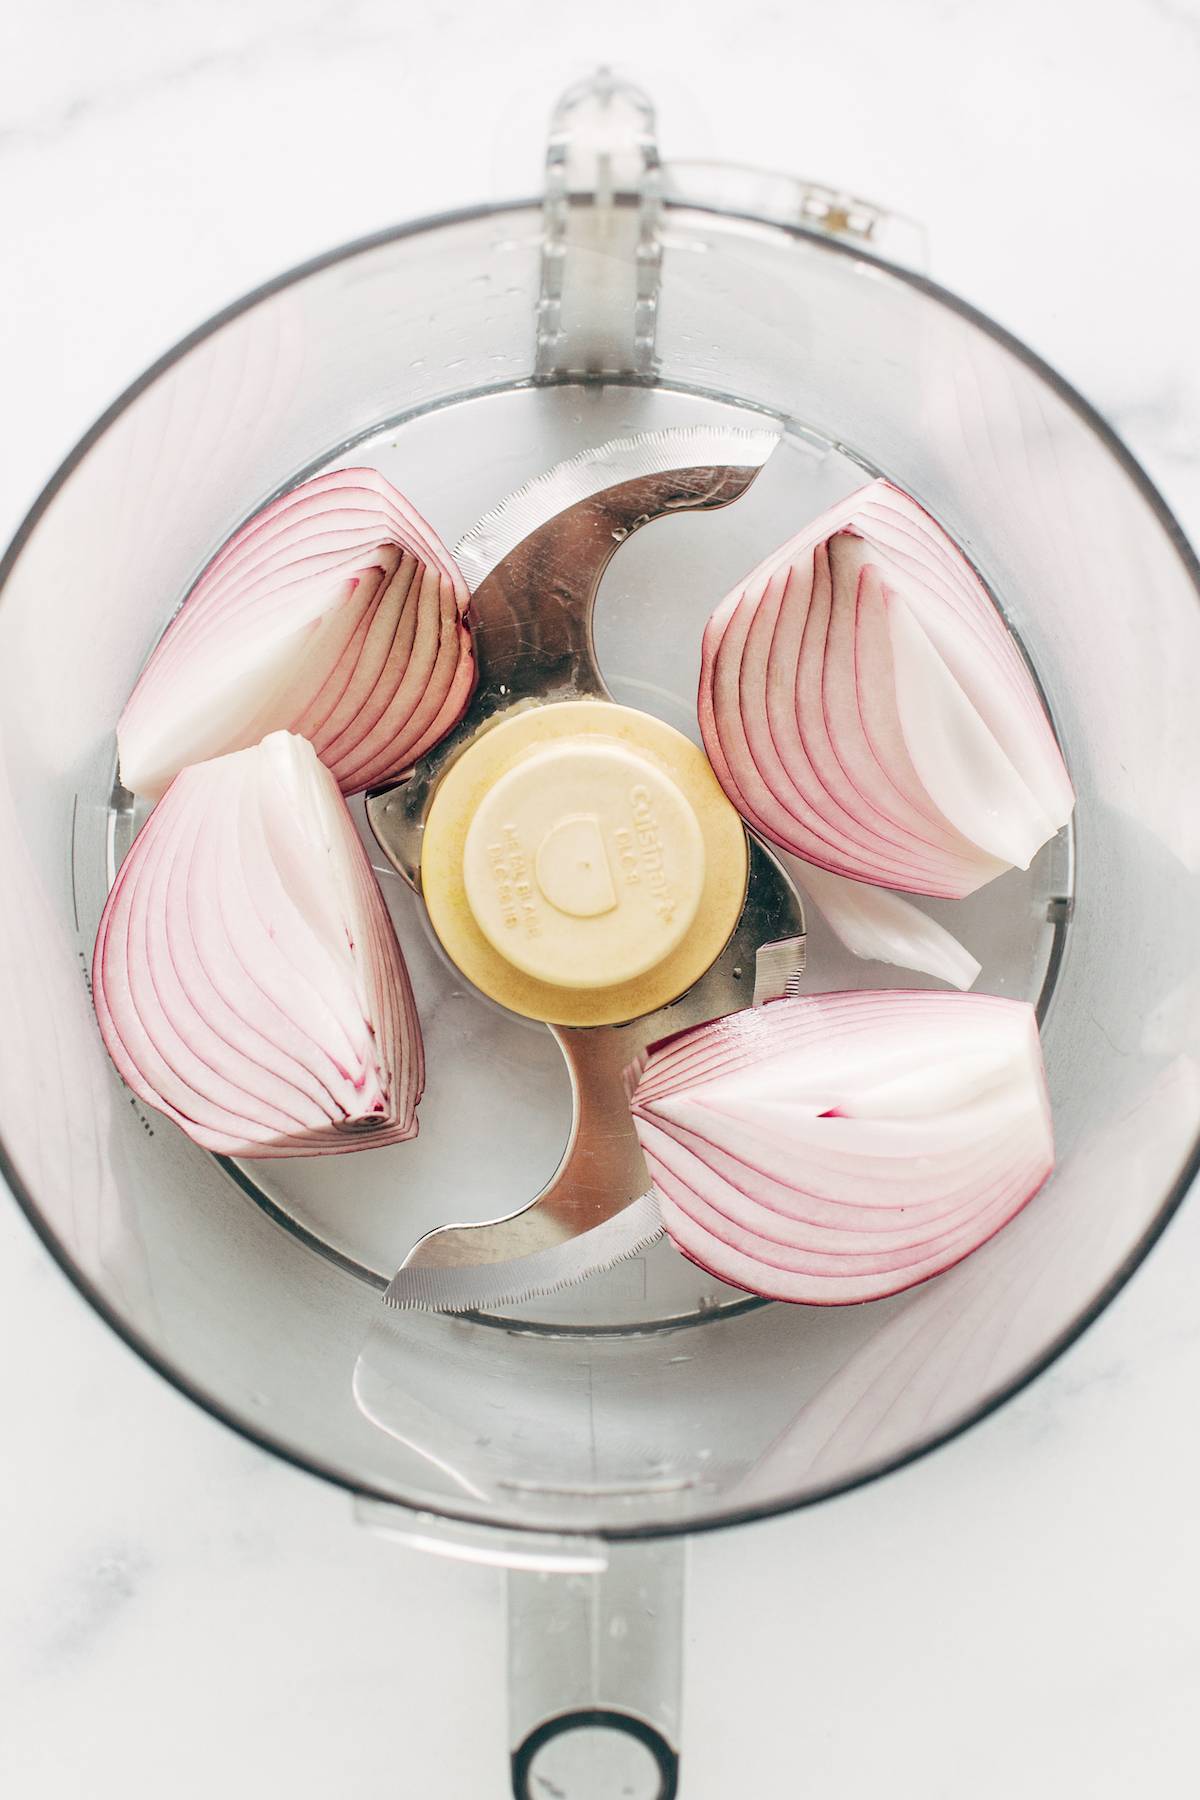
Food Processor Method
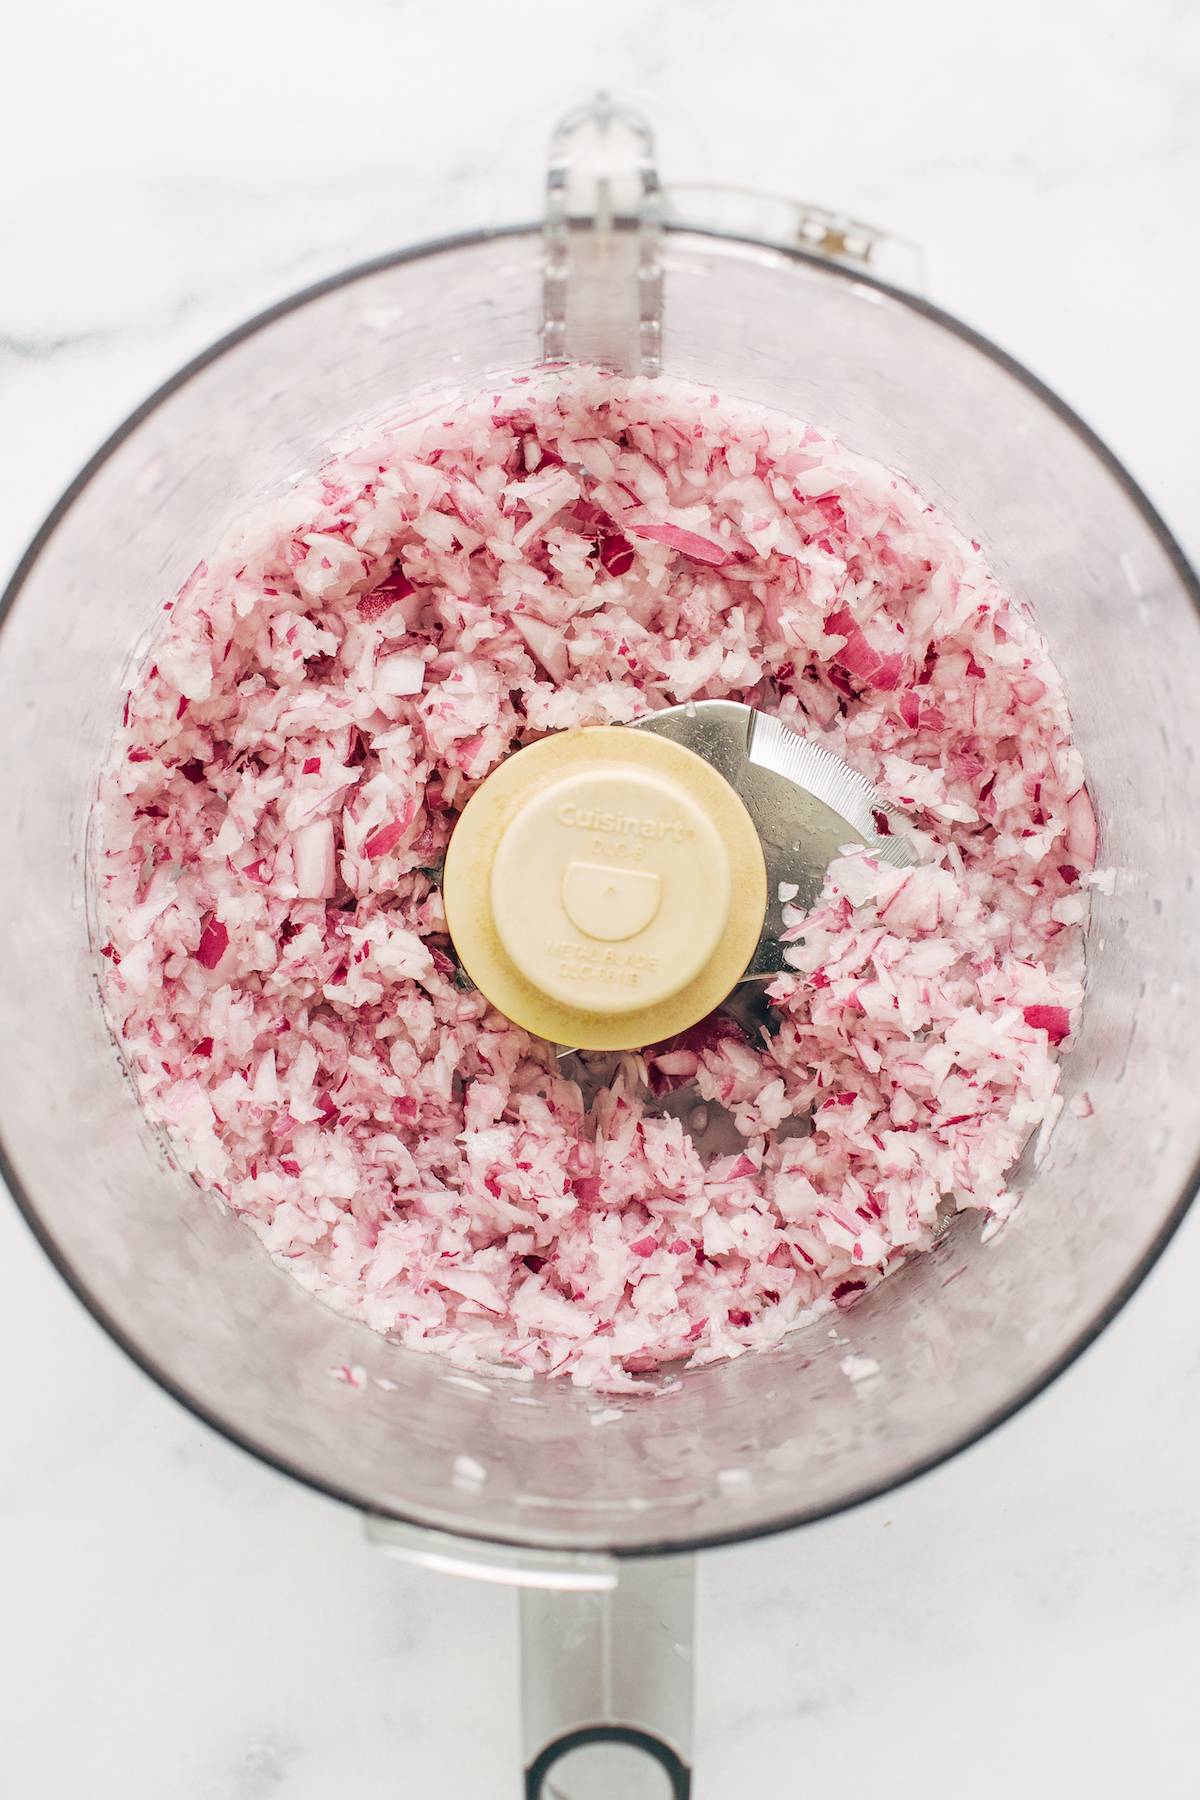
This might be our favorite hack to make chopping an onion the easiest thing you’ll do all day (can you imagine!?). It’s perfect for getting a rough chop or a fine mince, and is especially amazing for when you have a lot of things to chop for soup or want a perfectly-textured meatball.
- Cut off both ends of the onion. No need for the root here!
- Remove the skin. If you need to remove the top layer of the onion too, that’s a-okay.
- Cut into sections. Cut the onion in half root to stem, and then once or twice more to create even sections of the onion.
- Chop in the food processor or chopper. Place the sections of onion in the food processor and pulse to your desired chop consistency.
Onion Cut Types and Their Uses
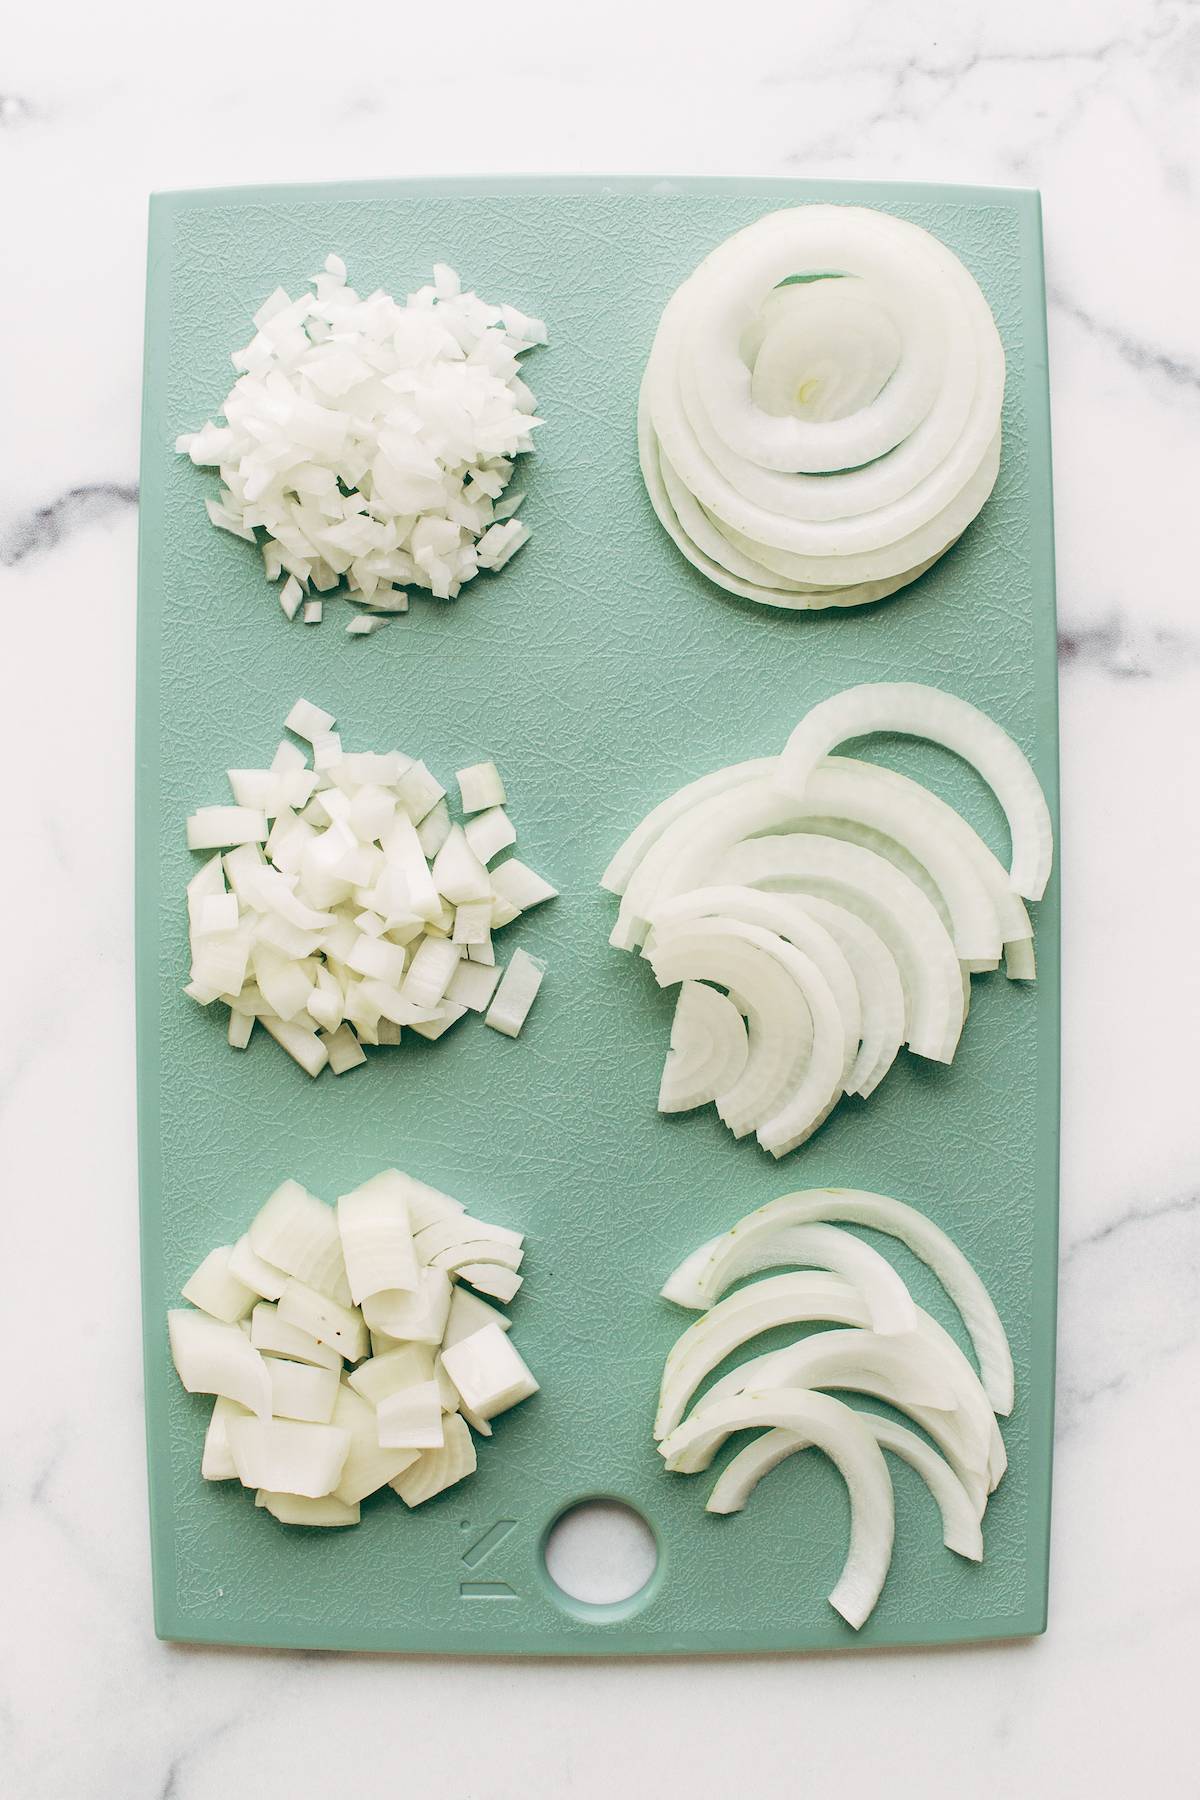
Minced
The tiniest of all! Make all your slices/cuts as small and uniform as possible using a knife or food processor (or you can just continue to run your knife through that rough chop pile until everything is real itty bitty).
This is great for: Mincing is needed when you don’t want to bite into pieces onion at all like for dressings, soups, and marinades, or also in meatballs!
Diced
Smaller than a chop, so make all your slices thinner. You can also run your knife back through your rough chop pile a few times to get smaller pieces. They won’t be perfectly uniform tiny cubes but it will get you where you’re going!
This is great for: Dicing is ideal if you’re going to be eating the onion more on its own and don’t want to bite into too big of a chunk of onion, like as a topping or in a salsa or base of a great sauce.
Chopped
Slightly larger, rougher cubes.
This is is great for: A larger quick rough chop is great for roasting, sauces, or soups that will cook awhile or get pureed later where you need the flavor of onion but size really doesn’t matter. Also great for pot roast!
Rings
These need a slightly different method than the cuts above. You’ll trim the non-root end, remove skins (you may need to make a very shallow cut in the side to help get them removed), carefully place the full onion your board and start slicing parallel to the ends forming full rings, or use your mandoline as shown above. If using a knife, you can also slice a tiny bit off of one side of the onion to give yourself a steadier surface when cutting the whole onion.
This is great for: Onion rings, YAY! But also maybe you want a full ring on your burger or in your salad for fanciness?
Half-Moon Slices
Sliced with the grain of the onion to your desired thickness.
This is great for: Burger/sandwich toppings or salads, when more prominent pieces of onion are key!
Strips
Narrow or wide strips made by those vertical cuts against the grain. You could use on skewers or in fajitas.
This is great for: Kebabs, fajitas, or caramelized onions.
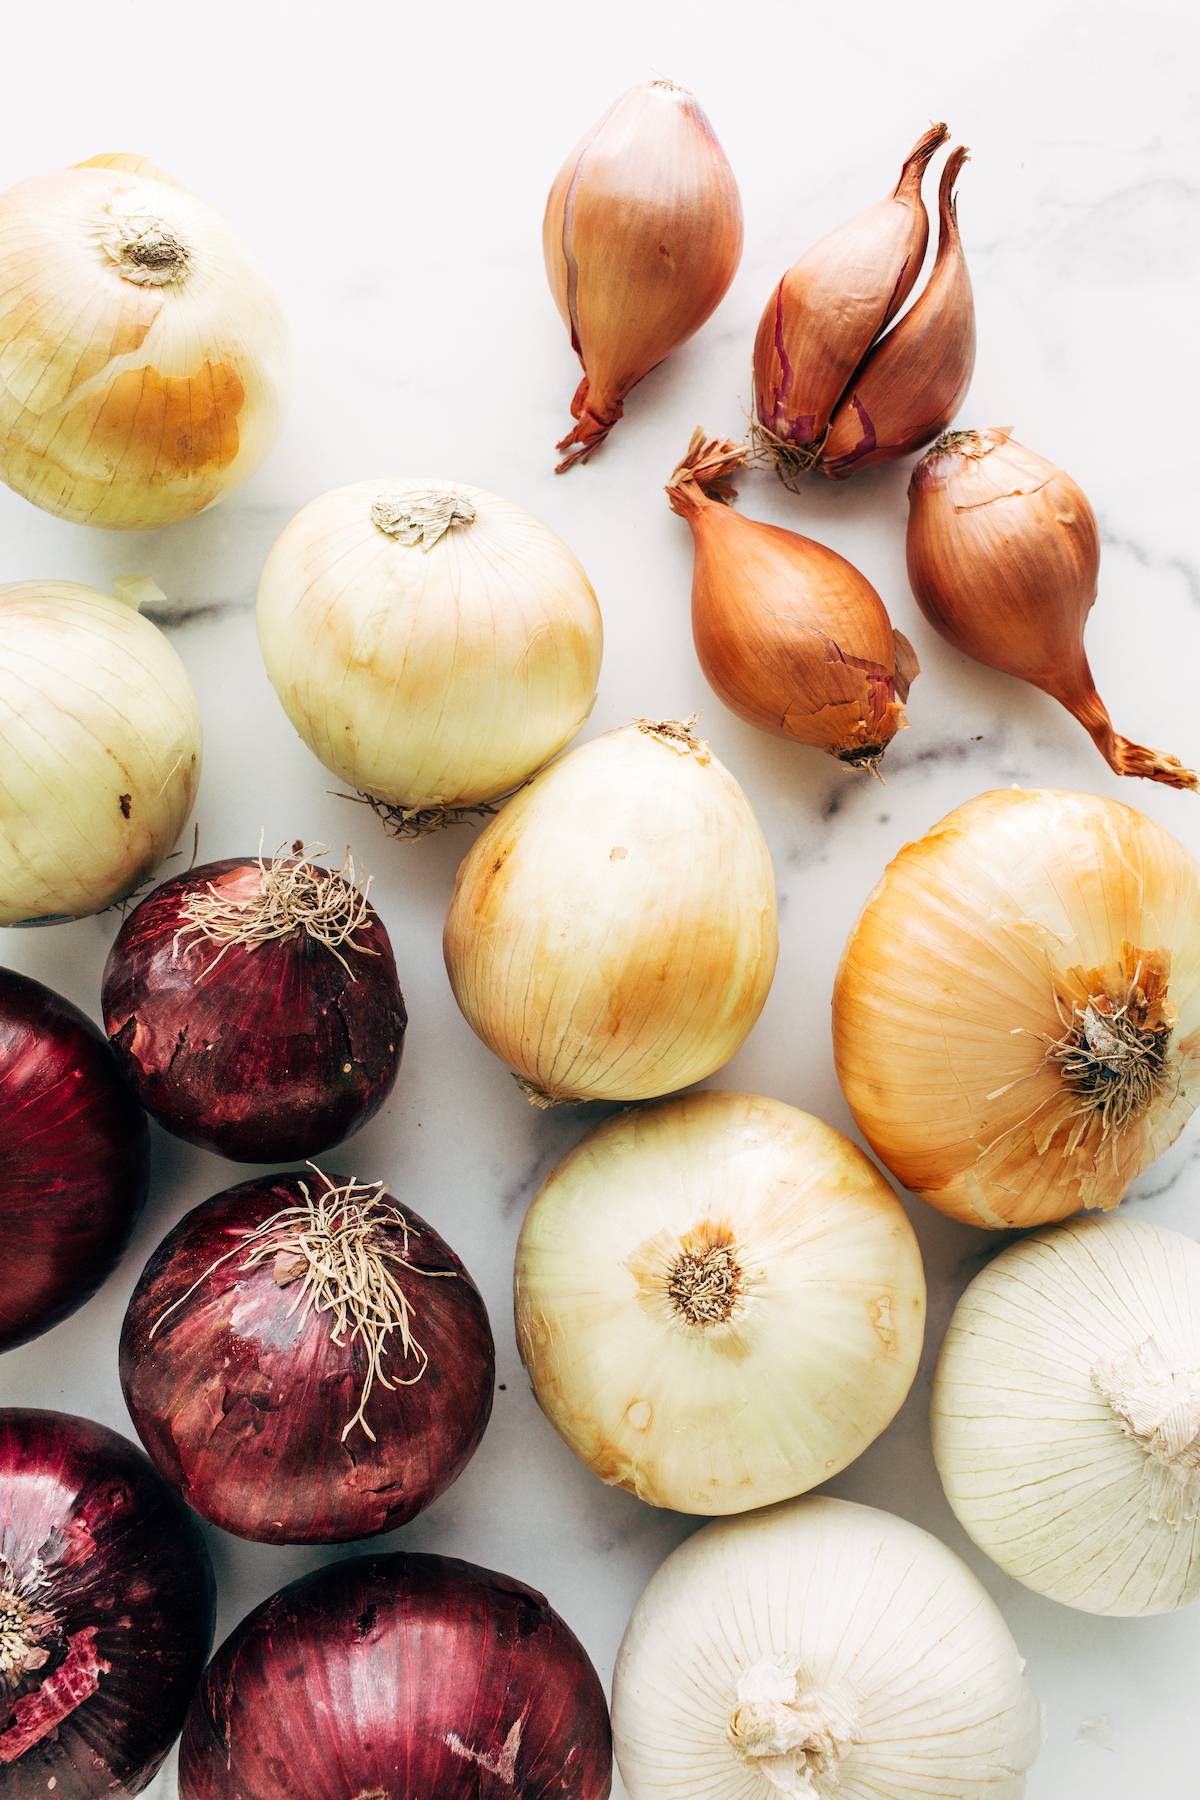
Types Of Onions
For the most part, you can swap out onions in most recipes depending on what you have on hand. But here is a general breakdown for where each one can shine. Always remember when picking out onions, regardless of type, to look for ones that are firm with dry skins!
- White onions: They can be a little more pungent so they are more ideal in cooked dishes or sauces.
- Yellow onions: Super versatile and have some real star power for caramelizing.
- Red onions: These are your salad and salsa queens because they can have a real kick!
- Sweet onions: (like a Walla Walla or Vidalia). These are great in things that need raw onion because they are mild and sweet.
How To Not Cry While Cutting Onions
Goggles? Just ask someone else to do it and leave the room? Yeah, it seems kind of inevitable to shed a tear or two, but here are some tips/tricks people say help ease the burn.
- Goggles. Like seriously, they work. Any barrier in front of your eyes will help a little! Here’s our favorite pair*.
- Cutting with a sharp knife! A dull knife will smash and break down the cells of the onion more which releases more of the chemical syn-propanethial-S-oxide which is what is responsible for those teary eyes!
- Chill them! You have to think ahead but some suggest popping peeled onions in the freezer for a bit or in the fridge or in a bowl of ice water for about 30 minutes to lessen the chemical’s effect.
- Put a slice of bread in your mouth and let it hang out. In case you needed a reason to eat bread (spoiler: you never need a reason). Some say it works, some say it does nothing. Apparently the bread is supposed to absorb the sulphuric compounds before it reaches your eyes. Try it and report back!
Getting Onion Smell Off Your Hands
Oh! Yay! Now for some fun science! Did you know you can get rid of the smell on your hands by simply rubbing them on any stainless steel object under cold running water? It’s true! You can grab a spoon or a spatula (maybe skip a knife), or even use the bottom of your stainless steel sink. The sulfuric chemical in onions will bind to the metals in stainless steel and stick to those instead of your hands, no soap required! (But let’s be honest, soap never helped anyway, right?!)
You could also grab yourself one of these handy dandy little stainless steel “soap” bars* if you really want to be fancy.
Onion Cut Cheats, Tricks, and Tools
If you don’t want to make use of your knife-work in the kitchen, you do have a couple other options.
- Pre-cut onions. We love a good shortcut sometimes so thank you, grocery store! Or make your own pre-cut ones by just doing a ton of onions at once, as long as you’ve got your tear ducts going, and then store them in the freezer!
- A mandoline. Though it can be intimidating, a mandoline* can make very easy work out of getting perfectly evenly thin slices.
- Food processor. Peel and slice those onions into sections, and buzz those babies up in a food processor* for a chop-cheat!
- A spiralizer. Onions are super easy to spiralize* – who knew?! Just use a flat blade since the onions are already layered by nature, and two seconds later, you’ll have a pile of thinly sliced rings that are perfect for a whole variety of uses. See how to do it here!
Tools For Cutting Onions
 Buy Now →
 Buy Now →
 Buy Now →
 Buy Now →
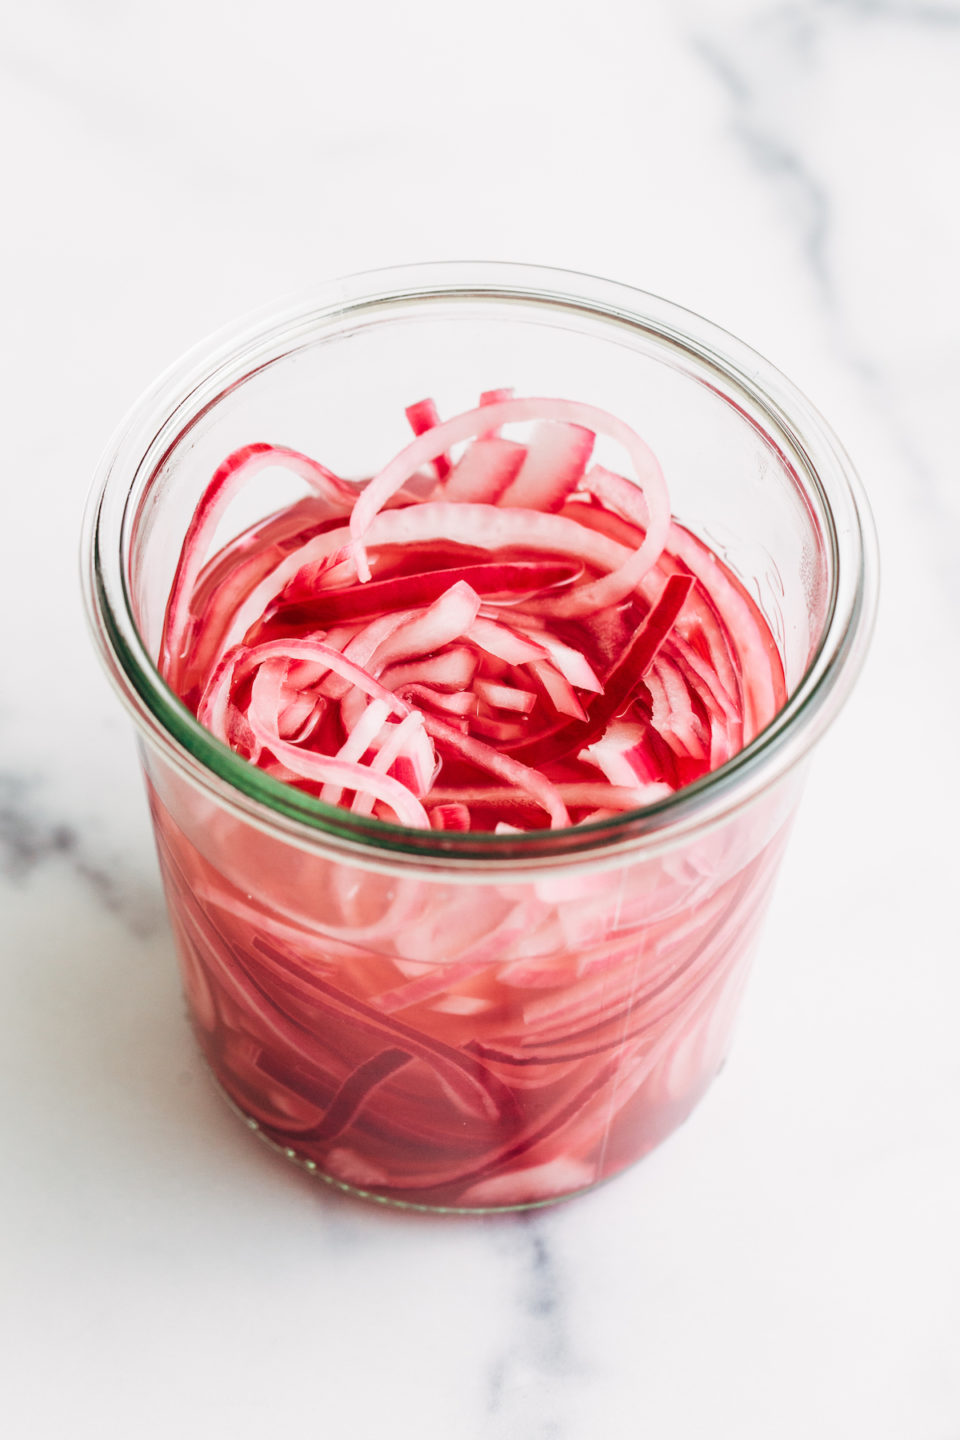
Storing Cut Onions
As long as you’re already crying, you can chop up a bunch of onions and then keep them on hand and ready to go for your other cooking needs this week. Just make sure you keep things airtight to avoid oxidation and moisture absorption (hello Stinksville, USA).
- To Refrigerate: You can keep chopped onions in a sealed, airtight container (ideally a glass one since plastic will absorb odor which…doesn’t help your cause) in the fridge for up to to 10 days. A partially used onion can be wrapped in plastic wrap and stored in the fridge as well.
- To Freeze: If you’re going to be cooking the onions where texture doesn’t matter as much since you won’t be eating them raw, you can also freeze chopped onions for easy use. Just toss them in a freezer bag and they’ll last 3-6 months!
- BONUS! To Pickle: We looooove pickled onions (see these bowls and these tacos). Just transfer your onion slices to a jar, fill the jar half to three-fourths of the way with vinegar and the rest of the way with water. Add 1 tsp. of salt and 1 tbsp. of sugar. Shake a few times and set in the fridge.
A Few Of Our Favorite Recipes with Onions
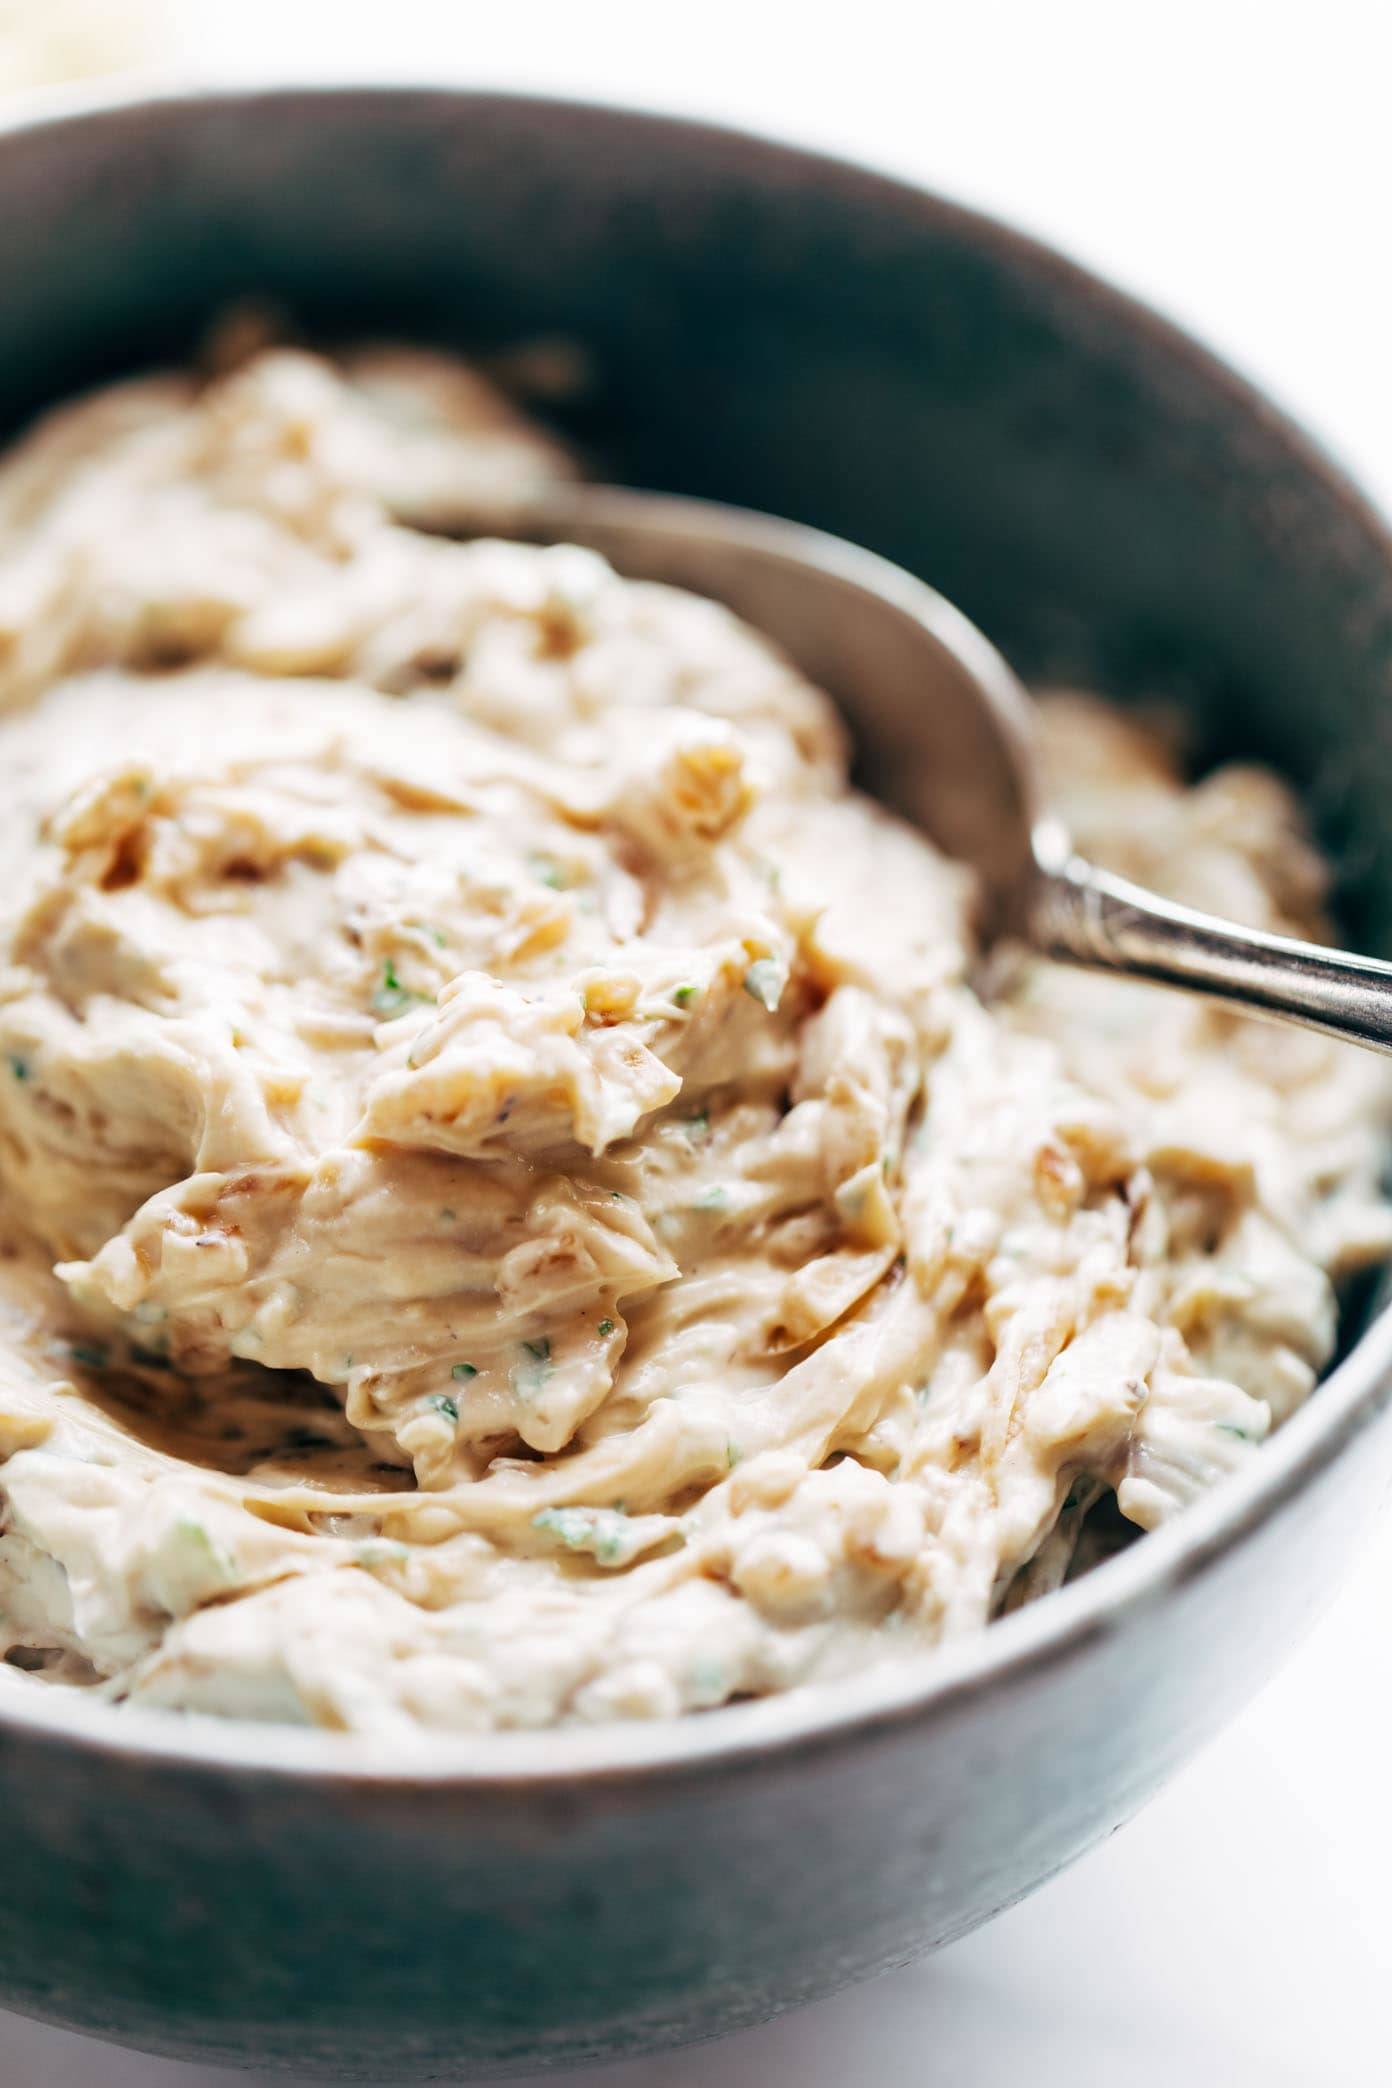
- Caramelized Onion Dip
- Ang’s Creamy Tortellini Soup
- Creamy Squash Fettuccine with Caramelized Onion and Pancetta
- Thai Yellow Chicken Curry with Potatoes
- The Best Easy Pasta Salad
- Red Chile Chicken Tacos with Creamy Corn
- The Best Detox Crockpot Lentil Soup
The post How to Cut an Onion appeared first on Pinch of Yum.
from Pinch of Yum https://ift.tt/CQwmyLY