Thursday, July 9, 2020

Two-Person Banana Cream Pies

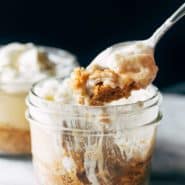
Scooping up banana cream pie in a jar.

Banana Cream Pie is making a comeback in my life (and yours) starting today.

A few years ago my friend Melissa published a cookbook (affiliate link) with a really epic banana cream pie recipe in it. I made it once, I made it five times, I made it when no one else was home to share it with me because that’s the kind of monster I am? and that’s the brief history how I ended up on the runaway train of thick and cold and creamy banana cream pie fandom.

Being that I only have two adults and a baby in my house, and being that banana cream pie doesn’t really keep well as leftovers, I have stumbled into a new routine of making these two-person banana cream pies in ramekins or jars. Can’t exactly call them mini, because even though they are meant to serve just one person, these pies are deep-dish level big boys that are packed to the brim with graham cracker crust, banana slices, creamy banana filling, and whipped cream.

The crust here is a graham cracker crust because, well, it’s just better.

The ingredients are standard – milk, eggs, butter, cornstarch, sugar, vanilla, a roasted banana for extra sweetness.

And when you bake your crust and roast your banana at the same time, this is what you’ll be gifted with:

Ingredients for banana cream pie on a sheet pan.

A SMILING BANANA FACE WEARING PIE CRUST GLASSES!

I mean, if that isn’t a sign from the universe.

Banana cream pie in jars.

These are not fancy and very forgiving, although they do require a tiny amount of advance planning due to the 2-3 hour chill time. I know, I normally don’t ask this of any of us. YOU CAN DO IT. For all that is creamy, thick, sweet, and wonderful, you really owe it to yourself.

Low maintenance, high enjoyment, unfussy banana cream pies in jars are yours for the taking.

This recipe is modified from The Minimalist Kitchen banana cream pie recipe!
Two-Person Banana Cream Pies


  • Author: Lindsay
  • Prep Time: 15 minutes
  • Cook Time: 10 minutes
  • Total Time: 25 minutes
  • Yield: 2, very generously

Description

Two-Person Banana Cream Pies! Low maintenance, high enjoyment, unfussy banana cream pies in jars are yours for the taking.


Ingredients

Graham Cracker Crust

  • 4 graham crackers, crushed
  • 2 tablespoons sugar
  • 2 tablespoons butter, melted

Banana Cream Pie Filling

  • 1 banana + a few extra banana slices for layering (ideally 1 1/2 bananas)
  • 2 tablespoons sugar
  • 2 tablespoons cornstarch
  • pinch of salt
  • 1 egg yolk
  • 1/2 cup + 2 tablespoons whole milk 
  • 1 tablespoon butter
  • tiny splash of vanilla

Instructions

  1. Crust: Preheat oven to 350 degrees. Combine graham crackers, sugar, and butter. Press into two 8-ounce ramekins. Place on a baking sheet with one unpeeled banana. Bake for 10 minutes, until the banana is soft with a black peel, and the crusts are set.
  2. Filling: Without heat, whisk sugar, cornstarch, salt, and egg yolk together in a small saucepan. Slowly whisk in the milk until mostly smooth. Move your pan to the stove and bring to a low simmer over low heat, whisking frequently (it will get a little lumpy – that’s okay). Continue to heat gently for a few minutes until you get a nice thick pudding consistency. Remove from heat and stir in butter and vanilla. 
  3. Blend: Transfer the cooled pudding to a blender or food processor with the roasted banana. Blend until mostly smooth (this should help the filling loosen up a little bit). 
  4. Assemble: Top the baked crusts with slices of banana. Pour the filling over the top. Cover and refrigerate for 2-3 hours until set. Top with whipped cream and dive into that cold, sweet, creamy goodness.

Notes

The equipment section above contains affiliate links to products we use and love!

  • Category: Dessert
  • Method: No Bake
  • Cuisine: American

Keywords: banana cream pie, banana pudding, homemade pudding, pie jars, single serve dessert

Recipe Card powered by

The post Two-Person Banana Cream Pies appeared first on Pinch of Yum.


from Pinch of Yum https://ift.tt/3fqhrFH

Tuesday, July 7, 2020

Lemongrass Vermicelli Salad

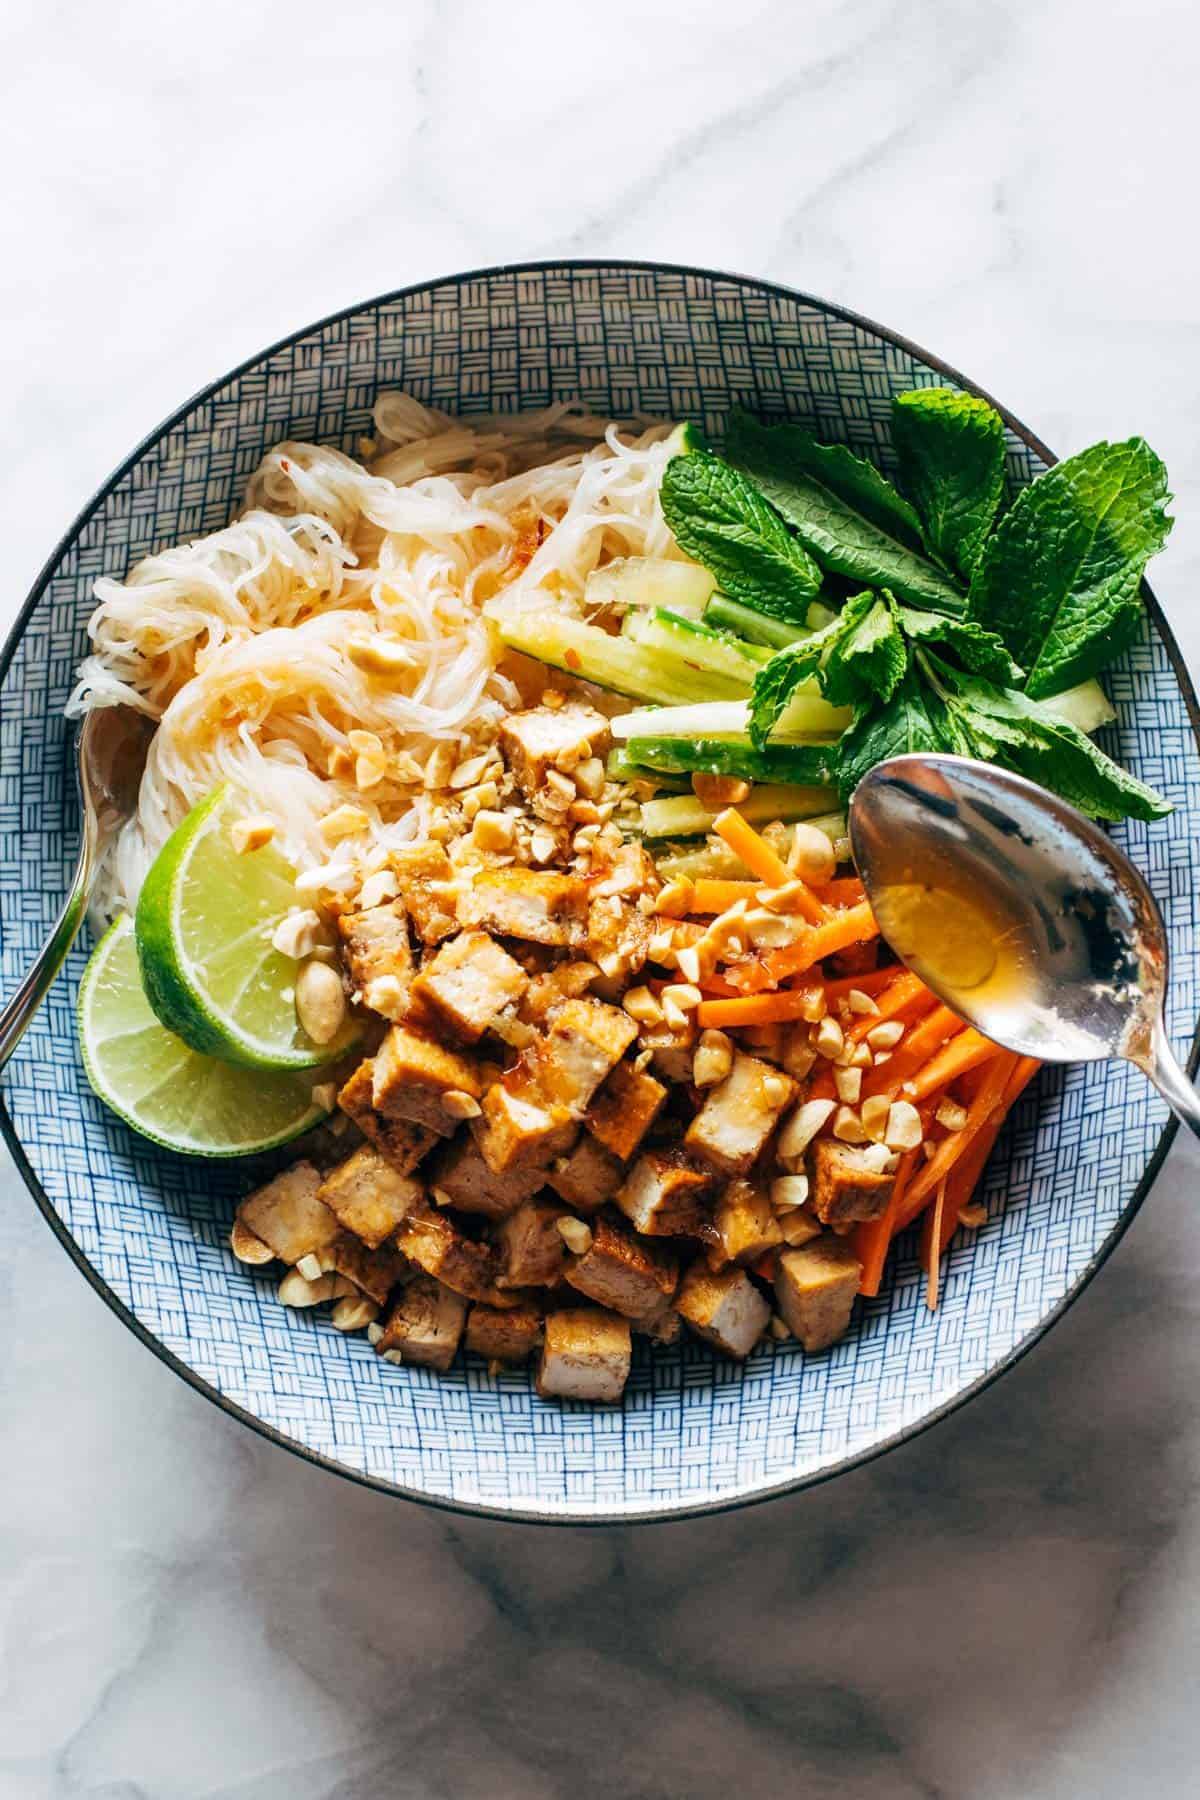
Vermicelli salad in a bowl with sauce spooned over top.

Holy moly. This salad is a summertime flavor showstopper for your mouth, and it’s all thanks to the simple but incredibly lime-and-lemongrass-based sauce that just slips all over the plate, coating every bite and putting flavor into every last delicious corner and crevice.

And as a person who really enjoys big, savory-sweet, nuanced flavor, even though I always always question the fish sauce, I really cannot say enough how much I love this salad.

Like most of us, my favorite kinds of salads are based around noodles. In this case, thin, delicate skinny little rice noodles called vermicelli. Team carb salads!

I also love it when salads are beautiful:

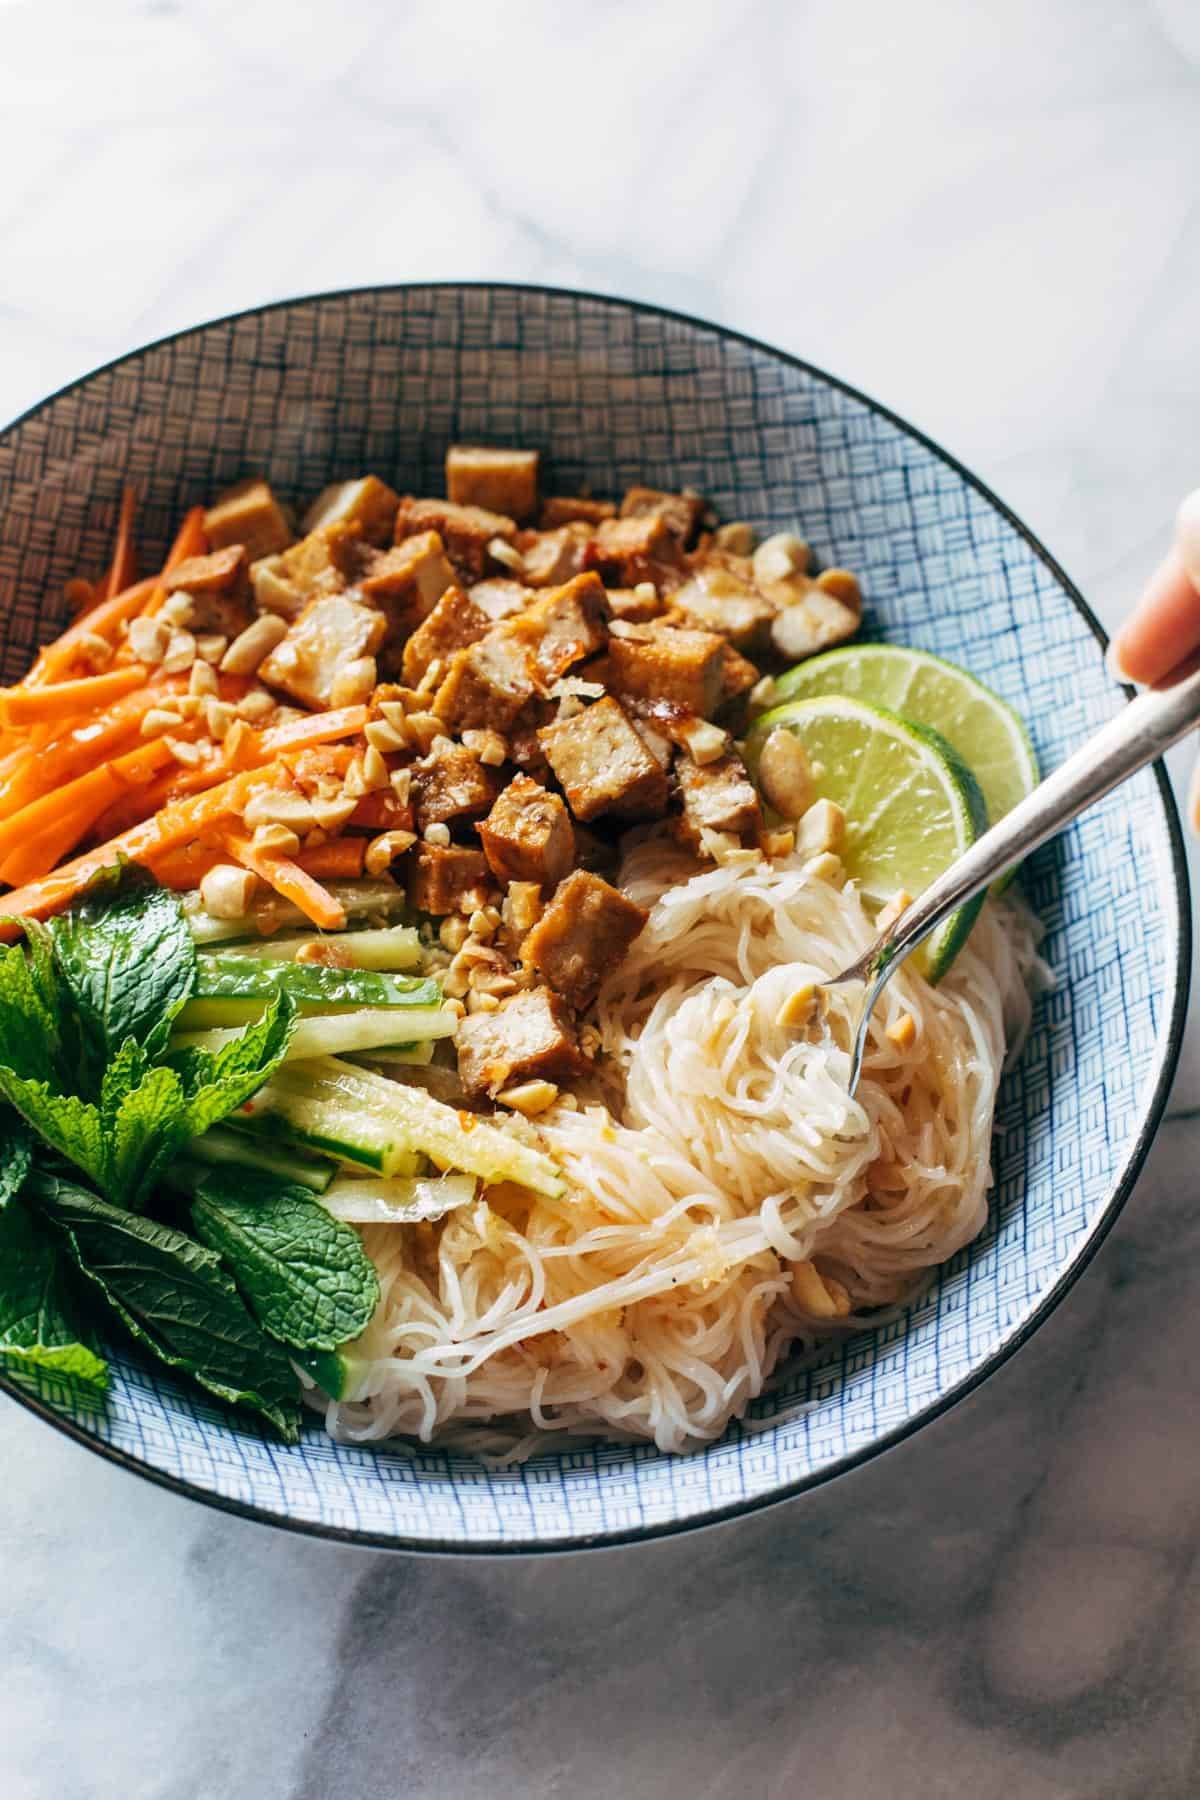
Vermicelli salad in a bowl with tofu and herbs.

But listen – I also live a real life where I don’t always have time to FIND something to eat for before 3pm much less assemble beautiful salads? Know what I mean?

So I wanted to give you two options for this salad.

  • Pretty Method: that’s what’s pictured above.
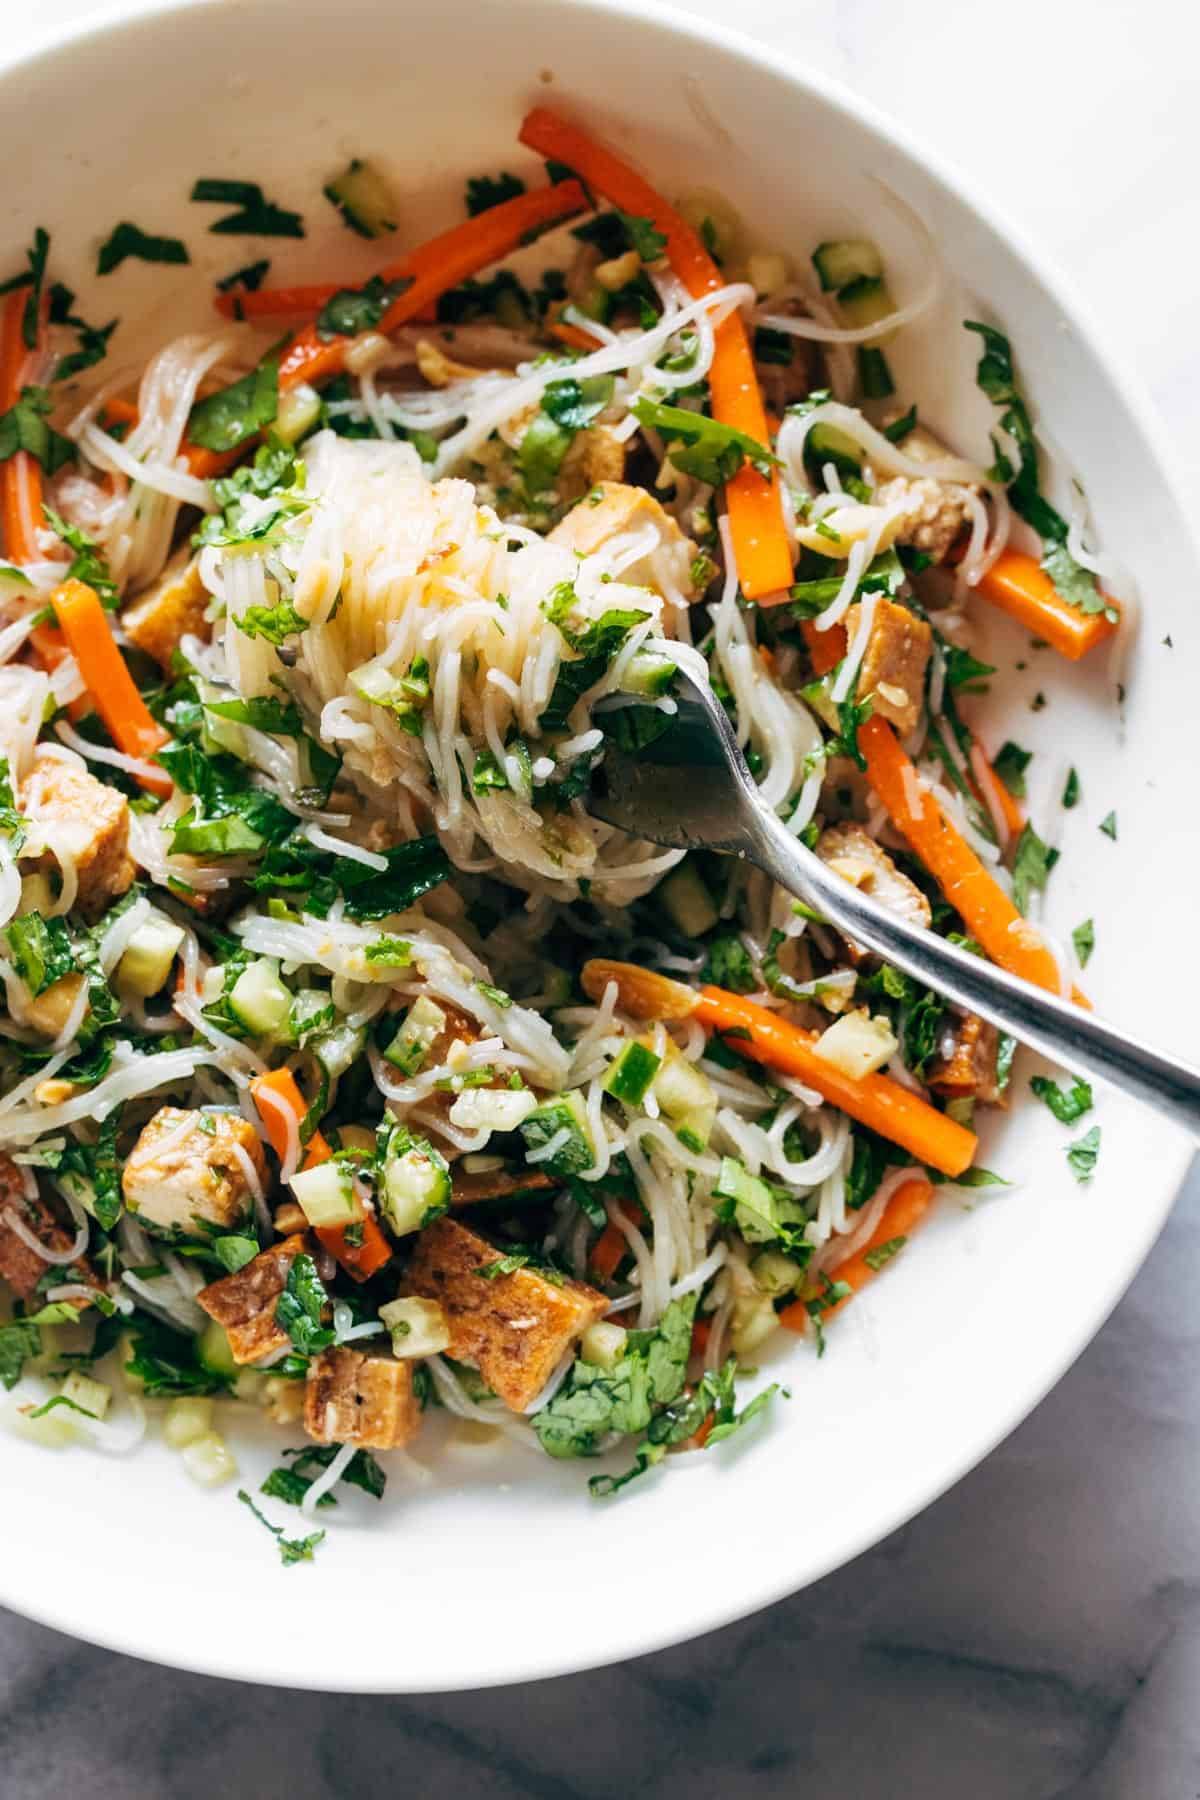
  • Meal Prep Method: that’s what I most often use and it’s what’s pictured below.
Vermicelli salad mixed up in a bowl.

With the Meal Prep Method, we cut our losses with a slightly less beautiful bowl, but we embrace some advance assembly and have a really quick way to throw a meal together come lunchtime.

Or breakfast? And I’m not just saying this: I woke up the next day and craved this salad for breakfast.

I hope you love your lemongrass-loaded, sauce-slicked summer showstopper as much as I did.

This recipe was inspired by a conversation about Vietnamese Bun Bo Xao (thanks, Ann!) as well as this fresh new recipe from I Am A Food Blog which is actually what I WANTED to make but then kind of ran out of time due to toddler life and had to find something similar… but also easier. And that’s how we ended up here!

Lemongrass Vermicelli Salad


  • Author: Lindsay
  • Prep Time: 20 minutes
  • Cook Time: 5 minutes
  • Total Time: 25 minutes
  • Yield: 4-6 servings

Description

Lemongrass Vermicelli Salad – a summer showstopper! A twirl of vermicelli noodles, pan-fried tofu, fresh herbs and veggies, and a lime-and-lemongrass-based sauce that just slips all over the plate.


Ingredients

Lemongrass Sauce:

  • 12 tablespoons lemongrass paste, or 2 tablespoons freshly grated lemongrass (white parts only)
  • 2 cloves garlic
  • 1/4 cup fish sauce
  • 1/4 cup + 2 tablespoons vegetable oil
  • 1/4 cup lime juice (34 limes)
  • 2 tablespoons rice vinegar
  • 23 tablespoons brown sugar
  • 1 tablespoon roasted red chile paste (I used this kind but you can use whatever will give you some heat)

Vermicelli Salad:

  • 1 package vermicelli or thin rice noodles (about 8 ounces)
  • 2 large carrots, shredded or julienne cut
  • 1 cucumber, julienne cut
  • a little bundle of fresh mint 
  • a little bundle of fresh cilantro
  • a handful of chopped peanuts
  • cooked tofu, shrimp, or chicken (or whatever protein you like)

Instructions

  1. Sauce: Make the sauce by blending in a food processor or shaking together in a jar.
  2. Noodles: Cook vermicelli according to package directions. Rinse well with cold water to cool and remove starchiness. Drain well. Toss noodles with about half of the sauce.
  3. Pretty Serving Method: Plate individual servings of noodles in a bowl and top with the tofu, carrots, mint, etc. Spoon extra sauce over the top.
  4. Meal Prep Serving Method: Toss all the noodles with the tofu, peanuts, and carrots (leave out the cucumber and herbs – they will get soggy). Add a little more sauce as needed and store in the fridge. When you’re ready to eat, serve up your pre-mixed stuff with some fresh cucumbers, herbs, and extra sauce.

Notes

The equipment section above contains affiliate links to products we use and love!

I cooked my tofu by frying it in a skillet with some oil and soy sauce! Other methods for cooking tofu that we love can be found here. Poached or sautéed shrimp or chicken would also be great – just use what you have / what you like.

The sauce can be made several days in advance and stored in the fridge (i.e. prep on Sunday for your dinner on Tuesday).

  • Category: Salad
  • Method: Chop
  • Cuisine: Vietnamese-Inspired

Keywords: vermicelli noodles, vietnamese salad, noodle salad, tofu salad, summer salad, cold noodle salad, pasta salad

Recipe Card powered by

The post Lemongrass Vermicelli Salad appeared first on Pinch of Yum.


from Pinch of Yum https://ift.tt/3gxCea9

Thursday, July 2, 2020

Peanut Butter Chocolate Chip Cookie Cheesecake Bars

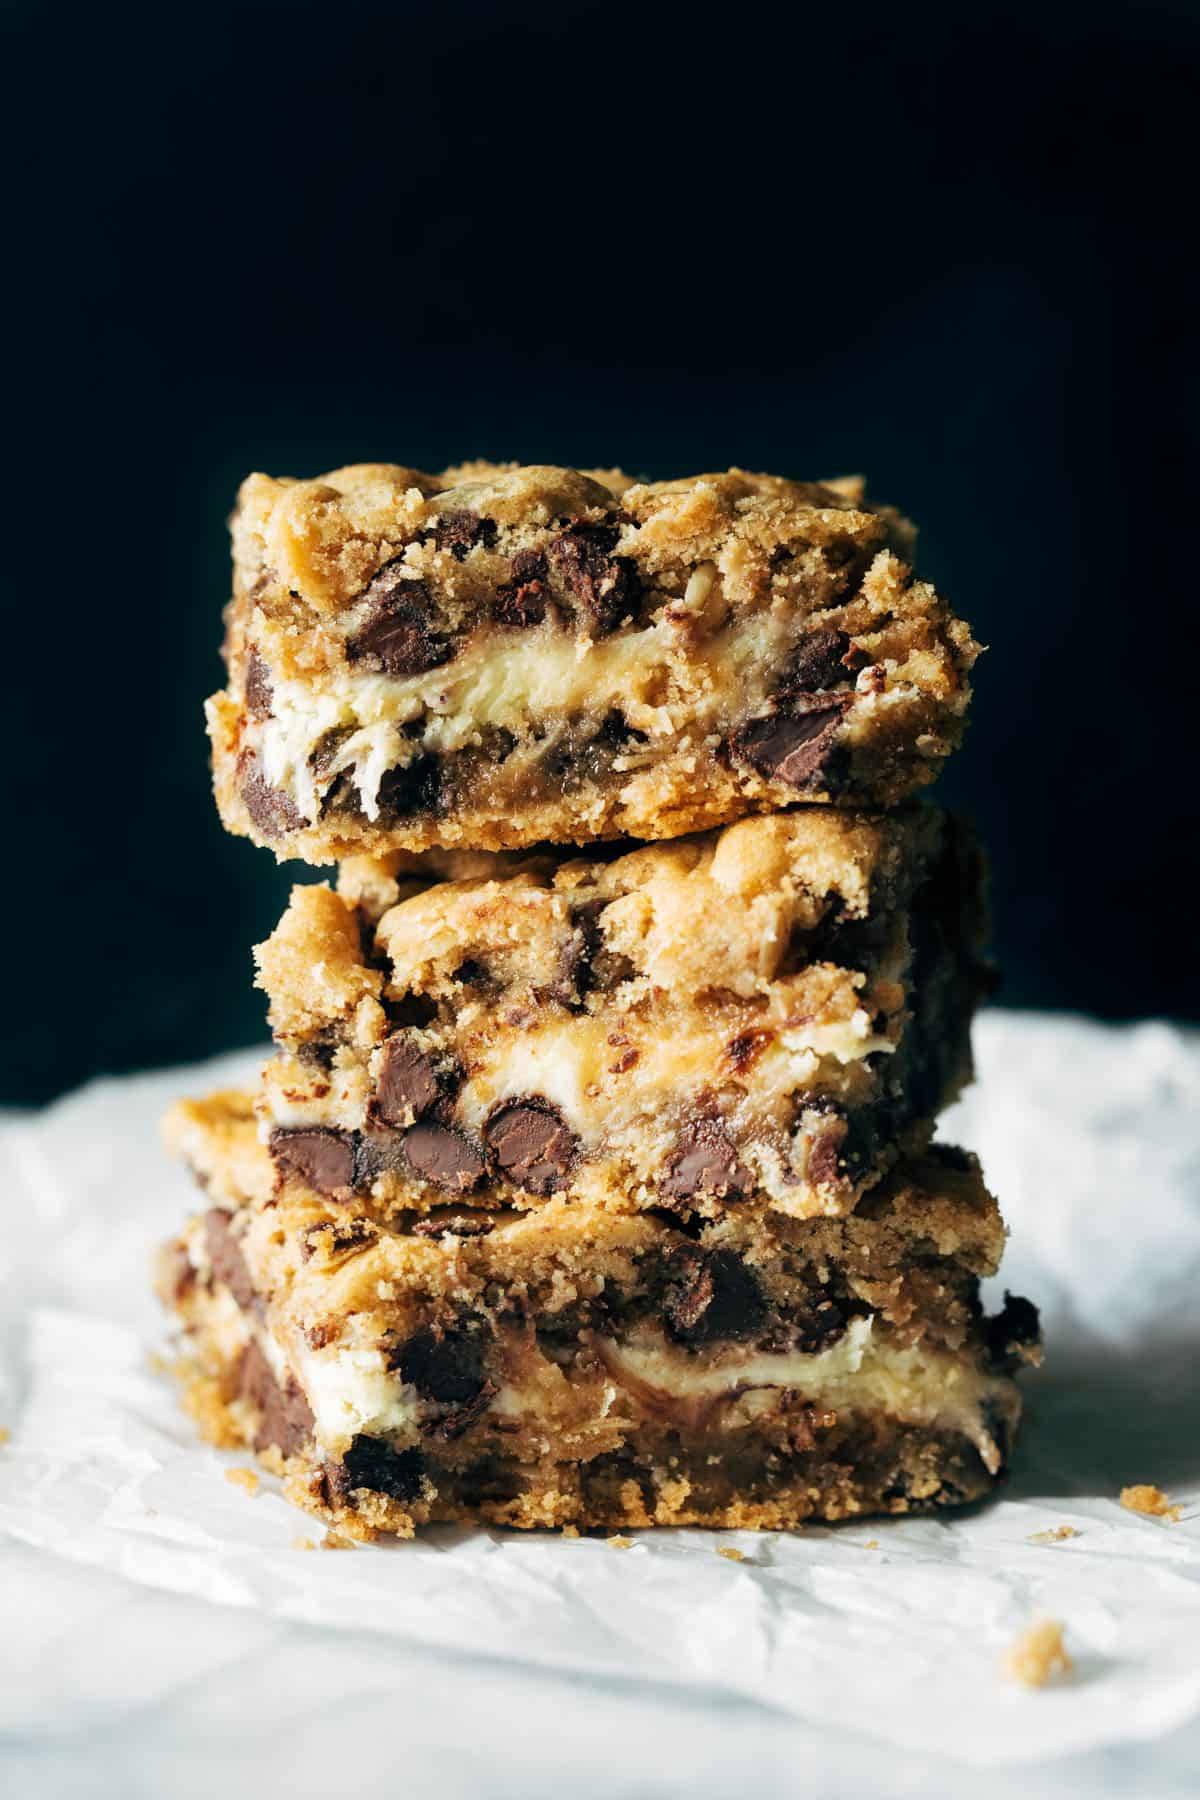
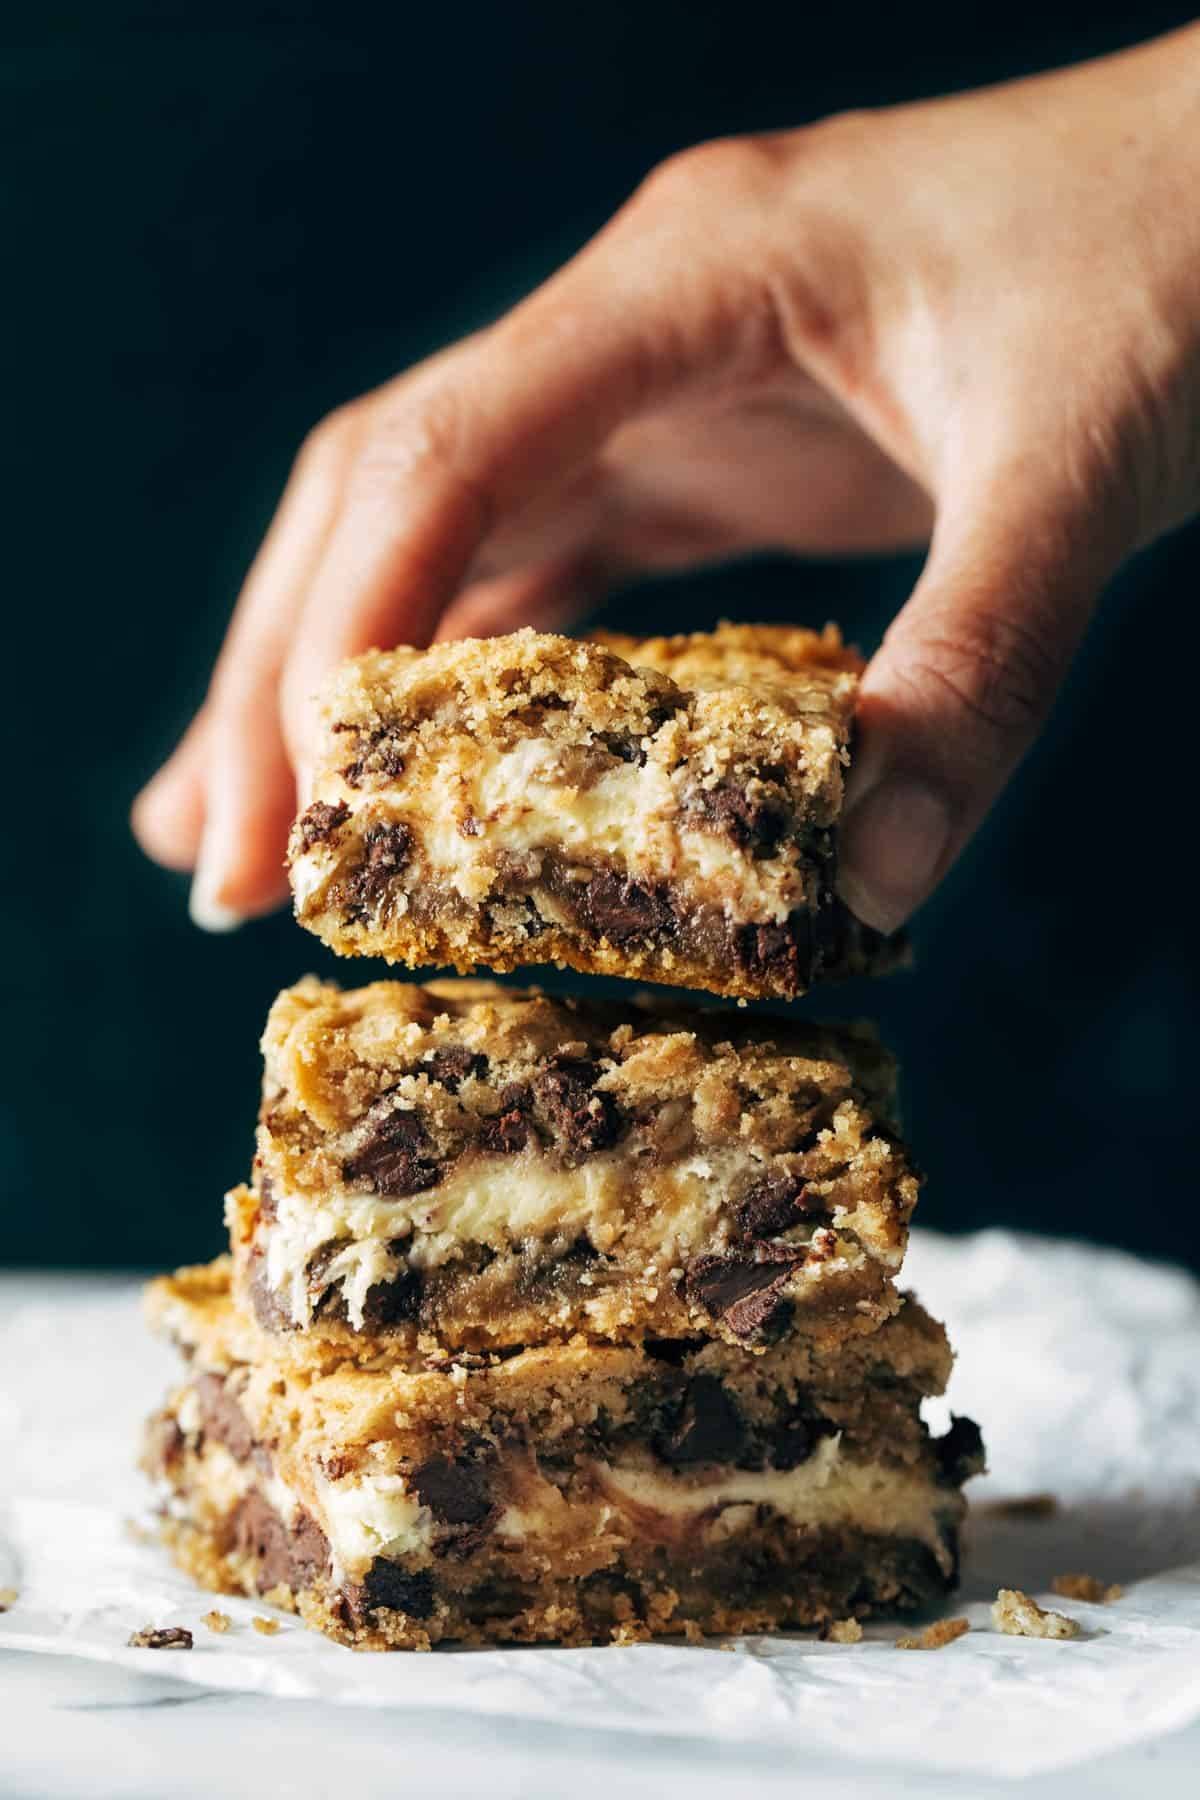
Stack of Peanut Butter Chocolate Chip Cookie Cheesecake Bars.

Today I give you: a cool, creamy, and sweet pan of one of our favorite 2012 (!) blog dessert bar recipes, complete with fresh photos and videos. You know, just to remind you that YOU CAN BRING THIS KIND OF MAGIC INTO EXISTENCE. Enjoy!


First of all, hi.

Second of all, help.

Thirdly, put one of these cookie cheesecake bars in your mouth asap.

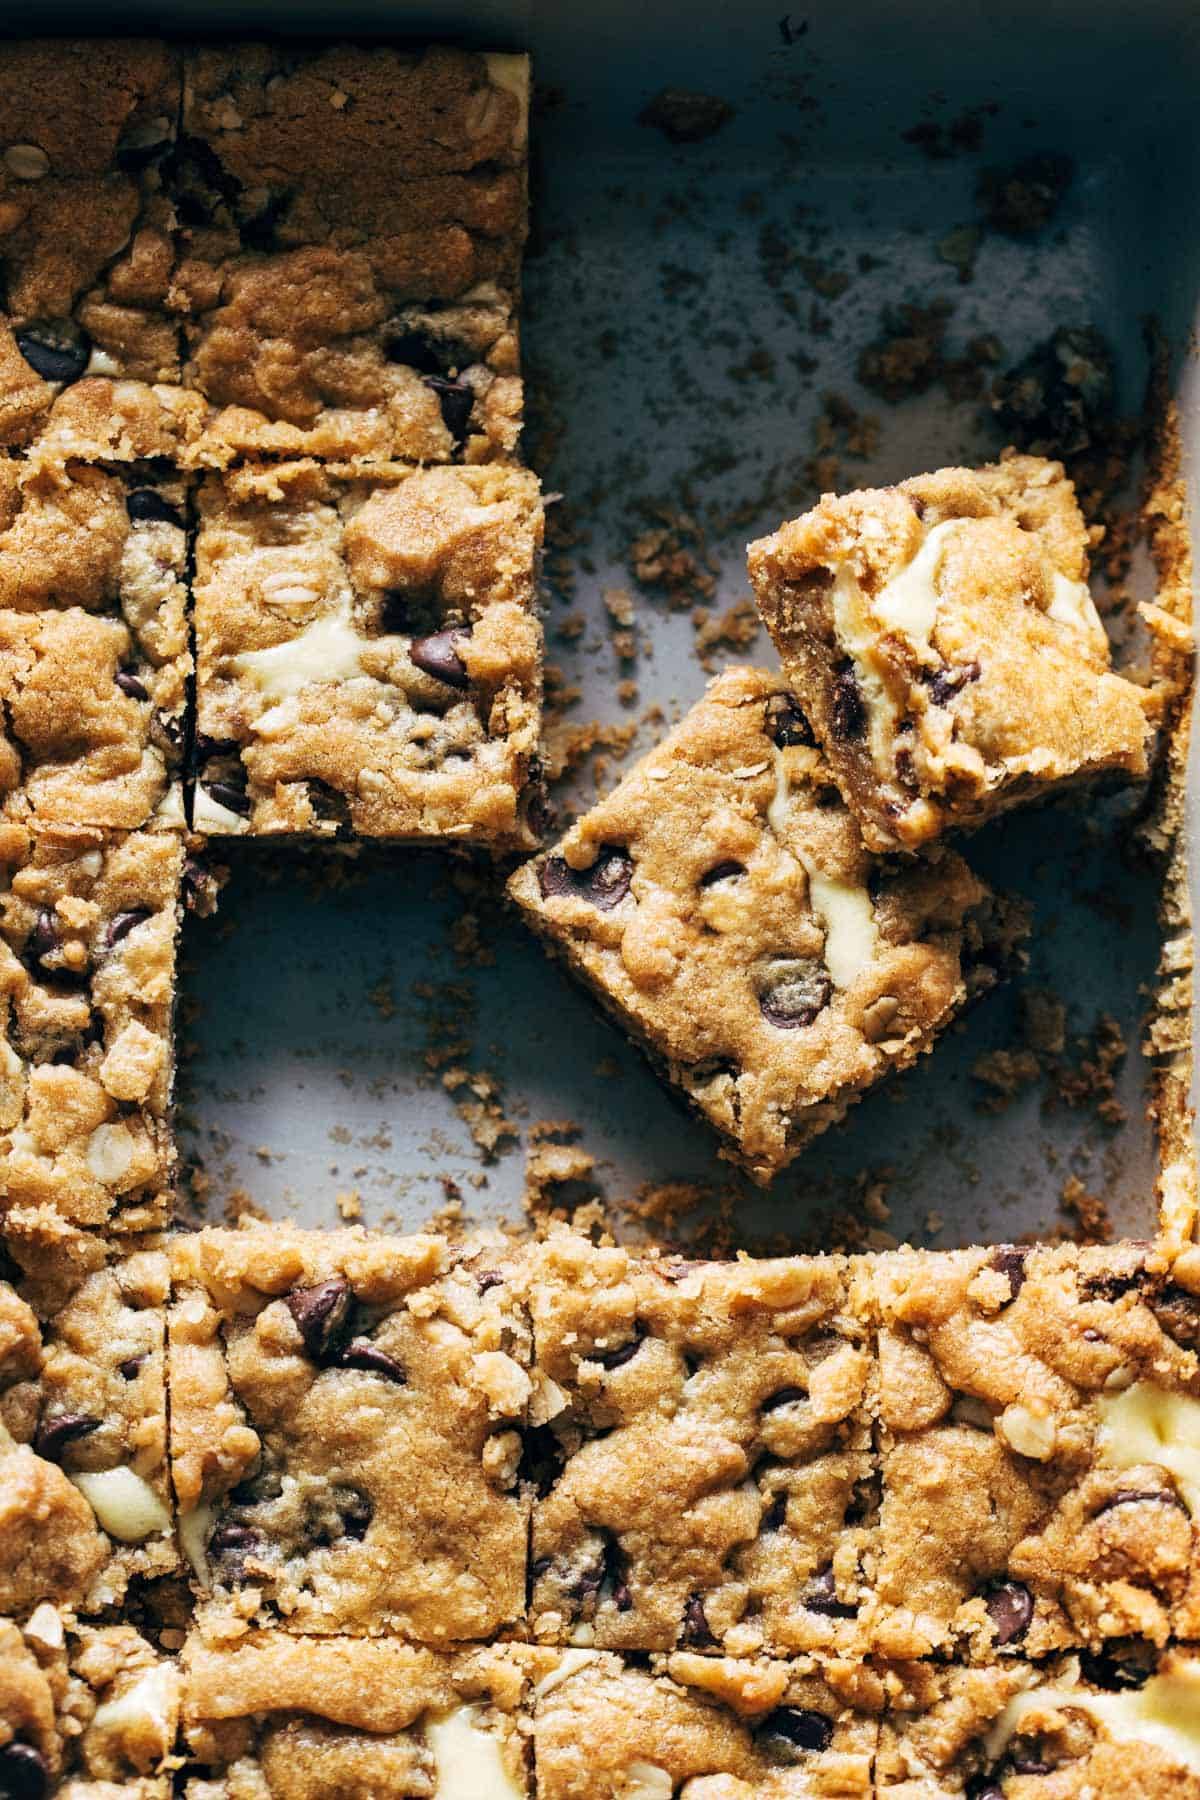
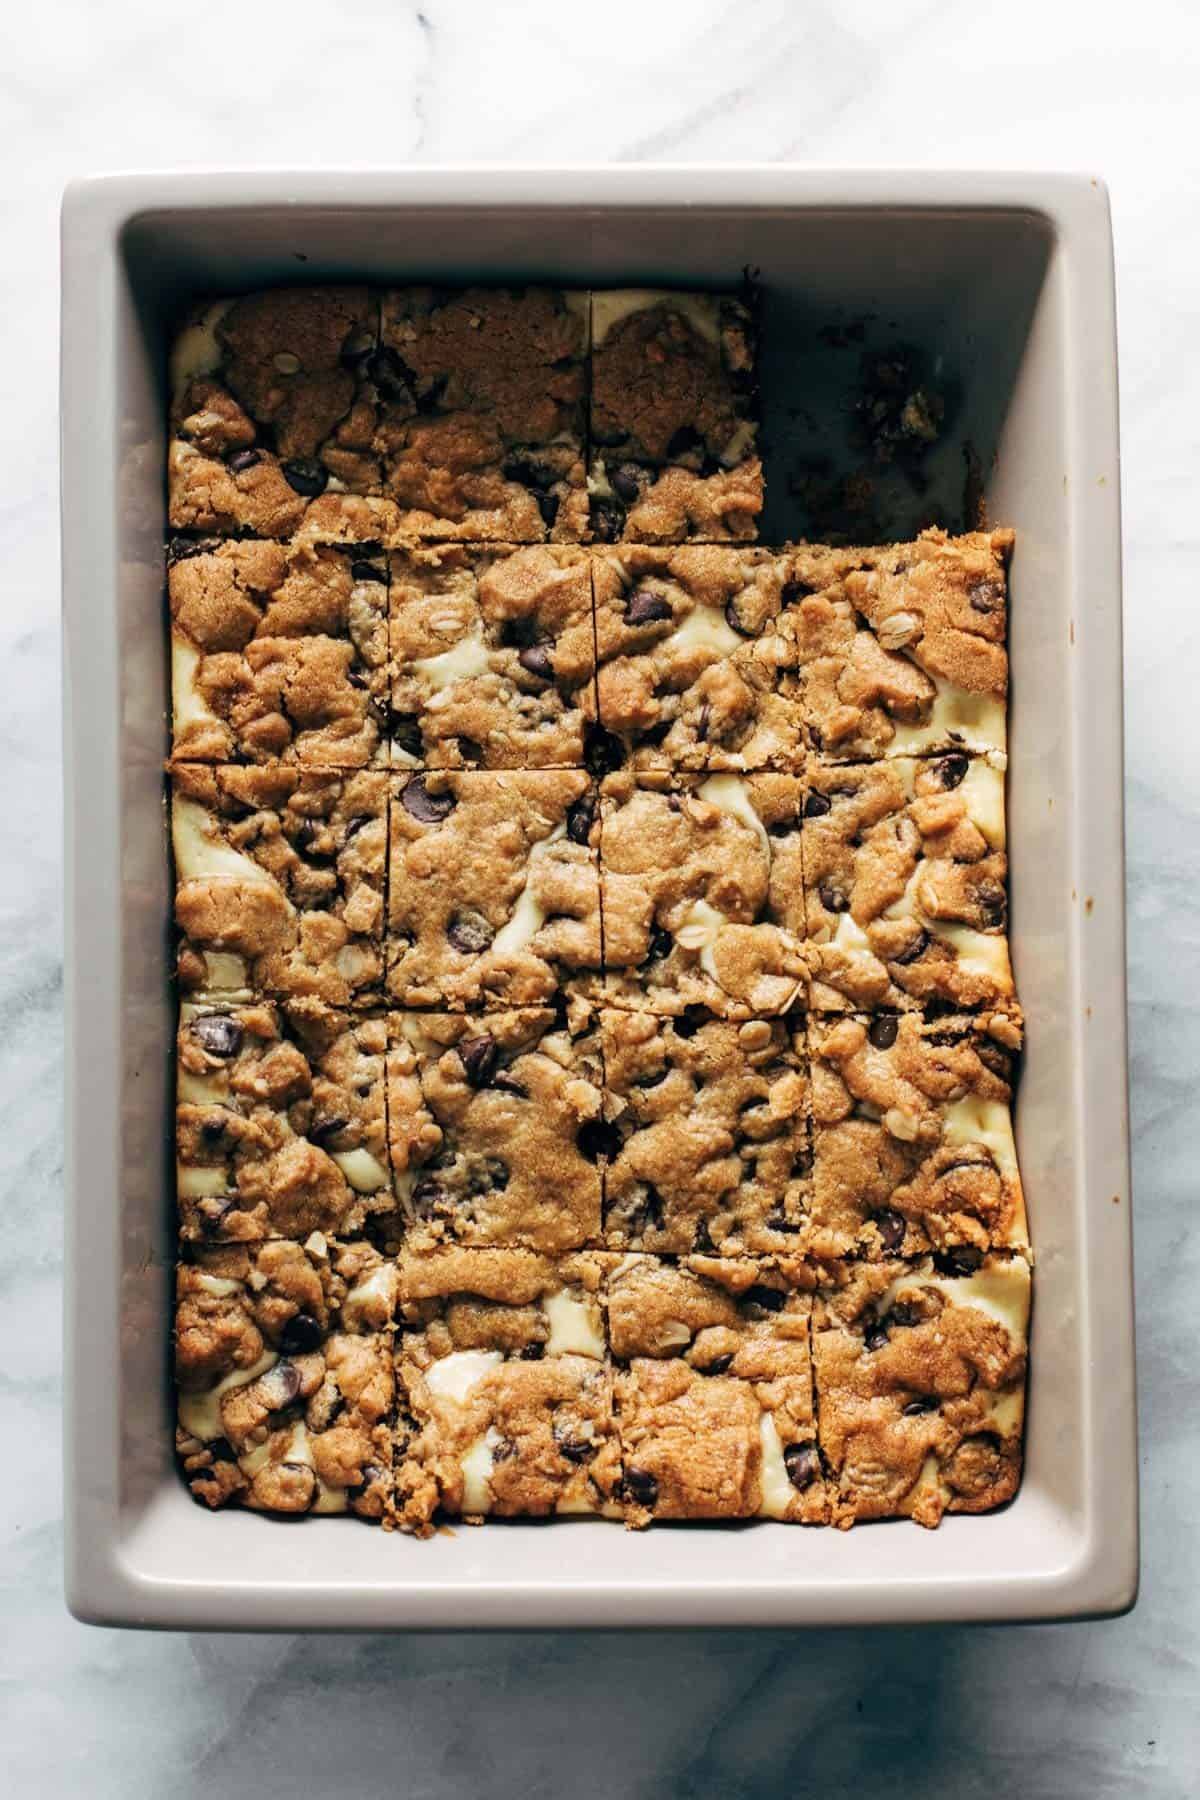
Peanut Butter Chocolate Chip Cookie Cheesecake Bars sliced in a pan.

Peanut butter chocolate chip cookie cheesecake bars. I know it. The name is way too long. But I can’t think straight or see straight or do anything normal right now, except I can see the fridge, and I’m thinking there are maybe three bars left in there right now?

Given my current state, it is for surely necessary to list every yummy layer of this creamy crumbly peanut buttery cookie bar in its name. A heaping scoop of peanut butter, a whole lotta chocolate chip cookie, and the cheesecake? GAH.

Here, have another one.

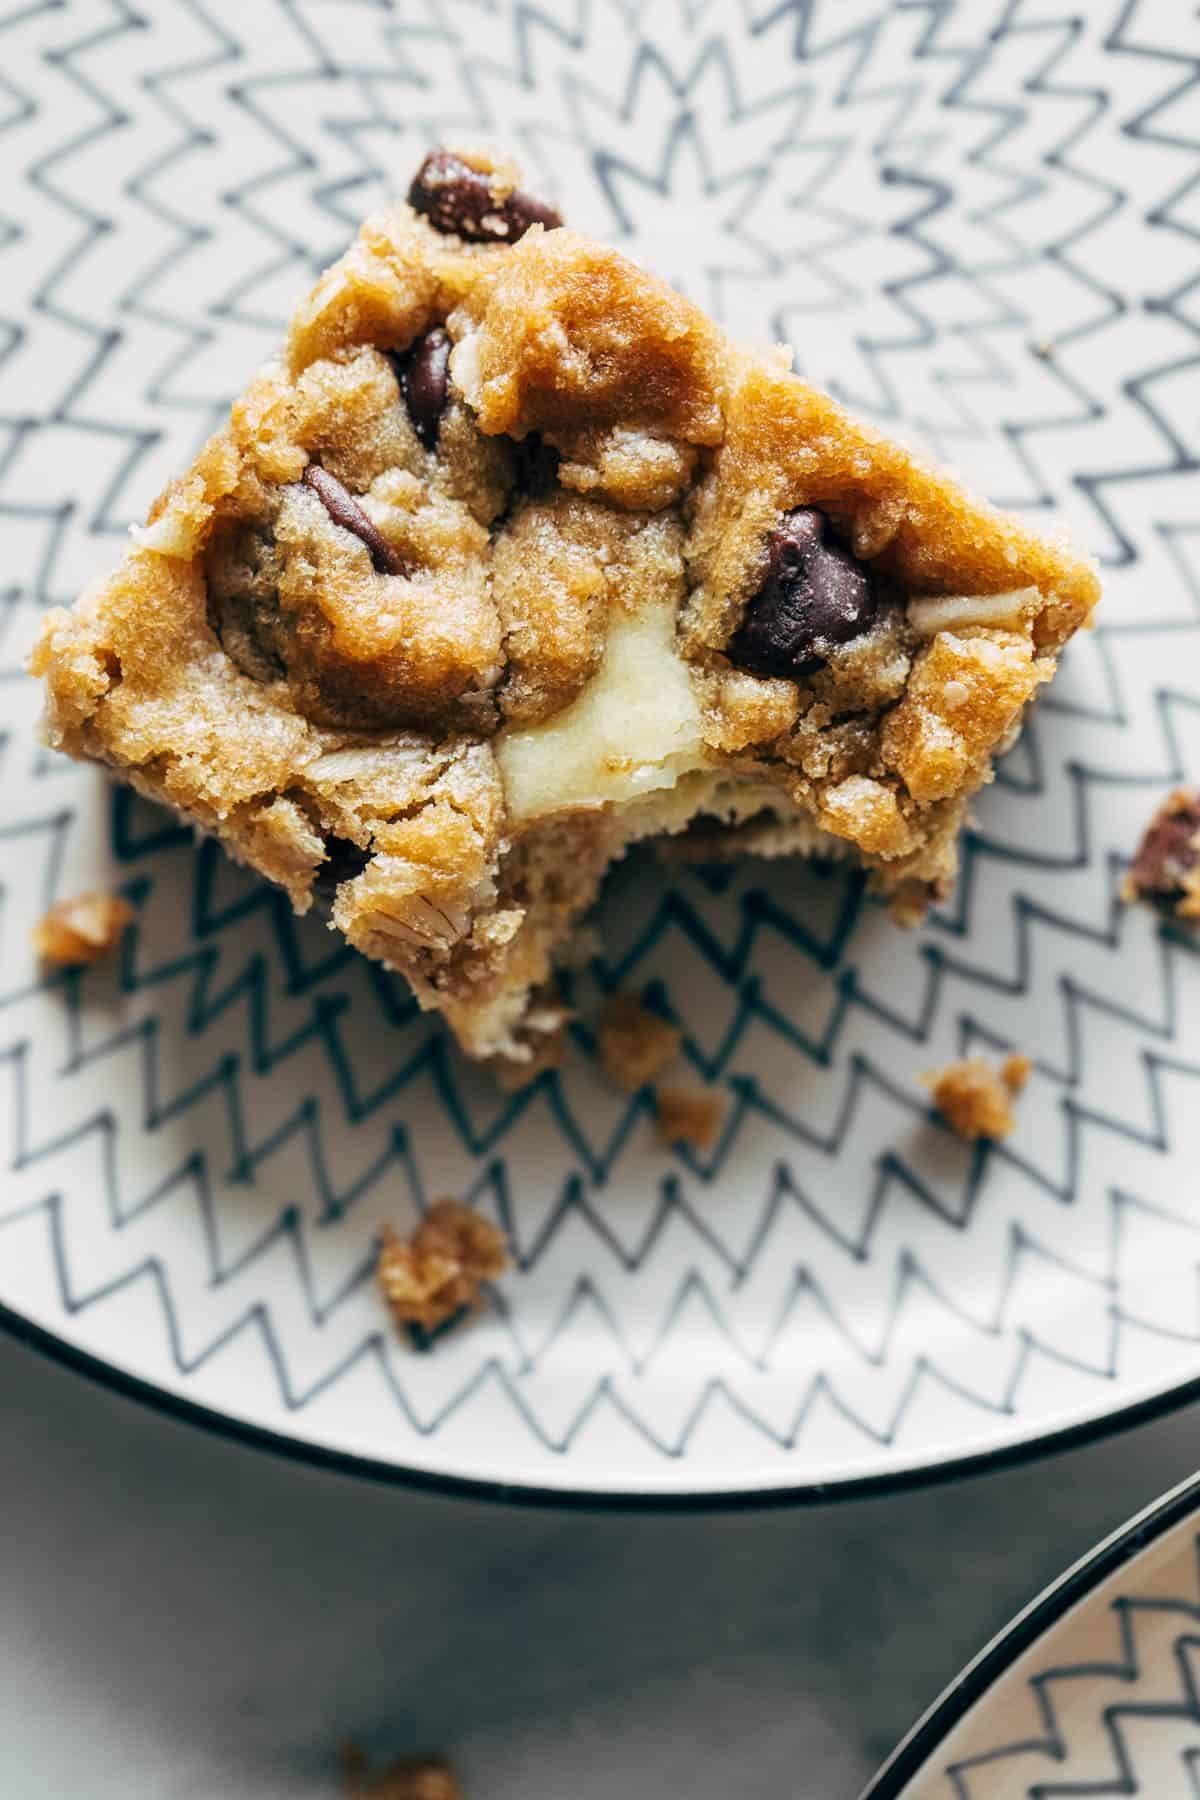
Peanut Butter Chocolate Chip Cookie Cheesecake Bars on a plate.

These bars did a little number on me.

A little number I like to call didn’t-eat-any-real-food-all-day. Like how-is-half-the-pan-gone-already, and I’ll-just-even-out-this-row, and maybe-my-neighbor-doesn’t-need-all-four-of-those.

You know those dessert bars that you make with full intentions to bring to chess club or soap making class, but then you find yourself washing out the empty pan and realizing that you never really shared them? At. All? That’s these and that person is me.

I’m sure you can do better, though, and I’m sure your “friends” will love these. WINK WINK.

Let’s Make Some Gooey Cheesecake Bars

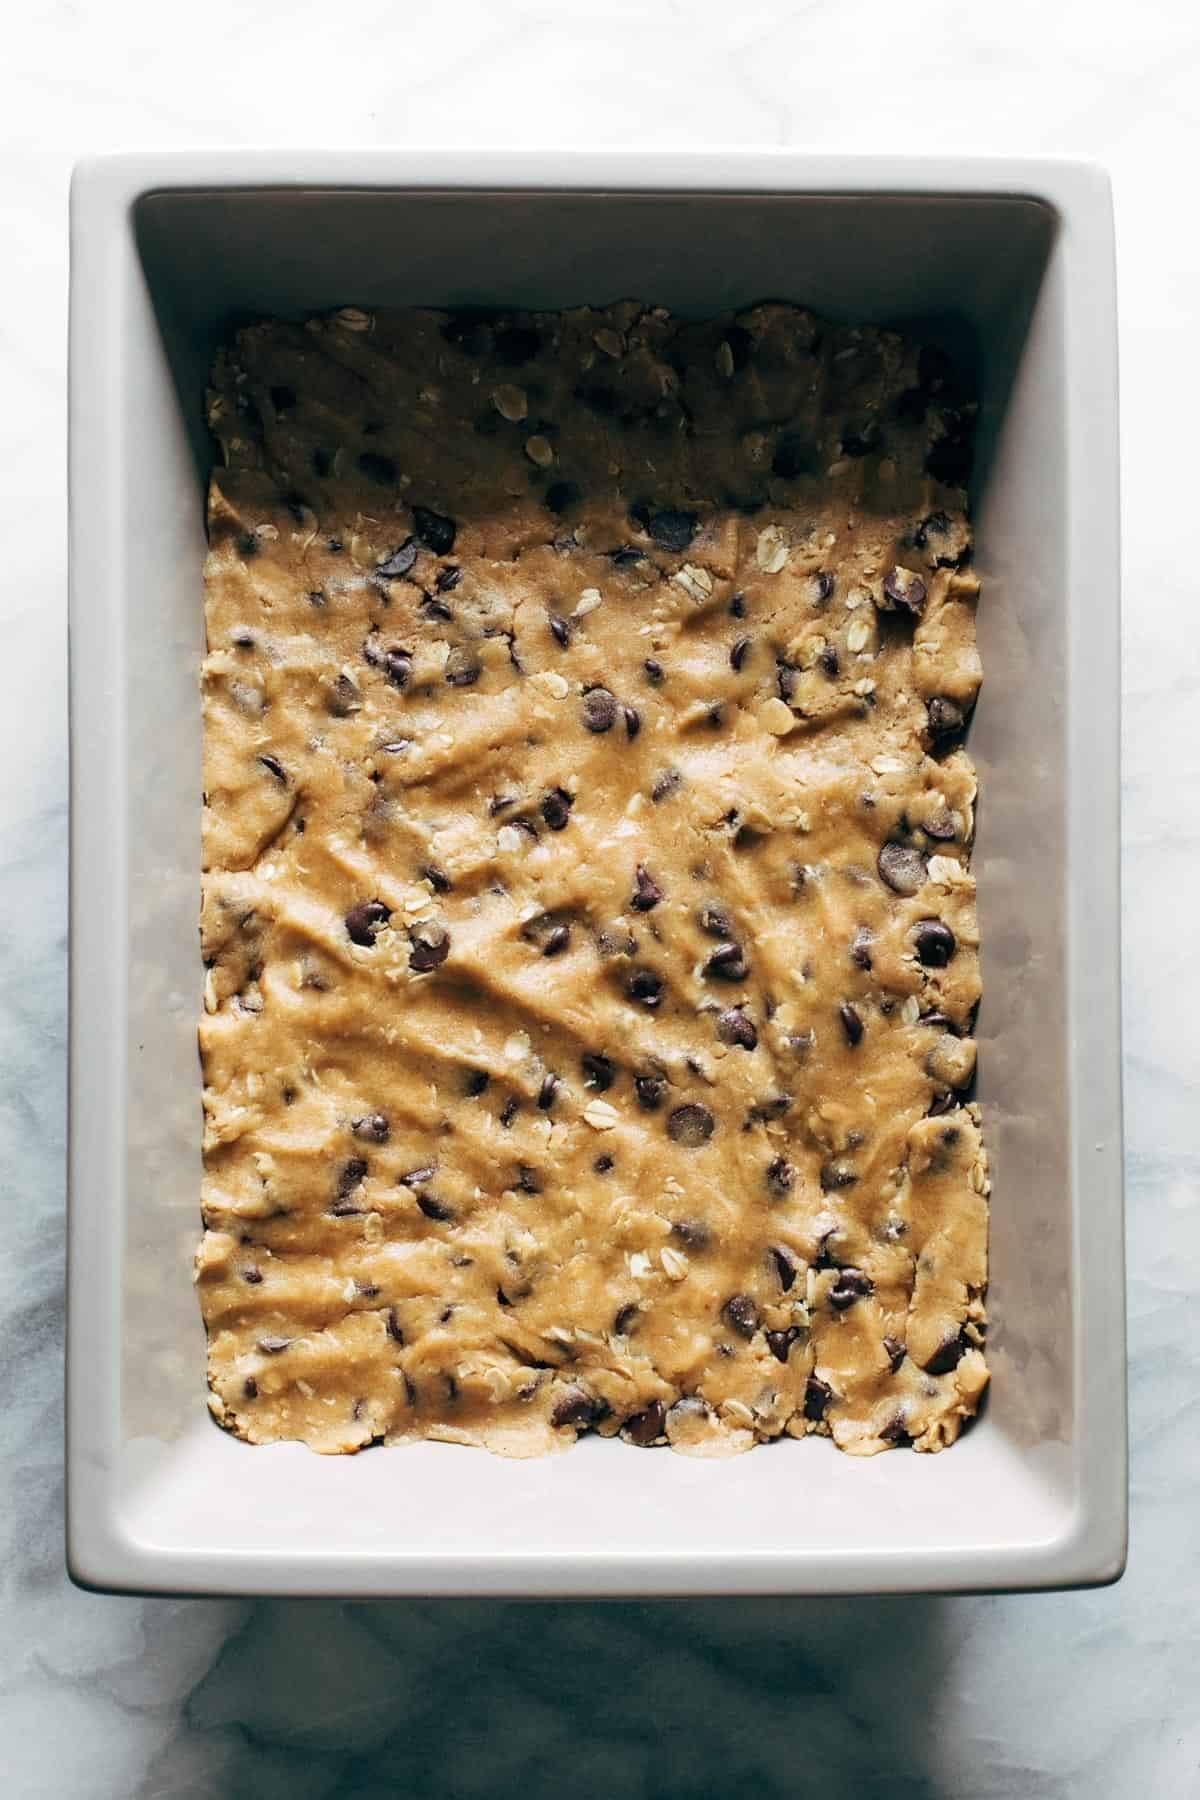
First up: press your dough into the bottom of a pan (I’m using a 9×13-ish pan here, but a square pan also works for even thicker bars).

Chocolate chip cookie dough pressed in a pan.

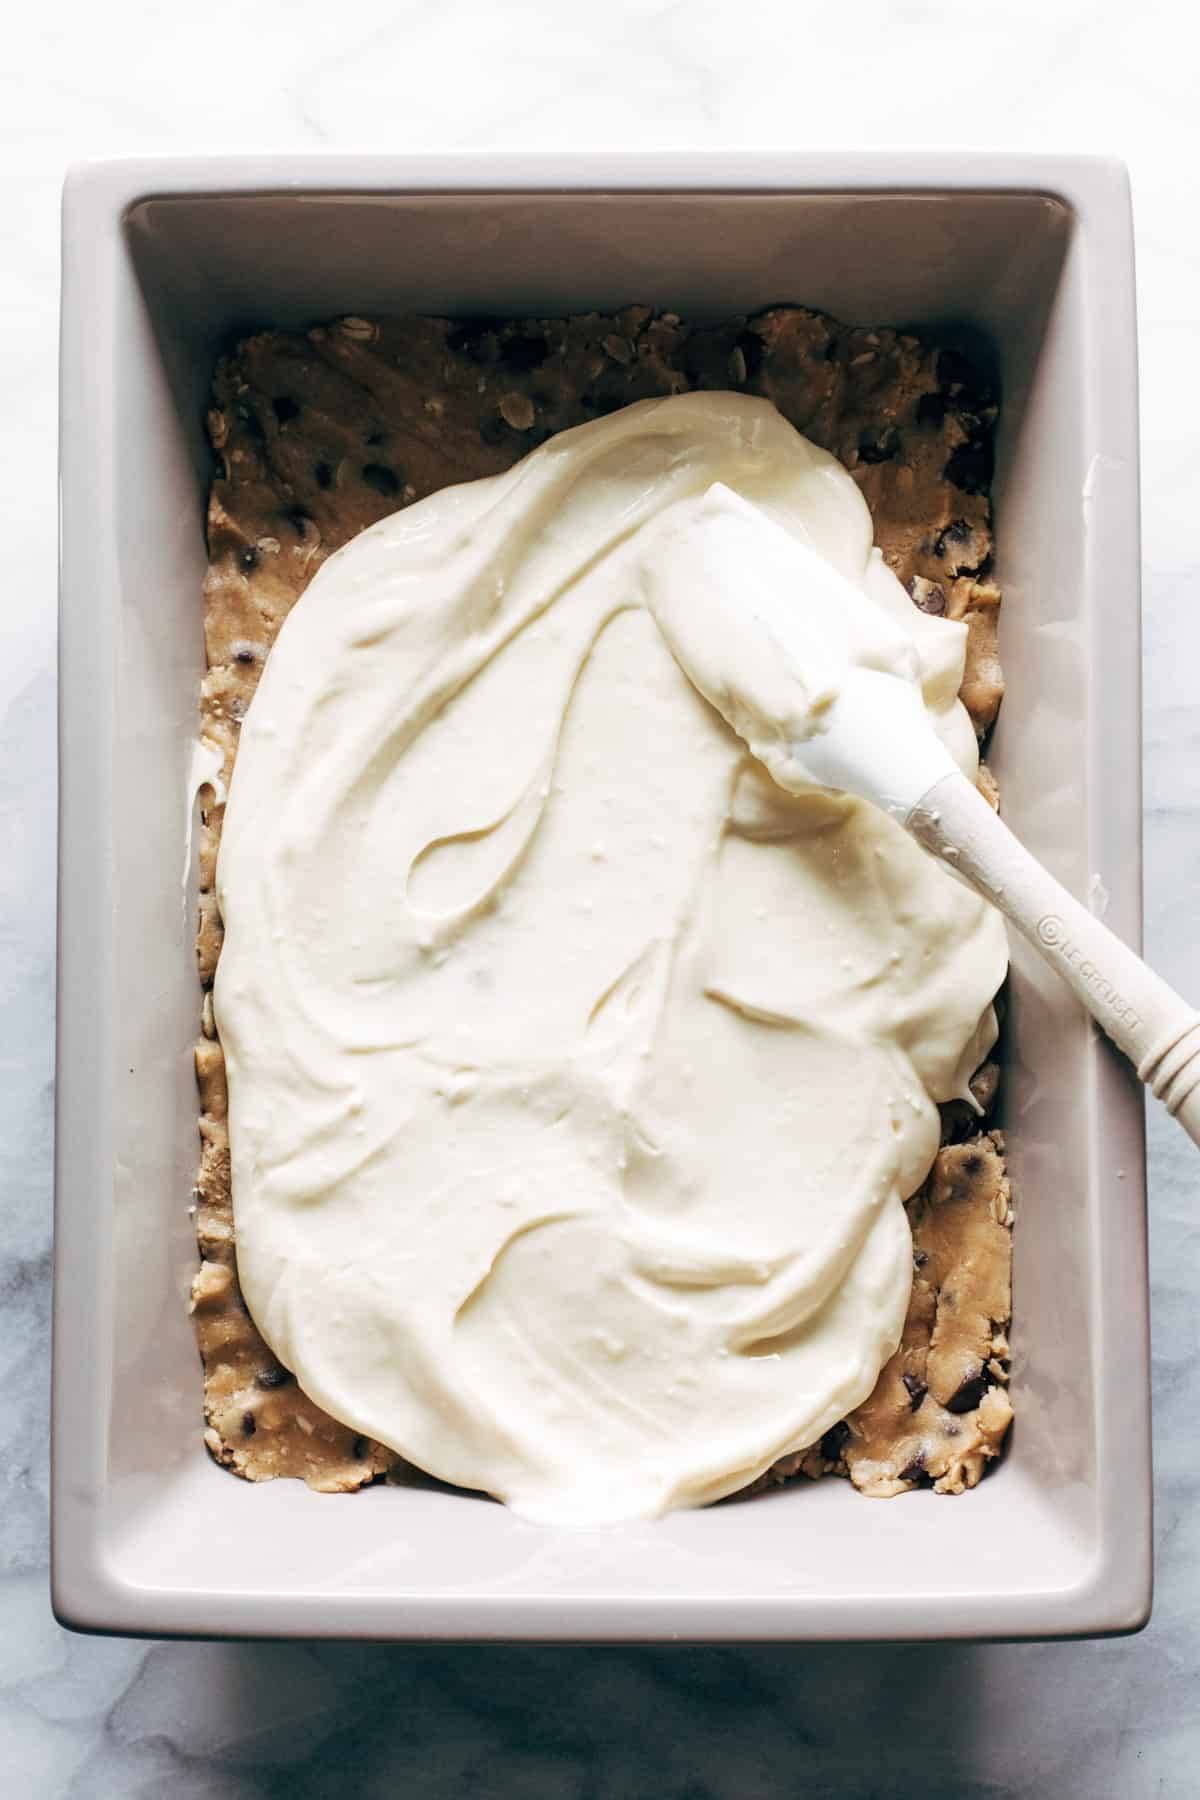
Now: cheesecake layer.

Spreading cheesecake on top of chocolate chip cookie layer.

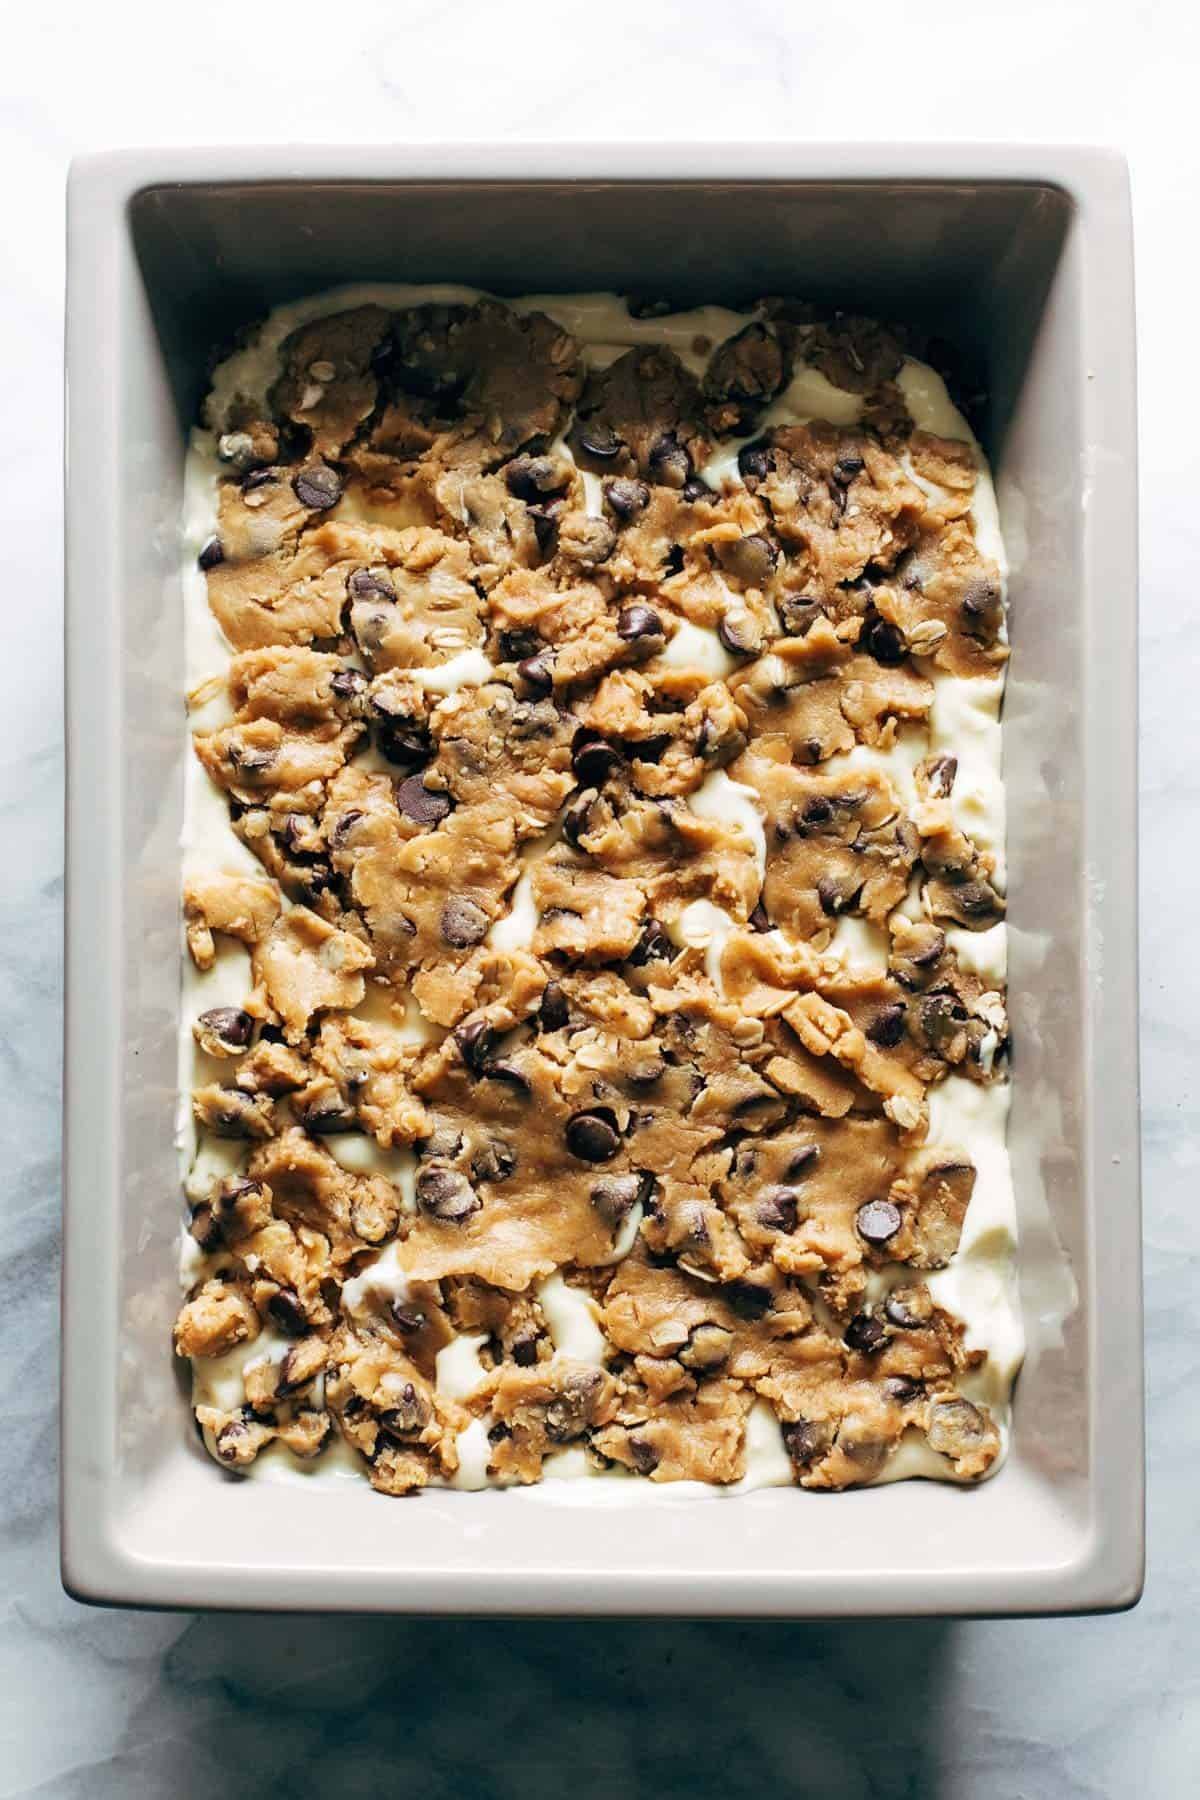
Now: little flattened bits of cookie dough on top. And bake.

Chocolate chip cookie topping.

Annnnd you did it.

Peanut Butter Chocolate Chip Cookie Cheesecake Bars sliced in a pan.

May your journey to these peanut butter chocolate chip cookie cheesecake bars be a delicious one.

Peanut Butter Chocolate Chip Cookie Cheesecake Bars stacked on top of eachother.

Check out our video for how to make Cookie Cheesecake Bars:

More Chocolate Desserts to Love:

Peanut Butter Chocolate Chip Cookie Cheesecake Bars


  • Author: Pinch of Yum
  • Prep Time: 20 mins
  • Cook Time: 40 mins
  • Total Time: 1 hour
  • Yield: 20

Description

These peanut butter chocolate chip cookie cheesecake bars are just as extreme as they sound. For true dessert lovers! Super yummy!


Ingredients

  • 1 stick butter, unsalted (1/2 cup), softened
  • 1/2 cup white sugar
  • 1/3 cup packed brown sugar
  • 1/2 cup peanut butter
  • 1 egg
  • 1 cup flour
  • 1 teaspoon baking soda
  • 1/2 teaspoon salt (less if you don’t like salty/sweet)
  • 1/2 cup rolled oats
  • 2 cups chocolate chips
  • 8 ounces cream cheese, softened
  • 1/3 cup sugar
  • 1 egg
  • 1/2 teaspoon vanilla

Instructions

  1. Make the cookie dough: Preheat oven to 325 degrees. Cream the butter, sugars, and peanut butter until smooth and fluffy. Add the egg and beat until incorporated. In a separate bowl, mix the flour, baking soda, and salt. Slowly add the flour mixture in with the butter and sugar, mixing well after each addition. Stir in the oats and chocolate chips.
  2. Make the cheesecake filling: Cream the cream cheese, egg, sugar, and vanilla until smooth.
  3. Press half to two-thirds of the cookie dough in the bottom of a 9-inch square baking dish. Pour the cheesecake filling over the dough. Crumble the remaining dough and sprinkle over the top, OR roll it into a flat layer and place it over the cheesecake layer.
  4. Cover with foil and bake for 20 minutes; remove foil and bake for another 15-20 minutes, or until tops is lightly browned and cheesecake layer is set. Serve warm or cold and store leftover bars in refrigerator.

Notes

The equipment section above contains affiliate links to products we use and love!

You can also use a 9×13 pan for less thick, less intense, but still delicious bars!

  • Category: Dessert
  • Method: Bake
  • Cuisine: American

Keywords: cheesecake bars, chocolate chip cookie bars, dessert bars

Recipe Card powered by

The post Peanut Butter Chocolate Chip Cookie Cheesecake Bars appeared first on Pinch of Yum.


from Pinch of Yum https://ift.tt/2NSyvYo