Monday, November 9, 2020

Oatmilk Honey Latte

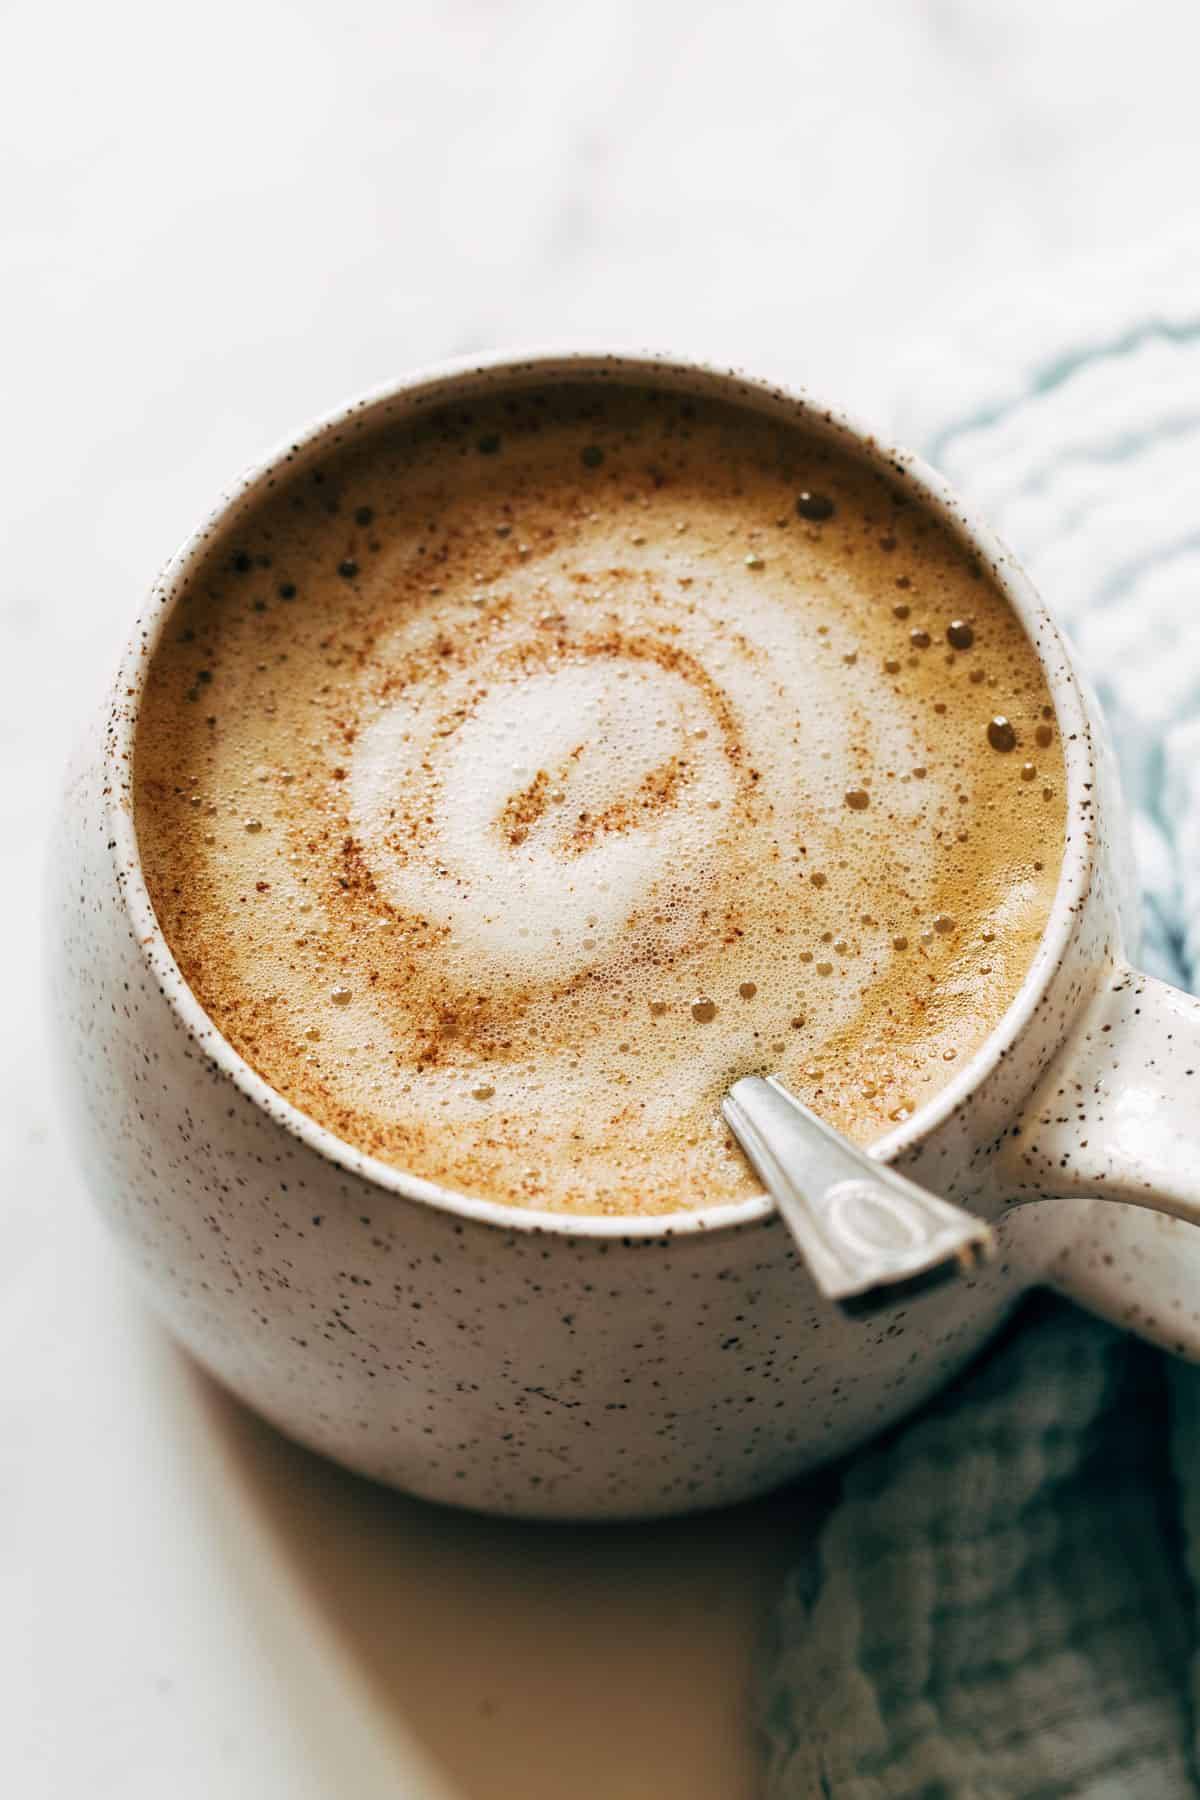
Oatmilk honey latte in a mug.

Holy moly, this is good.

Steaming hot, rich, and dark, but also satisfyingly creamy – thank you, oatmilk! – and just barely sweet and warm-spiced… it’s hard for this not to just feel like the drink form of your favorite sweater.

Even with just a handful of ingredients, the flavor is incredibly nuanced because every jar of honey has a little bit of a different thing going on, know what I mean? I could drink these for 100 days in a row and not get tired of them. And I’m currently making good progress towards that goal.

Let’s just take a moment to address the fact that I really don’t share a lot of drink recipes here. In my real life, I hardly feel like I have time to get dinner on the table (just me? anyone?), much less make a beautifully crafted coffee drink or cocktail to complement the moment (unless it’s this Creamy Cashew Coffee). As a general life rule, I go for quick and easy at home (i.e. open a can of sparkling water) and I save my fancy drinks for my dining out experiences. So please know, when I share a drink, it’s because I really, really, really love a drink. (Thinking of you, agua fresca.)

While most drinks require too much energy to make it worthwhile for me, the equation is just right on this one.

The minimal effort involved + the resulting incredibly cozy taste and texture = worth it. More than worth it. Better than worth it.

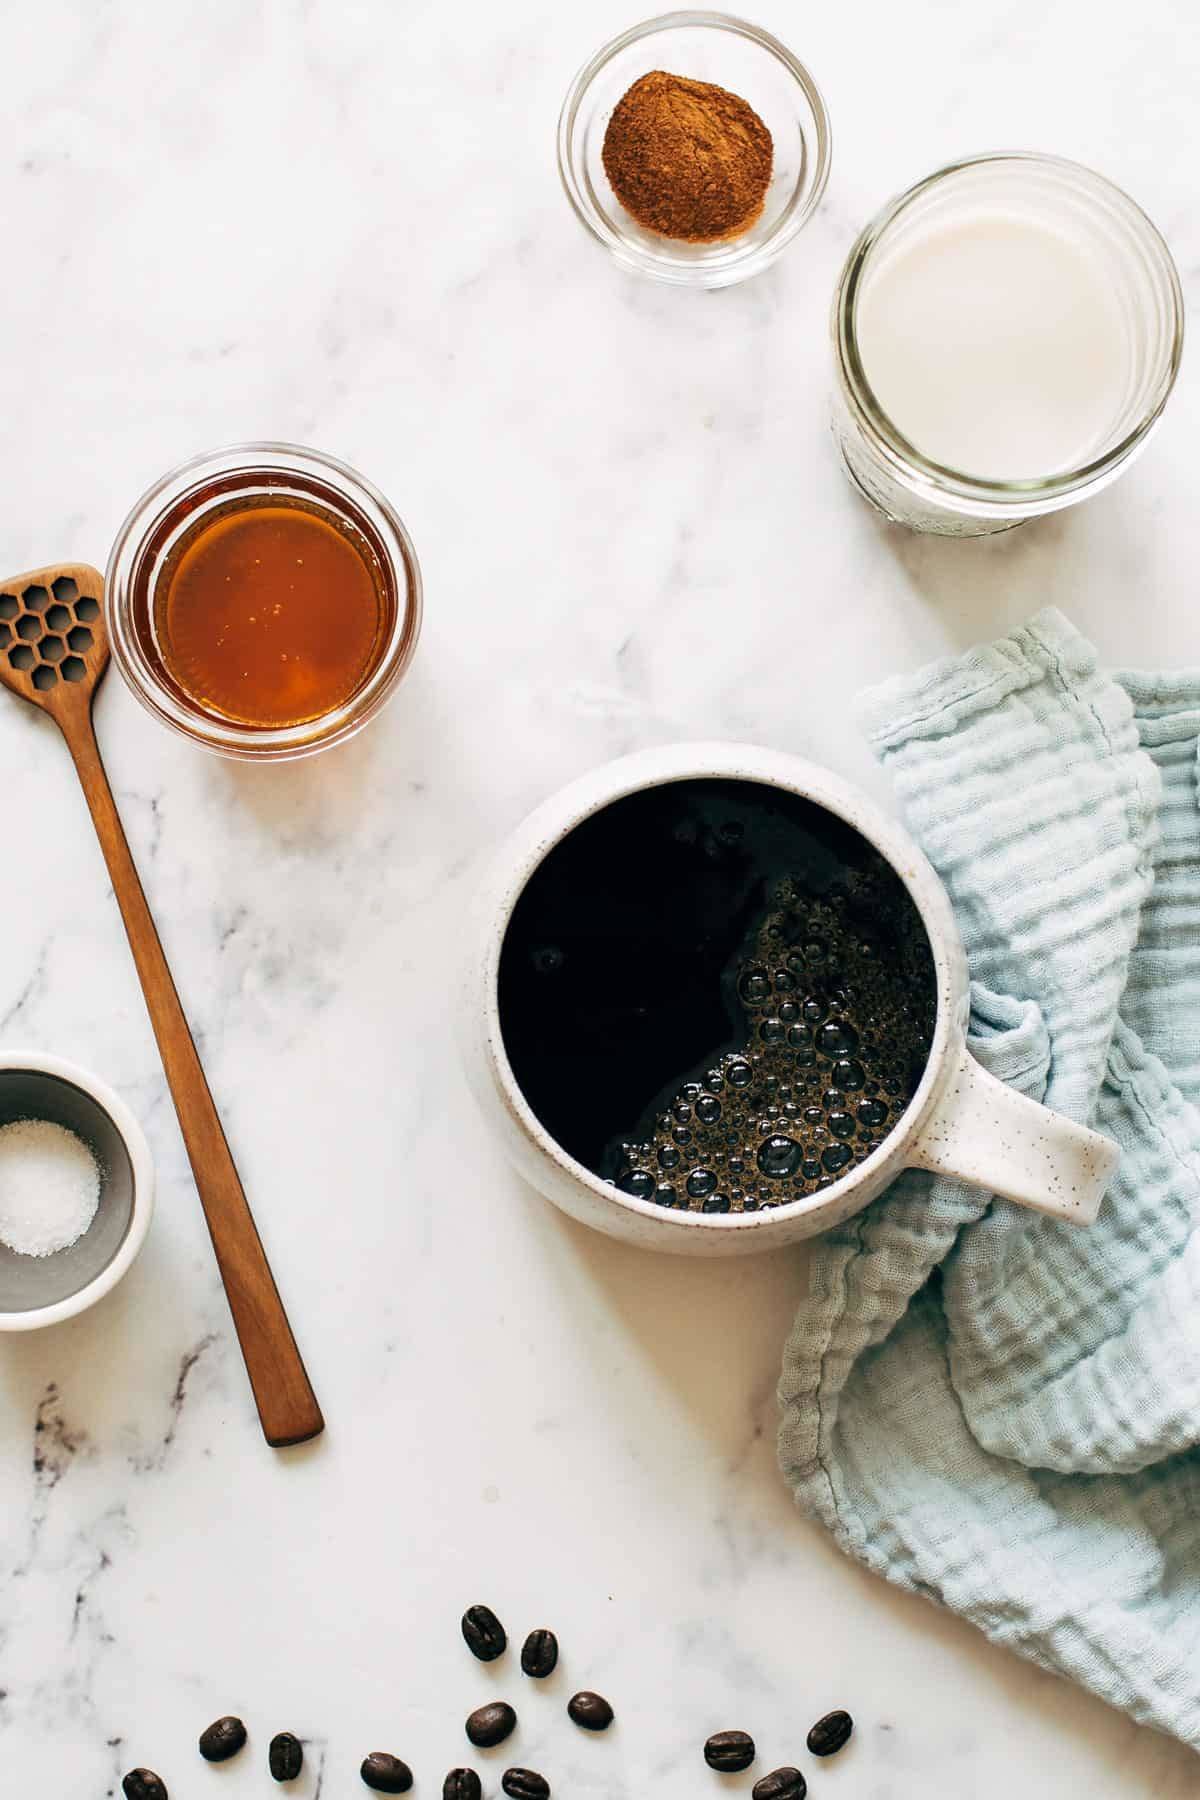
Ingredients for oatmilk honey latte.

Here’s what you need:

  • Instant coffee – or brew your own, but you only need about 1/2 cup and I like to just make it real fast (and strong) with hot boiling water, plus I use decaf and we don’t often have a pot of decaf sitting around, so, yeah. Instant coffee. You do you.
  • Oatmilk – thickness, taste, and frothing quality varies by brand; I like Oatly, Chobani, and Forager.
  • Honey – usually local is best for finding one with a good flavor, but I recently bought some Wholesome! brand honey and was shocked at its unique, rich floral flavor.
  • Cinnamon – optional, but do you love yourself or not?
  • Salt – just a half a pinch.

You heat up your honey, oatmilk, and salt in a jar in the microwave, pop the lid on, and shake it up. Now you pour it over your coffee. And you win the cozy-morning-at-home olympics. The end.

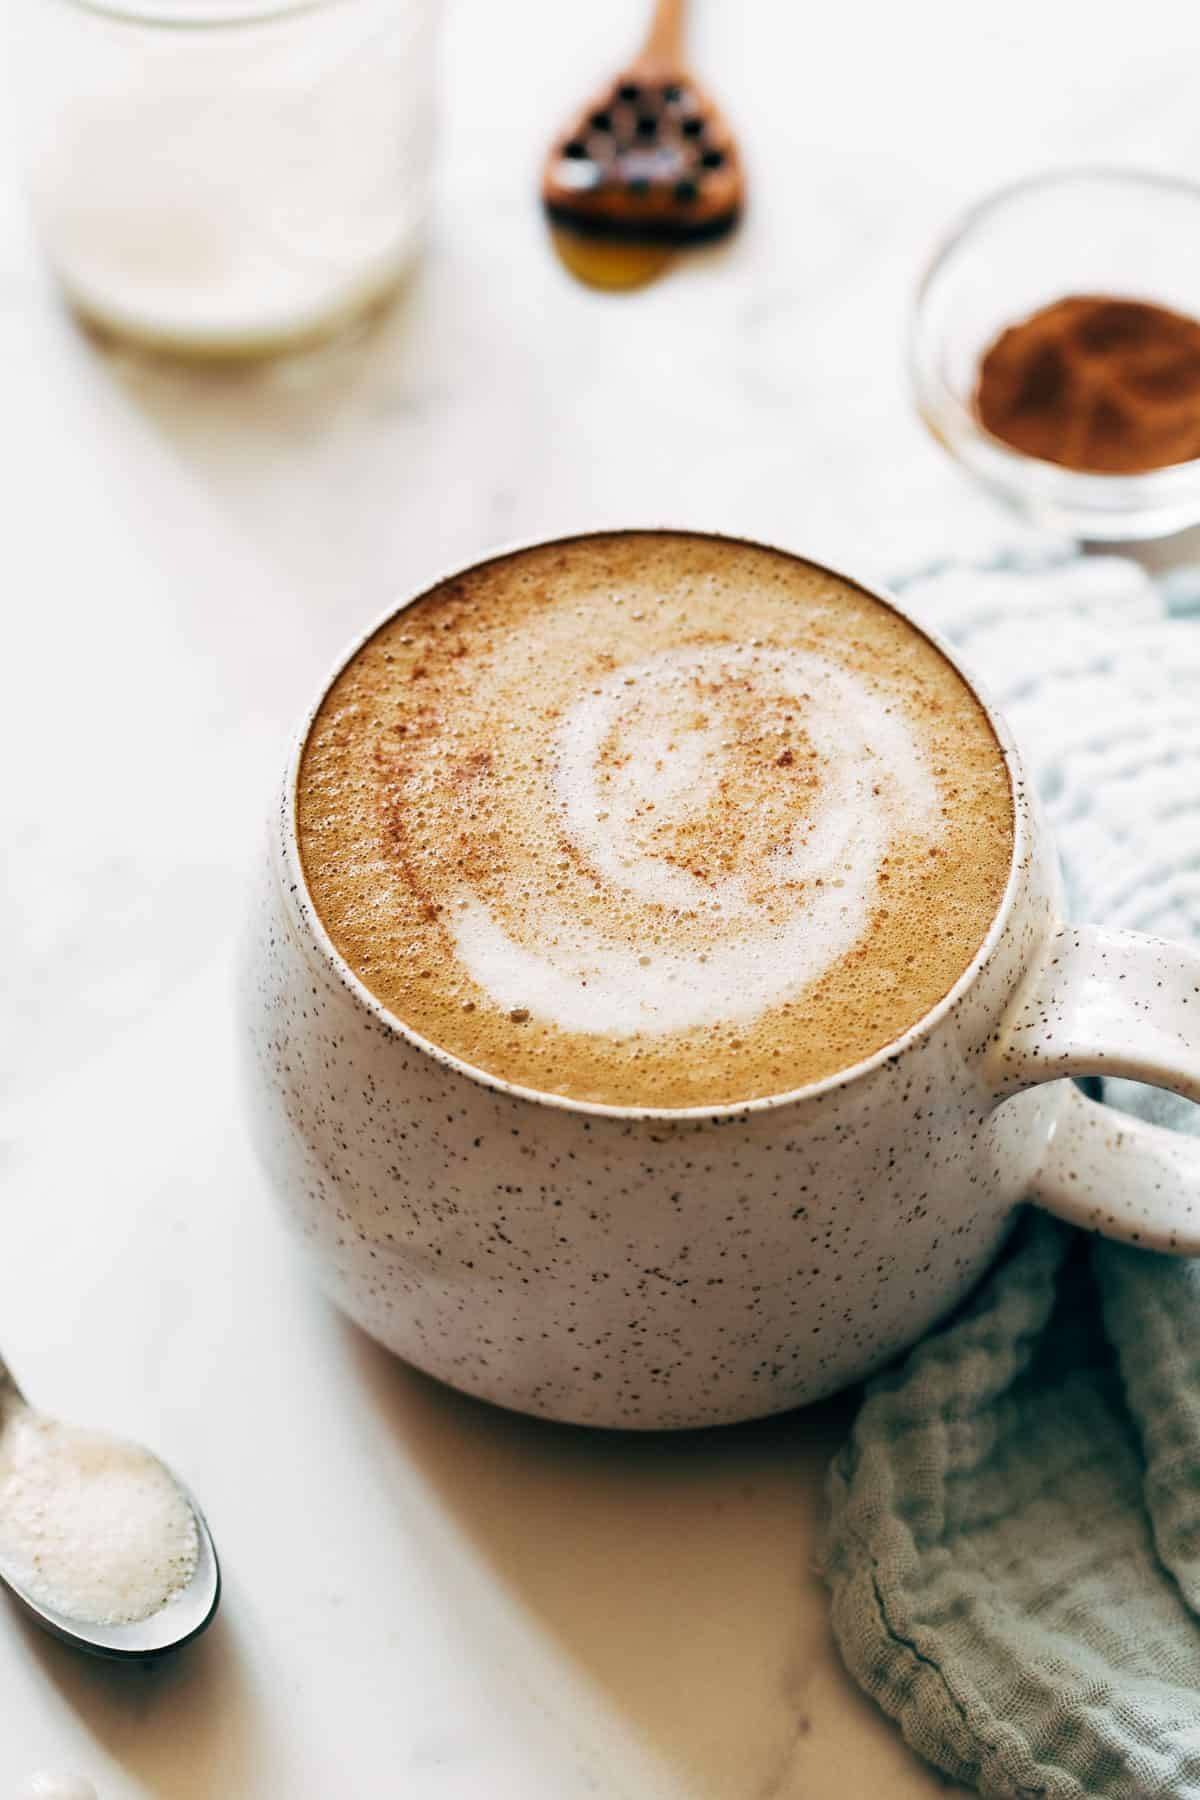
Oatmilk honey latte in a mug.

This has been my constant companion this fall – from the office in the late afternoon to the couch on a chilly Saturday morning. It is pure coffee shop level deliciousness at regular-person skill and effort level. Bring on the cozy! ♡

This latte method (shake in a jar) was one that I saw in the September issue of Magnolia Magazine – shaking in a jar to froth your milk?! Totally new concept to me. But flavor-wise, mostly this oatmilk honey latte is influenced by the Starbucks version that I love, love, love.

Print

Oatmilk Honey Latte


  • Author: Lindsay
  • Prep Time: 5 minutes
  • Cook Time: 5 minutes
  • Total Time: 10 minutes
  • Yield: 1 serving

Description

Oatmilk Honey Latte – a delicious homemade morning treat! Steaming hot, rich, and dark coffee that’s satisfyingly creamy, barely sweet, and warm-spiced.


Ingredients

  • 3/4 cup oatmilk
  • 1–2 tablespoons honey (depends how sweet you like it)
  • tiny tiny pinch of salt
  • 1/2 cup of strongly brewed coffee (decaf, in my case!)
  • dusting of cinnamon, optional

Instructions

  1. Pour the oatmillk, honey, and salt into a glass jar. Microwave for about a minute, until very hot.
  2. Put a cap on the jar and wrap with a towel (the metal lid will get hot). Shake until foamy and delicious.
  3. Pour your milky mixture into a mug. Add coffee. Sprinkle with cinnamon. Your cozy morning awaits.
  • Category: Drinks
  • Method: Brew
  • Cuisine: American

Keywords: oatmilk latte, oatmilk honey latte, dairy-free latte, honey latte, homemade latte

Recipe Card powered by

The post Oatmilk Honey Latte appeared first on Pinch of Yum.


from Pinch of Yum https://ift.tt/38p8MCp

Thursday, November 5, 2020

Sweet Potato Casserole with Brown Sugar Topping

Sweet potato casserole! ♡ And let me tell you, friends: this crunchy brown sugar topping will give you life.

Sweet Potato Casserole with a crunchy brown sugar topping with a wooden spoon

You didn’t think I would, but oh yes, in fact, I did.

I am tossing you a Thanksgiving recipe today. THANKSGIVING! And I want you to catch it and love it, okay? It is a deep, rich, sweet potato casserole from scratch with a crunchy brown sugar topping, and it’s comforting and cozy and it’s coming for you right now – ready?

I see two options for you right now. You can fall into a state of shock and awe that it is already borderline time for Thanksgiving (admittedly, this would be my default since usually I don’t even think about Thanksgiving until three days before – WHO AM I RIGHT NOW), OR you can realize the true fact that something this good doesn’t need to just be reserved for Thanksgiving and you can go right on ahead with your best kitchen self and make this happen even BEFORE the clock strikes dinnertime on Thanksgiving Day.

Those are the two options. You can choose.

Watch How to Make This Sweet Potato Casserole

Sweet Potato Casserole with a crunchy brown sugar topping with a wooden spoon
Sweet Potato Casserole with a crunchy brown sugar topping in a bowl with a fork

You guys, the strange thing about this sweet potato casserole is that it is very much a dessert, but never once in my Thanksgiving career have I experienced this being served as anything other than a completely luscious side dish to accompany the mashed potatoes and gravy, turkey, green bean casserole, and soft white dinner rolls. It just works. It’s that one little pre-dessert side that you might even like more than your real dessert.

This is a recipe that my mom has been making for years, and she got it from one of her friends who has been making it for years before that, and there is a reason is has become a mainstay at Thanksgiving.

First, let’s talk toppings. 👇🏼

Here’s the Topping Situation

I like to Easy Button my life whenever possible, so I just toss those pecans, flour, butter, and brown sugar in my food processor and give it a go-round till it makes that crumbly, streusel-like topping that we know and love.

Brown Sugar Topping for Sweet Potato Casserole in a food processor

Okay, we’ve got the topping.

Now the base.

Now Onto the Sweet Potato Casserole Base

The sweet potato mixture is as easy as mixing up a muffin batter – it starts with sweet potatoes (canned, which I know seems so retro and perfect and that’s because it is – I’ve made this with non-canned sweet potatoes, and the weight of baked or boiled sweet potatoes is just too heavy, trust me on this one), and then eggs, butter, milk, sugar, and vanilla.

It’s that easy. Mix and pour that mixture into a pan, and then top it with your beloved crumble.

Sweet Potato Casserole with a crunchy brown sugar topping
Sweet Potato Casserole with a crunchy brown sugar topping in a dish with a spoon

You’re going to bake this guy for 30-45 minutes to get that topping nice and crispy, and then?

The moment of Thanksgiving sweet potato casserole truth.

Sweet Potato Casserole with a crunchy brown sugar topping in a wooden spoon

YOU’RE A HERO.

The soft and sweet bottom layer + the crunchy and nutty top layer work their magic together to make the best sweet potato casserole that you could ever want for your Thanksgiving side-dish domination.

I can’t wait for you to love this one.

Sweet Potato Casserole with a crunchy brown sugar topping in a dish with a wooden spoon

Common Questions About This Sweet Potato Casserole

Can I use fresh sweet potatoes instead of canned sweet potatoes?

Yes! We actually enjoy the texture of the canned sweet potatoes here, but fresh would work as well. Would recommend baking instead of boiling if you go the fresh route as to not add more moisture.

Why are there eggs in this?

The eggs in the sweet potato casserole are what binds it all together without making the base too heavy. Without them, the casserole wouldn’t be quite as fluffy and scoopable!

What’s the difference between sweet potatoes and yams?

We couldn’t have explained it better than Bon Appetit here. In this recipe, we’re technically using orange sweet potatoes.

Can I prep this in advance?

Yep, that should work just fine! Prep it all as listed, and you can refrigerate for 1-2 days before baking. If you want to make it even better, you could also wait to sprinkle on the topping until it’s time to bake.

How can I make this a vegan sweet potato casserole?

To make this vegan, you can sub the butter for vegan butter, the milk for your favorite plant-based unsweetened/unflavored milk, and omit the eggs.

How can I made this sweet potato casserole gluten-free?

Sub in a gluten-free flour (like almond flour) for the all-purpose flour in the topping.

Print
Sweet Potato Casserole on pan with serving spoon.

Sweet Potato Casserole with Brown Sugar Topping


  • Author: Pinch of Yum
  • Prep Time: 10 mins
  • Cook Time: 35 mins
  • Total Time: 45 minutes
  • Yield: 8 as a side

Description

Sweet Potato Casserole from scratch with a crunchy brown sugar topping that will give you life. A Thanksgiving recipe classic!


Ingredients

For the sweet potatoes

  • 3 cups (1 29-ounce can) sweet potatoes, drained
  • 1/2 cup melted butter
  • 1/3 cup milk
  • 3/4 cup cane sugar
  • 1 teaspoon vanilla
  • 2 beaten eggs
  • salt to taste

For the topping

  • 5 tablespoons melted butter
  • 2/3 cup brown sugar
  • 2/3 cup flour
  • 1 cup pecan pieces

Instructions

  1. Preheat the oven to 350 degrees. Mash the sweet potatoes and add the melted butter, milk, sugar, vanilla, beaten eggs, and a pinch of salt. Stir until incorporated. Pour into a shallow baking dish or a cast iron skillet.
  2. Combine the butter, brown sugar, flour, and pecan pieces in a small bowl, using your fingers to create moist crumbs. Sprinkle generously over the casserole. Bake for 25-35 minutes, until the edges pull away from the sides of the pan and the top is golden brown. Let stand for the mixture to cool and solidify a little bit before serving.

Notes

The equipment section above contains affiliate links to products we use and love!

  • Category: Side Dish
  • Method: Bake
  • Cuisine: American

Keywords: sweet potato casserole, sweet potato recipe, sweet potatoes and brown sugar, brown sugar casserole, thanksgiving casserole

Recipe Card powered by

The post Sweet Potato Casserole with Brown Sugar Topping appeared first on Pinch of Yum.


from Pinch of Yum https://ift.tt/38hYV1g

Monday, November 2, 2020

Favorite Browned Butter Chocolate Chip Cookies

Do I say it all the time?

But for real, for REAL this time: THESE COOKIES ARE SO GOOD.

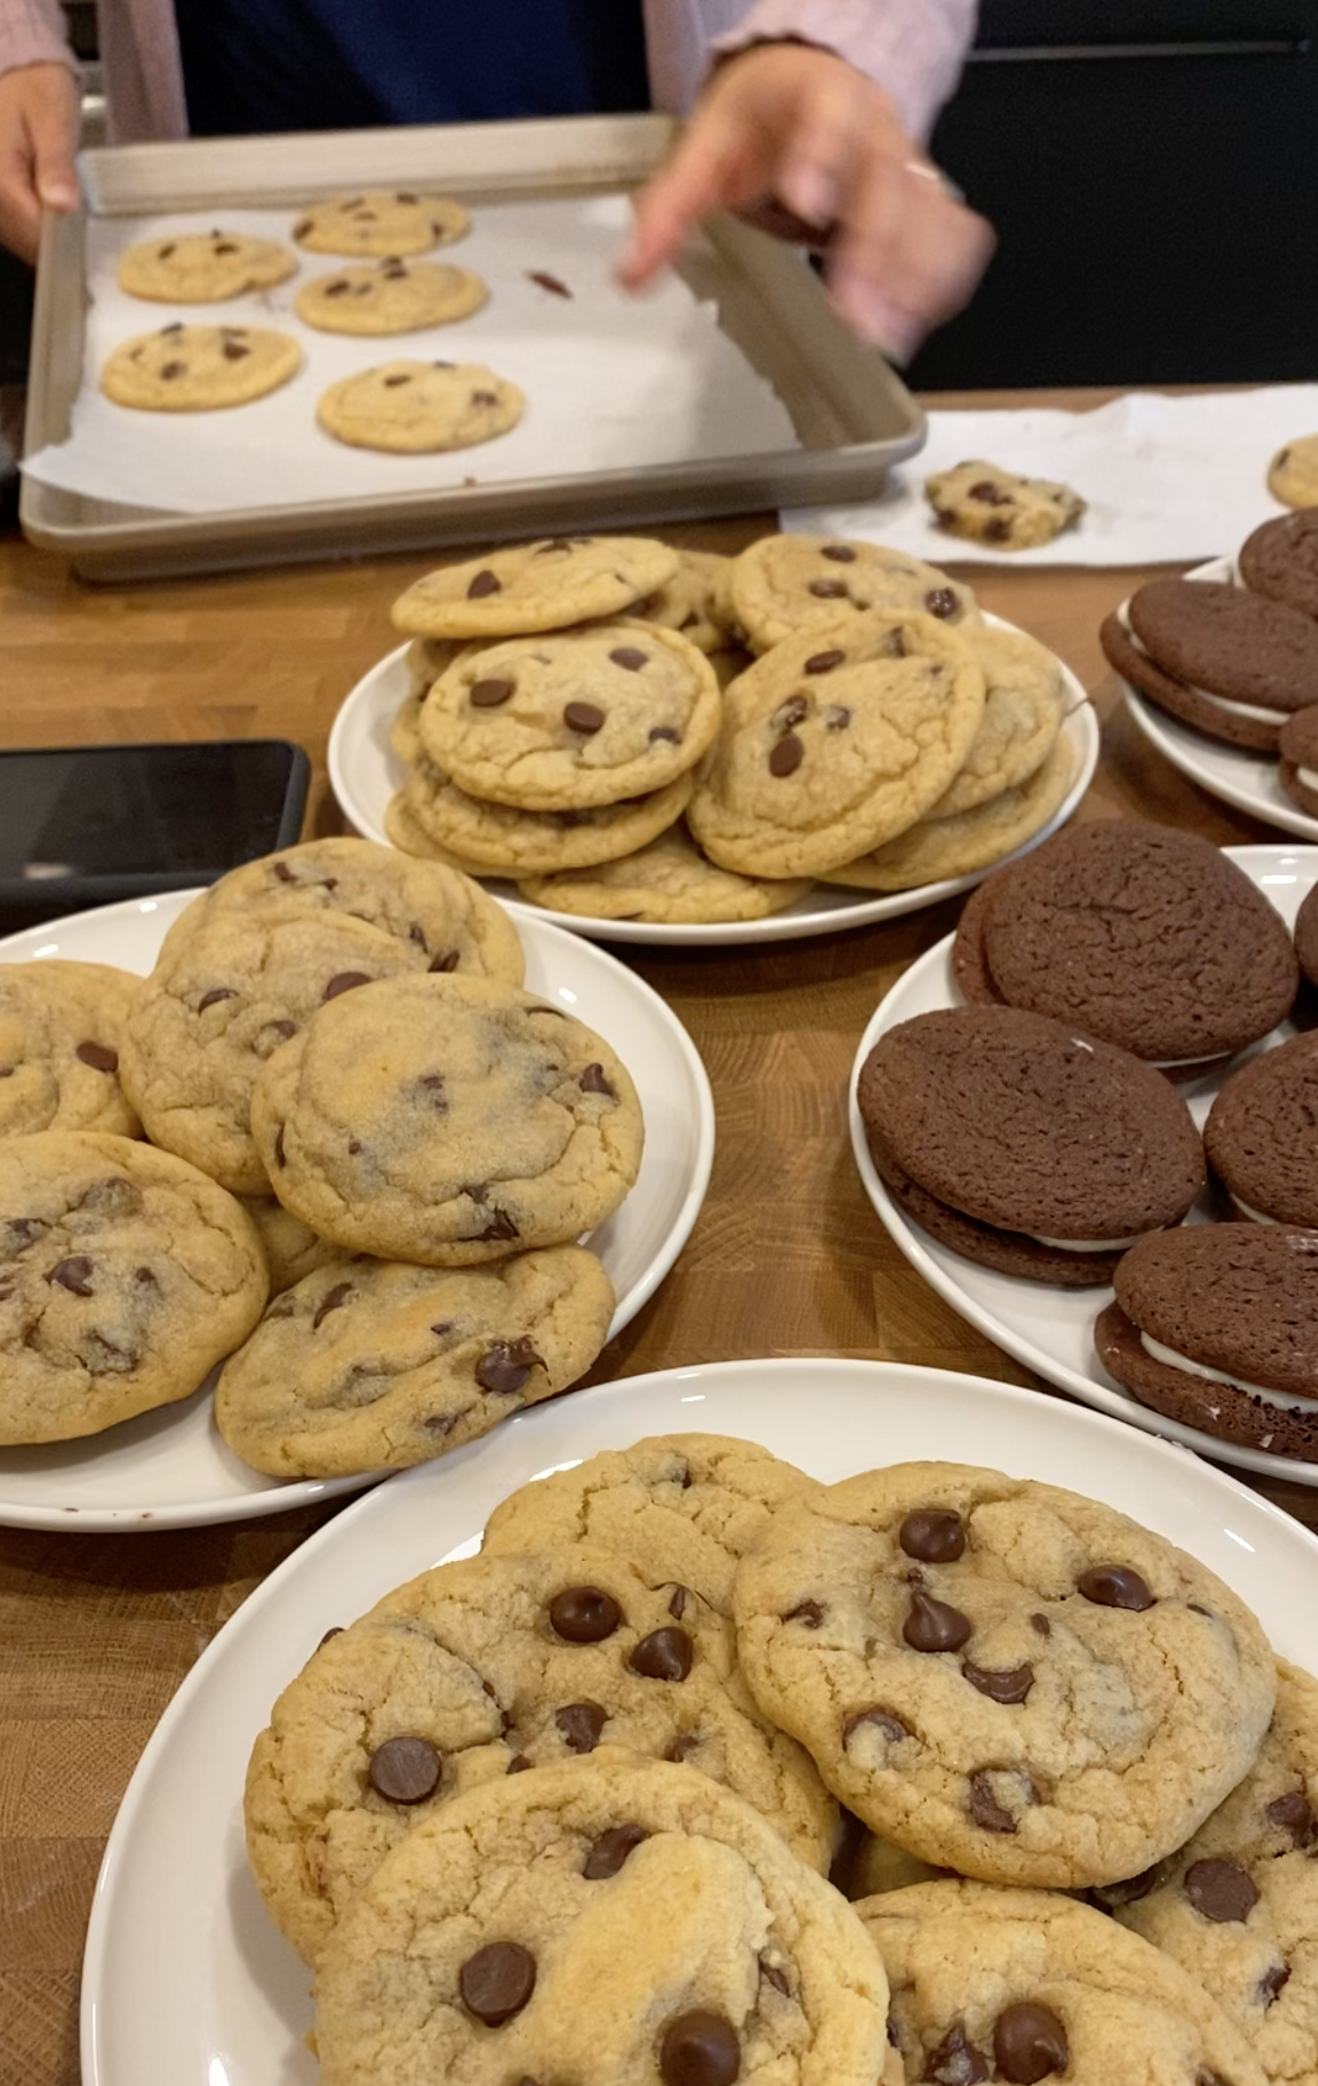
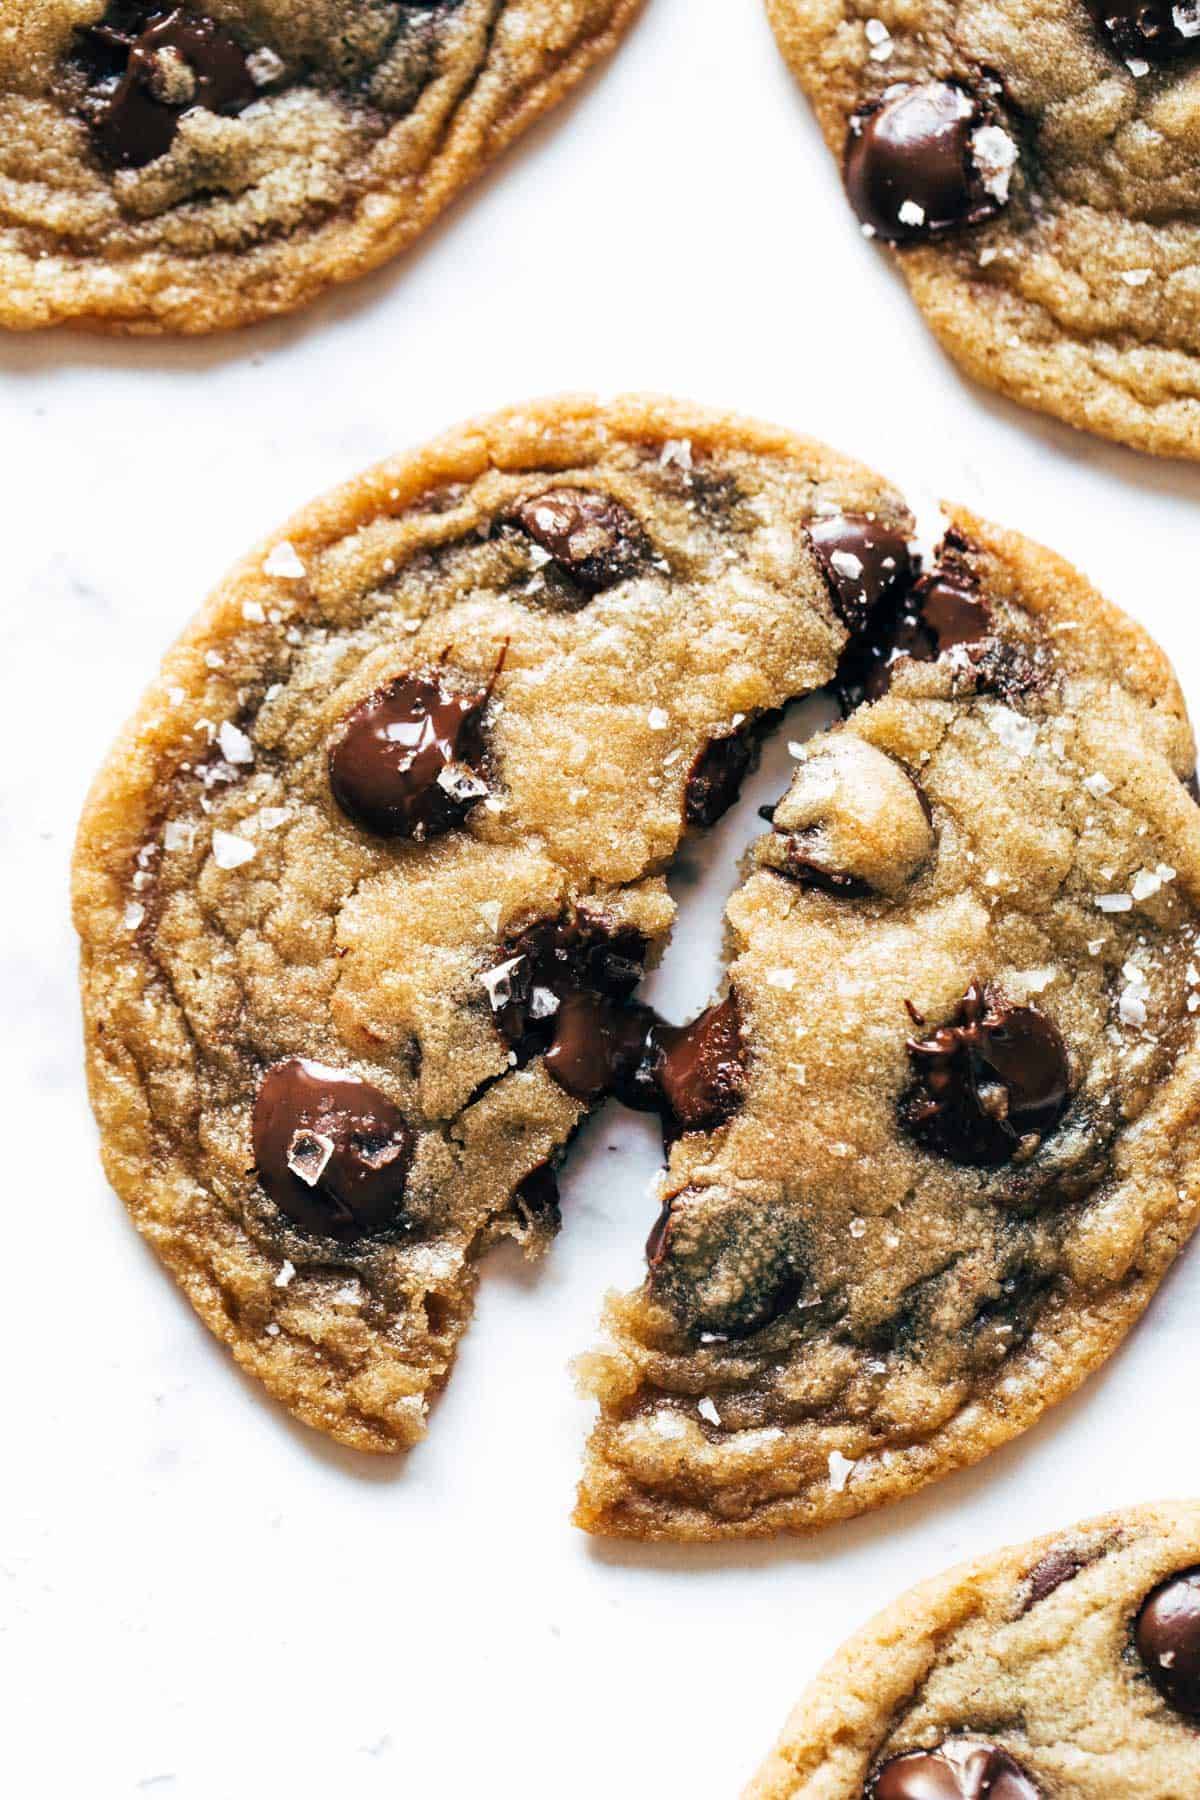
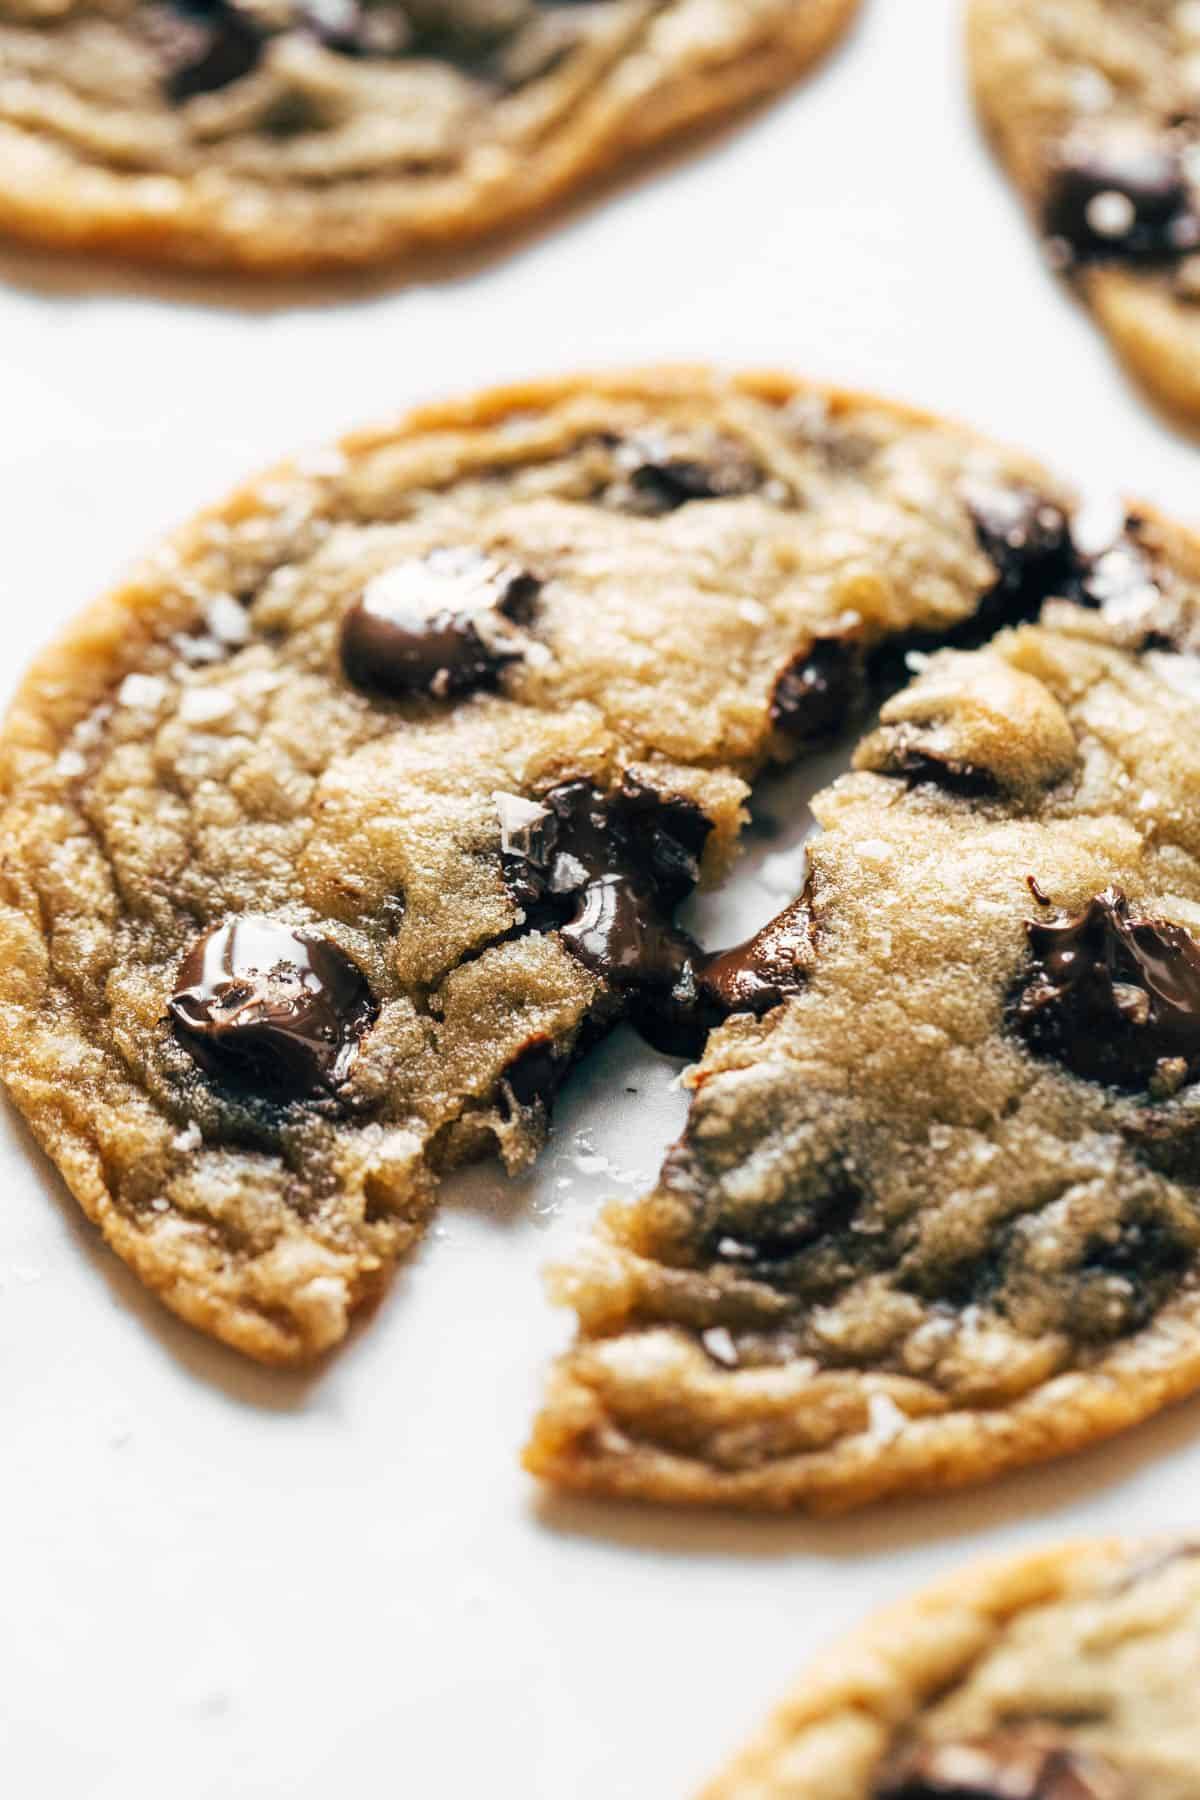
Browned butter and brown sugar caramely goodness, crispy edges, barely thick and soft centers, melty little puddles of chocolate chips and sprinkles of just enough salt to cut the sweetness and make you feel like you could probably eat 5 of them.

My first favorite thing about these browned butter chocolate chip cookies is that they combine the best of both the thin-cookie and thick-cookie worlds with that satisfying little crunch around the edge AND underbaked centers that are thick enough to really sink your teeth into. Best. Of. Both. Worlds.

My second favorite thing about these cookies is that they also just shine, and I mean really shine, with rich, deep, caramely flavor thanks to a whole lot of browned butter.
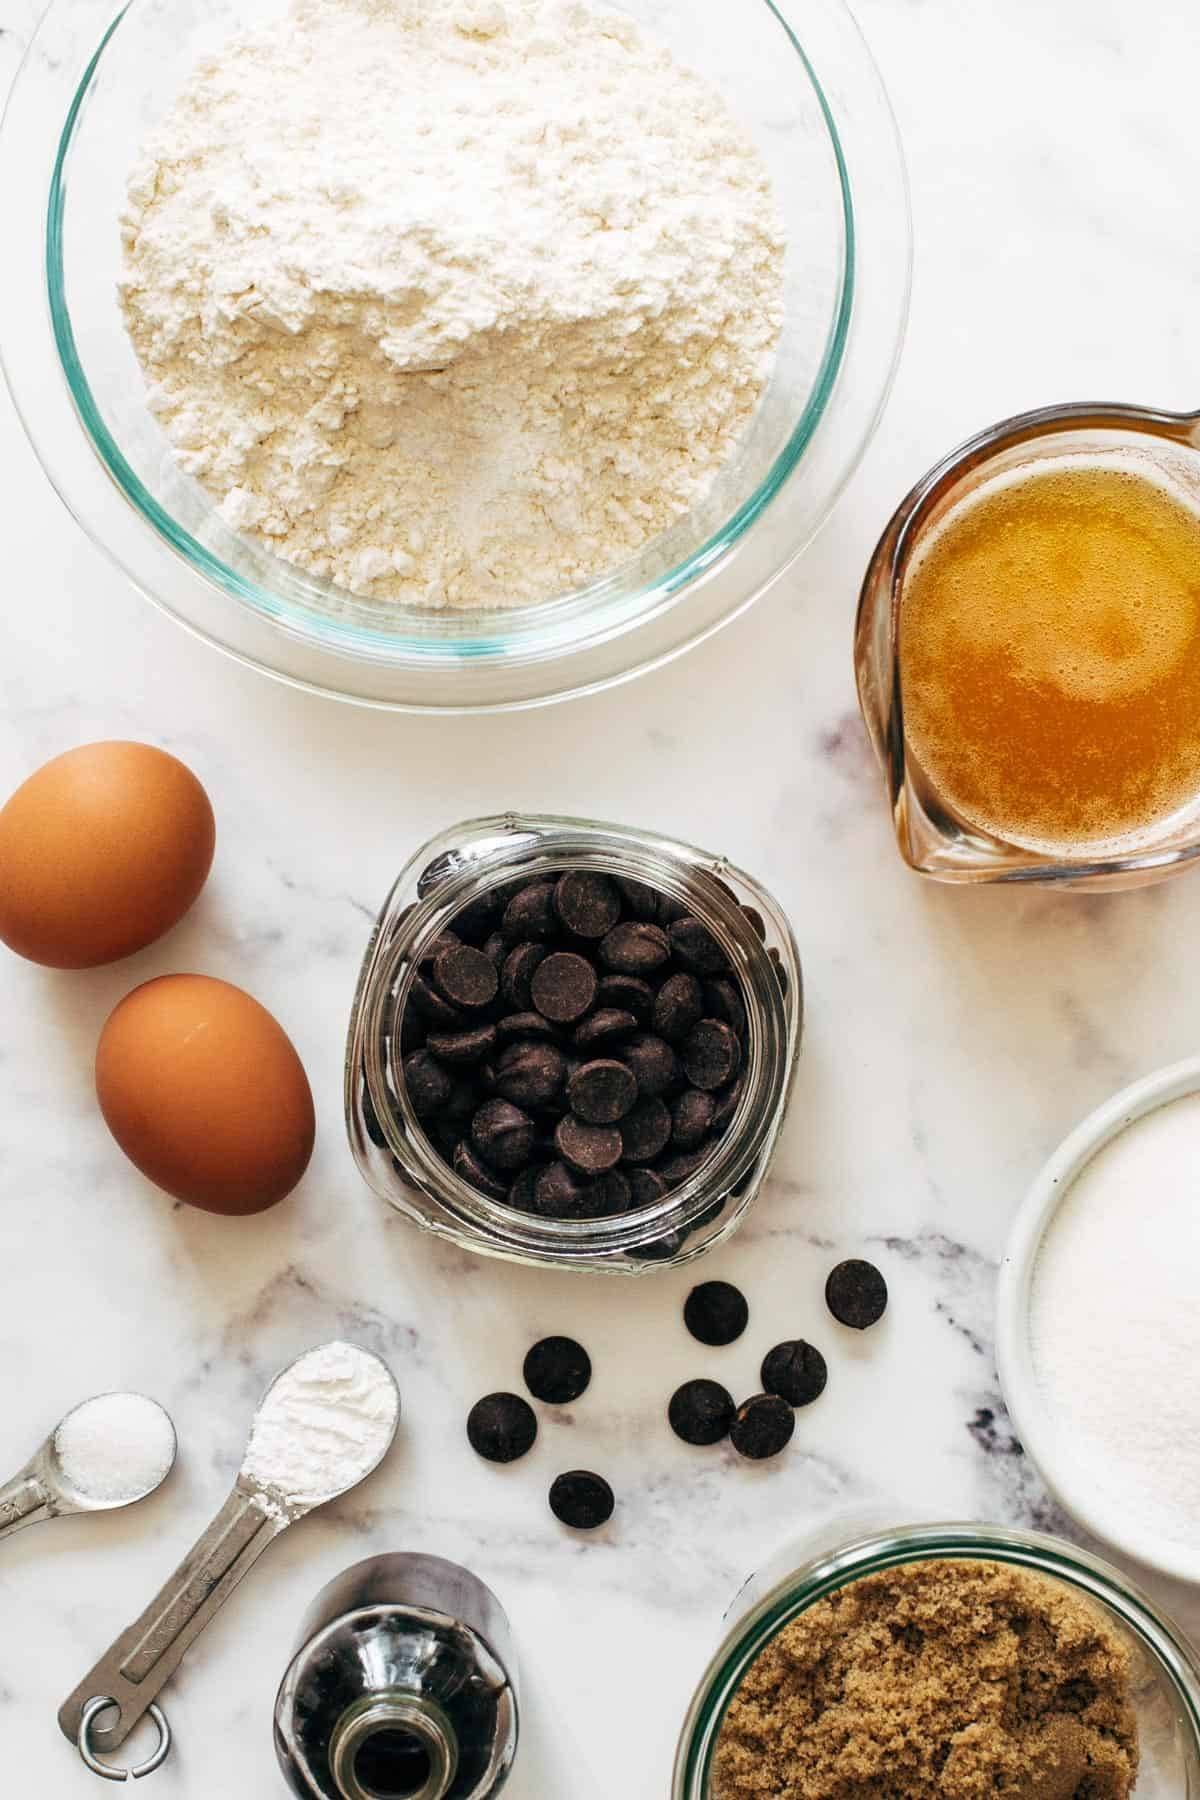
At this point in our internet’s recipe-rich history, I try to not add things just for the sake of adding them. Which is why, for a long time, I’ve just let our best soft chocolate chip cookies be our best, our only, our shining star of a chocolate chip cookie recipe.

You know I love those cookies. And I know you love those cookies.

So we have to both know it’s a big day when I’m willing to present a cookie recipe that is, I think, as good or even better for certain moments than our original favorite chocolate chip cookies.
We have a lot of cookies on Pinch of Yum, but two of them (these brand new browned butter ones, and the original best soft chocolate chip cookies) are easily tied for being the best.

I feel it is my civic duty to give you a full breakdown cookie breakdown on each of these recipes and what makes each of them awesome in their own ways.

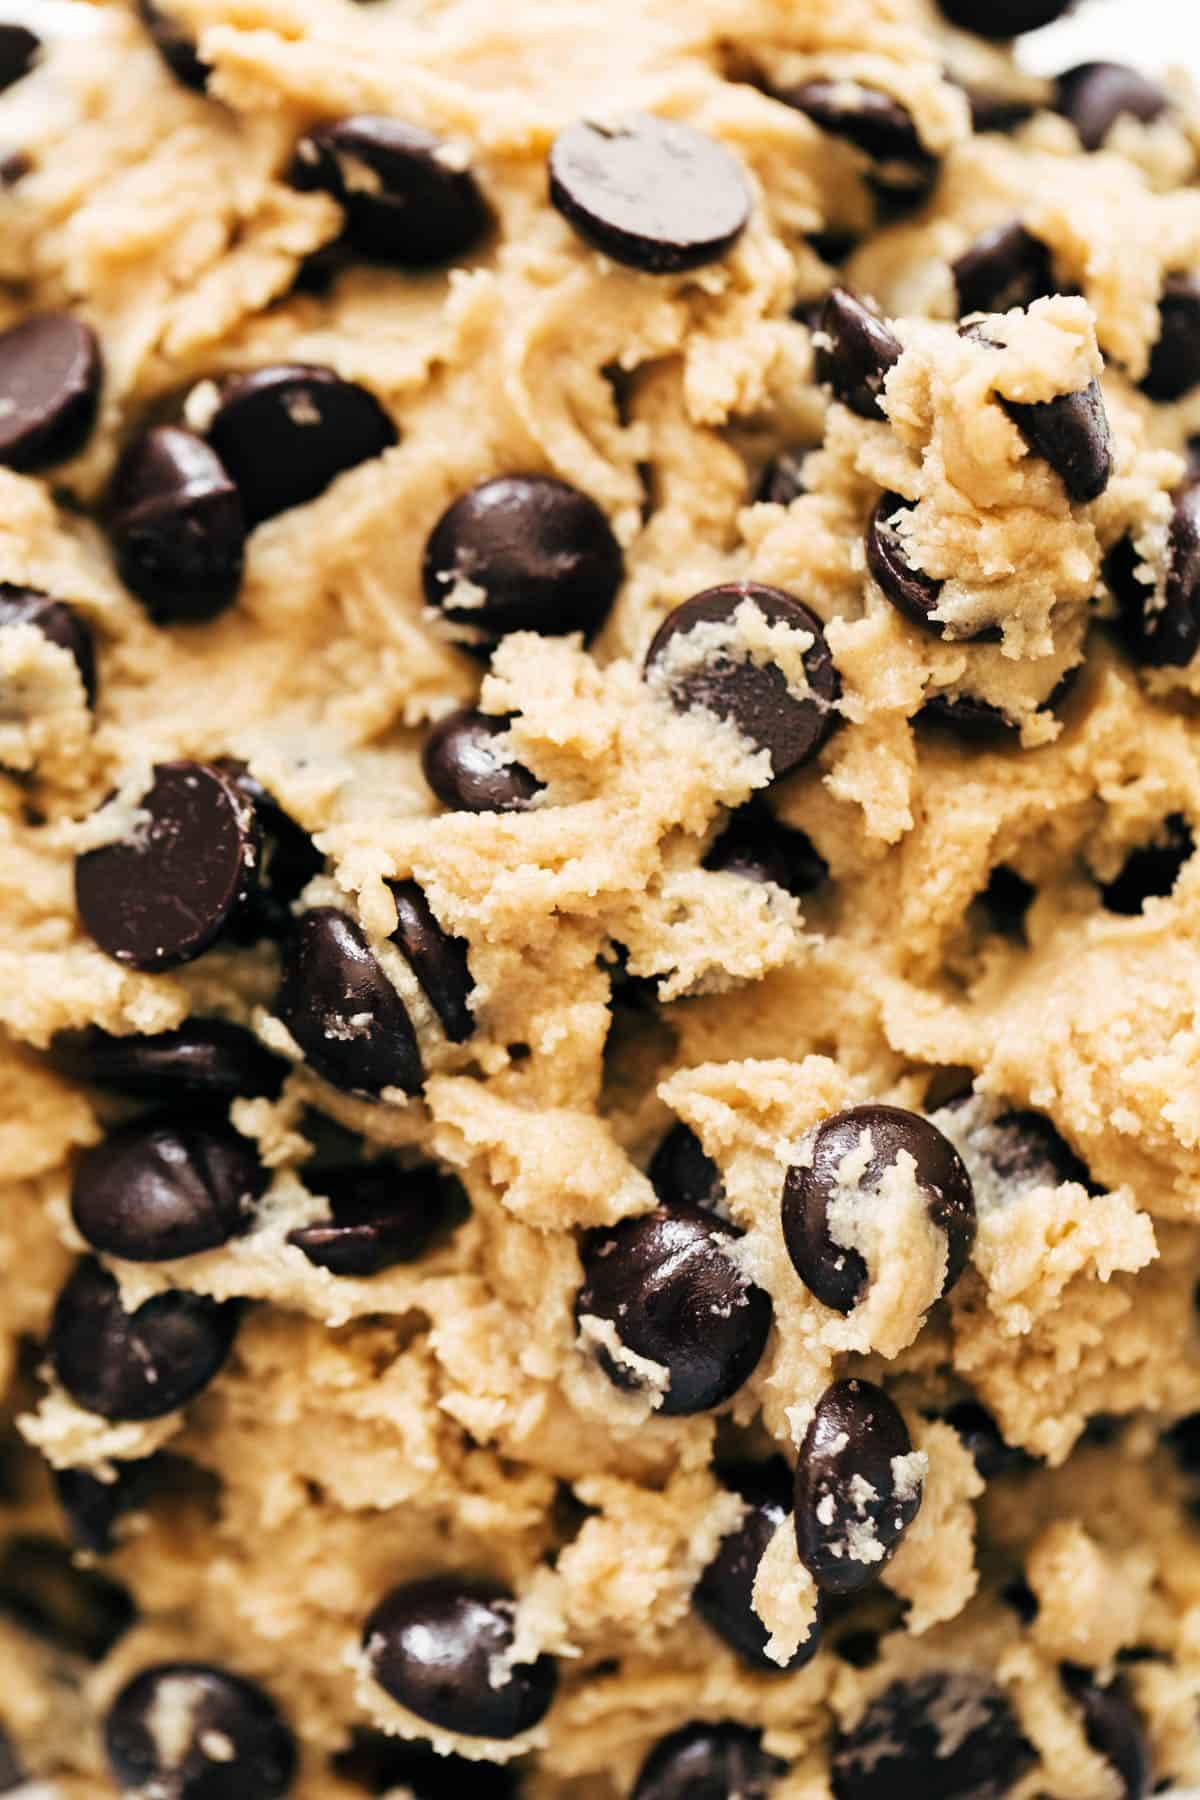
  • Browned butter chocolate chip cookies (these ones you’re looking at now): These cookies are a work of art. They have complex, rich flavor. They have more of that crispy-meets-soft-and-yummy texture. They are grown-up and almost-fancy. There is more effort required. And the reward is that there is more nuance to both the flavor and the texture. Making them is not overly complicated but it’s also not mindless. These are the cookies for when you need to impress, even if the only person you’re impressing is yourself on a Wednesday night. I feel this is a good time to let you know that this particular cookie dough tastes amazing. AMAZING. Next level. It’s where the browned butter flavor comes through the most. I’m not recommending eating raw cookie dough, I’m just saying, alright?
  • Best soft chocolate chip cookies (the original POY fave): These cookies are unfussy and uncomplicated. No fancy steps, no unusual ingredients, no chill time – just a small batch of chocolate chip cookies underbaked to soft, thick perfection. If I need a quick batch of cookies for friends coming over in an hour, these are the ones I’m making. They have less nuanced flavor than the browned butter cookies, and they’d be less likely to win a high-level baking contest, but depending on the moment, maybe that doesn’t matter. I made these recently and gave a few to our nanny and she texted me later that night to say they were the best cookies she’s ever had. Sometimes basic is best.

If I had to pick between the two… I wouldn’t!

I like them both at full 100% liking capacity, for different reasons. I like to have a cookie for each mood, know what I mean?
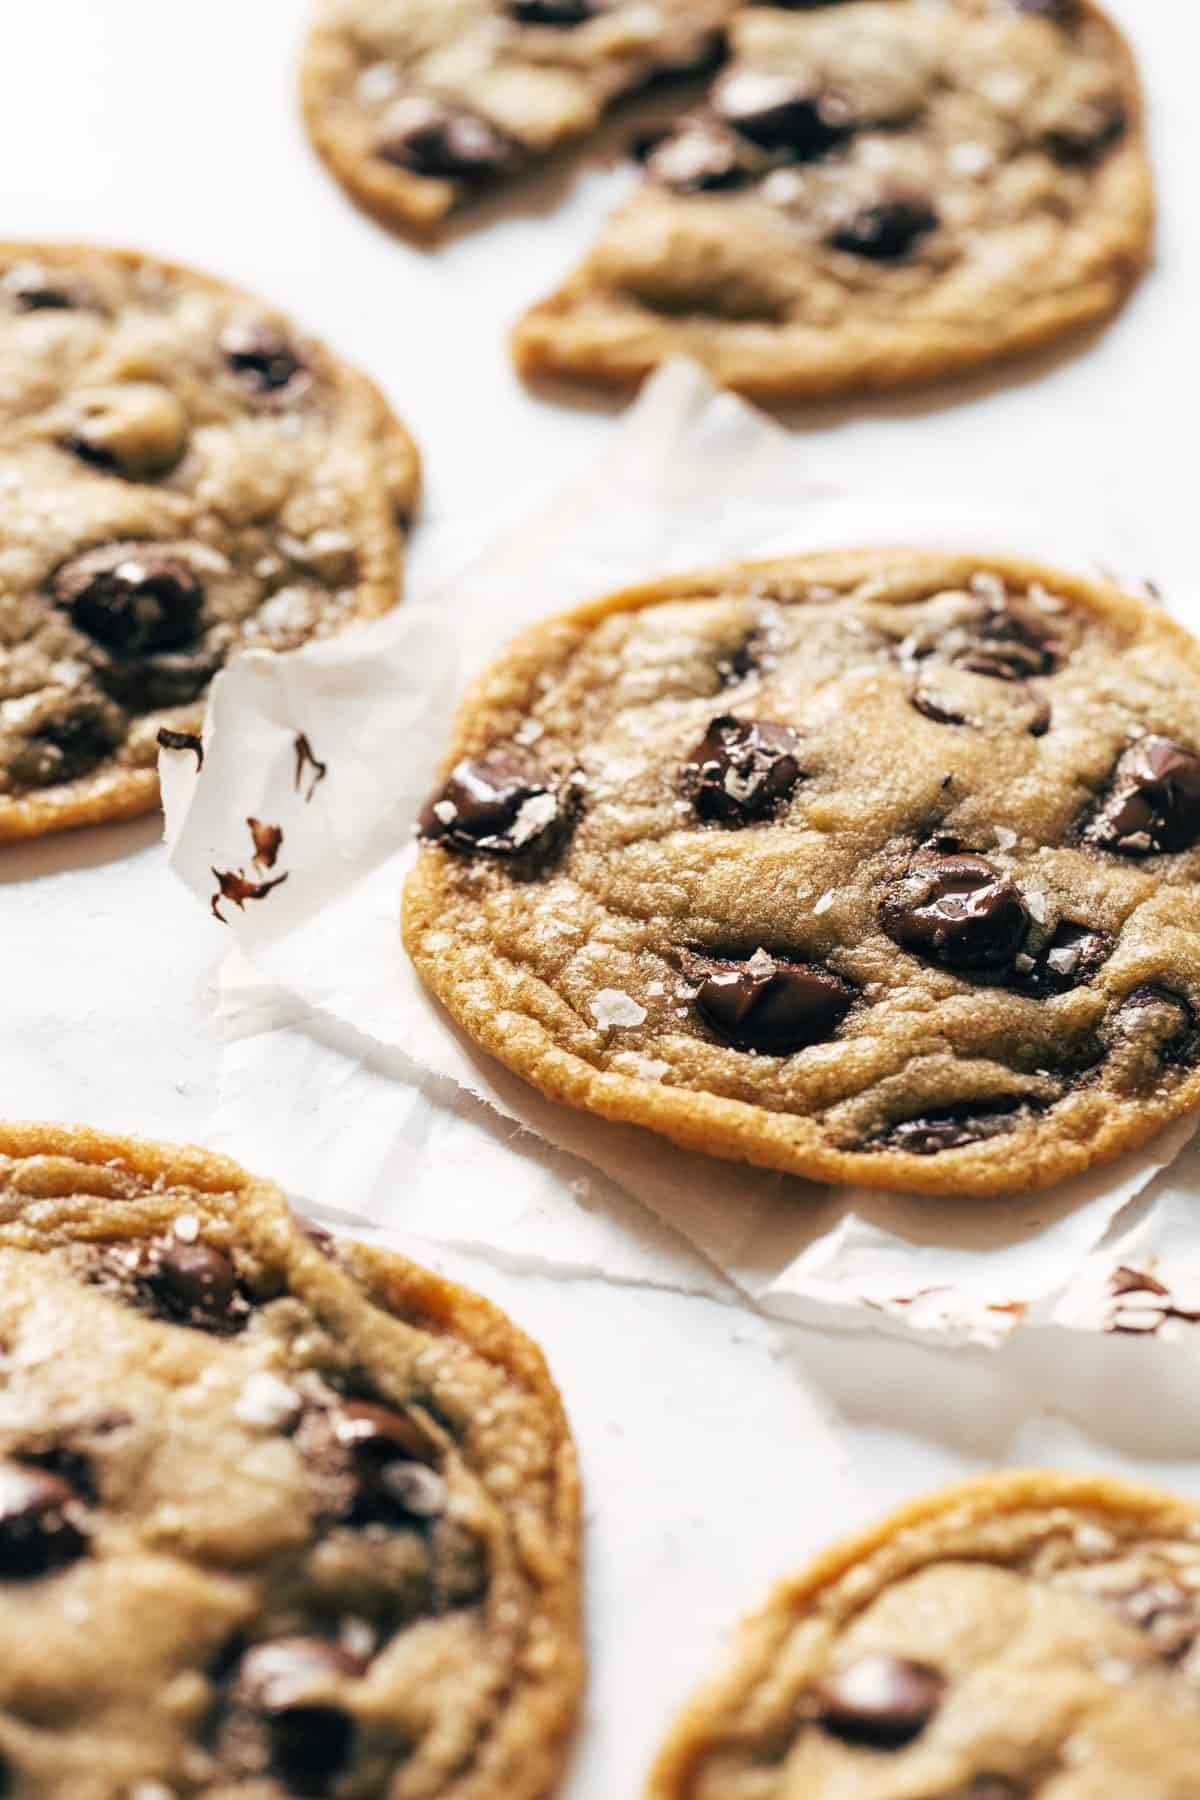
But since today is the day we’re sharing these browned butter beauties out into the world, today will be the day I say… make these ones.

The originals will still be there for you when you need them. Today is a day to go brown some butter and then experience the rush of sinking your teeth into that crispity edge with the underbaked, slightly thick, gooey, rich center. Treat. Your. Self.

Buttery, caramely, salty, and chocolatey all in one.

You’re in for a real moment here.
Watch How to Make This Recipe

I was first inspired to make this type of fancier chocolate chip cookie by the browned butter cookie recipe in Sarah Kieffer’s book 100 Cookies, which, by the way, is a super fun cookbook for people who love to bake! This was the tutorial I used for learning how to properly brown butter from America’s Test Kitchen, and I also read up quite extensively through the comments section of this Bon Appetit recipe for tips from people who love making cookies with brown butter!

Print

Favorite Browned Butter Chocolate Chip Cookies


  • Author: Lindsay
  • Prep Time: 15 minutes
  • Cook Time: 15 minutes
  • Total Time: 30 minutes
  • Yield: 25-30 cookies

Description

Favorite Browned Butter Chocolate Chip Cookies! Browned butter and brown sugar caramely goodness, crispy edges, barely thick and soft centers, and melty little puddles of chocolate chips.


Ingredients

  • 2 sticks unsalted butter (1 cup)
  • 1 cup white sugar
  • 1 cup brown sugar
  • 1 tablespoon vanilla
  • 2 eggs
  • 2 1/2 cups + 2 tablespoons flour (see notes! if you like a thicker cookie, use 2 3/4 cup flour)
  • 1 teaspoon baking soda
  • 1 teaspoon baking powder
  • 1/2 teaspoon salt
  • 1 1/2 cups chocolate chips or chocolate chunks

Instructions

  1. Brown the butter: Cut the butter into small pieces for even melting. Melt the butter in a wide stainless steel skillet over medium heat. Swirl the pan a few times as the butter melts. It will get bubbly and then foamy – use a heat-proof spatula to scrape the butter across the bottom of the pan to prevent burning. You’ll see the butter start to turn golden brown very quickly, and you’ll be able to smell it (yum). When it is a nice golden brown color, remove from heat and transfer to a cool bowl or glass measuring cup, being careful not to burn it. The whole process should take about 5 minutes. Let the butter cool for another 5-10 minutes while you measure and prep everything else.
  2. Add the butter, sugars, and vanilla to the bowl of an electric mixture. Beat on medium high speed for 2-3 minutes.
  3. Add the eggs and beat for 1-2 minutes until shiny and smooth. 
  4. Add the flour, baking soda, baking powder, and salt. Mix until just combined into a dense, shiny dough. Let the dough cool for 15-20 minutes (if you add the chocolate chips now, they will melt).
  5. Mix in the chocolate chips or chunks (sometimes it helps to do this by hand). Let the dough rest for another 20-30 minutes. This helps hydrate the flour and carry the browned butter flavor farther in the cookies.
  6. Preheat the oven to 350 degrees. Roll or scoop your cookie dough into 3-tablespoon balls onto a baking sheet. Bake for 9 minutes, until the edges look cooked but the middles are still slightly soft and puffy. 
  7. Remove from the oven and let the cookies rest for 15-20 minutes. I KNOW I KNOW I KNOW this is very hard. But as they rest, the middles are going to sink down and kind of densify the middle, so you get that crispy exterior with the barely-thick, underbaked center.

Notes

Measuring the flour: It’s really important to get the right amount of flour here, which is why I’m going to recommend that you take the time to spoon your flour into your measuring cups and level them with a knife. That is not something I typically recommend because I don’t have the patience for it – but here, it really does matter! An over-floured cookie will be too thick and won’t get the crispy edge. Watch the video to see the consistency of the dough that we’re going for – I find that it’s easier to go by the feel than by exact measurements since there are so many variables that can affect how much flour you’ll need.

Browned butter timing: If you brown the butter for longer than 5 minutes, it’ll start to lose moisture which will affect your butter  / flour ratios. I like to transfer my butter to a glass measuring cup after I brown it to make sure I still have very close to 1 cup of butter. If you have less, it’s fine, they’ll still turn out, you just want to scale back on the flour by 1-2 tablespoons if you lost a little of that moisture.

Browned butter flecks: The browned butter will have flecks of brown in it – those are the browned milk solids and they hold all the yummy flavor, so be sure to really scrape your pan down so you get to use all of them!

Splitting and storing the dough: This makes a very large batch of cookies! If you don’t need all of the cookies at once, here’s what I recommend: split the dough into thirds. One third of it should fit onto one large cookie sheet, so you can bake that immediately. Then store the other two thirds in their own containers and either refrigerate (up to 5 days) or freeze (up to three months) and you’ve got two more fresh batches sometime in the future! You can also freeze the rolled balls or the baked cookies, both with great results.

High altitude testing (a note from a tester): Due to altitude, I typically add extra flour to get the correct thickness, so for this recipe, I anticipated needing to add about 3-4T extra flour. My browned butter measured about 2 tablespoons shy of 1 cup in liquid form, and I ended up needing to add almost 1/2 cup extra flour and refrigerated as instructed.

  • Category: Dessert
  • Method: Bake
  • Cuisine: American

Keywords: chocolate chip cookies, browned butter cookies, browned butter chocolate chip cookies, easy cookie recipe

Recipe Card powered by

We tested these cookies many times to figure out what worked and didn’t work to get them turning out just right! (Oh, the sacrifice! Ha!) Leave us a comment and let us know if there’s a question we can answer!

The post Favorite Browned Butter Chocolate Chip Cookies appeared first on Pinch of Yum.


from Pinch of Yum https://ift.tt/324vwUC