Do I say it all the time?
But for real, for REAL this time: THESE COOKIES ARE SO GOOD.
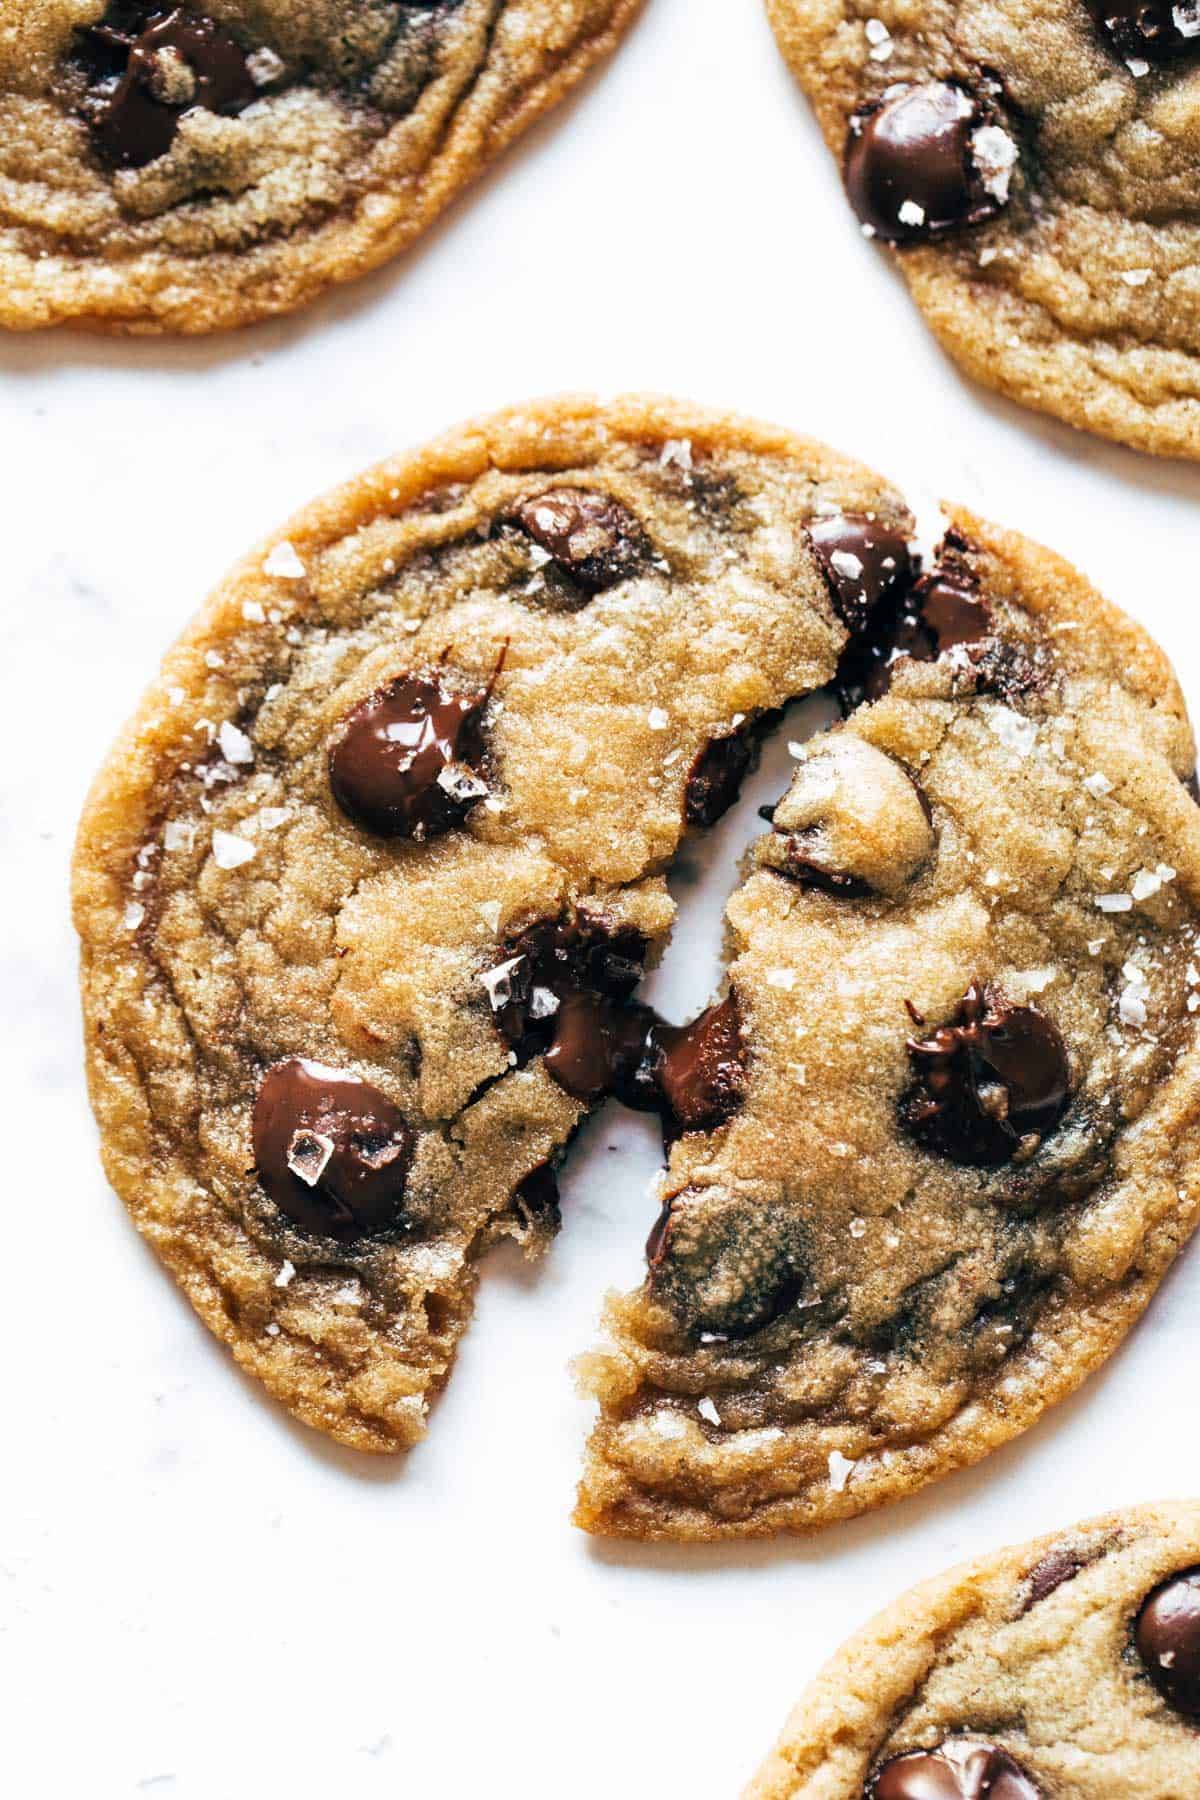
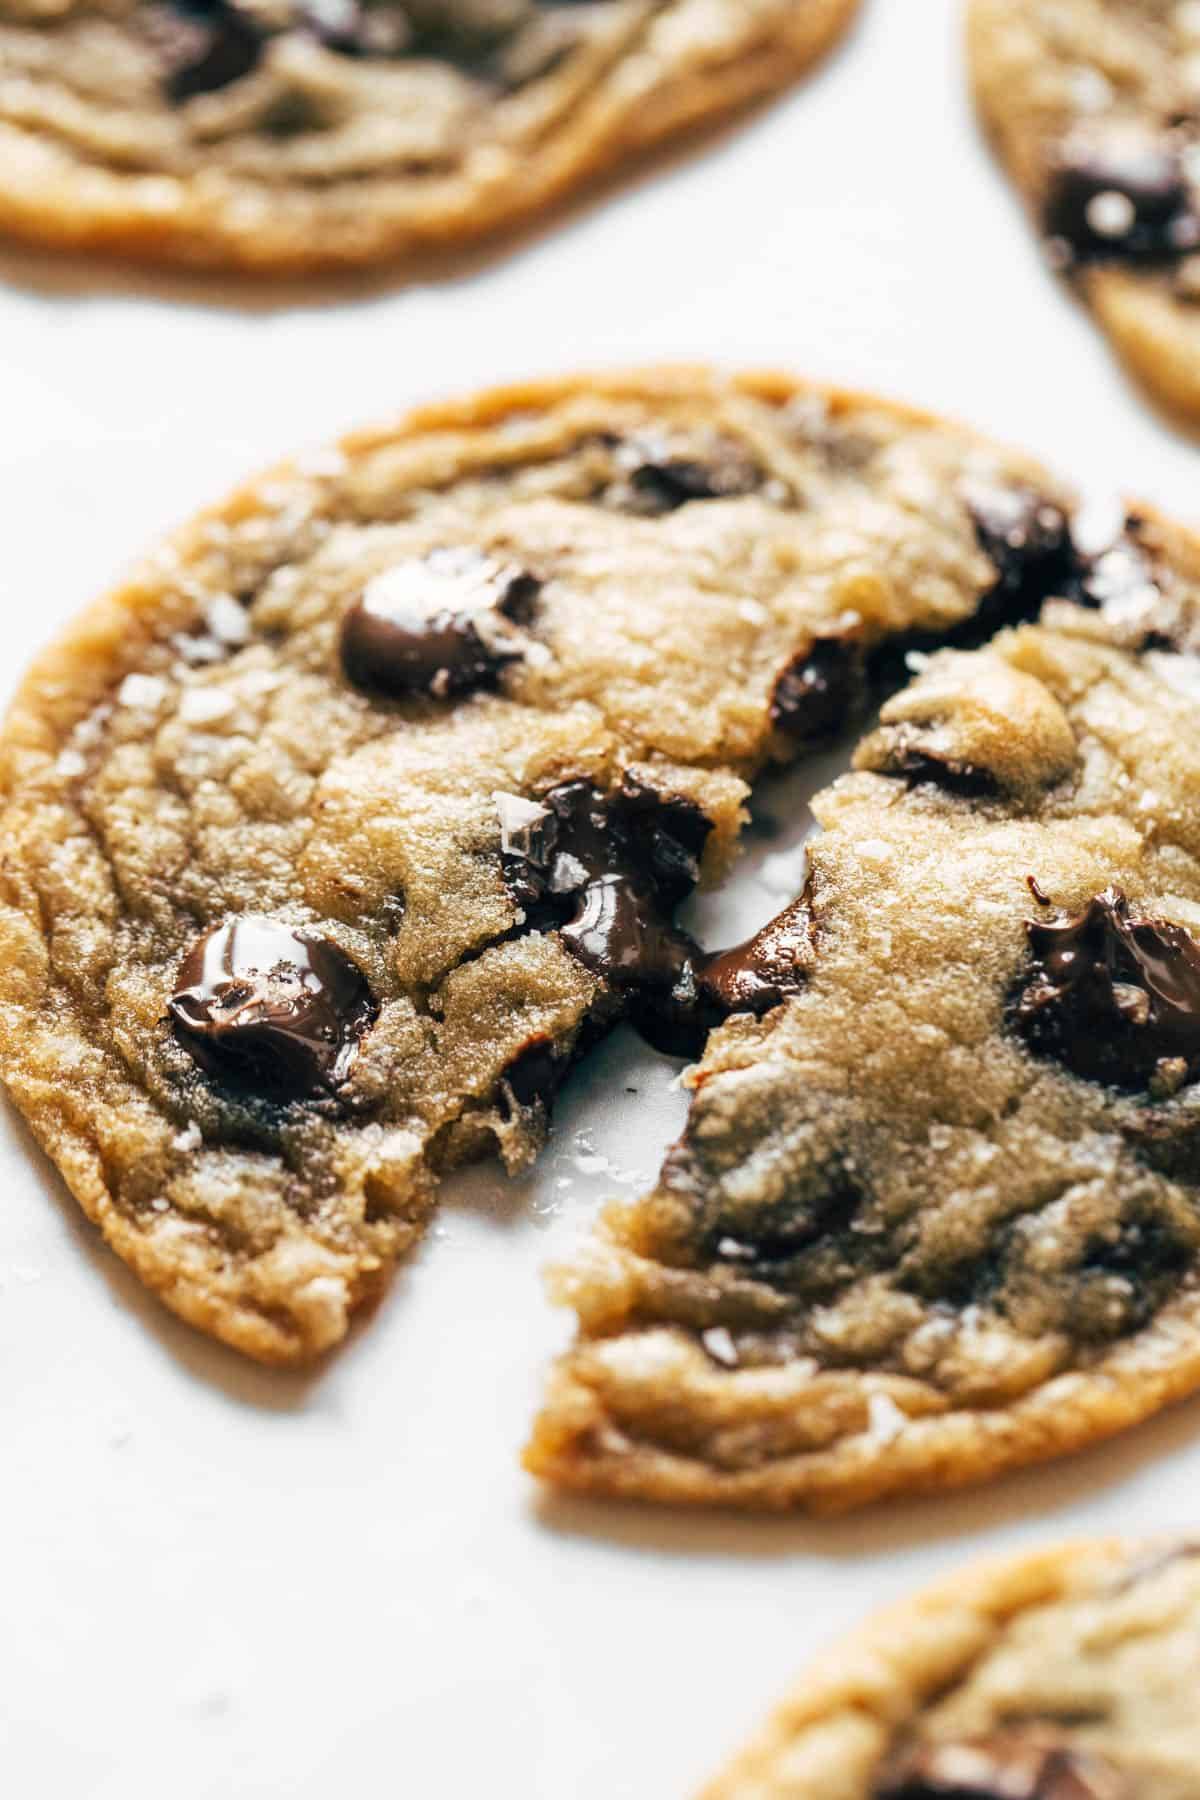
Browned butter and brown sugar caramelly goodness, crispy edges, barely thick and soft centers, melty little puddles of chocolate chips and sprinkles of just enough salt to cut the sweetness and make you feel like you could probably eat 5 of them.
My first favorite thing about these browned butter chocolate chip cookies is that they combine the best of both the thin-cookie and thick-cookie worlds with that satisfying little crunch around the edge AND underbaked centers that are thick enough to really sink your teeth into. Best. Of. Both. Worlds.
My second favorite thing about these cookies is that they also just shine, and I mean really shine, with rich, deep, caramelly flavor thanks to a whole lot of browned butter.
At this point in our internet’s recipe-rich history, I try to not add things just for the sake of adding them. Which is why, for a long time, I’ve just let our best soft chocolate chip cookies be our best, our only, our shining star of a chocolate chip cookie recipe.
You know I love those cookies. And I know you love those cookies.
So we have to both know it’s a big day when I’m willing to present a cookie recipe that is, I think, as good or even better for certain moments than our original favorite chocolate chip cookies.
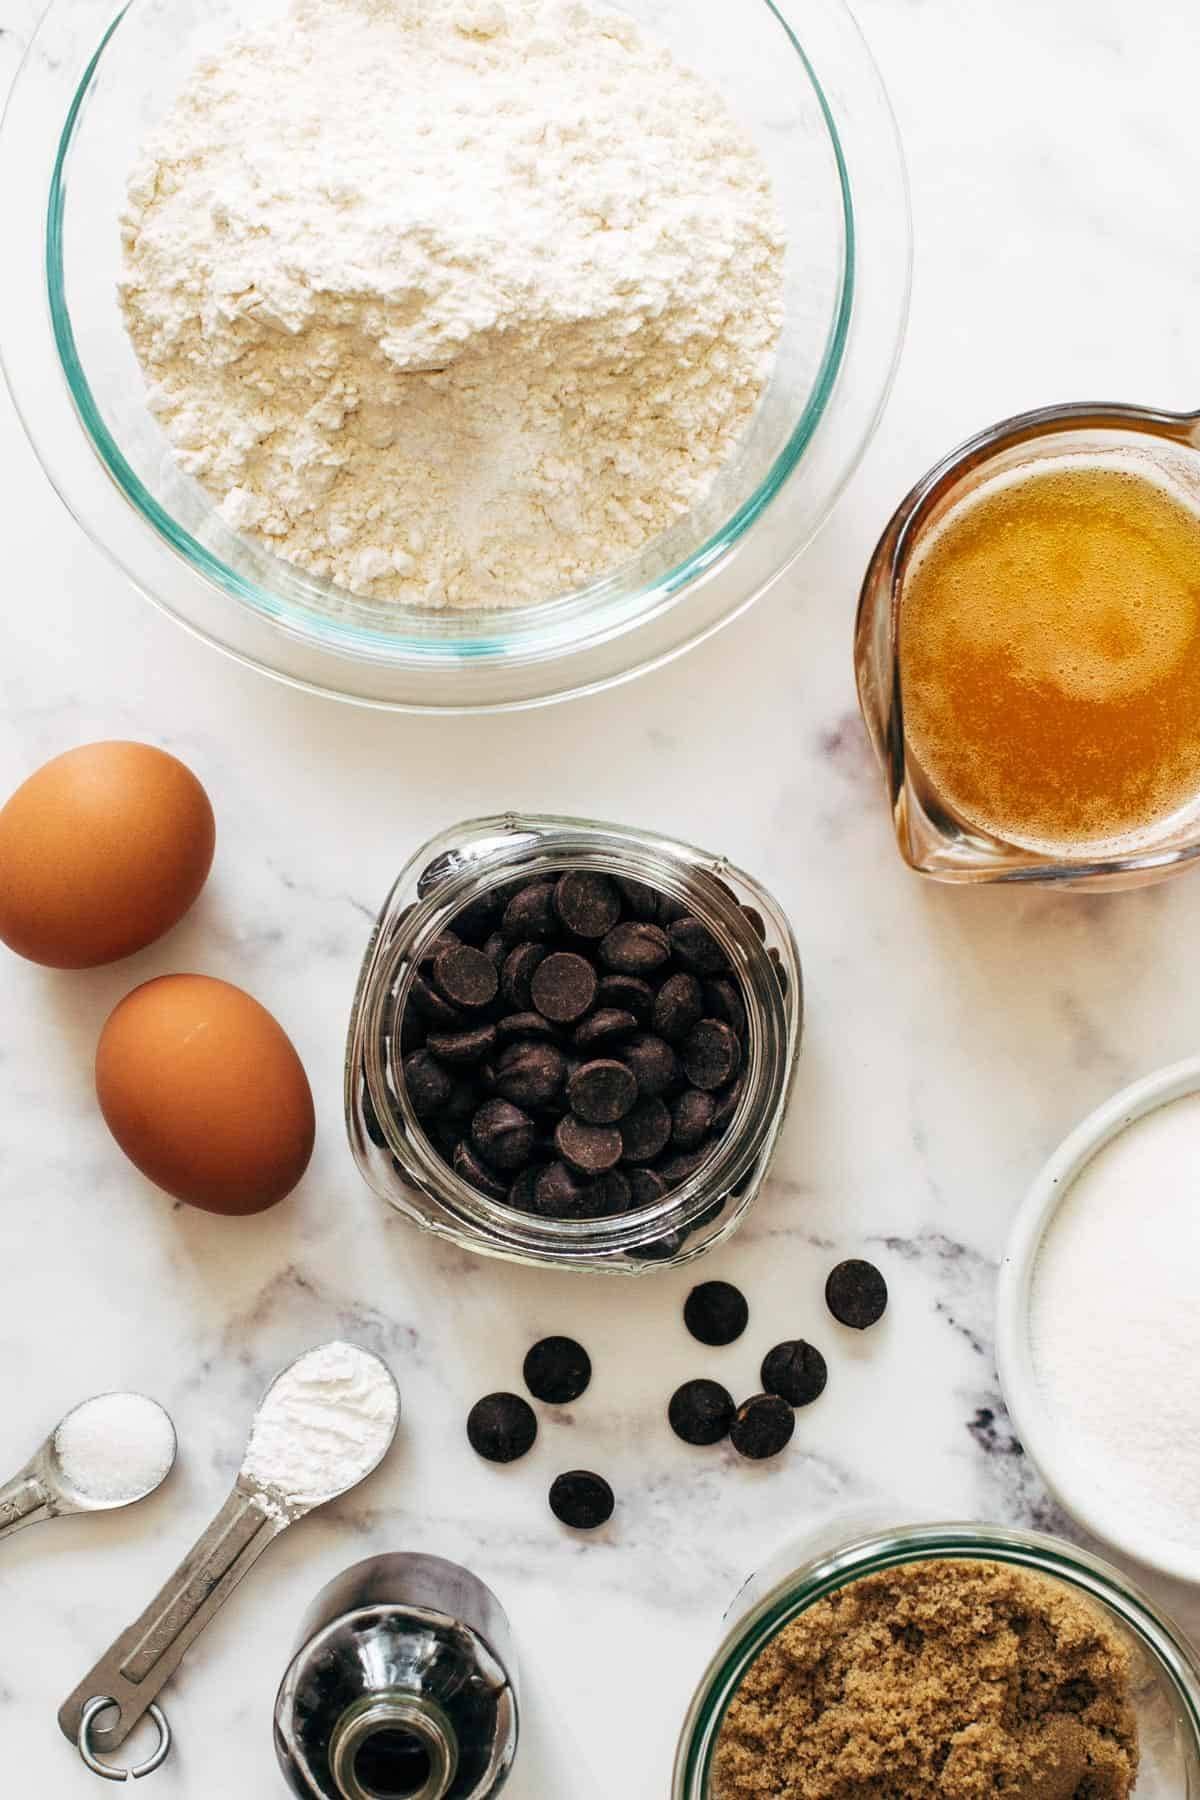
Ingredients For These Browned Butter Chocolate Chip Cookies
To make these beautiful, nutty, crispy-edged gems happen, you’ll have to gather up the usual chocolate chip cookie party guest list. It’s just going to be a slightly fancier party this time!
- unsalted butter
- white & brown sugars
- vanilla
- eggs
- flour, baking powder, salt
- chocolate chips or chocolate chunks
How To Make Browned Butter Chocolate Chip Cookies
As mentioned, these are a little more involved. They require some tending to butter, some chill times, some extra willpower to not eat ALL the dough before baking. But beyond that, truly not too overly complicated.
- Brown the butter. Cut the butter into small pieces for even melting. Swil in a pan over medium heat. It will get bubbly and then foamy – once the butter starts to turn golden brown (happens quickly!), remove from heat and transfer to a bowl to cool for a bit.
- Make the dough. You’ll get the cooled brown butter (make sure to scrape in all those golden brown bits!) and sugars going first. Then eggs and dry ingredients to that. Hold off on those chocolate chips!
- Let the dough rest! It will need to cool for a bit before you add the chocolate chips so they don’t melt. Once it’s fully cooled, add your choco chips and let the dough rest again to fully hydrate the flour and let htat browned butter work its flavor magic.
- Scoop and bake! You know the drill. Edges cooked, middle a little soft and puffy.
- (Okay, let rest one more time 😬). Don’t be mad. But it lets those middles sink and get super dense and barely thick and everything is perfectly chewy-crisp. What a dream.
Let’s Do a Cookie Breakdown
We have a lot of cookies on Pinch of Yum, but two of them (these brand new browned butter ones, and the original best soft chocolate chip cookies) are easily tied for being the best.
I feel it is my civic duty to give you a full breakdown cookie breakdown on each of these recipes and what makes each of them awesome in their own ways.
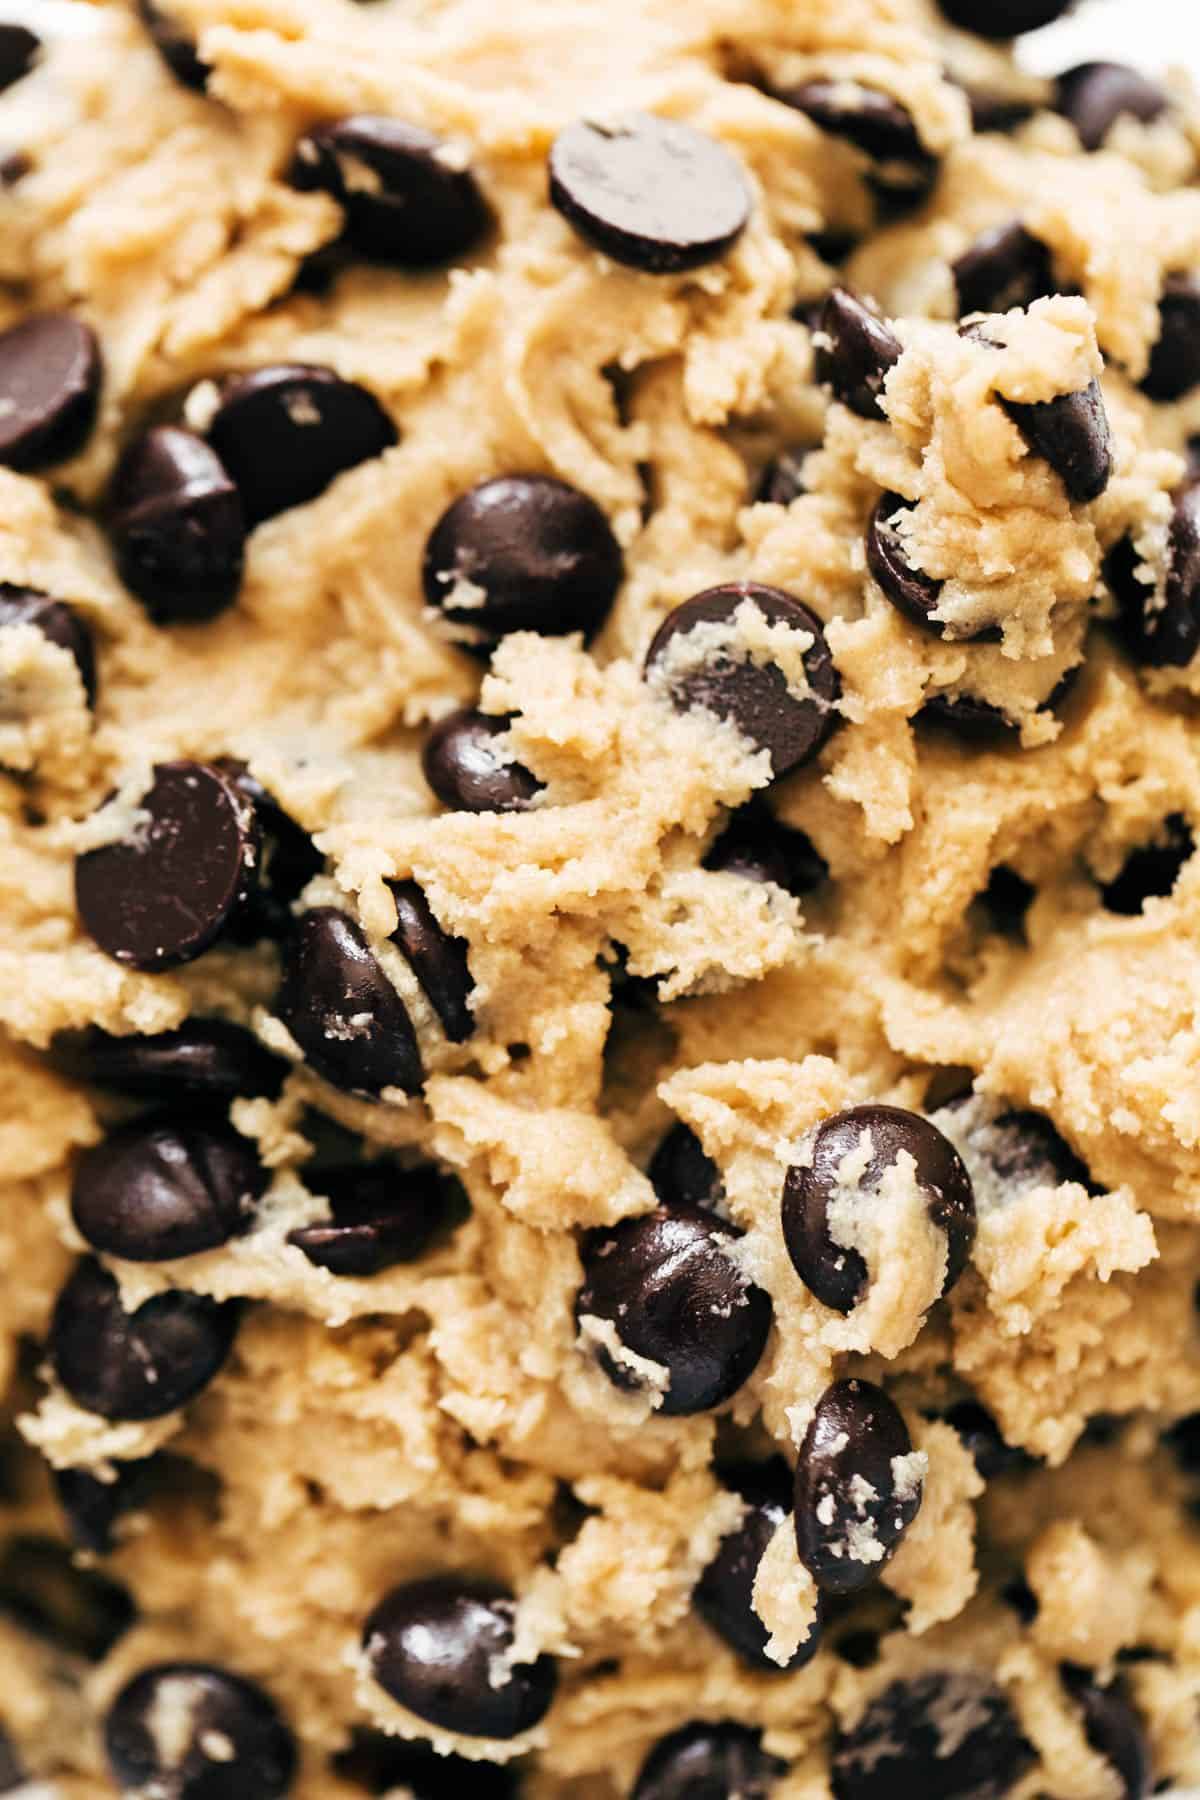
- Browned butter chocolate chip cookies (these ones you’re looking at now): These cookies are a work of art. They have complex, rich flavor. They have more of that crispy-meets-soft-and-yummy texture. They are grown-up and almost-fancy. There is more effort required. And the reward is that there is more nuance to both the flavor and the texture. Making them is not overly complicated but it’s also not mindless. These are the cookies for when you need to impress, even if the only person you’re impressing is yourself on a Wednesday night. I feel this is a good time to let you know that this particular cookie dough tastes amazing. AMAZING. Next level. It’s where the browned butter flavor comes through the most. I’m not recommending eating raw cookie dough, I’m just saying, alright?
- Best soft chocolate chip cookies (the original POY fave): These cookies are unfussy and uncomplicated. No fancy steps, no unusual ingredients, no chill time – just a small batch of chocolate chip cookies underbaked to soft, thick perfection. If I need a quick batch of cookies for friends coming over in an hour, these are the ones I’m making. They have less nuanced flavor than the browned butter cookies, and they’d be less likely to win a high-level baking contest, but depending on the moment, maybe that doesn’t matter. I made these recently and gave a few to our nanny and she texted me later that night to say they were the best cookies she’s ever had. Sometimes basic is best.
If I had to pick between the two… I wouldn’t!
I like them both at full 100% liking capacity, for different reasons. I like to have a cookie for each mood, know what I mean?
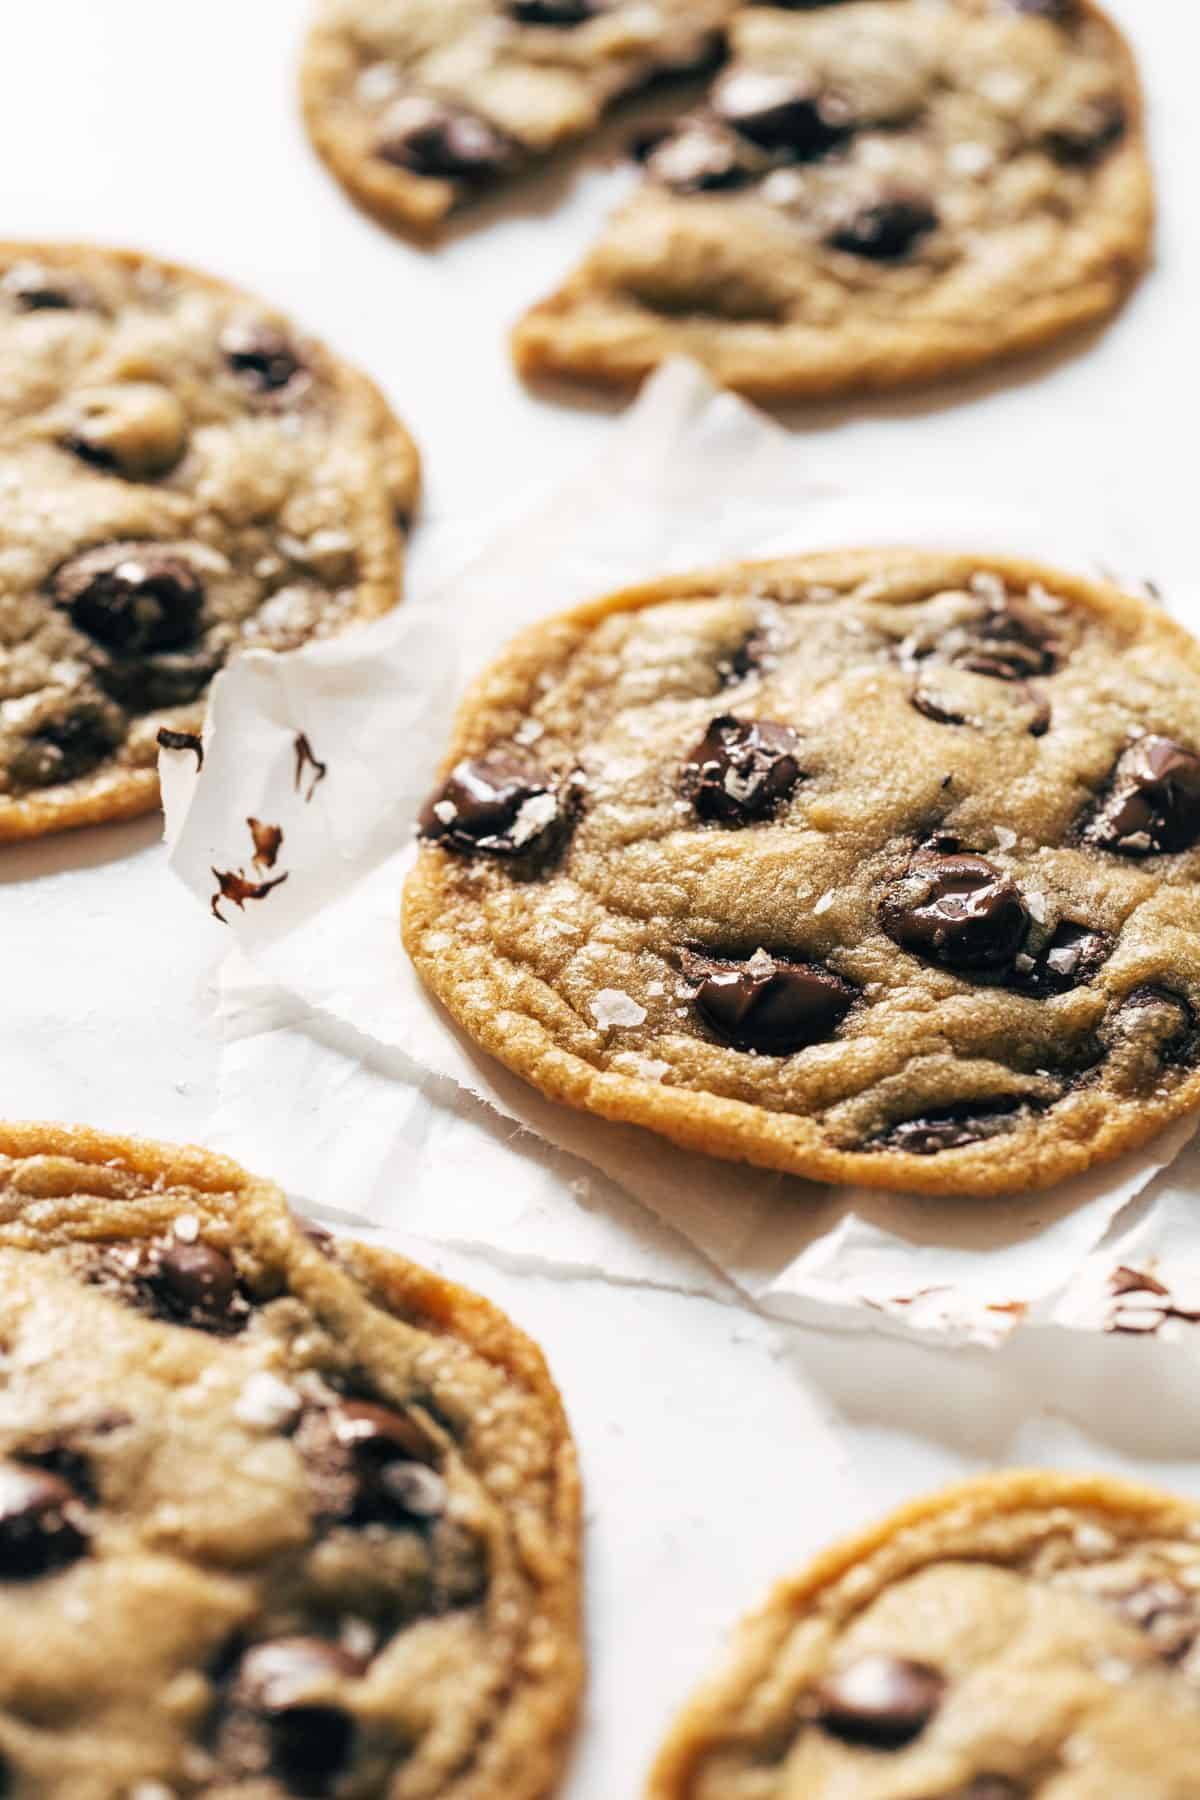
But since today is the day we’re sharing these browned butter beauties out into the world, today will be the day I say… make these ones.
The originals will still be there for you when you need them. Today is a day to go brown some butter and then experience the rush of sinking your teeth into that crispity edge with the underbaked, slightly thick, gooey, rich center. Treat. Your. Self.
Buttery, caramelly, salty, and chocolatey all in one.
You’re in for a real moment here.
Watch How To Make This Recipe:
Browned Butter Chocolate Chip Cookies: Frequently Asked Questions
This is because of the flour. It’s really important to get the right amount of flour here, which is why I’m going to recommend that you take the time to spoon your flour into your measuring cups and level them with a knife. That is not something I typically recommend because I don’t have the patience for it – but here, it really does matter! An over-floured cookie will be too thick and won’t get the crispy edge. Watch the video to see the consistency of the dough that we’re going for – I find that it’s easier to go by the feel than by exact measurements since there are so many variables that can affect how much flour you’ll need.
If you brown the butter for longer than 5 minutes, it’ll start to lose moisture which will affect your butter / flour ratios. I like to transfer my butter to a glass measuring cup after I brown it to make sure I still have very close to 1 cup of butter. If you have less, it’s fine, they’ll still turn out, you just want to scale back on the flour by 1-2 tablespoons if you lost a little of that moisture.
Yes! The browned butter will have flecks of brown in it – those are the browned milk solids and they hold all the yummy flavor, so be sure to really scrape your pan down so you get to use all of them!
This makes a very large batch of cookies! If you don’t need all of the cookies at once, here’s what I recommend: split the dough into thirds. One third of it should fit onto one large cookie sheet, so you can bake that immediately. Then store the other two thirds in their own containers and either refrigerate (up to 5 days) or freeze (up to three months) and you’ve got two more fresh batches sometime in the future! You can also freeze the rolled balls or the baked cookies, both with great results.
From a reader: Due to altitude, I typically add extra flour to get the correct thickness, so for this recipe, I anticipated needing to add about 3-4T extra flour. My browned butter measured about 2 tablespoons shy of 1 cup in liquid form, and I ended up needing to add almost 1/2 cup extra flour and refrigerated as instructed.
Source notes: I was first inspired to make this type of fancier chocolate chip cookie by the browned butter cookie recipe in Sarah Kieffer’s book 100 Cookies, which, by the way, is a super fun cookbook for people who love to bake! This was the tutorial I used for learning how to properly brown butter from America’s Test Kitchen, and I also read up quite extensively through the comments section of this Bon Appetit recipe for tips from people who love making cookies with brown butter!
Print
Favorite Browned Butter Chocolate Chip Cookies
 Total Time: 1 hour 5 minutes
 Yield: 25-30 cookies
 Print Recipe
 Pin Recipe
Description
Favorite Browned Butter Chocolate Chip Cookies! Browned butter and brown sugar caramelly goodness, crispy edges, barely thick and soft centers, and melty little puddles of chocolate chips.
Ingredients
- 1 cup unsalted butter (2 sticks)
- 1 cup white sugar
- 1 cup brown sugar
- 1 tablespoon vanilla
- 2 eggs
- 2 1/2 cups + 2 tablespoons flour (see notes! if you like a thicker cookie, use 2 3/4 cup flour)
- 1 teaspoon baking soda
- 1 teaspoon baking powder
- 1/2 teaspoon salt
- 1 1/2 cups chocolate chips or chocolate chunks
Instructions
- Brown the butter: Cut the butter into small pieces for even melting. Melt the butter in a wide stainless steel skillet over medium heat. Swirl the pan a few times as the butter melts. It will get bubbly and then foamy – use a heat-proof spatula to scrape the butter across the bottom of the pan to prevent burning. You’ll see the butter start to turn golden brown very quickly, and you’ll be able to smell it (yum). When it is a nice golden brown color, remove from heat and transfer to a cool bowl or glass measuring cup, being careful not to burn it. The whole process should take about 5 minutes. Let the butter cool for another 5-10 minutes while you measure and prep everything else.
- Add the butter, sugars, and vanilla to the bowl of an electric mixture. Beat on medium high speed for 2-3 minutes.
- Add the eggs and beat for 1-2 minutes until shiny and smooth.
- Add the flour, baking soda, baking powder, and salt. Mix until just combined into a dense, shiny dough. Let the dough cool for 15-20 minutes (if you add the chocolate chips now, they will melt).
- Mix in the chocolate chips or chunks (sometimes it helps to do this by hand). Let the dough rest for another 20-30 minutes. This helps hydrate the flour and carry the browned butter flavor farther in the cookies.
- Preheat the oven to 350 degrees. Roll or scoop your cookie dough into 3-tablespoon balls onto a baking sheet. Bake for 9 minutes, until the edges look cooked but the middles are still slightly soft and puffy.
- Remove from the oven and let the cookies rest for 15-20 minutes. I KNOW I KNOW I KNOW this is very hard. But as they rest, the middles are going to sink down and kind of densify the middle, so you get that crispy exterior with the barely-thick, underbaked center.
Equipment
 Buy Now →
 Buy Now →
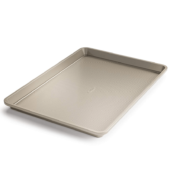 Buy Now →
- Prep Time: 50 minutes
- Cook Time: 15 minutes
 Category: Dessert
 Method: Bake
 Cuisine: American
Keywords: chocolate chip cookies, browned butter cookies, browned butter chocolate chip cookies, easy cookie recipe

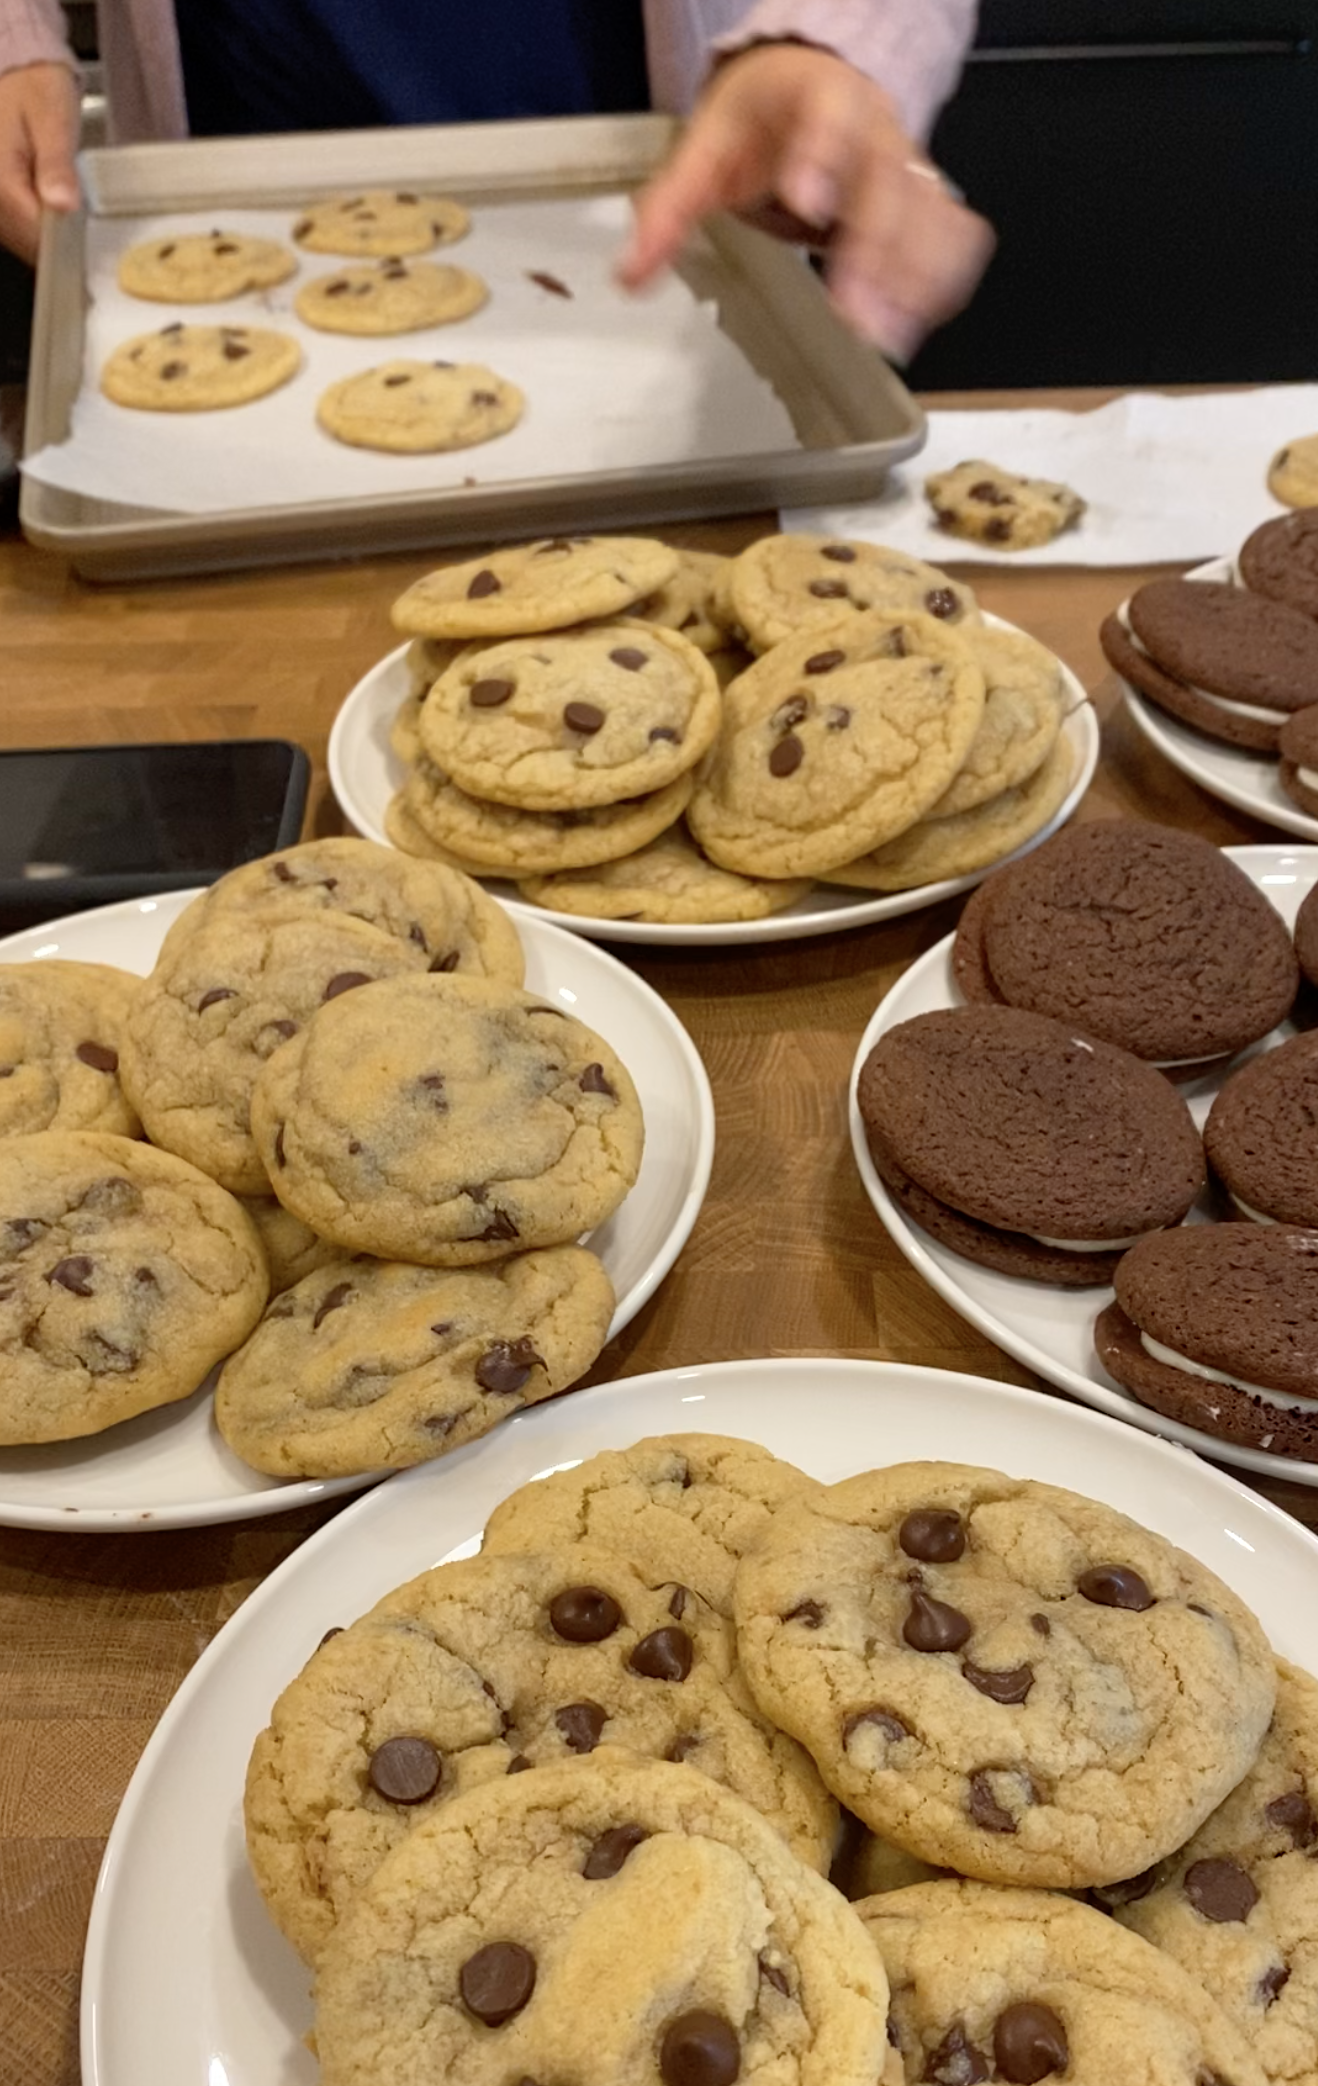
We tested these cookies many times to figure out what worked and didn’t work to get them turning out just right! (Oh, the sacrifice! Ha!) Leave us a comment and let us know if there’s a question we can answer!
More Desserts We Love
- Cafe Latte Turtle Cake for Two (intended for two, but could also be for one? why not!)
- Raw Salted Chocolate Snack Bars (we always have a batch of these on hand for snack emergencies)
- Almond Butter Cups (refined sugar free and soooooo good!)
The post Favorite Browned Butter Chocolate Chip Cookies appeared first on Pinch of Yum.
from Pinch of Yum https://ift.tt/LFaH9Yb