Video To Make These Cupcakes
The Carrot Cake Cupcakes That Won My Heart

OOH BABY these are so good! My husband’s favorite dessert is carrot cake, so the bar is high for us to have a really solid house-favorite carrot cake cupcake recipe.
(I’m also very attached to this carrot cake coffee cake, which is a bit more brunchy, so we now have options.)
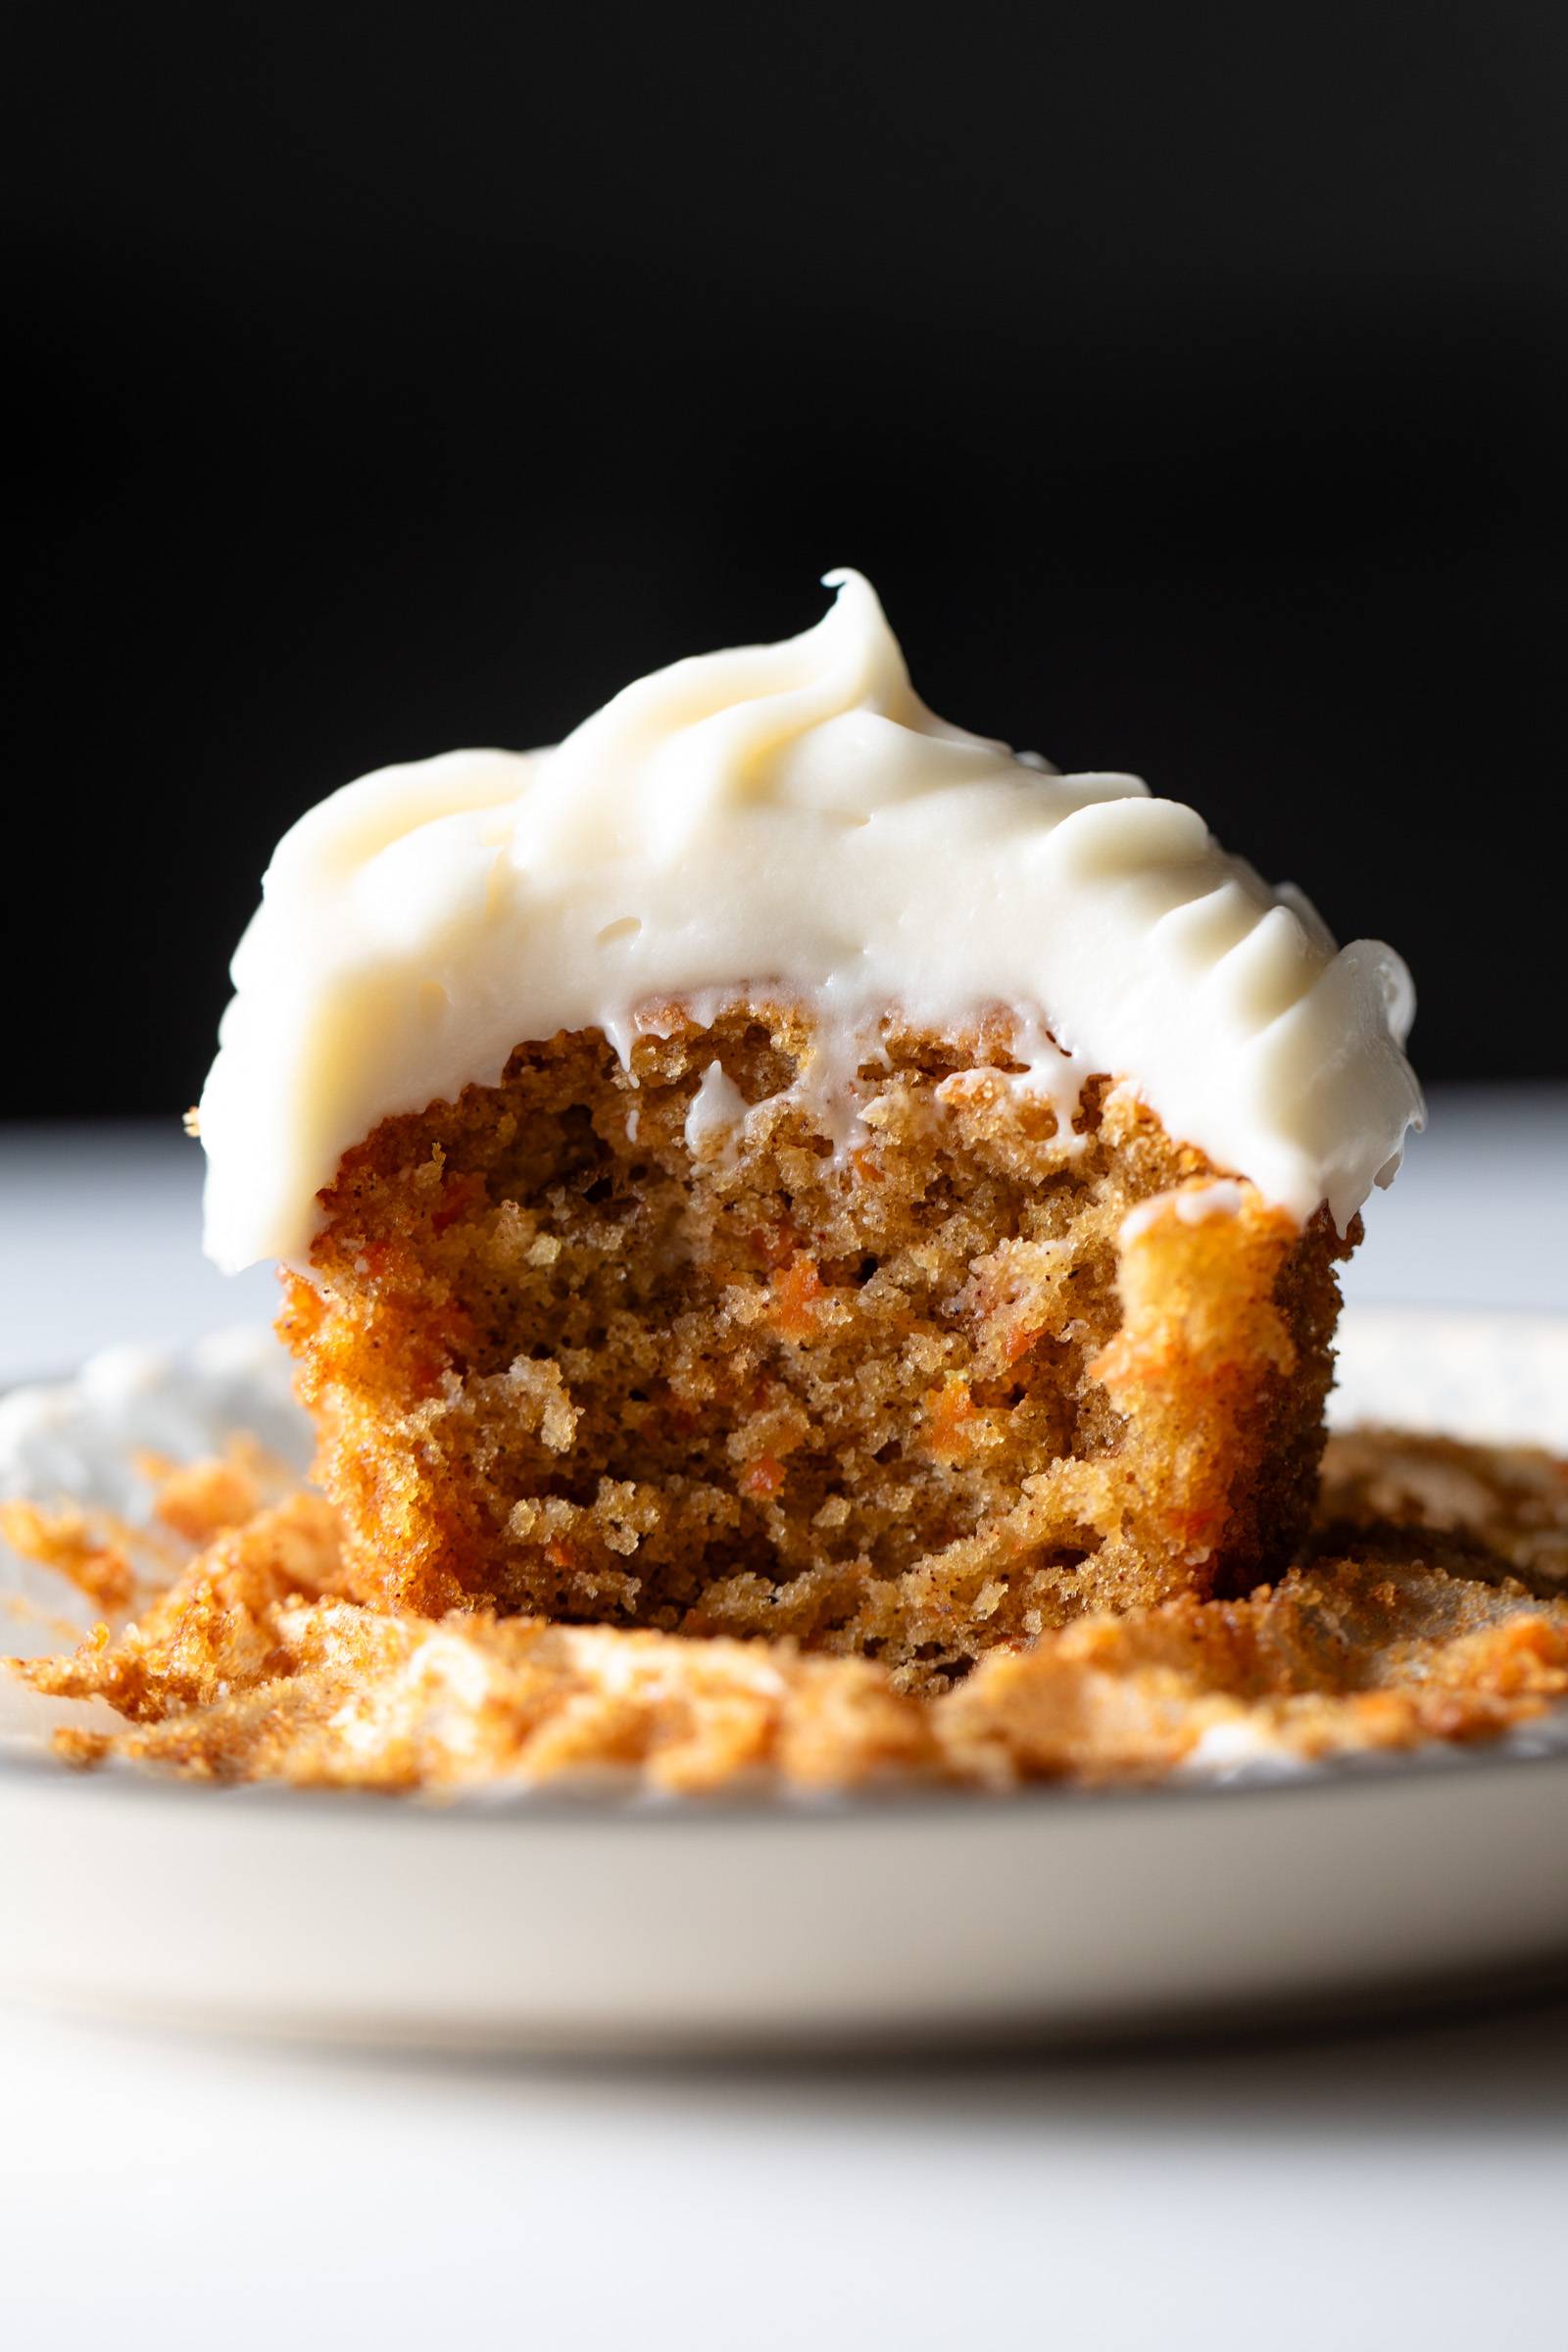
They are fluffy and plush with a nice little domed top, but they are also dense and buttery-ish enough to feel like a proper carrot cake!
I am not much of a decorator, but my sister made these little cute carrot toppers a few years ago and I’ve been thinking about them ever since – they will get you some ooh’s and ahh’s at Easter brunch. (Instructions for making them is in the notes section of the recipe.)

Moist, tender, not overly cluttered, and crowned with cream cheese frosting. It’s a thing of beauty. Hope you love them!


The Best Carrot Cake Cupcakes with Cream Cheese Frosting
 Total Time: 40 minutes
 Yield: 12 cupcakes
Description
Carrot Cake Cupcakes with Cream Cheese Frosting! Plush and springy, but also dense and moist, with a generous layer of cream cheese frosting all over top.
Ingredients
Carrot Cake Cupcakes
- 3/4 cup canola oil
- 1 cup packed brown sugar (190 grams)
- 1 1/2 teaspoons vanilla
- 2 eggs
- 2 medium carrots, peeled, grated, and chopped (180 grams – about 1 1/2 cups)
- 1 cup + 2 tablespoons flour (160 grams)
- 1 teaspoon baking powder
- 1/2 teaspoon baking soda
- 1 1/4 teaspoon ground cinnamon
- 1/4 teaspoon ground ginger (optional)
- 3/4 teaspoon salt (I use table salt)
Cream Cheese Frosting
- 5 ounces cream cheese
- 5 tablespoons butter (I prefer salted butter)
- 2 1/4 cups powdered sugar (plus additional as needed)
- 1 teaspoon vanilla extract
Instructions
- Prep: Preheat the oven to 350 degrees. Grease a muffin tin with nonstick spray. (I like these without paper liners – they get a perfect ridged edge and nice little domed top, plus a chewier edge!)
- Carrots: Grate the carrots, and then roughly chop them into smaller, papery bits. You can also do this in the food processor, but when compared side by side I liked the grated and chopped version better.

- Cupcake Batter: Whisk the oil, brown sugar, eggs, and vanilla together until combined. Fold in the carrots. Mix in the dry ingredients until just combined.

- Bake: Fill each muffin tin about two thirds of the way full with batter. Bake for 16-17 minutes. Gently press on the centers – if they spring back, they’re done. If not, give them another 2-3 minutes. (Using paper liners will require closer to 19 minutes.)

- Cream Cheese Frosting: Using an electric mixer, beat the softened butter and cream cheese together until smooth. Add the powdered sugar and vanilla; mix until smooth and delicious.

- Frost and Enjoy: Pipe the frosting on top of the cooled cupcakes; serve immediately or store in the fridge. (They’re also great a day later!)

Notes
What Type Of Oil: We tested this with avocado oil, vegetable oil, canola oil, and coconut oil. (!!) I loved the coconut oil – it gave a supremely delicious, buttery texture when warm, but they became firm and dry as they cooled. Since I’m guessing most of us would be making these ahead of time to take to a gathering, I wanted these to be baked with an oil that would stay soft and moist even when cooled. With that in mind, canola oil is a good choice because it stays soft and moist for several days.
Carrot Amounts: You can get a lot of variation with carrot sizes! I made this many times, and I highly recommend weighing the carrots if you can – I use this scale (super easy to use). I weigh them after I peel them and cut tops off, so I know exactly how much carrot (and flour, and sugar) I’m adding to the recipe.
Making Carrot Toppers: Optional, but my sister did this years ago (idea from Sally’s Baking Addiction) and it’s the cutest. Here’s my method for it: melt 3 squares of almond bark in the microwave for 90 seconds, checking it at 30 second increments. (Almond bark is much easier to use than white chocolate, in my experience.) Divide it between two bowls and use gel food coloring to make a light orange (a few drops of red + a few drops of yellow) and a green. Transfer the orange to a baggie, snip the corner, and pipe out small triangle-shaped squiggles onto parchment or wax paper. Then, do the same for green. I placed a small green dot at the top of the carrot and using a toothpick to fan it out into a 3-pronged carrot top. They’ll cool in about 20 minutes and be ready to pop onto your cupcakes!
Sweetness of the Frosting: If you find the cream cheese frosting to be too sweet for your liking, you can make some whipped cream and fold it into the cream cheese frosting to make it more fluffy and butter rather than more sweet. Great idea from a commenter recently!
Liners vs. no liners: I prefer to bake these without paper liners – they get a nice little crispy ridge, and the contrast of the chewy, slightly caramelized exterior is the perfect contrast with the fluffy insides! Like so! 
- Prep Time: 25 minutes
- Cook Time: 15 minutes
 Category: Dessert
 Method: Bake
 Cuisine: American
Keywords: carrot cake cupcakes, cream cheese frosting, carrot cake
Frequently Asked Questions For This Recipe
Sure can! Just mix them into the batter at the end before baking.
Baking directly in the muffin tin without the liners is my favorite way to bake these! They bake up perfectly, they get a nice edge that contrasts the rest of the muffin, and they should look very beautiful without the paper! Downsides of paper liners: they take longer to bake, and these are very moist muffins, so if you’re making them a day ahead, the oil may saturate the paper liners.
Love that idea! Just reduce the bake time to 10 minutes and check on them from there.
The carrot cake cupcakes, as written, are dairy free. For the frosting – I’ve never tried it, but I would imagine using dairy-free butter and vegan cream cheese would work for the frosting (like this recipe).
I prefer a neutral-tasting oil for this, so canola oil or vegetable oil. I also loved coconut oil in these, but they didn’t stay as soft once they cooled. (See the notes of the recipe for my full comments on our experiences testing other oils!)
More Spring Baking Recipes I Love


The post The Best Carrot Cake Cupcakes with Cream Cheese Frosting appeared first on Pinch of Yum.
from Pinch of Yum https://ift.tt/Jw9xC6Q