Monday, March 9, 2020

Three Cheese Baked Ziti

You know how sometimes baked ziti is good, and sometimes it’s REALLY good?

Today I’d like to introduce you to a REALLY GOOD BAKED ZITI.

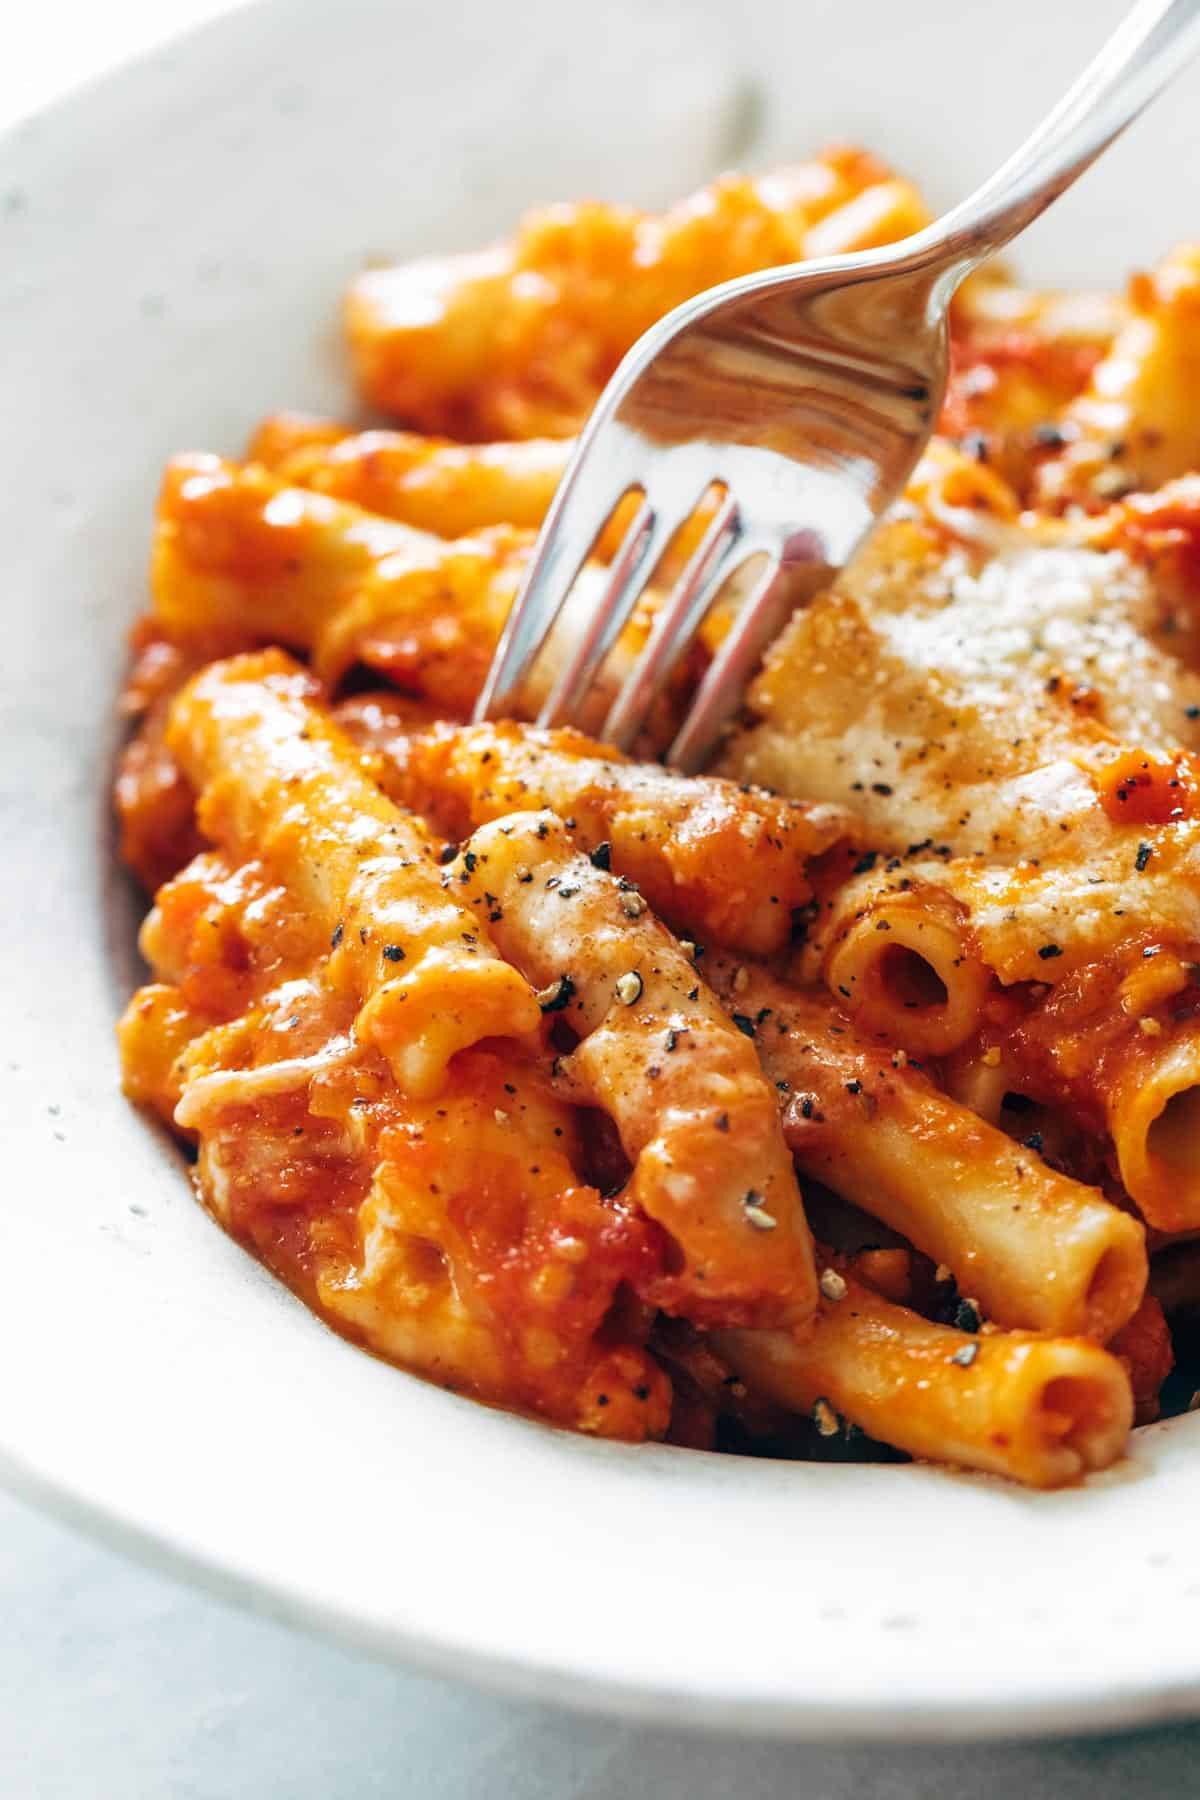
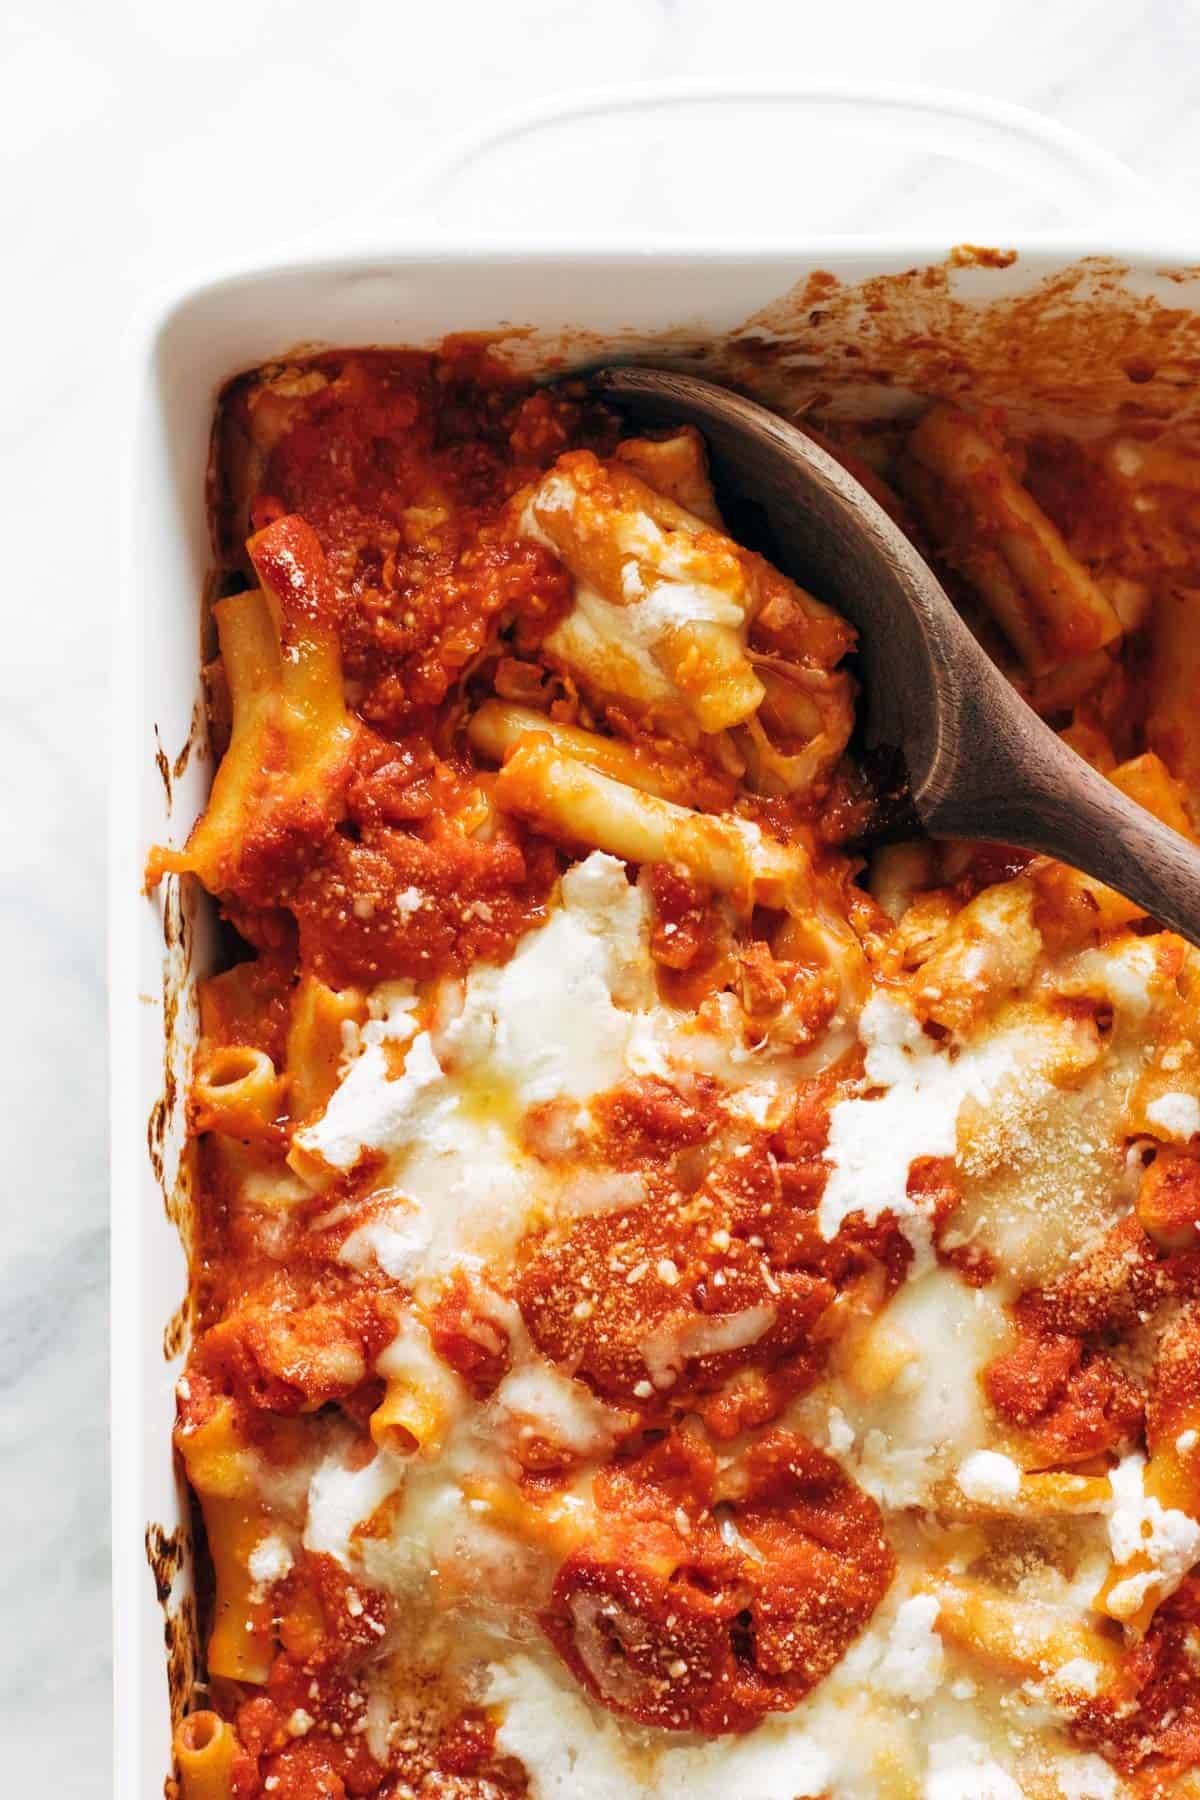
This recipe has been tested and tweaked and loved and devoured many times over to get it just right. And I think we landed it. It’s minimal. It’s bubbly and browned, extra creamy, extra saucy, with just the right flavors and textures to make the whole thing into a baked pasta masterpiece.

It is simplicity at its finest: just chewy noodles, a deeply flavored tomato sauce, the right blend of melted cheese, and a creaminess that cuts the tang of tomato sauce as it oozes into every bite.
Does Baked Ziti Have Meat?

It depends.

Some recipes call for ground meat in the tomato sauce, and you can certainly add that here if you want. However, I wanted this to be a mostly-meatless baked ziti, so I skipped the ground meat.

We do have some pancetta in the sauce to give it a little extra flavor, but that could easily be omitted to make this a vegetarian baked ziti.

What About Ricotta Cheese?

Traditionally, yes.

In this recipe, no.

Many people (including myself) find that ricotta cheese that you buy from the store gets a little dry, crumbly, and – I’m sorry to say – gritty, once it gets baked in the oven in between all those pasta layers.

In all my testing and research of the best baked ziti recipes out there, I found that most recipes use one of three options for that middle creamy-cheesy layer.

  • Ricotta cheese (this is traditional, but it often gets dry)
  • Bechamel sauce (gets you the creaminess, but requires you to make yet another sauce)
  • Mascarpone cheese (super creamy, minimal effort)

I used mascarpone cheese as the middle creamy-cheesy layer in this baked ziti recipe because the texture is most luscious and creamy. And bonus – it’s extremely easy. I add some flavor to mine by salting it and grating a clove of fresh garlic in with it, and ooooooh yes. It is so good.

This is critical for getting the best possible creamy texture in between those cheese and noodle crevices, so don’t skip it!

What to Serve with Baked Ziti

Um, so glad you asked.

This can totally stand on it’s own as a meal and that’s how I roll for real-life dinners at home. But if you’re looking for to round this out into a more multi-dimensional meal or impress friends with a full blown dinner party spread, you could try:

Whether you finish this off with some cracked black pepper, fresh basil ribbons, or a swish of garlic oil, this melted cheesy, tomato sauce-y, perfectly creamy baked ziti heaven awaits you.

Three Cheese Baked Ziti


  • Author: Lindsay
  • Prep Time: 30 minutes
  • Cook Time: 1 hour
  • Total Time: 1 hour 30 minutes
  • Yield: 8 servings

Description

Three Cheese Baked Ziti that is bubbly and browned, extra creamy, extra saucy, and incredibly easy with NO RICOTTA! A baked pasta masterpiece.


Ingredients

The Sauce

  • 2 tablespoons olive oil
  • 1 ounce pancetta, finely chopped (optional)
  • 1 large onion, finely chopped
  • 4 garlic cloves, minced
  • ½ teaspoon crushed red pepper flakes
  • 2 tablespoons tomato paste
  • 1 28-oz. can tomato sauce
  • 1 14-oz. can crushed tomatoes
  • 1 teaspoon salt (more to taste)

The Baked Ziti

  • 1 pound ziti
  • 8 ounces mascarpone cheese
  • 1 clove garlic, grated
  • pinch of salt
  • 8 ounces fresh mozzarella cheese, shredded
  • 8 ounces provolone cheese, shredded

Instructions

  1. Sauce: Heat olive oil in a large pot over medium high heat. Add pancetta and sauté until slightly crisped, about 5 minutes. Add onion and garlic; turn heat down and sauté for 5 minutes. Add red pepper flakes and tomato paste; sauté for 2 minutes. Add tomato sauce, crushed tomatoes, and salt. Simmer for 20-30 minutes.
  2. Ziti: Cook ziti according to package directions. Toss with about two thirds of the pasta sauce. Reserve remaining 2-or-so cups of sauce.
  3. Mascarpone: Mix mascarpone with grated garlic and a pinch of salt.
  4. Layering: Preheat oven to 400 degrees. Transfer half of the pasta to a 9×13 baking dish. Spoon the mascarpone over the top in little blobs. Cover with half of the mozzarella and half of the provolone. Cover with about a cup of sauce. Transfer the rest of the saucy ziti on top of your cheese layer. Finish with remaining mozzarella, provolone, and spoon the remaining sauce around on top for prettiness.
  5. Bake: Bake for 20 minutes until warm, delicious, molten-cheesy, and bubbly. Top with some parmesan, fresh basil, or freshly cracked black pepper to be a baked ziti superstar.

  • Category: Dinner
  • Method: Bake
  • Cuisine: Italian

Keywords: baked ziti, three cheese baked ziti, baked pasta, baked spaghetti

Recipe Card powered by

The post Three Cheese Baked Ziti appeared first on Pinch of Yum.


from Pinch of Yum https://ift.tt/2xhVze9

Monday, March 2, 2020

Instant Pot Buffalo Chicken Tacos

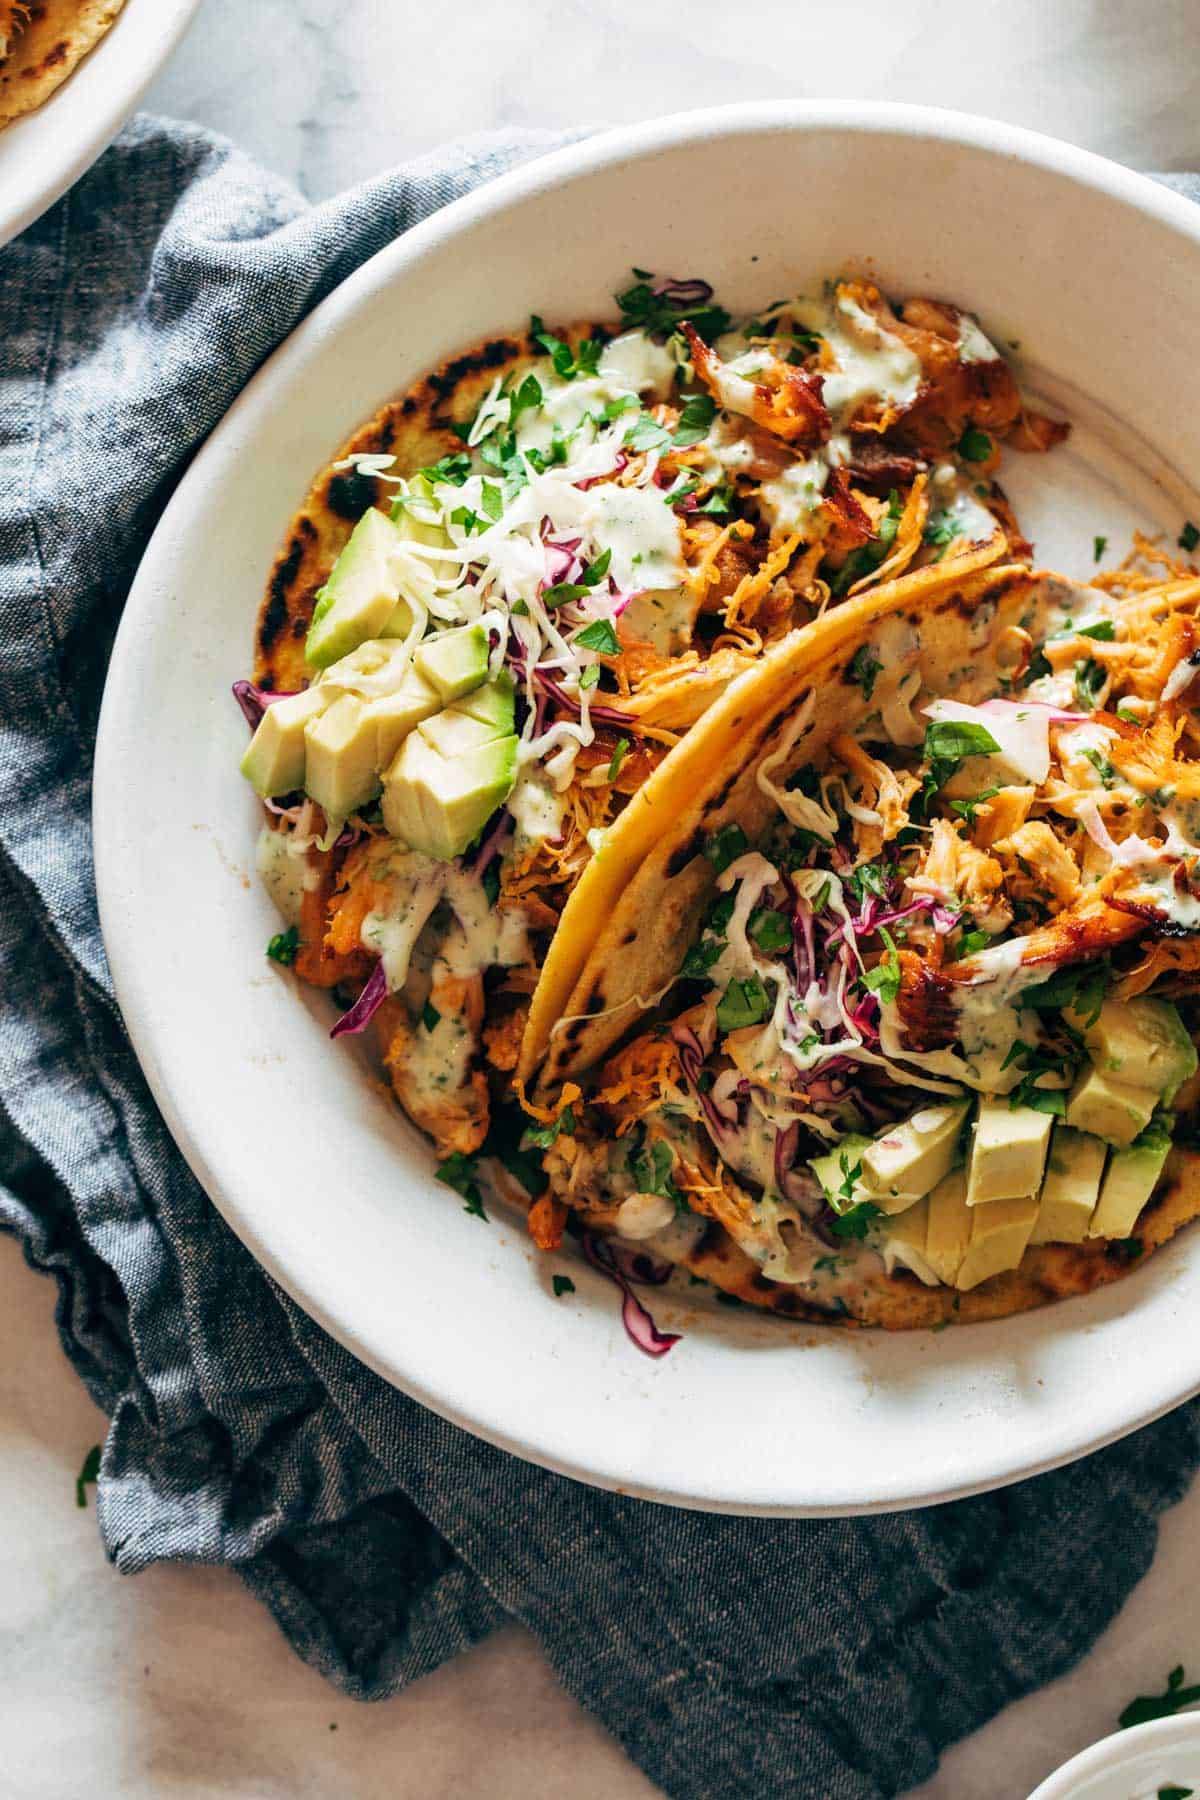
Buffalo chicken tacos on a plate with avocado and slaw.

Hey friends, it’s me! Still cooking, still blogging, STILL TRYING TO FIGURE OUT WHAT TO HAVE FOR DINNER.

9 out of 10 times this month, these Buffalo Chicken Tacos have been my answer.

Gang’s all there: buffalo tangy, salty browned bits of broiled chicken covered with a limey fresh slaw and a smothering of homemade ranch, all tucked into a pan-charred tortilla, and suddenly it’s Tuesday night and my mouth is having a total rave.

It’s all the good things we like in a weeknight wonder:

  • Mindlessly easy.
  • Fast.
  • Healthyish.
  • Flavortown USA.
  • Filling.
  • But not like, heavy-filling. More like, fresh-filling.
  • Saucy, crispy, crunchy, TEXTURAL HEAVEN.

These Buffalo Chicken Tacos are the cousin to the Buffalo Cauliflower Tacos and the Hawaiian Chicken Tacos, both of which are also delicious.

A few things to know.

About the Chicken

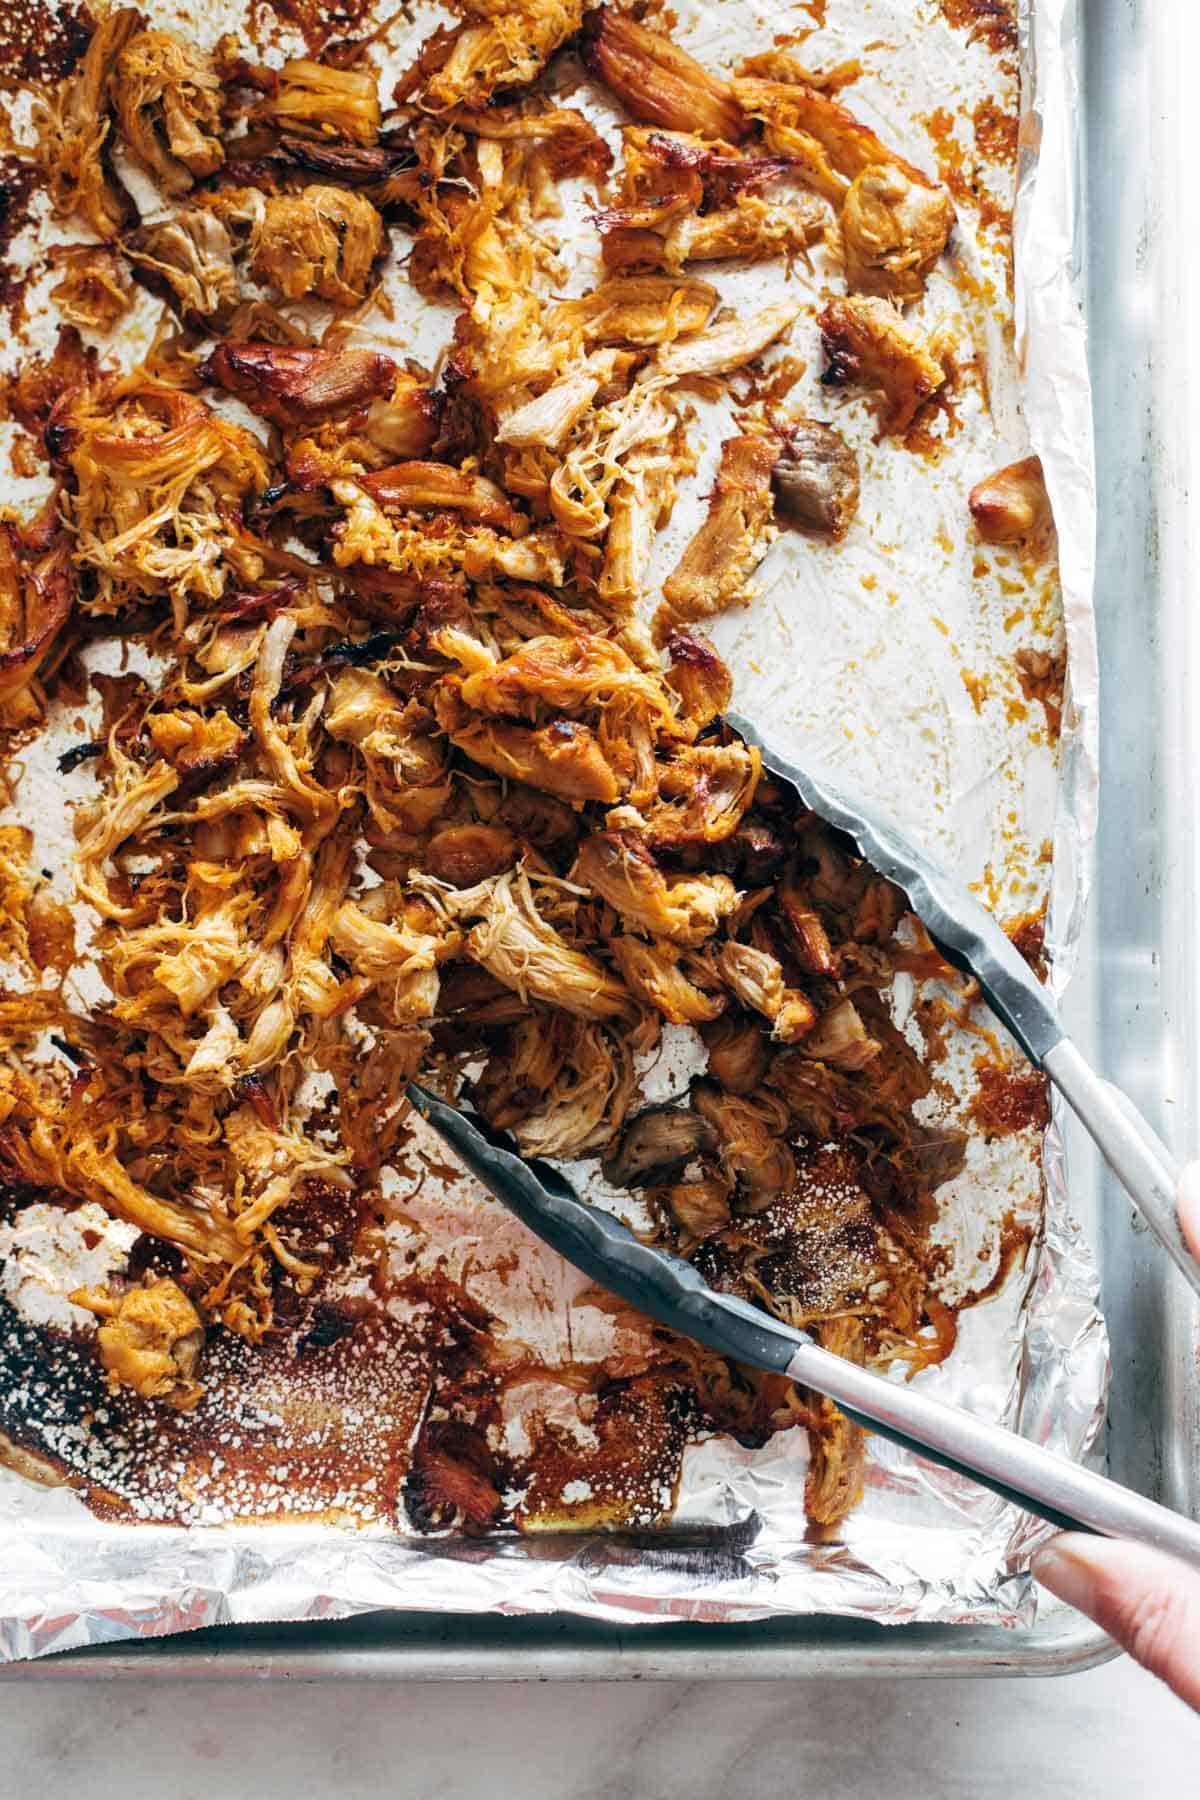
PLEASE use boneless skinless chicken thighs even if you think you don’t like chicken thighs. We’re going to cook them in buffalo sauce, gently pull apart with two forks, and broil them until they resemble straight-up carnitas level yumminess.

Crispy buffalo chicken on a sheet pan.

If you use chicken breasts, they won’t roast up the same way. Chicken thighs roast into crispy bits AND stay nice and juicy because there’s more fat in them. It’s so good.

About the Slaw

Very flexible. Just shred some cabbage or really just other crispy veggies and toss with some salt and lime. Mwah.

About the Ranch

You guys, I am very pro-shortcuts and I only say this when I really think it matters, so here I go: please do not use store-bought ranch for this. This homemade ranch is so saucy and creamy and fresh in a way that just makes the whole thing sing and I would be sad for you to miss out on the crowning glory of this taco.

Hand grabbing buffalo chicken taco on a plate.

If anything can make me rethink my attitude about weeknight cooking, it’s these tangy, crunchy, fresh buffalo chicken tacos loaded with crispy bits of broiled chicken and showered with a drizzle of homemade ranch. Like, can we just have these every night?

You know what to do.

Instant Pot Buffalo Chicken Tacos


  • Author: Lindsay
  • Prep Time: 10 minutes
  • Cook Time: 30 minutes
  • Total Time: 40 minutes
  • Yield: 2-4 servings, depending on hunger level

Ingredients

Buffalo Chicken:

  • 1.25 lb boneless skinless chicken thighs
  • 1/2 teaspoon onion powder
  • salt and pepper
  • 1/4 cup buffalo sauce

Ranch:

  • 1/2 cup mayonnaise
  • 1/4 cup olive oil
  • 1/4 cup water
  • 1 tablespoon white vinegar
  • 1 clove garlic
  • 1 teaspoon dried dill (or about 1/4 cup fresh)
  • 1/4 cup fresh parsley
  • 1/2 teaspoon onion powder
  • 1/2 teaspoon salt
  • black pepper to taste

Tacos:

  • tortillas
  • shredded cabbage
  • cilantro
  • avocado
  • limes

Video

Instructions

  1. Place chicken, seasonings, and buffalo sauce in the Instant Pot. Cook on high pressure for 15 minutes. Allow for natural pressure release for 5-10 minutes. When chicken is done, shred with two forks.
  2. While chicken cooks, make the ranch. Combine everything in a food processor and pulse until smooth.
  3. Transfer shredded chicken and sauce to a baking sheet. Broil for 10-15 minutes until browned and crispy.
  4. Assemble tacos: buffalo chicken, mashed avocado, shredded cabbage, lime squeeze, cheese of choice, and ranch all in a nice fluffy tortilla. 

Notes

Kid-Friendly Adaptation: Cook the chicken in broth instead of buffalo sauce. Shred and drain off excess liquid. Put some of the chicken aside for the kiddos (plain, no sauce) and toss the remaining chicken with the buffalo sauce before you broil it. 

  • Category: Dinner
  • Method: Instant Pot
  • Cuisine: American

Keywords: buffalo chicken, instant pot buffalo chicken, chicken tacos, buffalo chicken tacos, weeknight dinner

Recipe Card powered by

The post Instant Pot Buffalo Chicken Tacos appeared first on Pinch of Yum.


from Pinch of Yum https://ift.tt/32IAyoL

Thursday, February 27, 2020

Vegetarian Chili

Chili chili chili, can’t you see? Sometimes your ways just hypnotize me and even when you’re made without meat?!

Yes, that’s right. I’d like to introduce to you a really good, really “meaty” and satisfying vegetarian chili that, in fact, does not have meat in it at all.

Let’s Talk Vegetarian Chili “Meat”

This vegetarian chili features a hearty mixture of walnuts, mushrooms, and carrots that can beautifully stand in place of your ground beef and absorbs the big flavors of sautéed onion and garlic, diced green chiles, and all those spices. When scooped and topped with some avocado or cheese, sour cream or tortilla chips, it’s just warming and so satisfying in that chili-specific way. And, bonus, it’s totally meatless.

I have some requirements for my vegetarian chili and the first is that I want it to be really on-point texturally. I want it to scoop like a real chili. I don’t want soup, okay? I want a thick and meaty-like chili texture. The “meat” mixture in this recipe is going to ensure that texture.

My second requirement for my veg chili is equally as important: LOW-TO-NO BEANS. I love beans as much as the next person, but sometimes I feel like they are overused in vegetarian lookalike recipes (like vegetarian chili, for example) where we could easily use vegetables more creatively instead of defaulting to 27 types of beans as the base of the recipe.

I don’t know, I have opinions, okay?

Here’s What’s to Love

This vegetarian chili is all the good things that I’m looking for:

  • thick and hearty and “meaty”, like a standard chili texture
  • beans optional – add if you like them, leave out if you don’t
  • big, big, big happy flavor
  • packed with a variety of veggies
  • easy to make
  • makes awesome leftovers
  • meatless!

If you’re vegan, don’t you worry – this is also a VEGAN chili if you just watch your toppings. Avocado, pickled red onion, radishes, tortilla chips… we got you, vegans. Also: see our Instant Pot Pumpkin Walnut Chili recipe – it’s real good.

I am not a vegetarian or vegan but I hope it’s obvious that I think creative plant-based cooking is so fun and I love the positive impact it has on our bodies and the earth. ♡ You can be all kinds of everything (vegan, vegetarian, or none, IMHO) and 100% enjoy this.

Goals for the rest of the month: more vegetables, and more chili nights!

Check out our video for how to make Vegetarian Chili:

Vegetarian Chili


  • Author: Lindsay
  • Prep Time: 15 minutes
  • Cook Time: 1 hour
  • Total Time: 1 hour 15 minutes
  • Yield: 5-6
  • Diet: Vegetarian

Description

Vegetarian Chili that’s “meaty” and satisfying – without the meat! A hearty mixture of walnuts, mushrooms, and carrots as your base, with big flavors of onion, garlic, green chiles and spices. SO GOOD.


Ingredients

The “Meat:”

  • 1 cup walnuts
  • 8 ounces fresh mushrooms, washed, stems removed
  • 4 medium carrots, cut into chunks

The Chili:

  • 2 tablespoons olive oil
  • 1 onion, finely diced
  • 4 cloves garlic, minced
  • 1 6-ounce can diced green chiles (or fresh minced jalapeños)
  • 3 tablespoons tomato paste
  • 2–3 tablespoons chili powder
  • 2 teaspoons cumin
  • 1 teaspoon smoked paprika
  • 2 tablespoons soy sauce
  • 1–2 teaspoons salt (more or less to taste)
  • 2 14-ounce cans diced or crushed tomatoes (with juices)
  • 1 14-ounce can beans of choice (optional, see notes)
  • 1 cup water

Video

Instructions

  1. Make the “meat” – pulse all ingredients in a food processor until broken down into a chunky paste-like texture. Set aside.
  2. Heat the olive oil over medium heat. Add the onions and garlic. Sauté for 5-10 minutes until very soft.
  3. Add green chiles, tomato paste, chili powder, cumin, smoked paprika, and soy sauce. HELLO FLAVOR.
  4. Add your “meat” to the pan – once it mixes in and starts cooking, it should start to resemble chili meat. Let the “meat” cook for 10 minutes or so to soften the vegetables. Season with salt.
  5. Add tomatoes, beans if you want, and water to get the consistency right. Let it simmer for about 45 minutes to soften the vegetables, thicken it up, and let the flavors come together.
  6. Serve with your favorite chili toppings, and there it is! VEGETARIAN CHILI! You did it.

Notes

Beans: A lot of vegetarian chili recipes are based around beans, and I wanted this recipe to be bean-optional for people who don’t like or can’t have beans. So if you want to skip the beans altogether, no problem! That being said, I like black beans in this vegetarian chili, but kidney beans, white beans, or pinto beans would all be great.

Toppings: For vegetarian chili – sour cream and cheddar or queso fresco. For vegan chili – cilantro, avocado, pickled onion or jalapeno, radishes, tortilla chips.

  • Category: Dinner
  • Method: Stovetop
  • Cuisine: American

Keywords: vegetarian chili, vegan chili, chili recipe, healthy chili, vegetarian comfort food

Recipe Card powered by

The post Vegetarian Chili appeared first on Pinch of Yum.


from Pinch of Yum https://ift.tt/2w5jJbj

Monday, February 24, 2020

Sesame Beef and Broccoli

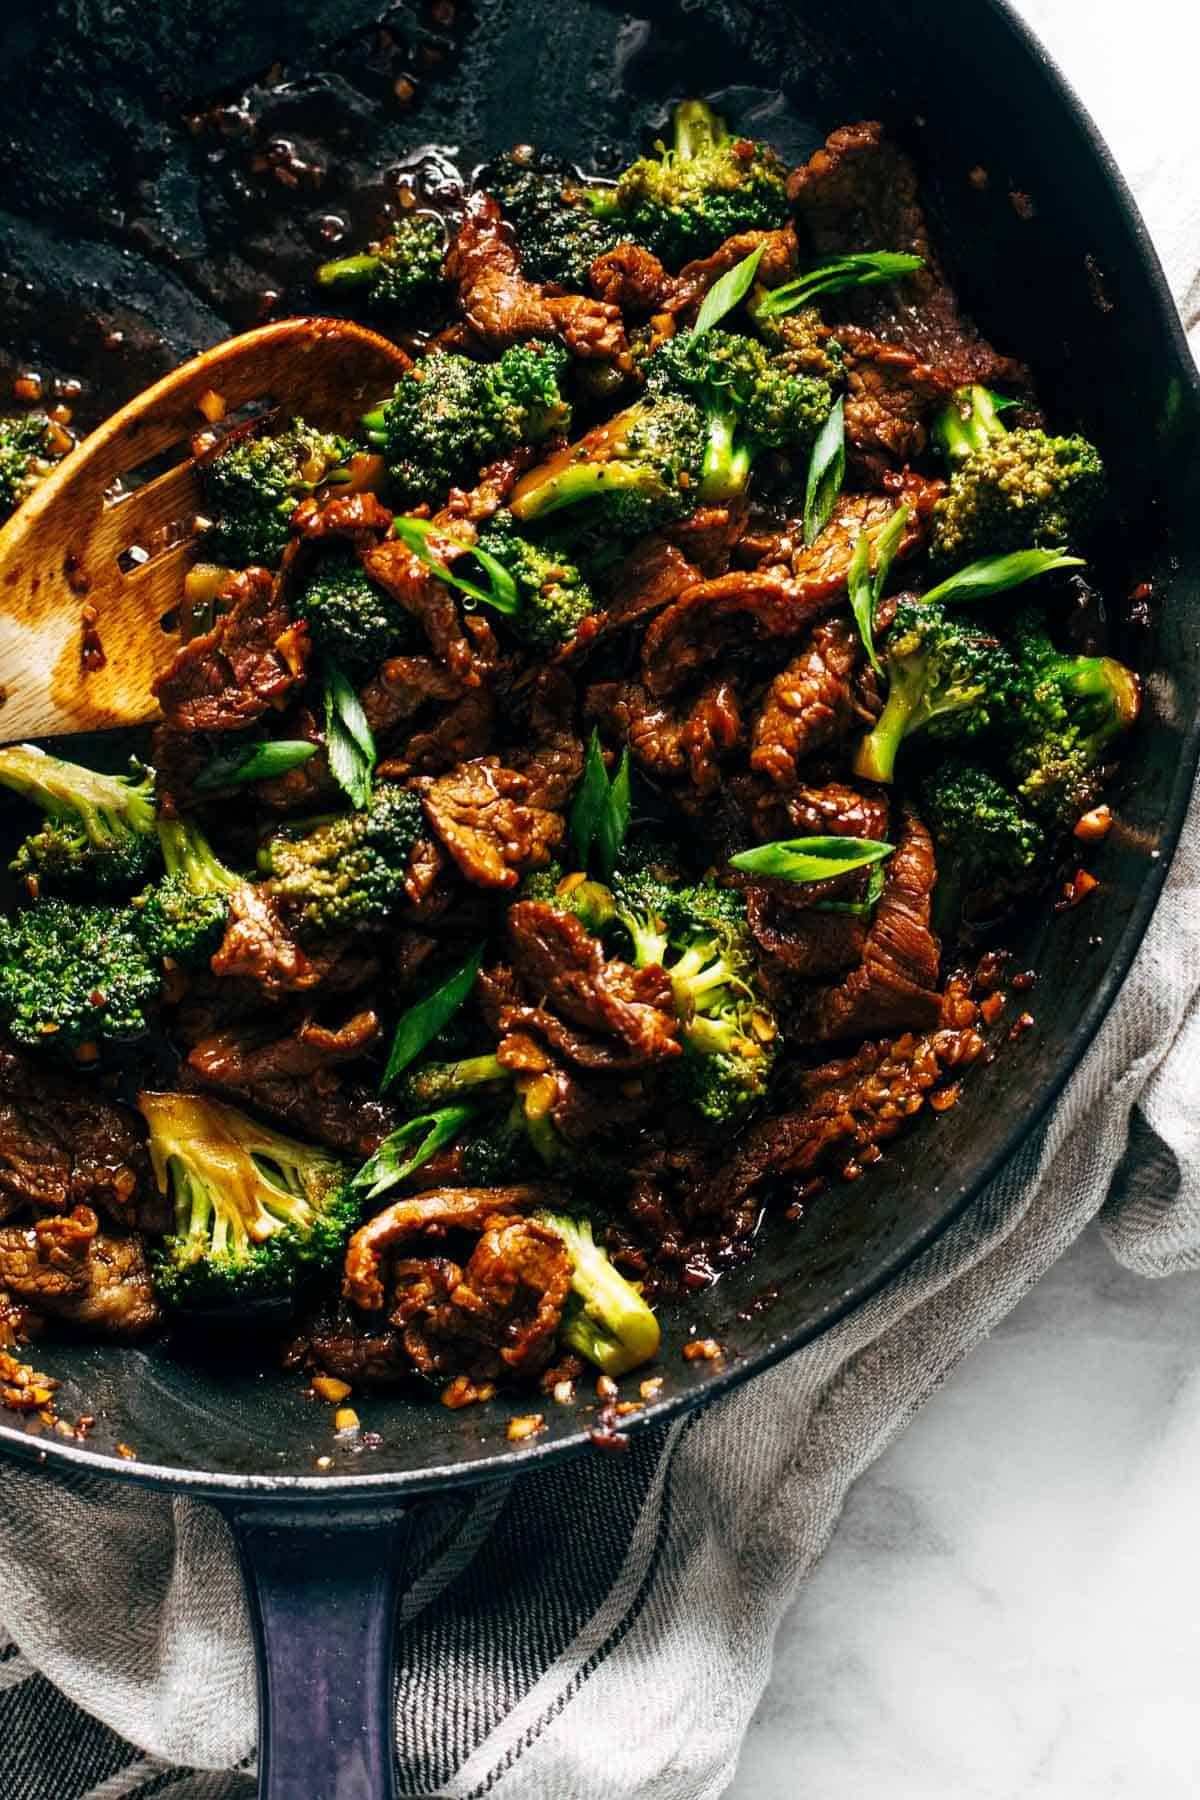
Beef and broccoli in a pan with a spoon.

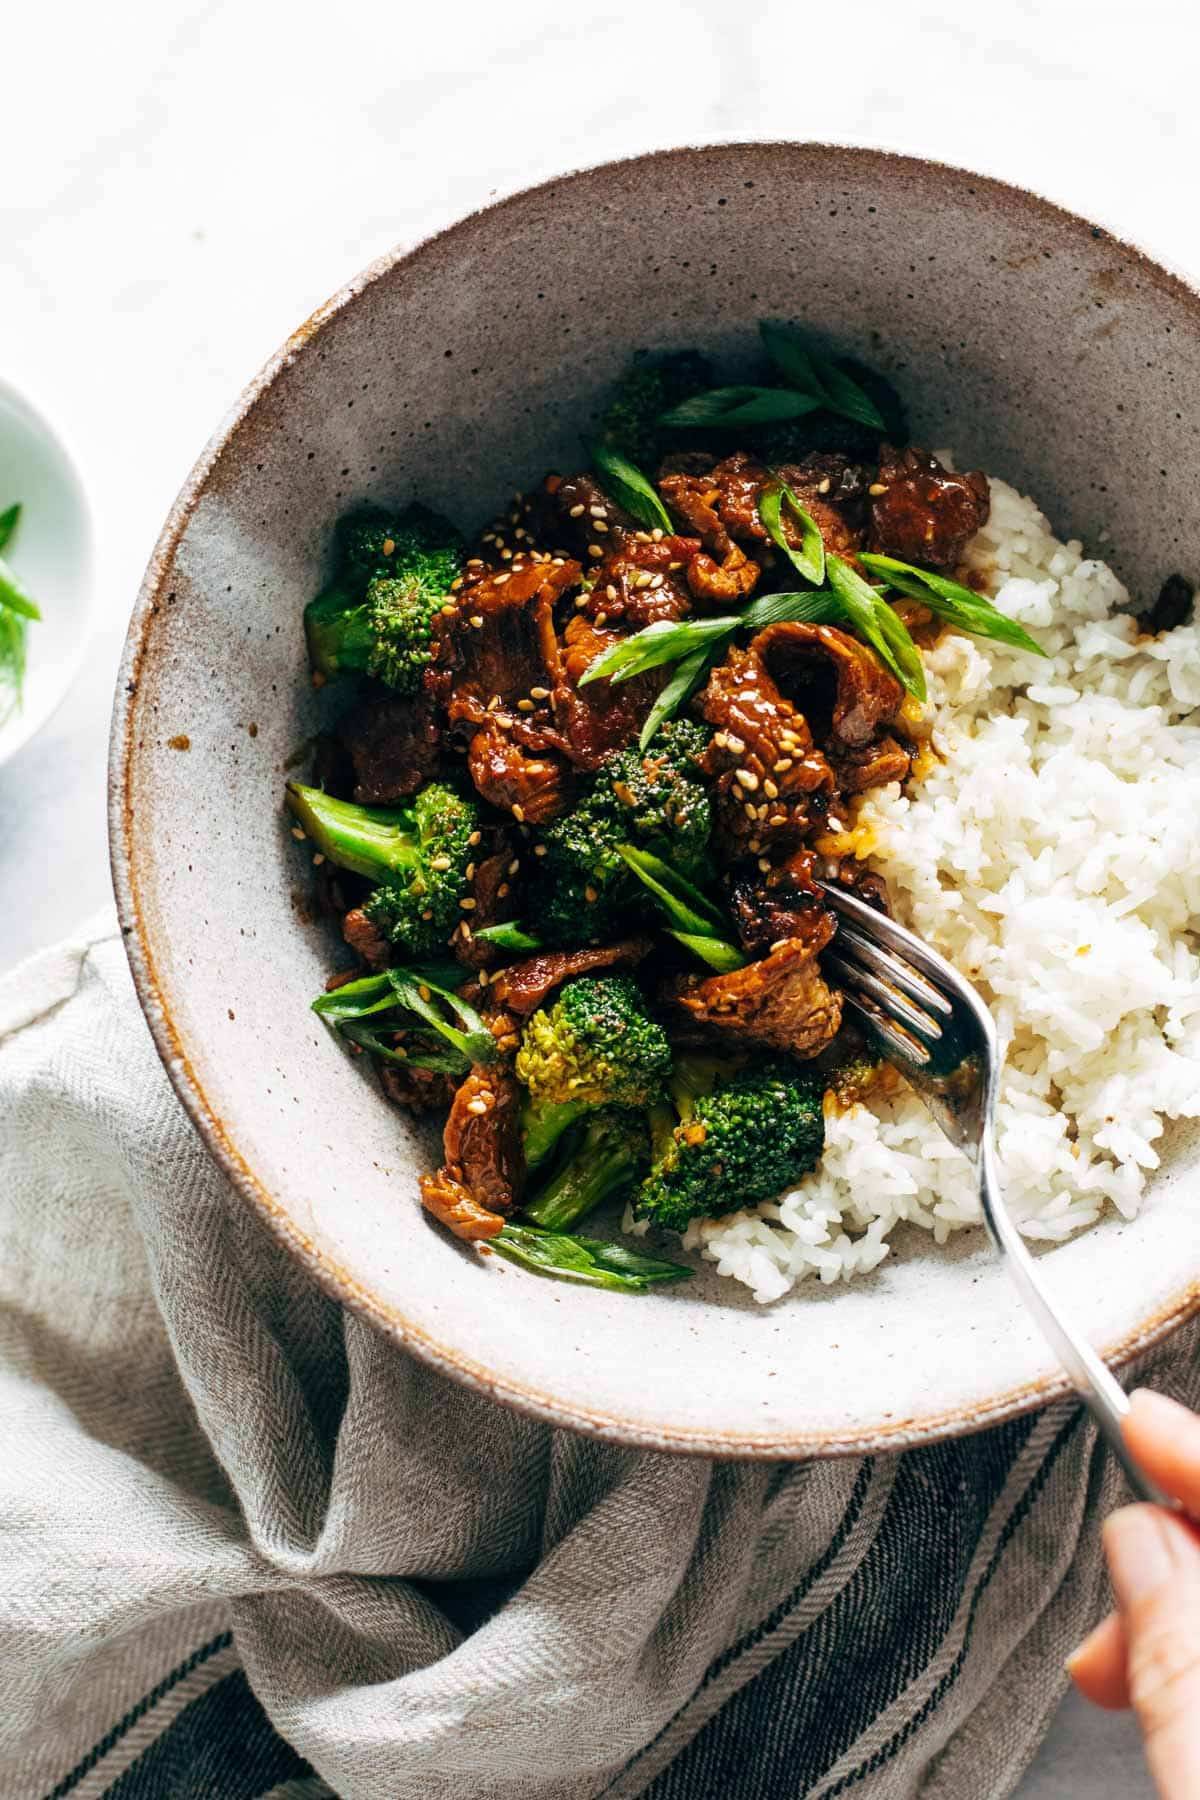
Say hello to this weeknight beauty! It is full of protein, green broccoli goodness, and sticky-sweet garlic and ginger flavor, and it has been fueling me through these long end-of-winter days.

This is sesame beef and broccoli – sesame because it’s got a tablespoon of sesame oil in the sauce (LUSCIOUS) and beef and broccoli because of the, well, beef and broccoli.

I was initially going to call this recipe easy – and it is easy, I guess – but also, there are several steps and lots of high heat and sometime searing meat business can feel like a bit of a job, so just trust me when I say while you should probably wear an apron, this is still 100% weeknight material.

The prep time is minimal, the ingredients are mostly pantry staples, and the total time is low.

AND THE RESULTS ARE SAUCY AND AMAZING.

Beef and broccoli in a bowl with a fork.

A few things I’d like to point out about this Beef and Broccoli:

Please Sear the Meat

This is very important. You do not want the meat to simmer or steam – you want it BROWNED. In order to get the browning without overcooking, you’re going to have to work with a very very very hot pan. I used a cast iron skillet for this which worked really well.

Marinate, But Not With Sauce

Whenever I marinated the meat in a little sauce to improve its flavor, there was so much excess moisture from the sauce that came into the hot pan with the beef that it essentially went into simmering / steaming mode. Not good.

To prevent this but still get the flavor, I “marinated” the meat with just dry salt. Just sprinkled it with salt and let it rest. This worked beautifully because the meat you put into the skillet is dry, which is what you want to get a really nice sear on it.

If you want to get reeeally detailed about your salting, your searing, and all that goes into getting your steak perfectly cooked… this post is great.

The Sauce Is Yours

Honestly, I made the sauce just slightly different every time I made this. If you want more or less sweet, adjust sugar. Or salt, or vinegar, or whatever suits your fancy. The sauce is flexible!

The cornstarch is important, though, because it helps the sauce thicken into that yummy consistency that coats the beef and broccoli perfectly, so that should stay as-is.

Vegan Option

I love this recipe with sliced tempeh. Made it several times that way! YUM. Only difference is that you *should* marinate your tempeh in the sauce because it needs the help for better flavor!


Sesame beef and broccoli is bold and big and just all-around here for us in this season. It’s saucy seared meat, it’s tender-crisp veggies, it’s fresh, feel-good flavor. Get after it!

Check out our video for how to make Sesame Beef and Broccoli:

Sesame Beef and Broccoli


  • Author: Lindsay
  • Prep Time: 10 minutes
  • Cook Time: 20 minutes
  • Total Time: 30 minutes
  • Yield: 4 servings, or 2-3 if you’re very hungry

Description

Sesame Beef and Broccoli! Full of protein, green broccoli goodness, and sticky-sweet garlic and ginger flavor. Perfect at-home takeout!


Ingredients

The Basics:

  • 1 lb. beef flank steak, thinly sliced
  • 1 head broccoli, cut into florets
  • 2 tablespoons vegetable oil
  • 3 cloves garlic, thinly sliced or minced
  • one 1-inch knob fresh peeled ginger,  grated or sliced
  • white rice, brown rice, or cauliflower rice for serving
  • thinly sliced green onions for serving

The Sauce:

  • 1/4 cup low sodium soy sauce
  • 1/4 cup water
  • 1/3 cup brown sugar (sub coconut sugar)
  • 1 tablespoon sambal oelek
  • 1 tablespoon rice vinegar (sub white vinegar)
  • 1 tablespoon sesame oil 
  • 1 tablespoon cornstarch

Video

Instructions

  1. Beef Prep: Freeze beef for 30 minutes – 1 hour for easier slicing. Slice against the grain, into very thin strips. Toss the beef strips with a generous pinch of coarse salt and let it rest while you prep everything else. (All of this is optional but recommended for flavor and texture.)
  2. Sauce: Whisk the sauce ingredients together.
  3. Stir Fry Time: Heat a large heavy skillet over medium heat. Add a swish of oil. Working in batches, add the beef in a single layer. Let rest, undisturbed, for a minute or two to achieve a nice browning on the meat. Flip each piece over and cook until browned and yummy. Remove beef from pan.
  4. Broccoli: Add a swish of oil to the same pan. Add the broccoli; stir fry for 2-3 minutes, until bright green. (Sometimes I add a splash of water to steam it a little bit.) Remove broccoli from pan.
  5. Finally: Turn the heat down and let the pan cool a bit. Add one last swish of oil. Add the ginger and garlic; sauté for 1-2 minutes. Add the sauce; stir until a thickened and sticky sauce forms. Add beef and broccoli back in. Toss gently to coat.
  6. YUM! Serve with rice, thinly sliced green onions, and sesame seeds. 

Notes

It’s easier to get a nice sear on the meat if it’s mostly dry when it goes into the hot skillet, which is why I am not recommending marinating the meat in the sauce. When you marinate it in the sauce, it gets wet, which makes it cook differently in the pan (more like steaming – not as good as a nice browned sear).

Vegan option: Sliced tempeh is delicious and works wonderfully in this recipe! I would recommend letting it marinate in a little bit of the sauce before cooking to get the best flavor.

Rice Amounts: 1 1/2 cups rice, 2 1/4 cup water, a pinch of salt. Add to the Instant Pot and cook on high pressure for 3 minutes, and allow for natural pressure release (this should give you enough rice for 4 very generous servings).

  • Category: Dinner
  • Method: Sauté
  • Cuisine: Asian

Keywords: beef and broccoli, stir fry recipe, beef recipe, takeout at home

Recipe Card powered by

The post Sesame Beef and Broccoli appeared first on Pinch of Yum.


from Pinch of Yum https://ift.tt/32te0Z6