Monday, November 16, 2020

One-Hour Sheet Pan Thanksgiving Sides

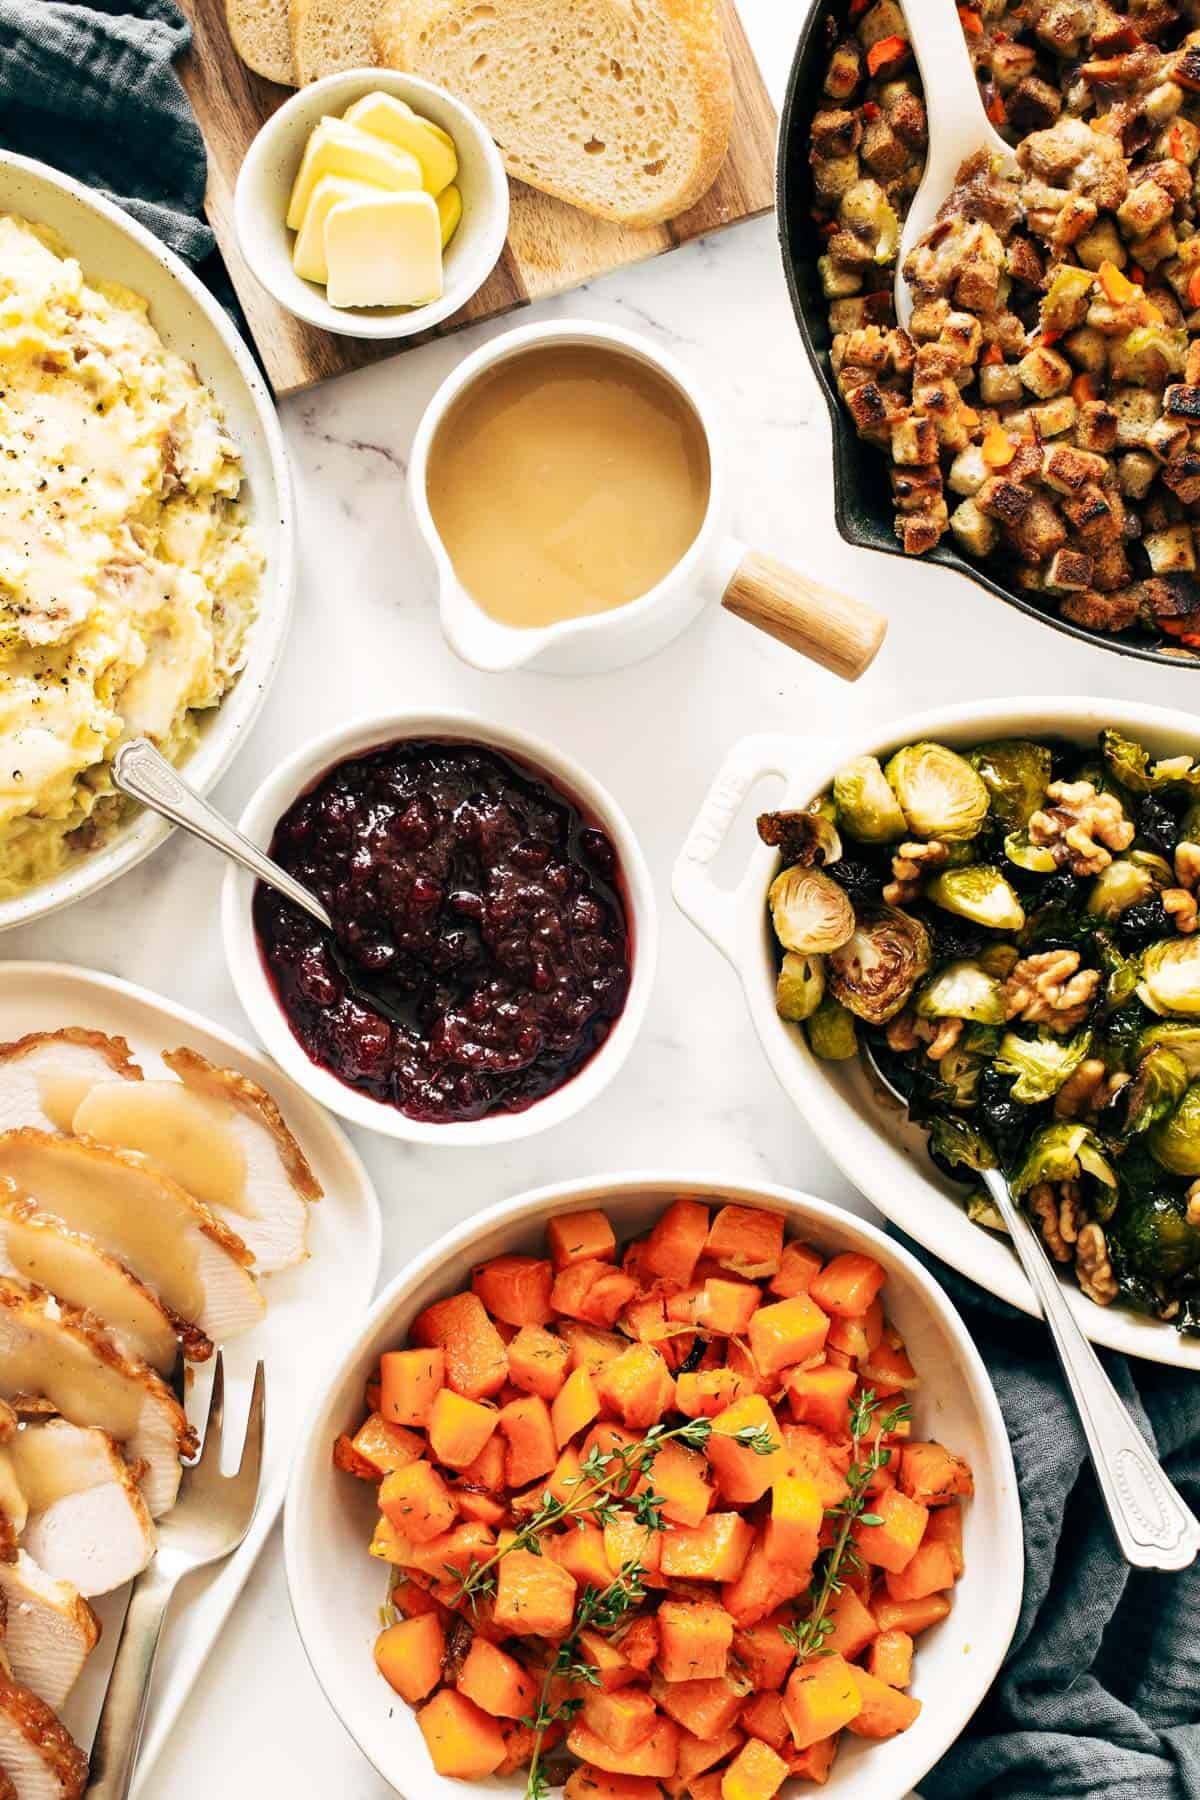
Thanksgiving spread with stuffing, gravy, cranberries, squash, turkey brussels sprouts, and potatoes.
This recipe is sponsored by ALDI

Hi. Let me introduce you to the easiest way to make three Thanksgiving sides, with minimal hands-on work, in roughly one hour: THE SHEET PAN METHOD.

Here are the three delicious sides that you’ll get with this one hour of time:

  • Roasted Garlic Mashed Potatoes – creamy, tangy, rustic and full of roasty garlic flavor. I honestly have a hard time stopping with these.
  • Herbed Squash – delicate and earthy and deep, thanks to a heavy pinch of thyme and some roasted-caramelized onions. Beautiful.
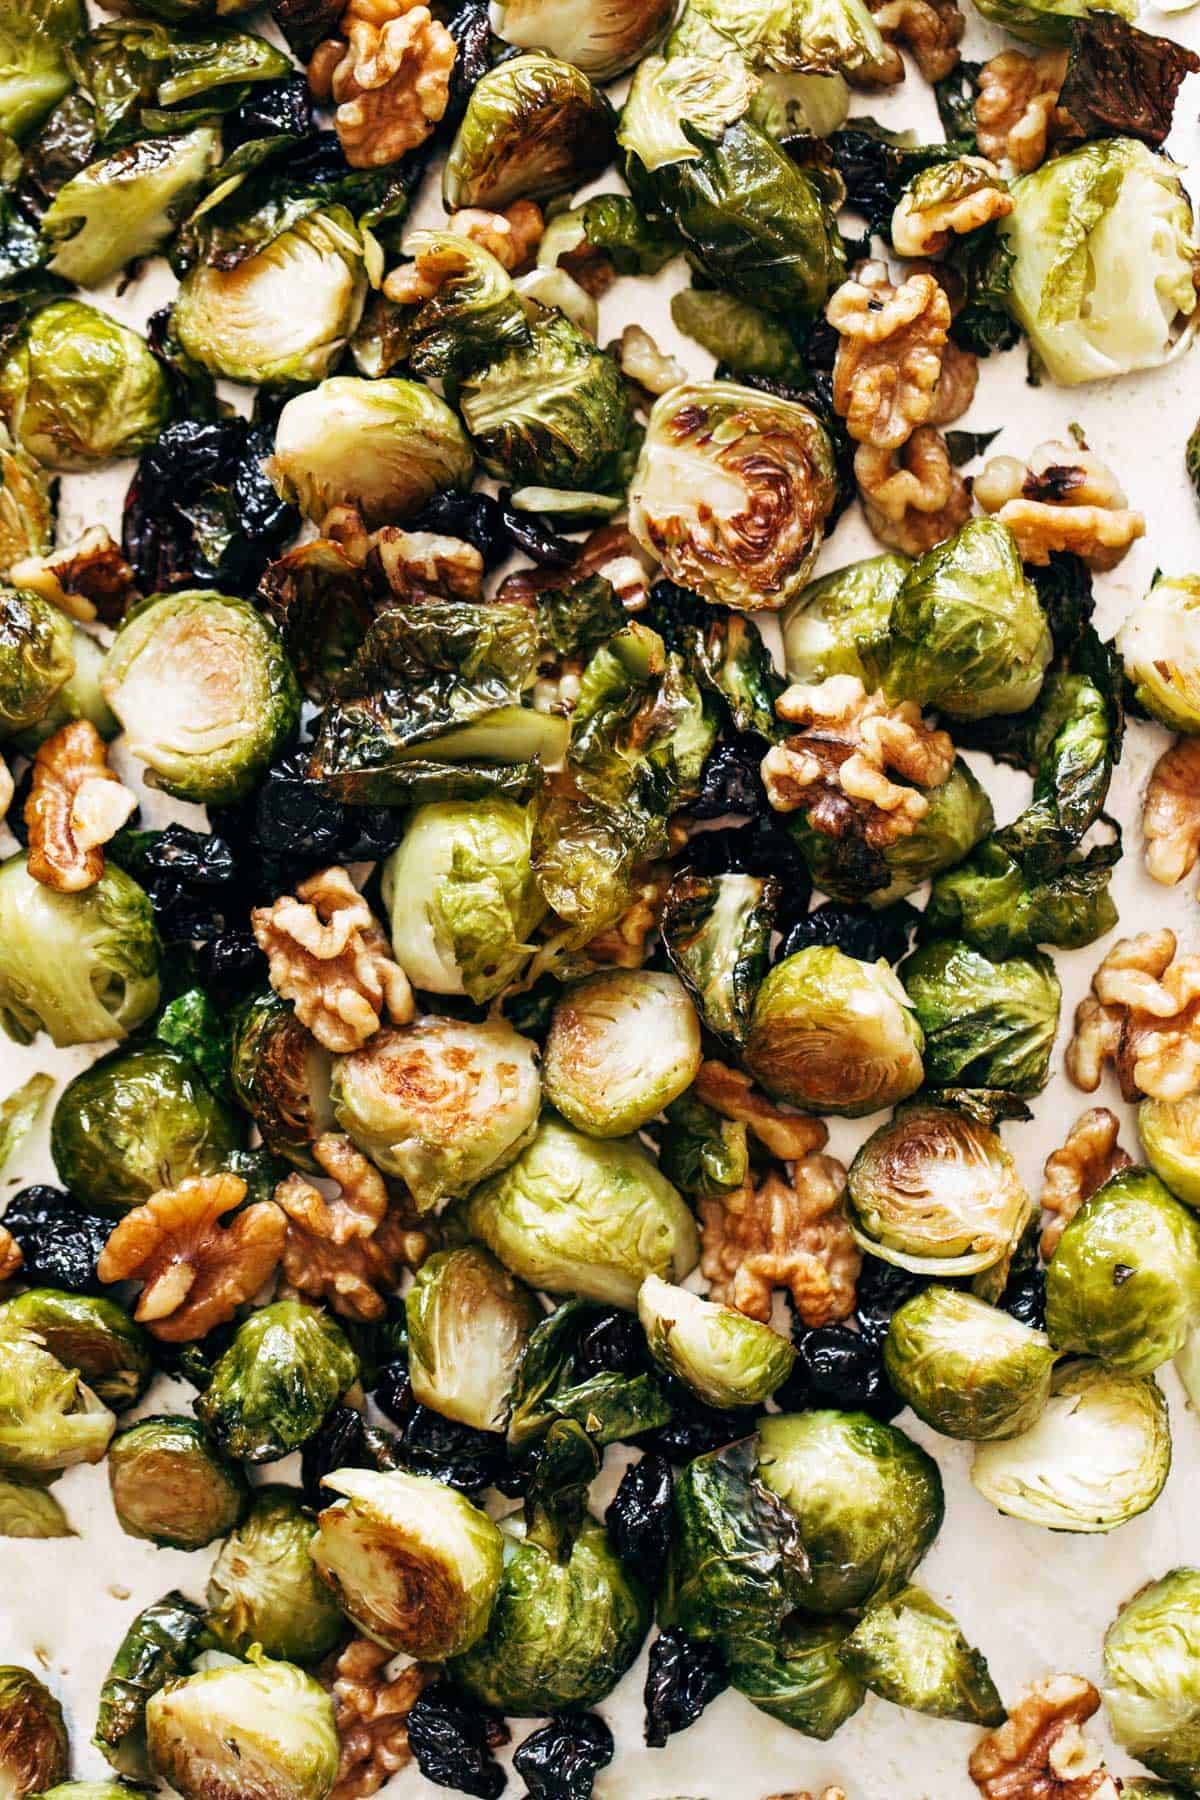
  • Maple Mustard Brussels Sprouts – crispy, very thoroughly browned (the only way to eat a brussel sprout), textural with the toasted walnuts and dried cherries, and sweet and a little spicy from the mustard. Just… wow. Even my toddler loves these.
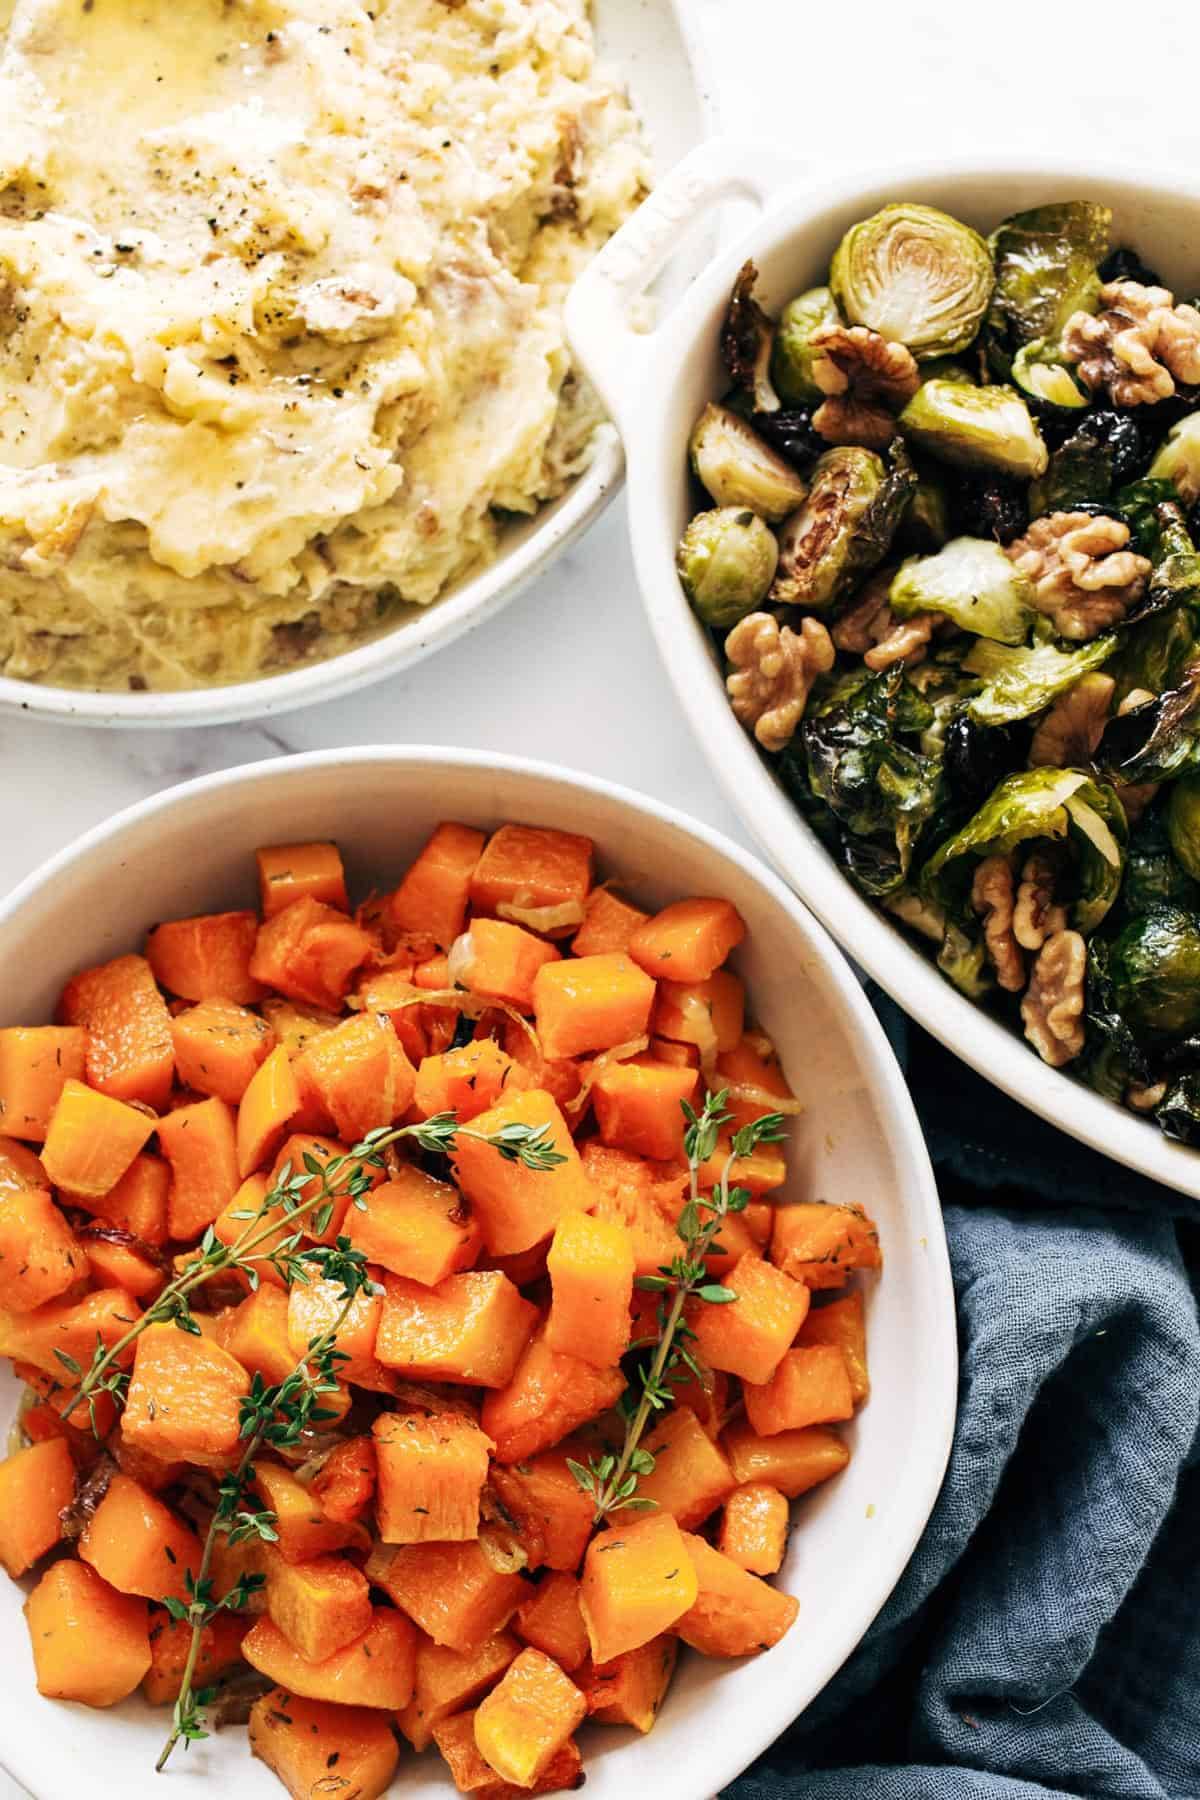
Mashed potatoes, brussels sprouts, and herbed squash in bowls.

This sounds like it will take you hours to make.

I PROMISE YOU IT WILL NOT.

A few sheet pans, a few pours and sprinkles = done.
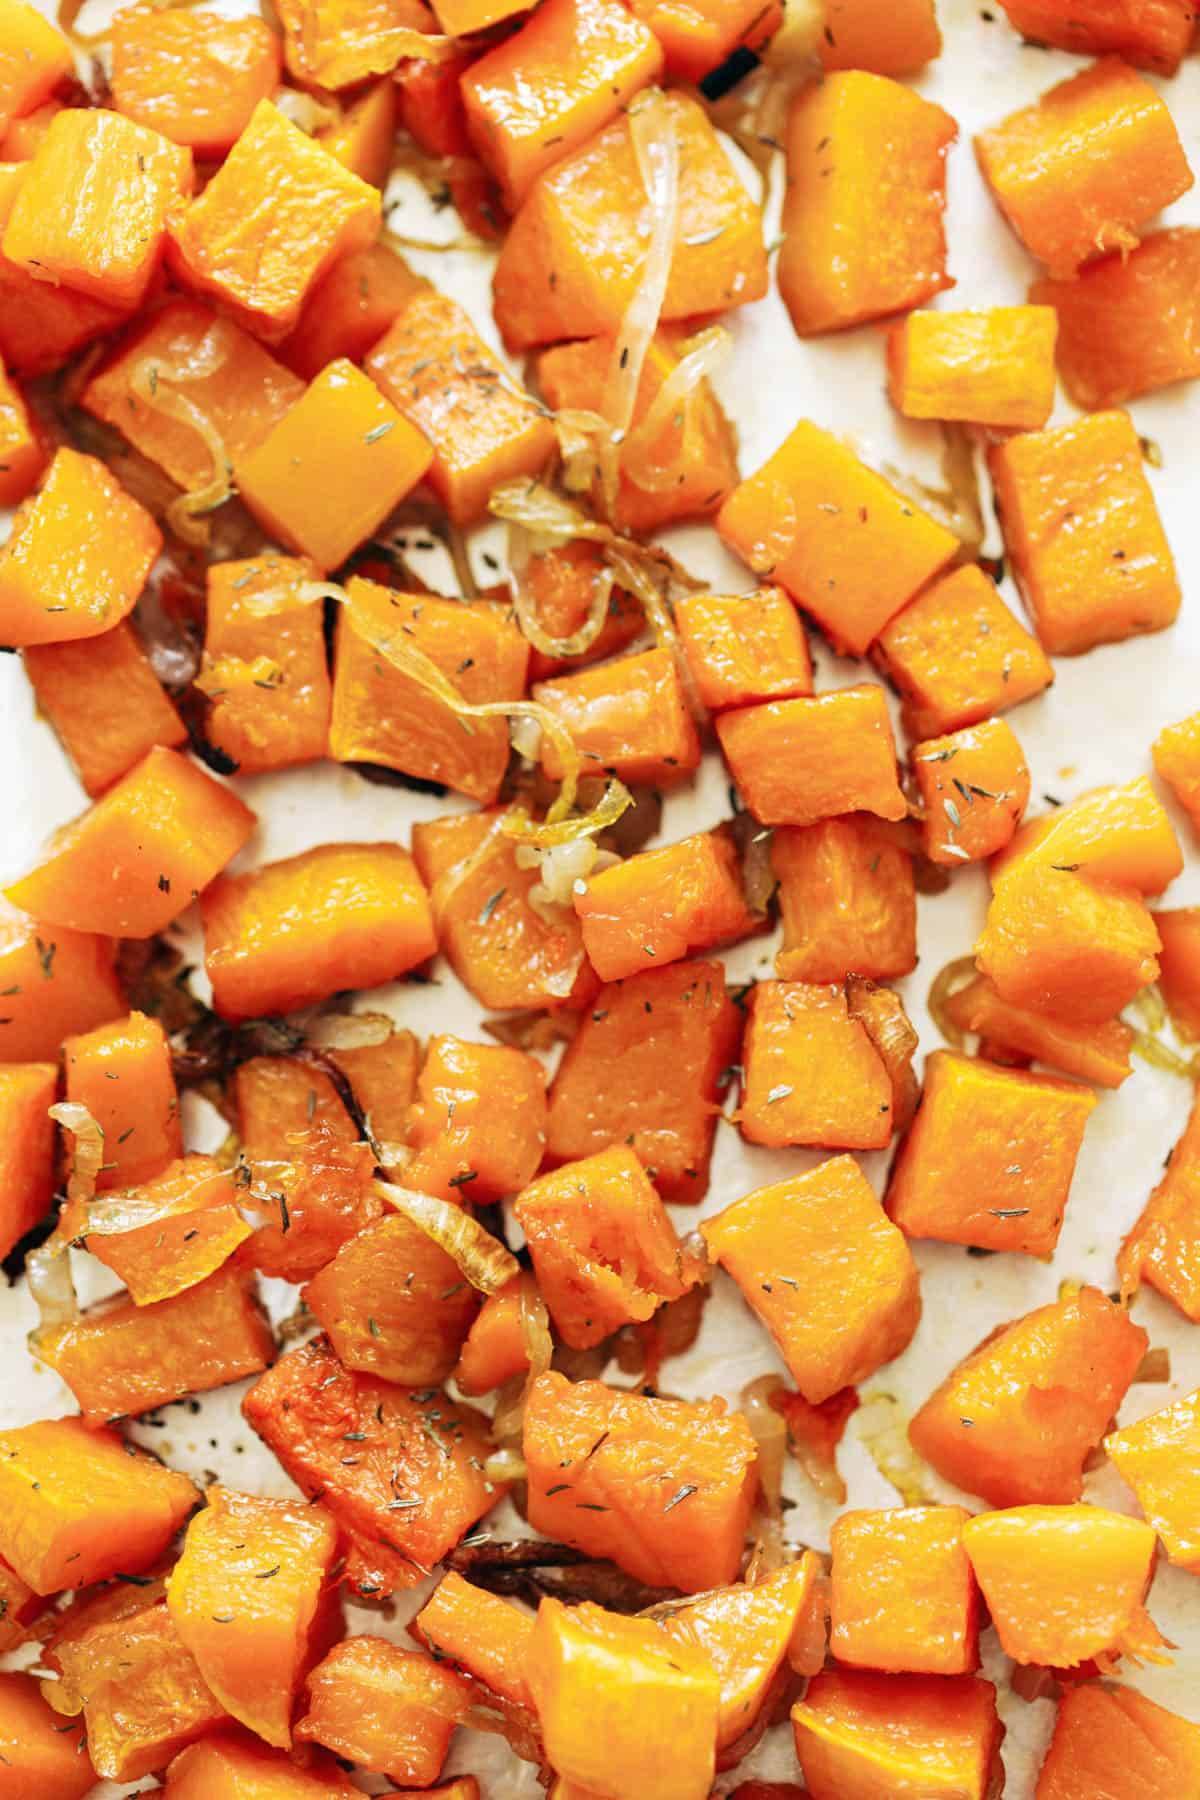
Herbed squash on a sheet pan. Brussels sprouts on a sheet pan.

As I’ve been playing with this, and eating a lot of Thanksgiving food in the process, I’ve been laser focused on the following goals:

  • saving time
  • saving money
  • saving kitchen / stove space
  • getting three ACTUALLY good Thanksgiving sides without feeling like you just spent the whole day doing a lot of hard work.

In 2020, when we’re gathering for Thanksgiving with like, maybe five people? and cooking mostly by ourselves? and all that work? Oh my gosh, let’s give ourselves a break. When it can taste this good with so little work, it’s just not necessary.

Here’s my proposition: You pick the Thanksgiving stars that you really want to put your time, energy and fancy tricks into this year. The turkey? The stuffing? The pie? It doesn’t need to be every single dish. You pick. Pick one, two, maybe three stars.

And then you let these three sheet pans take care of the rest.
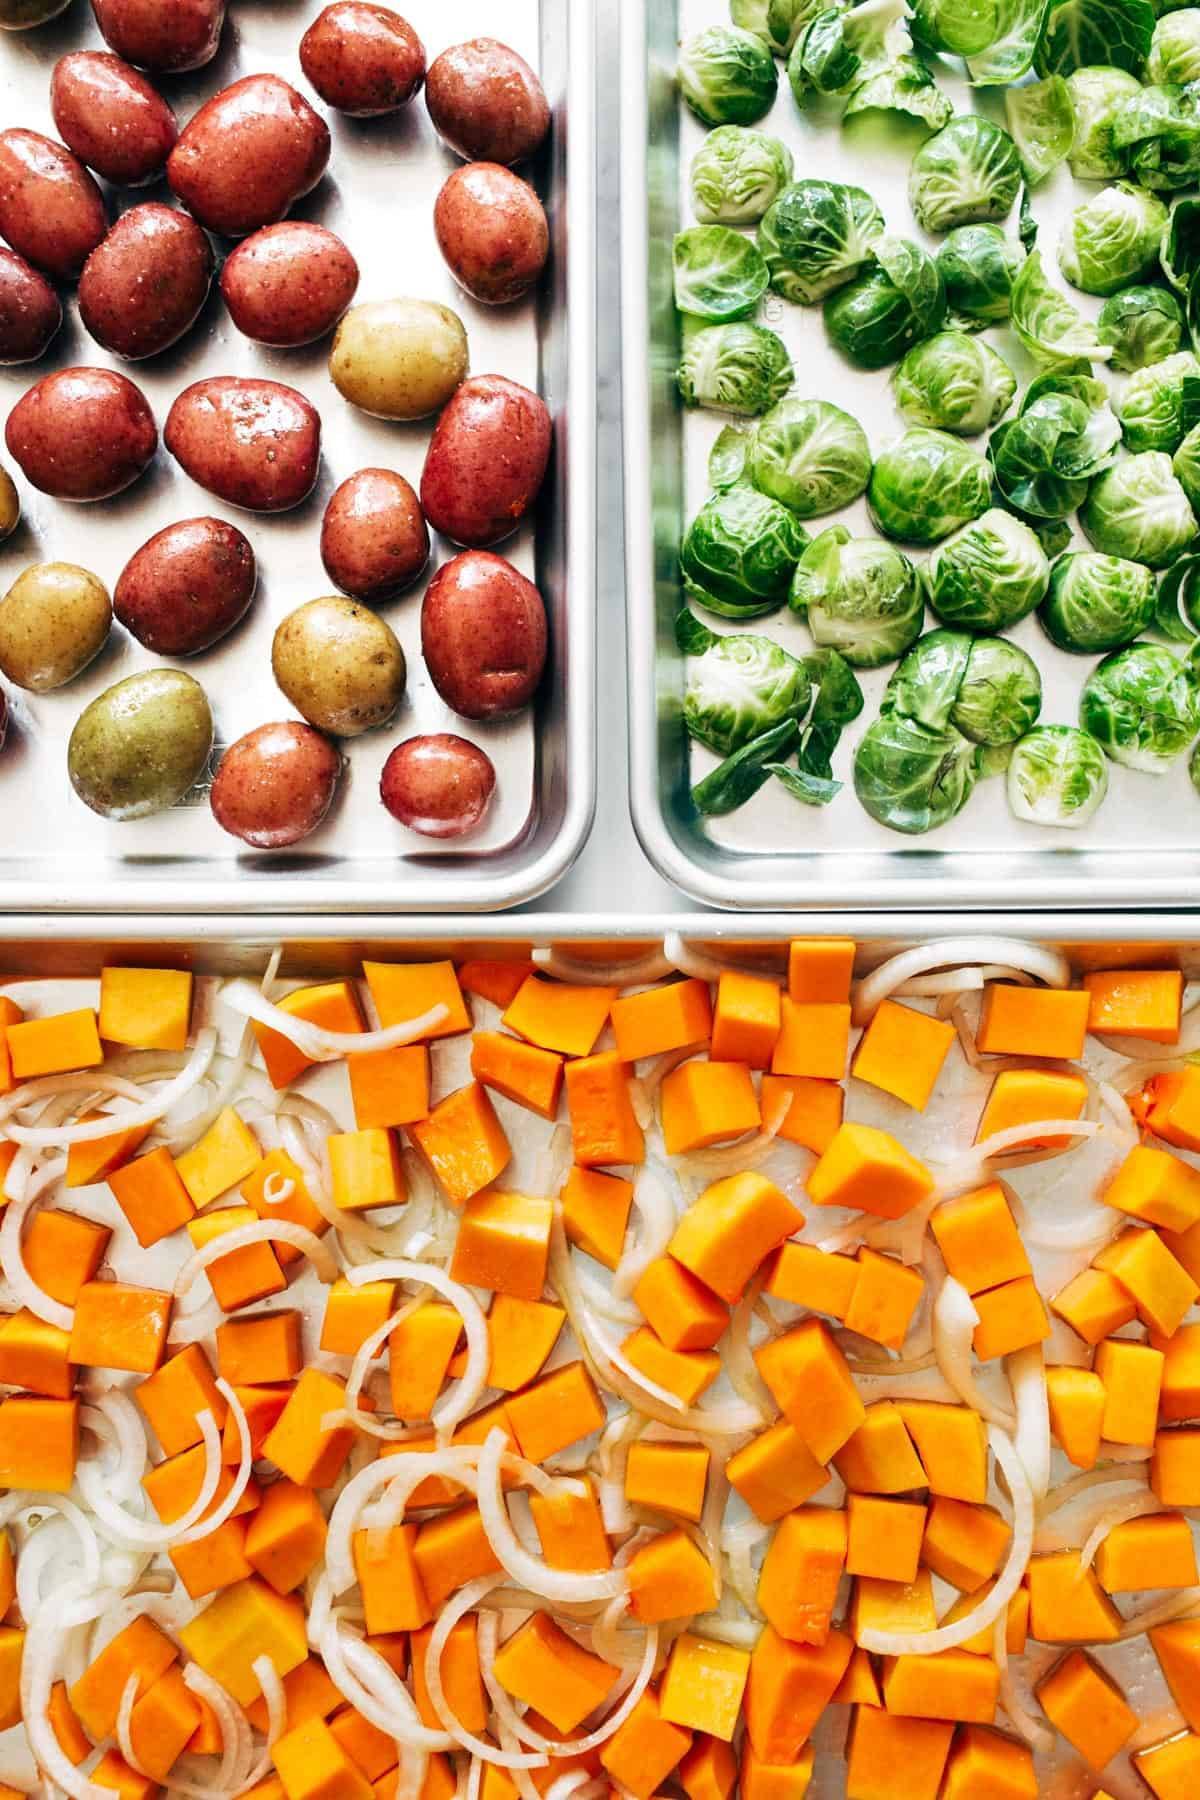
Potatoes, brussels sprouts, and squash on sheet pans.

Here’s my other proposition: make your Thanksgiving haul at ALDI. You’ll save money, and you’ll find not only quality, fun, interesting ingredients but also many of them ORGANIC.
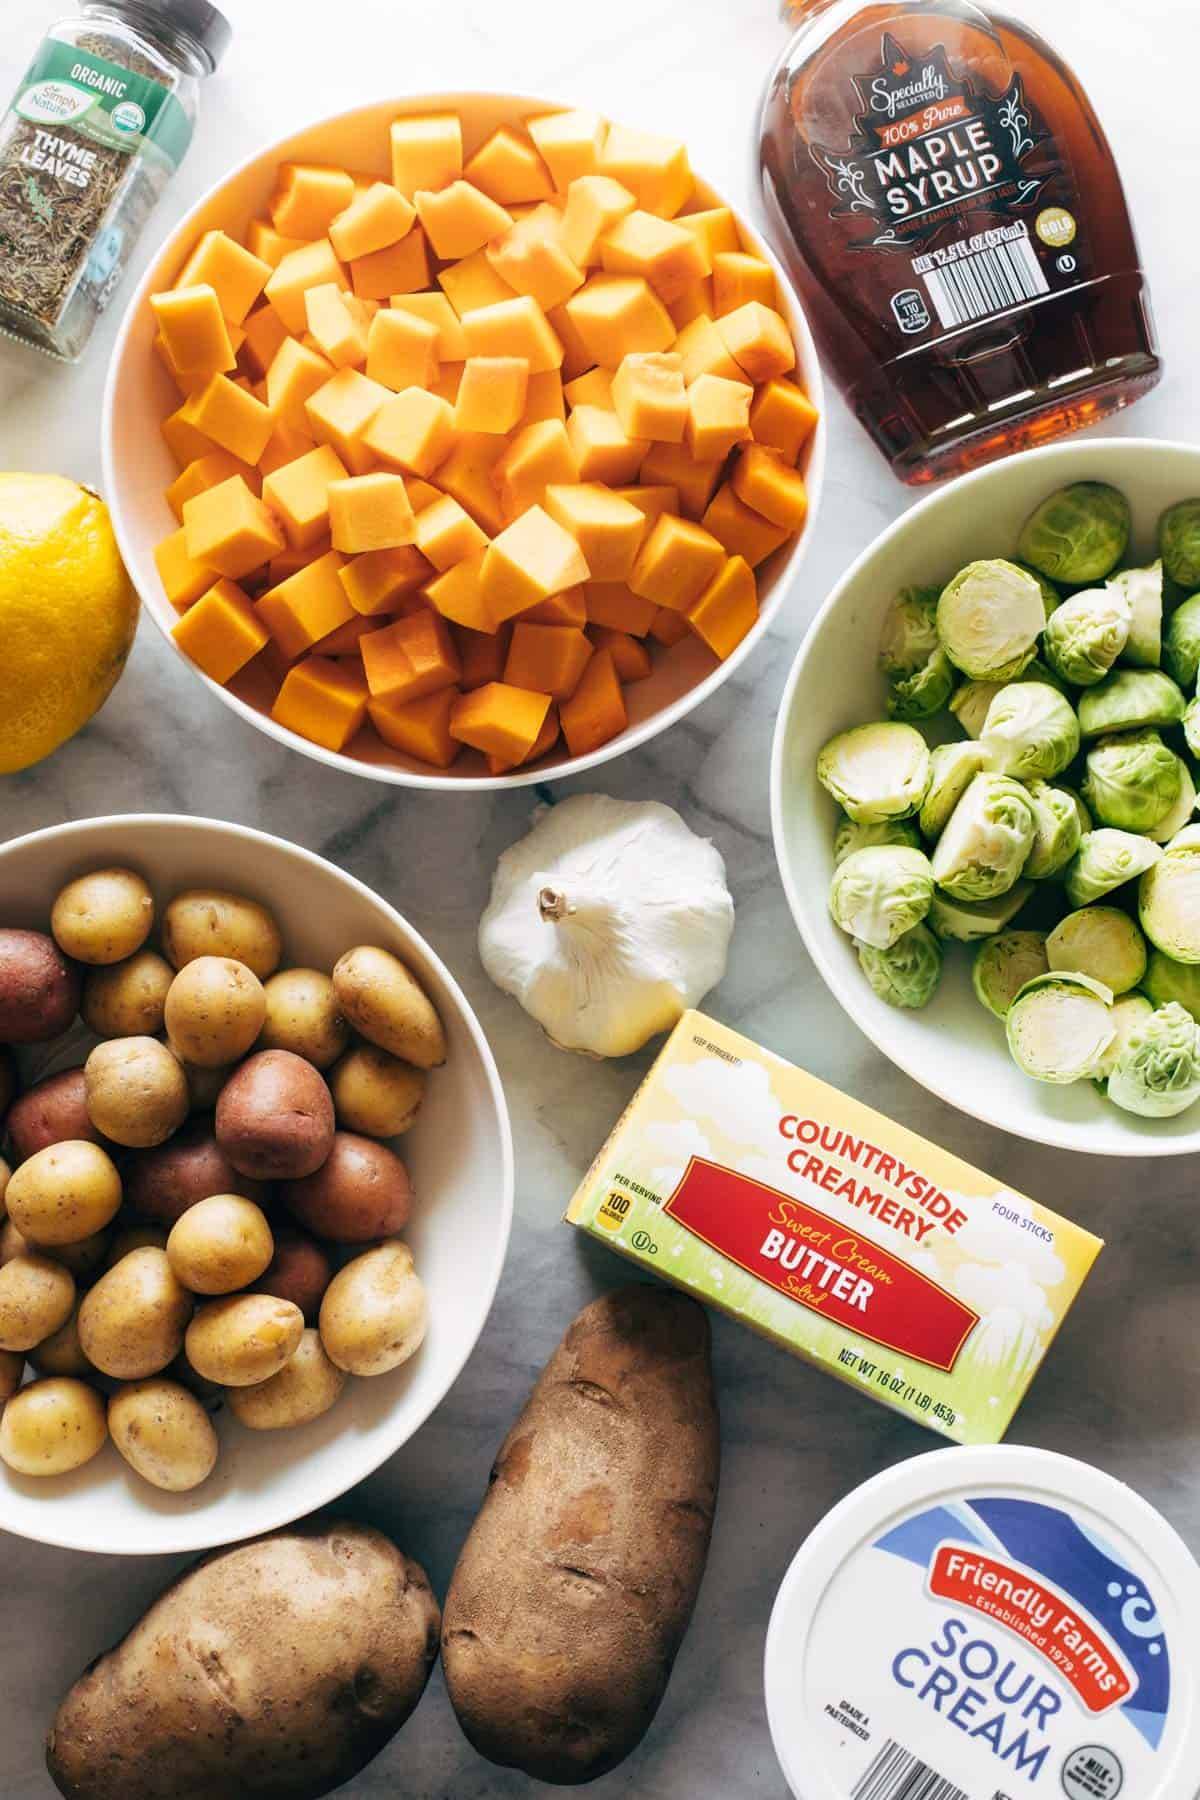
Ingredients from ALDI for Thanksgiving sides.

I bought everything for these three sheet pan recipes at ALDI for a fraction of the cost of my usual Thanksgiving grocery haul, but I would also like to recommend the following to round out the table:

  • Butterball turkey (That’s right, you heard it, ALDI sells butterball turkeys.)
  • Chef’s Cupboard Stuffing Mix (This boxed stuffing is… I just… I don’t know why it’s so good. I love it. I leave it totally as-is but maybe just broil at the end for some crunchiness.)
  • Sweet Harvest Whole Berry Cranberry Sauce (I like to add some orange juice and/or zest for a semi-homemade cranberry sauce.)
  • L’oven Fresh Hawaiian Sweet Rolls (Yes, you should make some fancy herb or honey butter to go with them.)
  • Cheese, olives, and every other dip and cracker for an appetizer situation.

All the yumminess. ALDI, WE LOVE YOU.
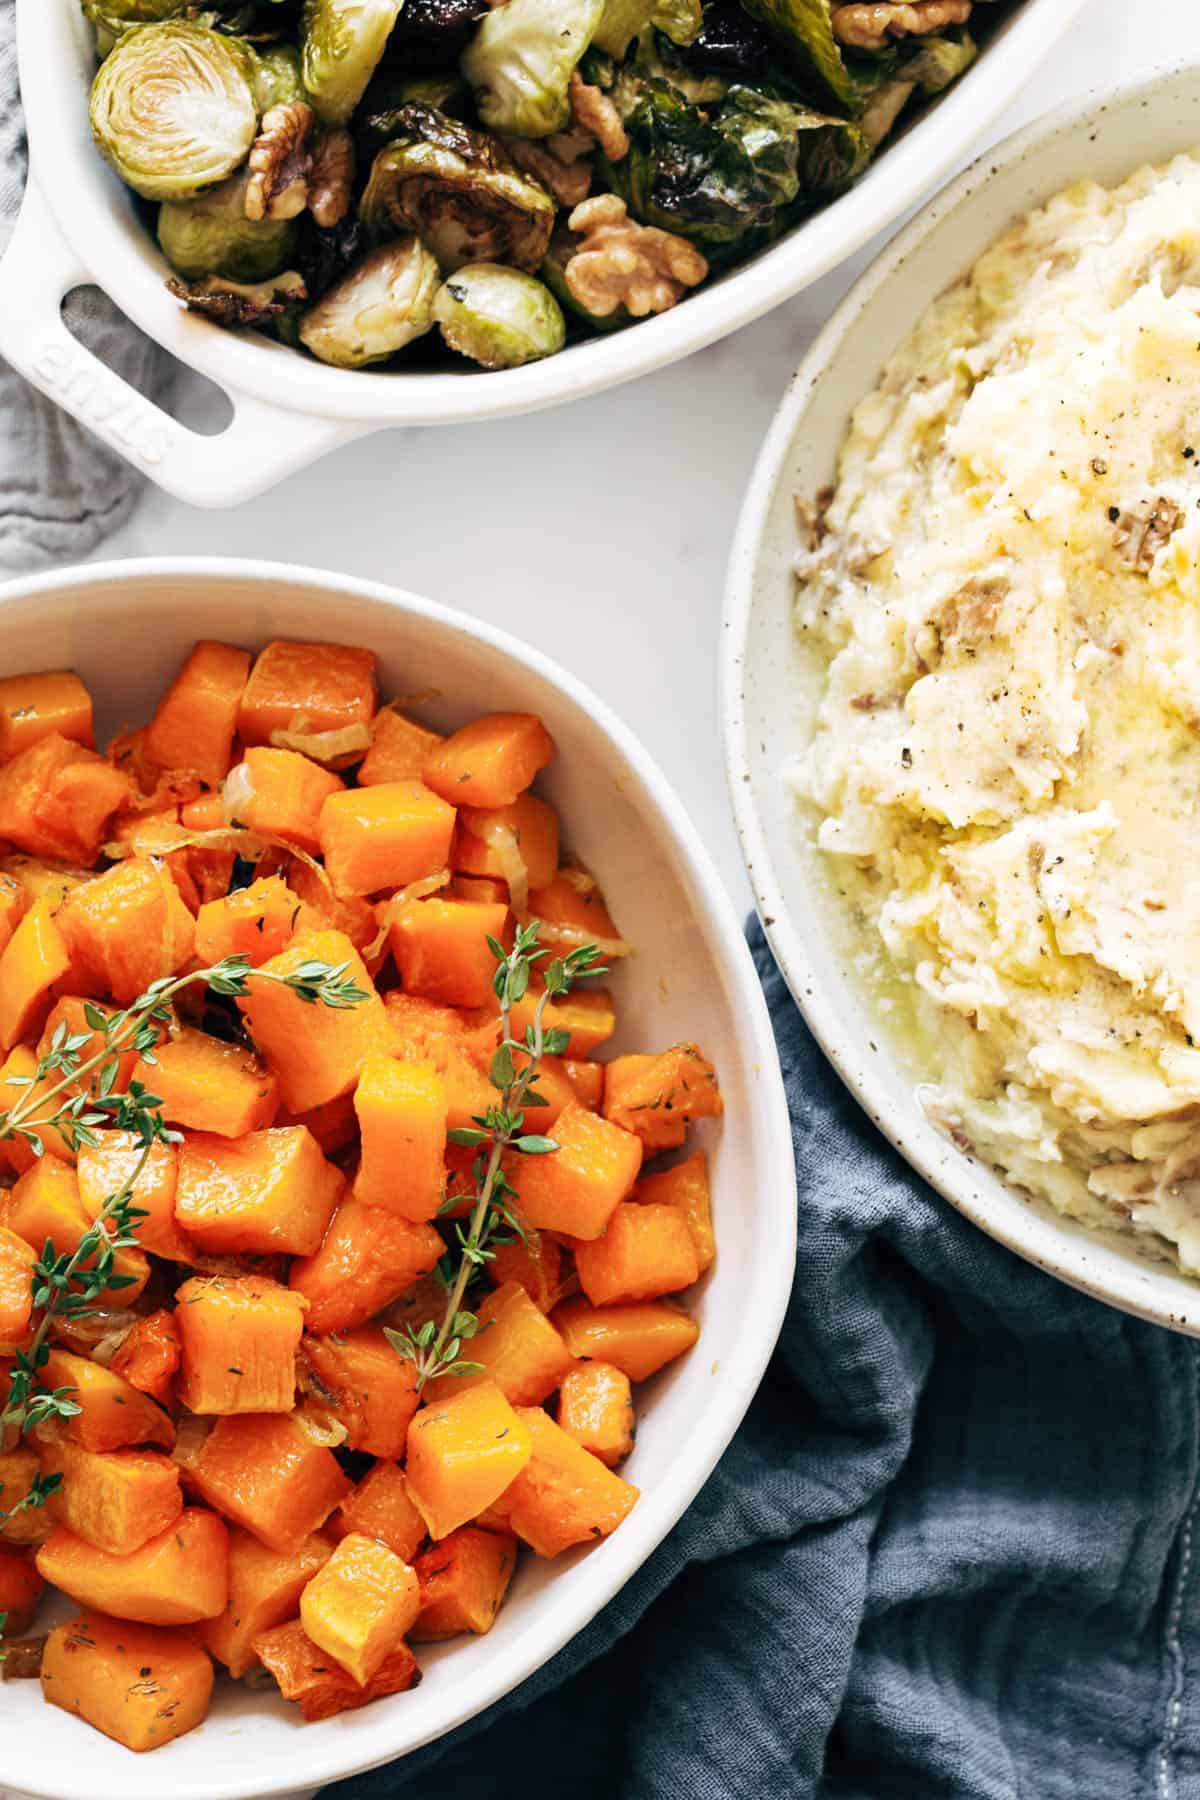
Thanksgiving sides in bowls.

All the things that Thanksgiving is *usually* about feel especially up in the air this year. Like…

  • Traveling to see family and friends
  • Gathering with large groups
  • Sharing meals around warm, cozy, and close-together tables

But sharing a good meal with someone you love is not canceled. Let’s make it happen.

Whether you’re doing the normal thing this year or not (probably most of us some version of not), this one-hour sheet pan sides method, this complete brain-and-space-and-time-saver, is kind of my new favorite thing about Thanksgiving.

A note that the photos here show these sheet pan recipes DOUBLED. The original recipes written here are meant to serve a smaller group (thanks, 2020) but you can easily scale up as needed to serve more people or get more leftovers.

Print
One-Hour Sheet Pan Thanksgiving Sides


  • Author: Lindsay
  • Prep Time: 15 minutes
  • Cook Time: 45 minutes
  • Total Time: 1 hour
  • Yield: 3-4 servings

Description

All the Thanksgiving sides you need – made easy in one hour! Roasted garlic mashed potatoes, herbed squash, and maple mustard brussels sprouts. Perfect for a small gathering!


Ingredients

Roasted Herbed Squash:

  • 1 butternut squash, peeled and diced, + olive oil and salt
  • 1 teaspoon Simply Nature Organic Thyme Leaves
  • 1 small onion, thinly sliced

Maple Mustard Brussels with Walnuts and Cherries:

  • 1 package brussels sprouts, trimmed and cut + olive oil and salt
  • 1/2 cup Southern Grove Walnuts
  • 1/2 cup Southern Grove Dried Cherries
  • 2 tablespoons Specially Selected 100% Pure Maple Syrup
  • 2 tablespoon olive oil
  • 1 teaspoon Dijon mustard

Creamy Garlic Mashed Potatoes:

  • 1 1/2 pounds round potatoes + olive oil and salt
  • 6 cloves garlic, + olive oil and wrapped in foil 
  • 1/4 cup Countryside Creamery Salted Butter
  • 1/4 cup broth or milk
  • 1/4 cup Friendly Farms Sour Cream
  • kosher salt to taste (I used about 1 teaspoon)

Optional extras to serve from ALDI:

  • Butterball Turkey
  • Chef’s Cupboard Stuffing Mix
  • Sweet Harvest Whole Berry Cranberry Sauce
  • L’oven Fresh Hawaiian Sweet Rolls

Instructions

  1. Roasting Everything: Preheat oven to 425 degrees. Place squash and potatoes + seasonings on a sheet pan or roasting pan. Place brussels sprouts + seasonings on a sheet pan or roasting pan, cut side down. Roast squash and potatoes for 15 minutes. Add brussels sprouts to the oven; roast both pans another 20-30 minutes. During the last 5-or-so minutes, add the walnuts and cherries to the brussels sprout pan to get them nice and toasty.
  2. Roasted Herbed Squash: Season to taste – this one is pretty much ready to go out of the oven!
  3. Maple Mustard Brussels: Toss roasted brussels with maple syrup, olive oil, and Dijon mustard. Season to taste.
  4. Roasted Garlic Mashed Potatoes: Pull the peels off the potatoes if you want – I don’t mind them so I usually leave them on. Mash potatoes by hand or use a stand mixer to mash until they break down. Add in roasted garlic, butter, milk or broth, and sour cream. Season to taste.
  5. Serve: Serve up your beautiful spread of roasted garlic mashed potatoes, herbed butternut squash, maple Dijon brussels sprouts with whatever else you love on Thanksgiving! 
  • Category: Dinner
  • Method: Roast
  • Cuisine: American

Keywords: one hour thanksgiving, thanksgiving sides, small thanksgiving, sheet pan thanksgiving

Recipe Card powered by

Thank you to ALDI for sponsoring this post!

The post One-Hour Sheet Pan Thanksgiving Sides appeared first on Pinch of Yum.


from Pinch of Yum https://ift.tt/32NNPxC

Thursday, November 12, 2020

Miracle No Knead Bread

There’s a reason we are calling this MIRACLE NO KNEAD BREAD.

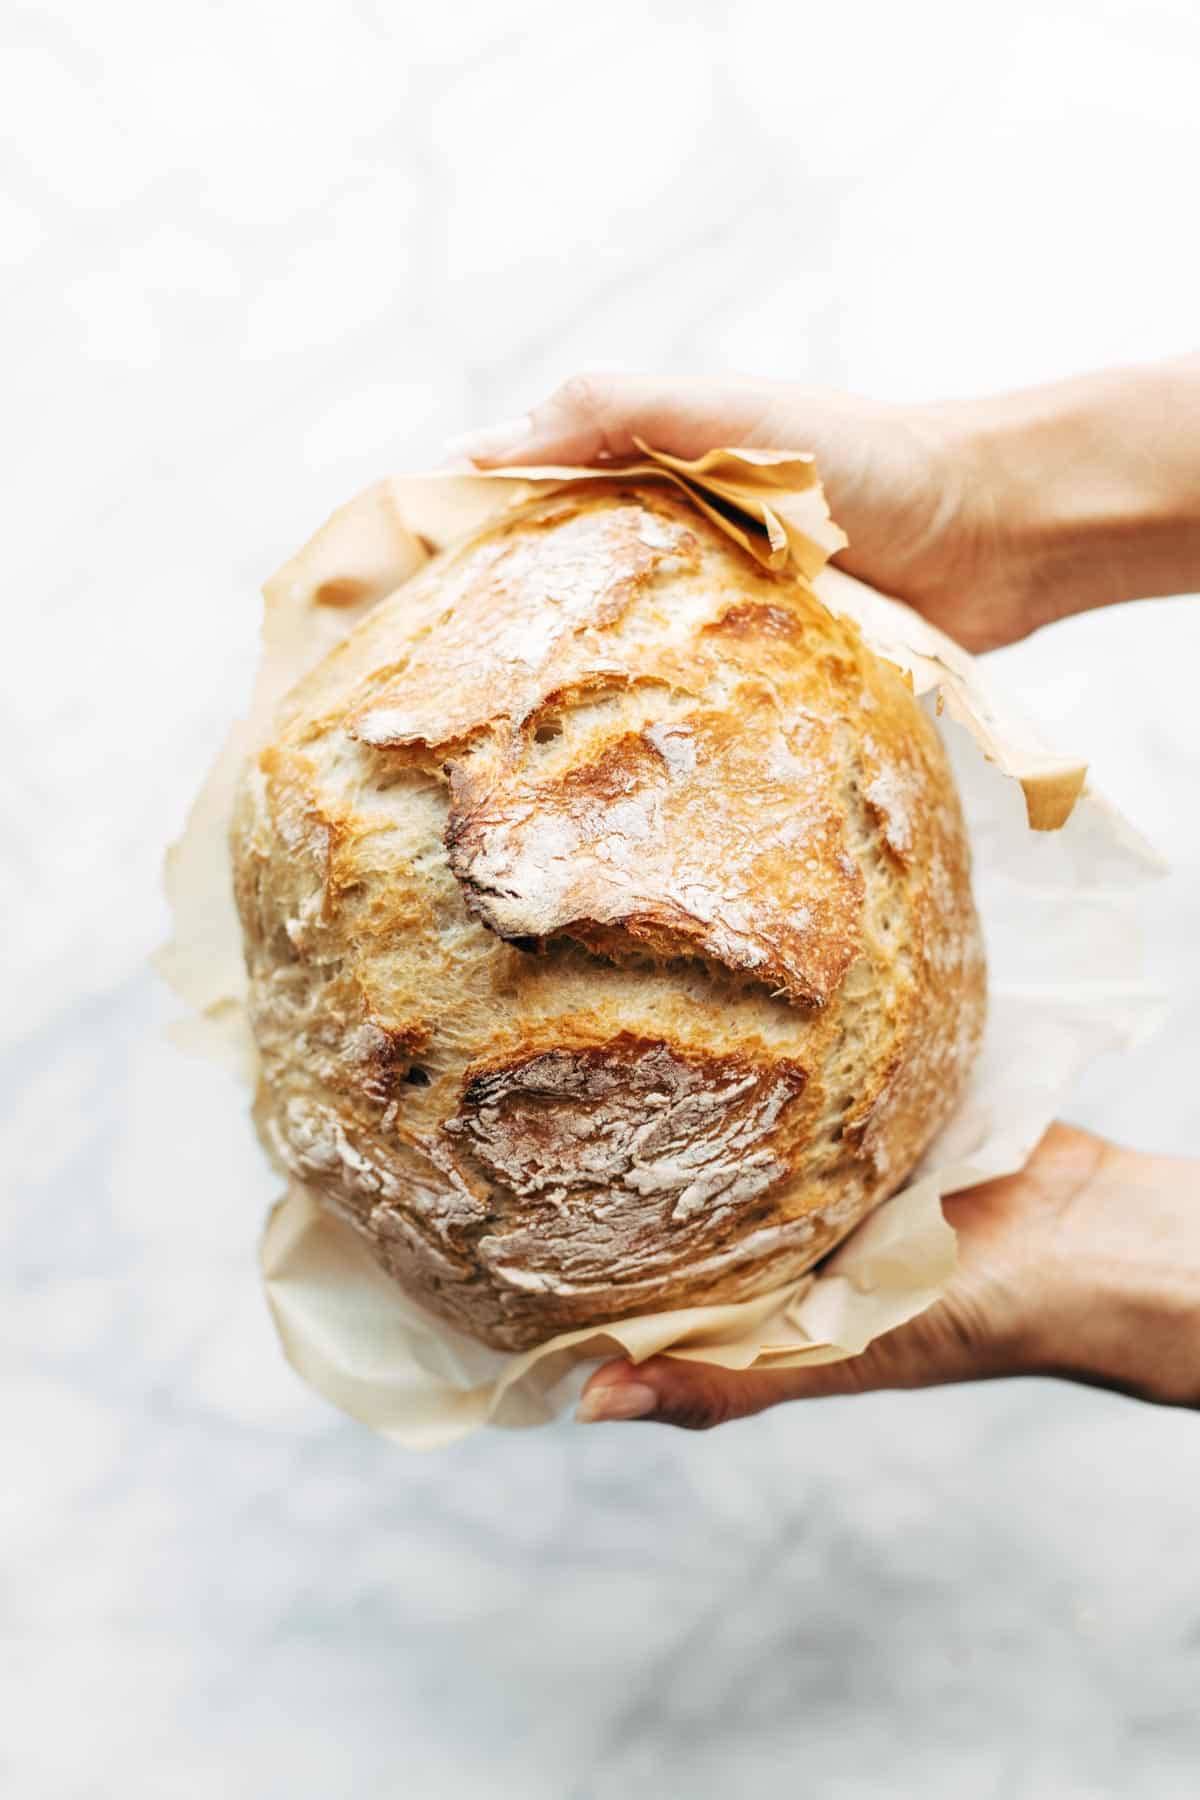
Miracle No Knead Bread! this is SO UNBELIEVABLY GOOD and ridiculously easy to make. crusty outside, soft and chewy inside - perfect for dunking in soups! | pinchofyum.com

This recipe was originally published in 2016, and to this day remains one of the most popular and top-rated recipes on the blog! It’s the perfect match for soup weather, and we just wanted to be sure you keep it in your cozy food arsenal this season. Enjoy!


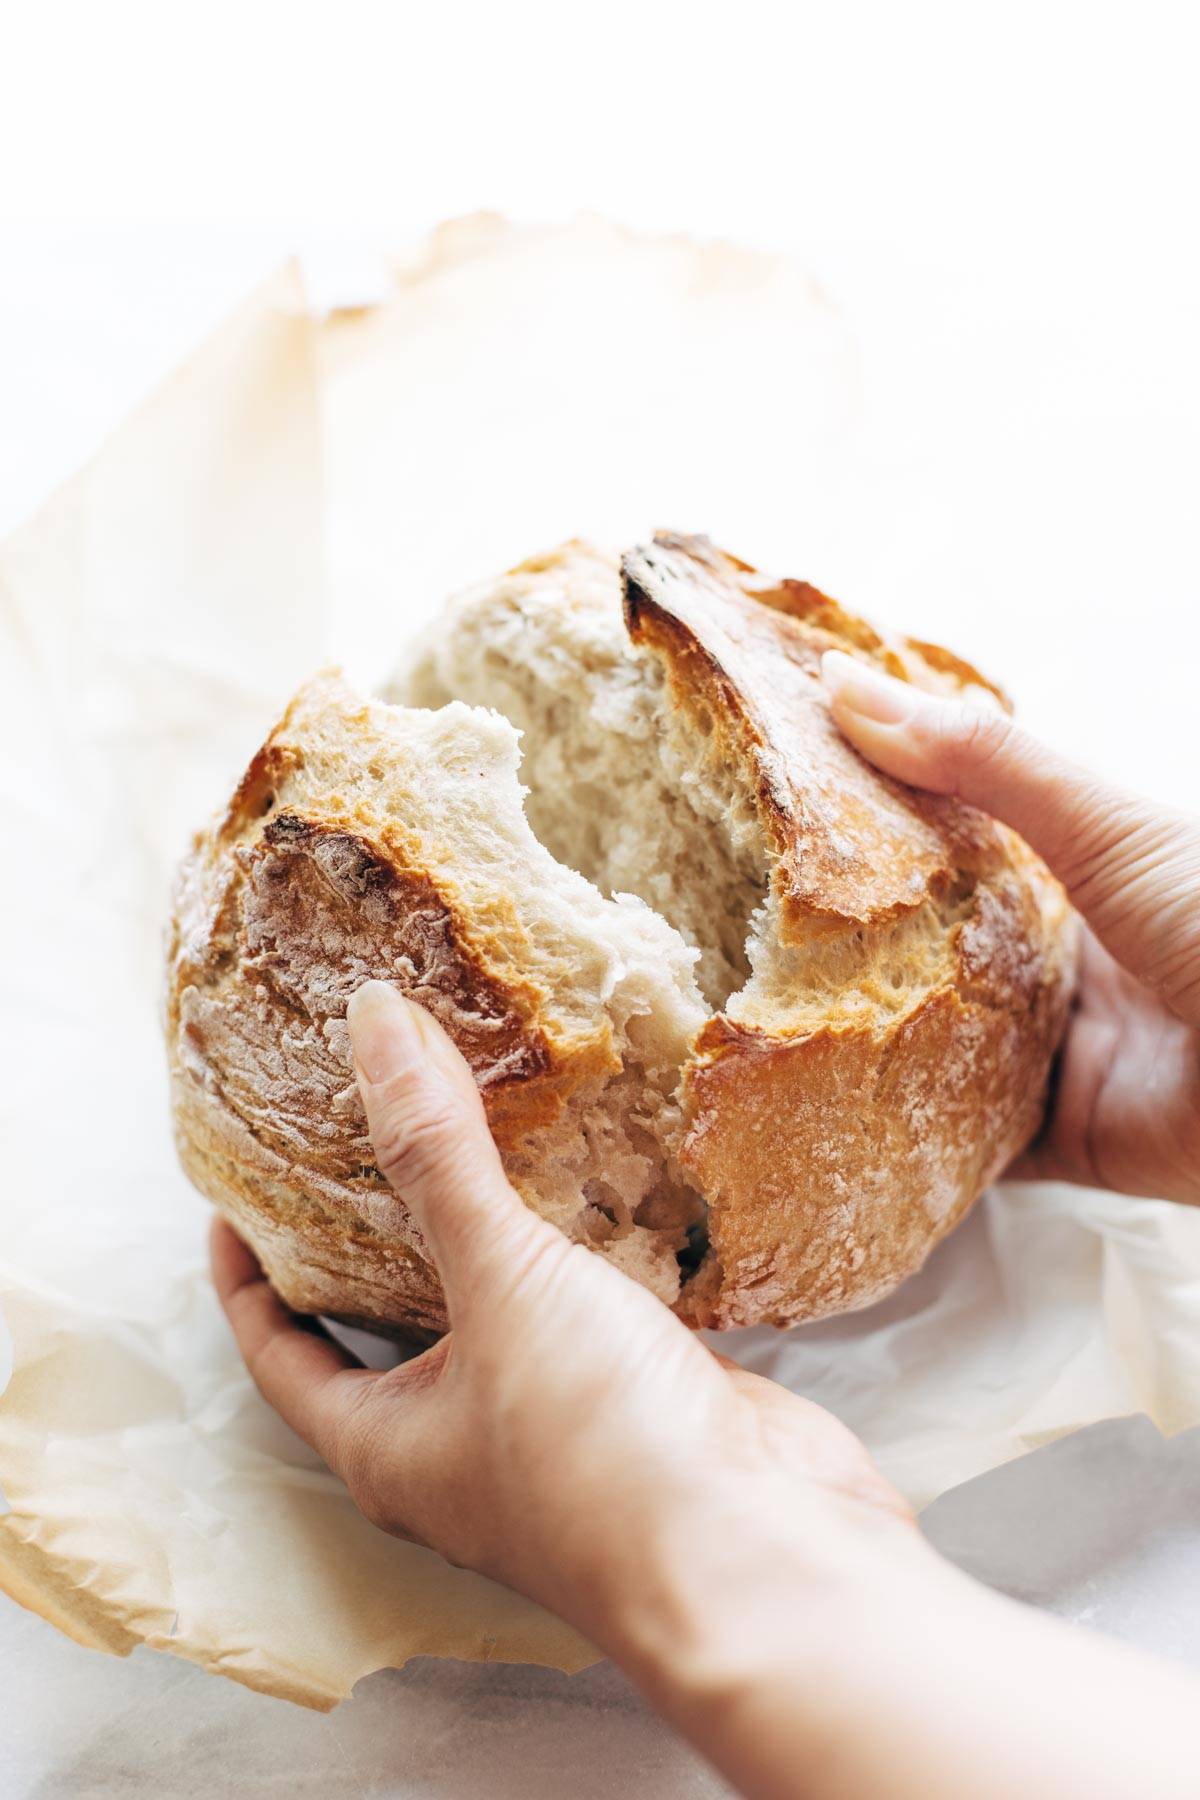
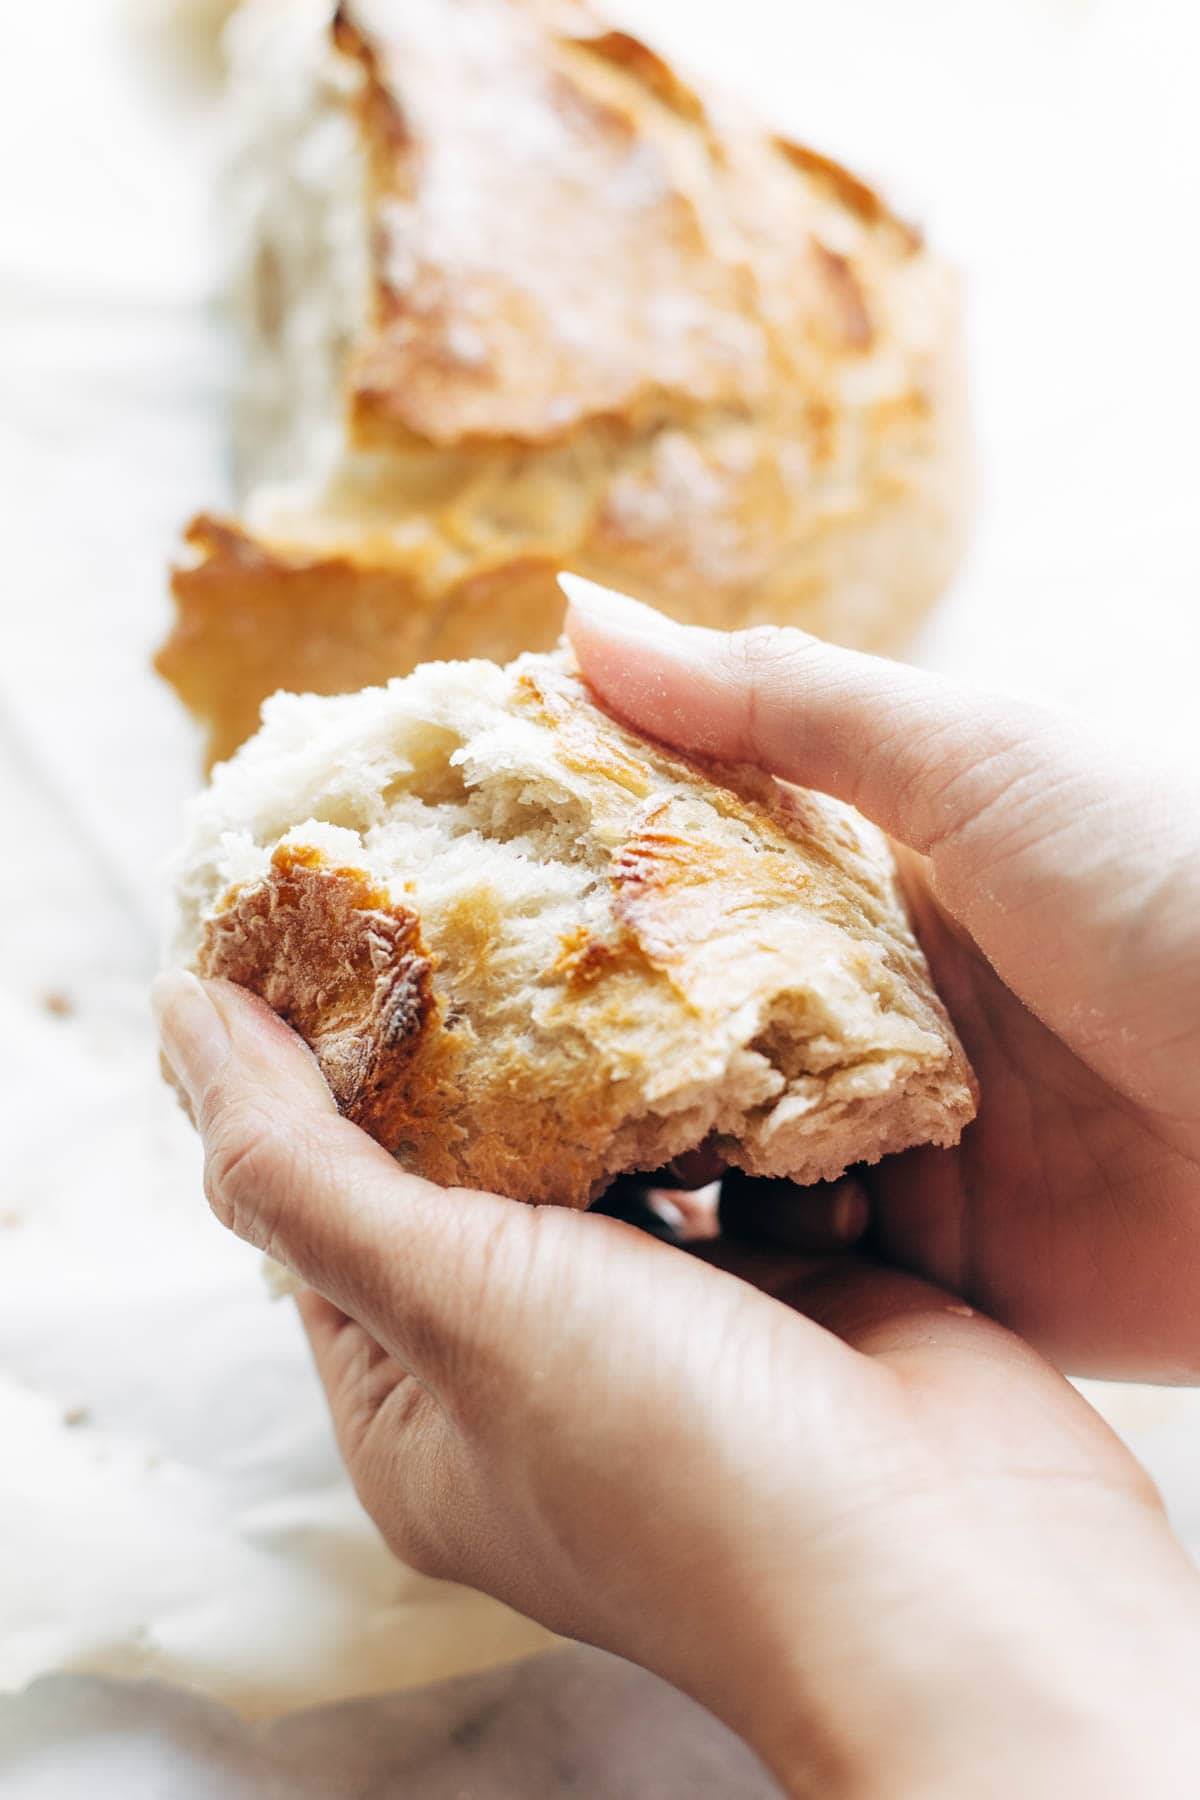
Let me paint a picture for you. It starts with a golden and ragged-looking crusty loaf of piping hot white bread being roughly torn into chunks, steam escaping, crumbs flying everywhere across the table, and it ends with that swift swooping motion as its hot n’ chewy little self dives deep into the bowl of thick soup and delivers a bit of chewy carbs sopped with flavor to your hungry, happy mouth. Honestly. The pure bliss of this moment.

Welcome to fall, bread lovers.

I have some really good news for you today.

YOU ARE ABOUT TO MAKE BREAD LIKE A BOSS.

Watch how to make our No Knead Bread:

Miracle No Knead Bread! this is SO UNBELIEVABLY GOOD and ridiculously easy to make. crusty outside, soft and chewy inside - perfect for dunking in soups! | pinchofyum.com

The Bread for Non-Bread Makers

You are going to serve this bread with your rocked-out homemade soups and the praise will come flowing from family and friends and neighbors alike, and people are not going to be able to stop. This is your moment for Martha-Stewart-level domestic greatness within the normalcy of a regular person life, and we are going to milk it.

Please scan your brain right now for these lurking thoughts: “I don’t make bread.” “Bread baking takes too long.” “Yeast-y recipes scare me.”

Friends, let the record show that I am in your club. I am on that team. I have less than zero percent patience for bread recipes and therefore I do not make bread, at all, ever, and I only have two teeny exceptions:

  1. I make brioche from Artisan Bread in 5, like, three times per year, because it makes for perfect tea rings and homemade French toast bakes and cinnamon rolls and for the times that the baking diva within comes alive. Also it’s VERY EASY.
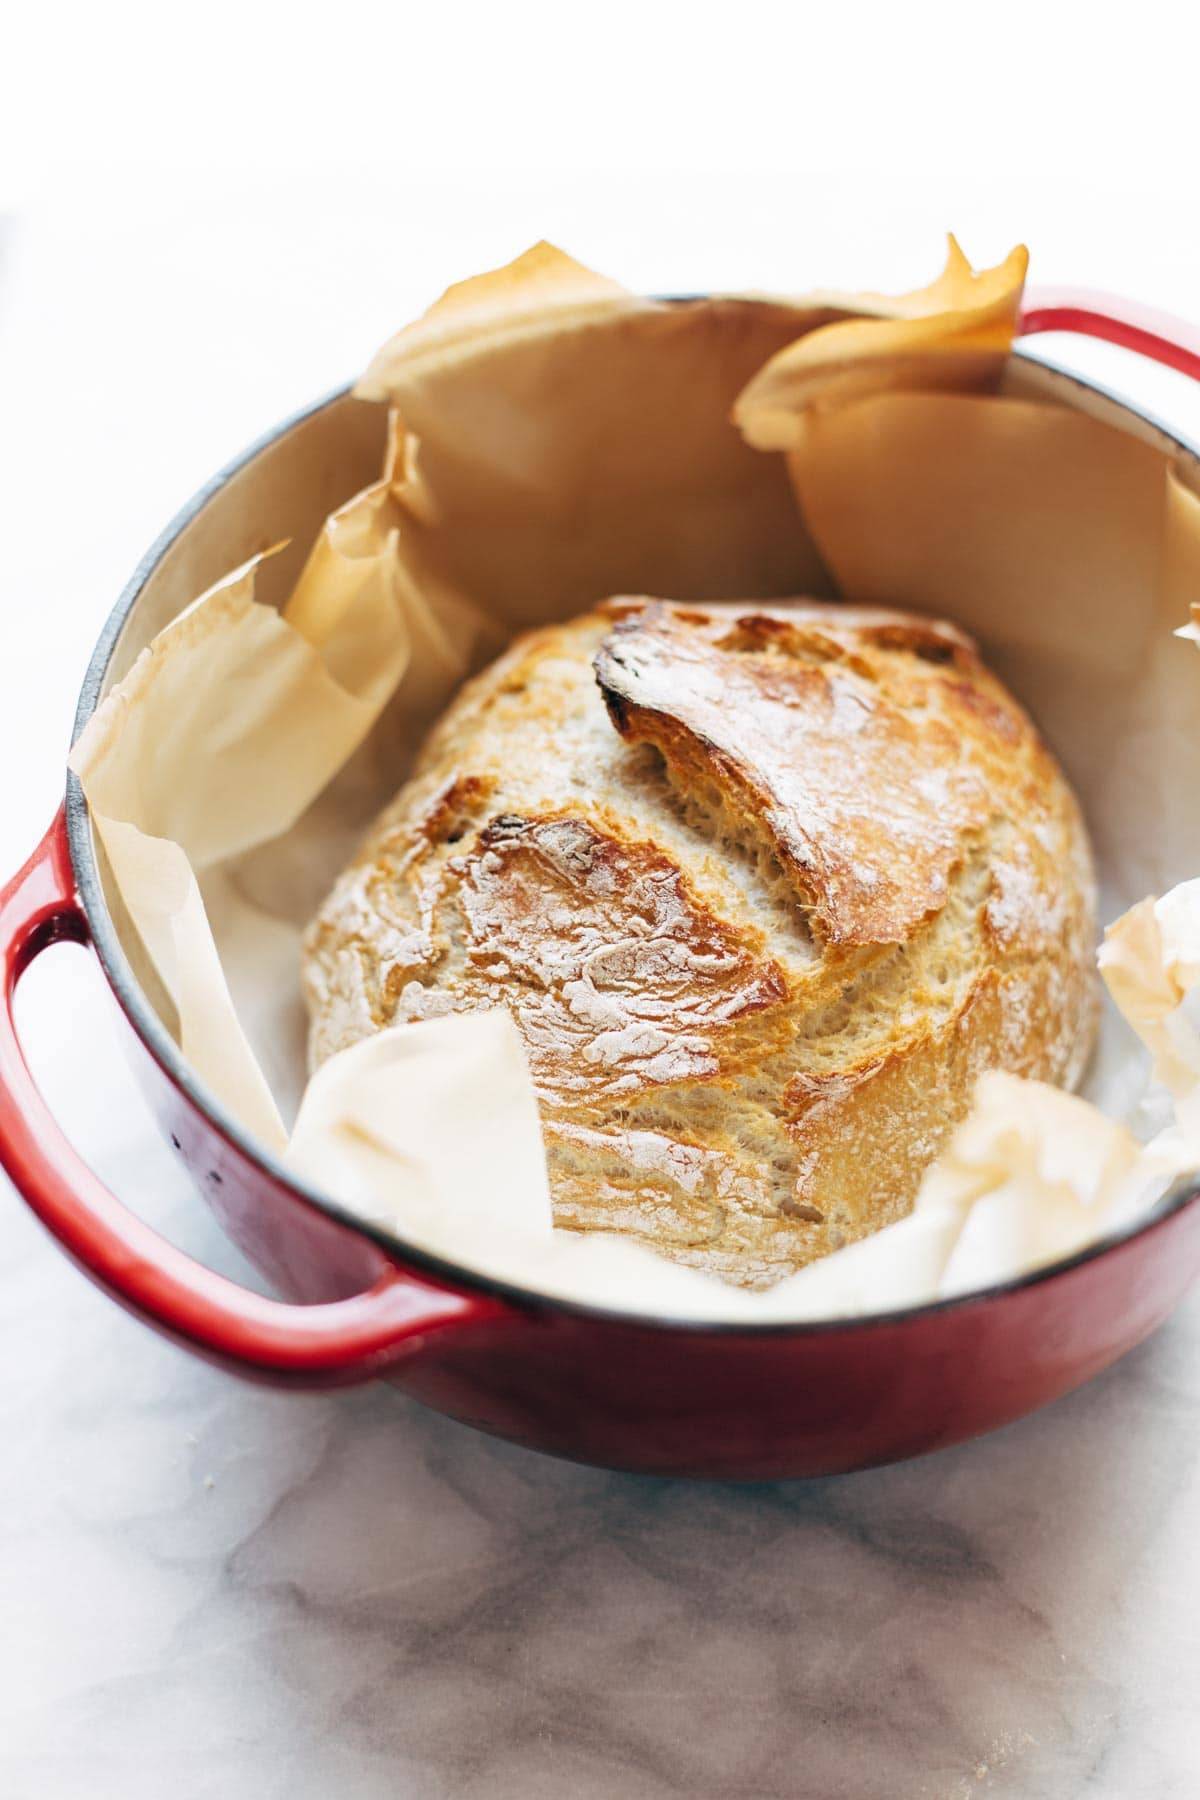
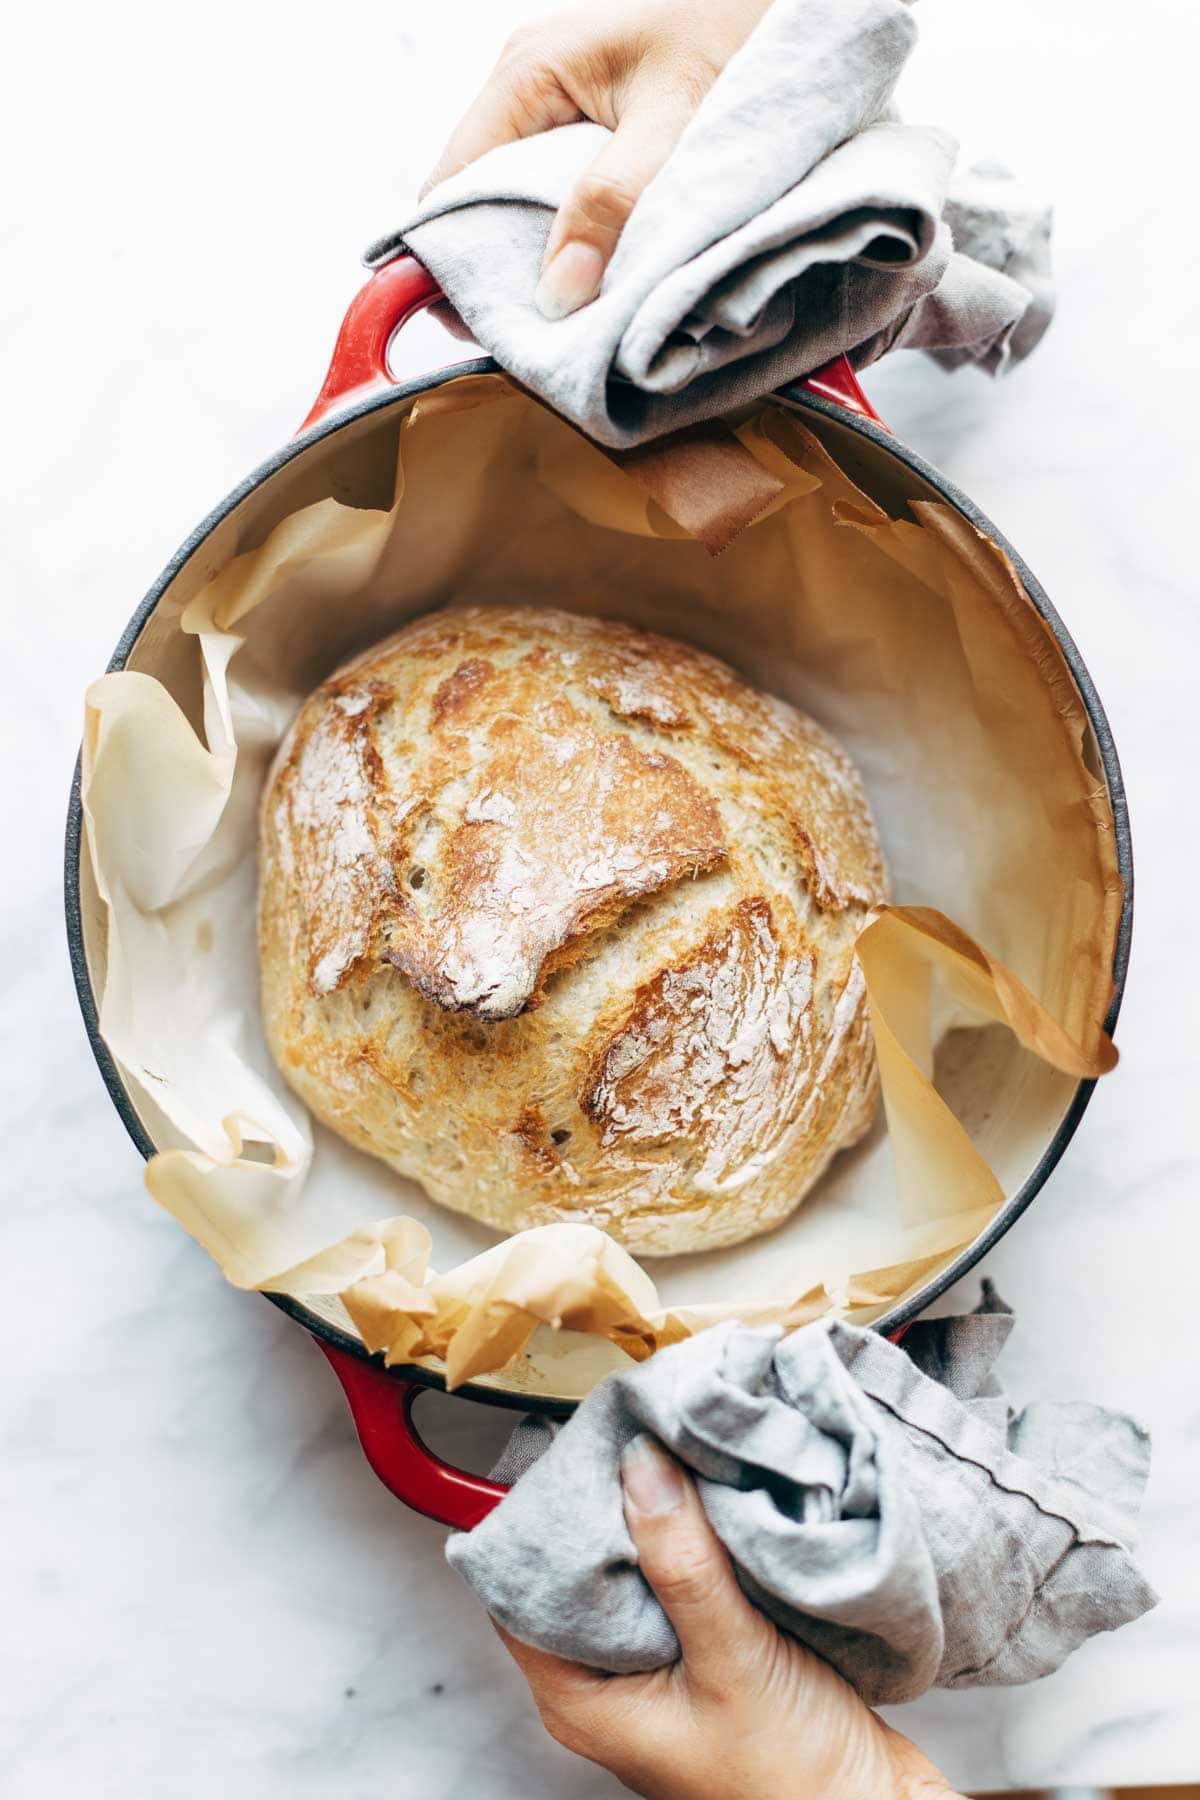
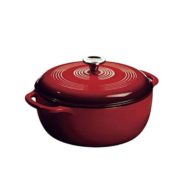
  2. I make this Miracle No Knead Bread, inspired from my friends, fellow bloggers, and people of the internet, and I make it a minimum of 250 times every fall and winter because it is the opposite of fancy. Which is confusing because it FEELS fancy to pull a loaf of homemade bread out of the oven, especially when it is tucked into that rustic and beautiful Laura-Ingalls-Wilder-esque red Lodge Dutch Oven (affiliate link) that we swoon over every year when the leaves start turning, but seriously – I would, and do, on a regular basis, make this bread for weeknight dinners. We don’t call this Miracle No Knead Bread for nothin.
Miracle No Knead Bread! this is SO UNBELIEVABLY GOOD and ridiculously easy to make. crusty outside, soft and chewy inside - perfect for dunking in soups! | pinchofyum.com

Variations on This Bread

Obviously we prefer this in its original, perfect form, but if you’re looking to make some changes, there are always OPTIONS.

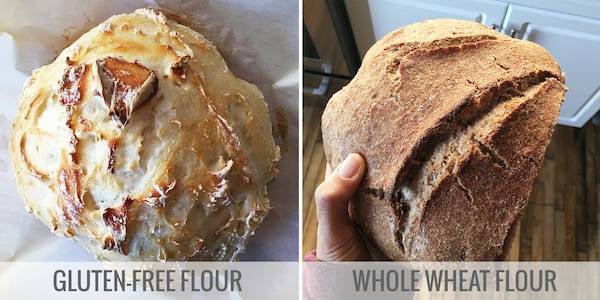
  • How to make it gluten-free: We tried this flour (affiliate link) and the results were great. A hard crust formed on the outside and the inside was soft, airy, and a teeny bit spongy – close to the real thing. Some downsides: the bread didn’t rise as much as the regular version and, of course, it didn’t have quite the same flavor.
  • How to make it whole wheat: This is very similar to the original version. The texture of the dough was the same, it rose the same, and it looked the same coming out of the oven with its hard crust. The inside texture was denser with not as many air pockets. The flavor was a little bitter and texture was a bit gritty, but to be expected with whole wheat flour.
  • How to add some flavor: Use whatever herbs that sound delicious to you! Mix them in the beginning to avoid kneading later.
  • How to make it CHEESY: We’ve got a recipe for that! Check out our No Knead Cheese Bread.
Miracle No Knead Bread! this is SO UNBELIEVABLY GOOD and ridiculously easy to make. crusty outside, soft and chewy inside - perfect for dunking in soups! | pinchofyum.com

It’s worth saying again that my motto for Pinch of Yum is RECIPES THAT REAL PEOPLE WOULD ACTUALLY MAKE. I pass all recipes that hit your eyeballs through this very practical and very important filter.

And this bread? This no knead bread that can be mixed all in one bowl with a wooden spoon in five minutes flat? This bread is on-brand. Nailed it. If you’ve never done this before, buckle up.

You’re so gonna love it in all its crispy, air-pocketed glory.

Miracle No Knead Bread! this is SO UNBELIEVABLY GOOD and ridiculously easy to make. crusty outside, soft and chewy inside - perfect for dunking in soups! | pinchofyum.com

This Bread Was Made For Soup

Truly there is nothing better than swooping a piece of this piping hot bread into some cozy, creamy soup. Here are our favorites:

Print
No Knead Bread held by hands.

Miracle No Knead Bread


Description

Miracle No Knead Bread! this is SO UNBELIEVABLY GOOD and ridiculously easy to make. crusty outside, soft and chewy inside – perfect for dunking in soups!


Ingredients

  • 3 cups all-purpose flour
  • 1 1/2 teaspoons salt
  • 1/2 teaspoon instant yeast
  • 1 1/2 cups room temperature water

Instructions

  1. DOUGH PREP: In a large mixing bowl, whisk the flour, salt, and yeast together until mixed. Stir in the water until a chunky, thick dough forms. If it needs a little more water, add a few more tablespoons, just enough to get it barely wet throughout. It’s gonna look scrappy and weird and you’re going to question me on whether or not this will work, but it will. Cover the mixing bowl with plastic wrap and let it rest for 12-18 hours at room temperature. Overnight is ideal here, kids.
  2. PREP FOR BAKING: When you’re ready to bake, preheat the oven to 450. Stick a 6 quart enamel coated cast iron Lodge Dutch Oven (or similar) in the oven for about 30 minutes to heat. At this point, the dough should be big and puffy and pretty loose, with little bubbles in it. Gently scrape the dough out onto a well-floured surface. (Remember: NO KNEAD.) Gently shape it into a ball with flour on the outside, set on a piece of parchment, and cover with plastic while your pan heats up.
  3. BAKE: Remove the plastic from the dough. Lift the dough and parchment together into the pan so the parchment lines the bottom of the hot pan (be careful not to touch the pan since it’s very hot). Bake, covered, for 30 minutes. Remove the cover and bake another 10-15 minutes to get the exterior nice and golden brown and crispy. Voila! Done. Miracle no-knead bread, you boss you.

Notes

The equipment section above contains affiliate links to products we use and love!

If you do not have a Dutch Oven: You will just need an oven-safe pot or pan with an oven-safe tight-fitting lid. Please check instructions on whatever you use to ensure it can be heated to 450 degrees (empty for instruction #2). 

Based on comments and questions, we decided to try this recipe with both gluten-free flour and whole wheat flour! A few notes for each: 1. Gluten-Free: We tried this flour and the results were great. A hard crust formed on the outside and the inside was soft, airy, and a teeny bit spongy – close to the real thing. Some downsides: the bread didn’t rise as much as the regular version and, of course, it didn’t have quite the same flavor. 2. Whole Wheat: This was very similar to the original version. The texture of the dough was the same, it rose the same, and it looked the same coming out of the oven with its hard crust. The inside texture was denser with not as many air pockets. The flavor was a little bitter and texture was a bit gritty, but to be expected with whole wheat flour.

  • Category: Side Dish
  • Method: Bake
  • Cuisine: American

Keywords: no knead bread, homemade bread, easy bread

Recipe Card powered by

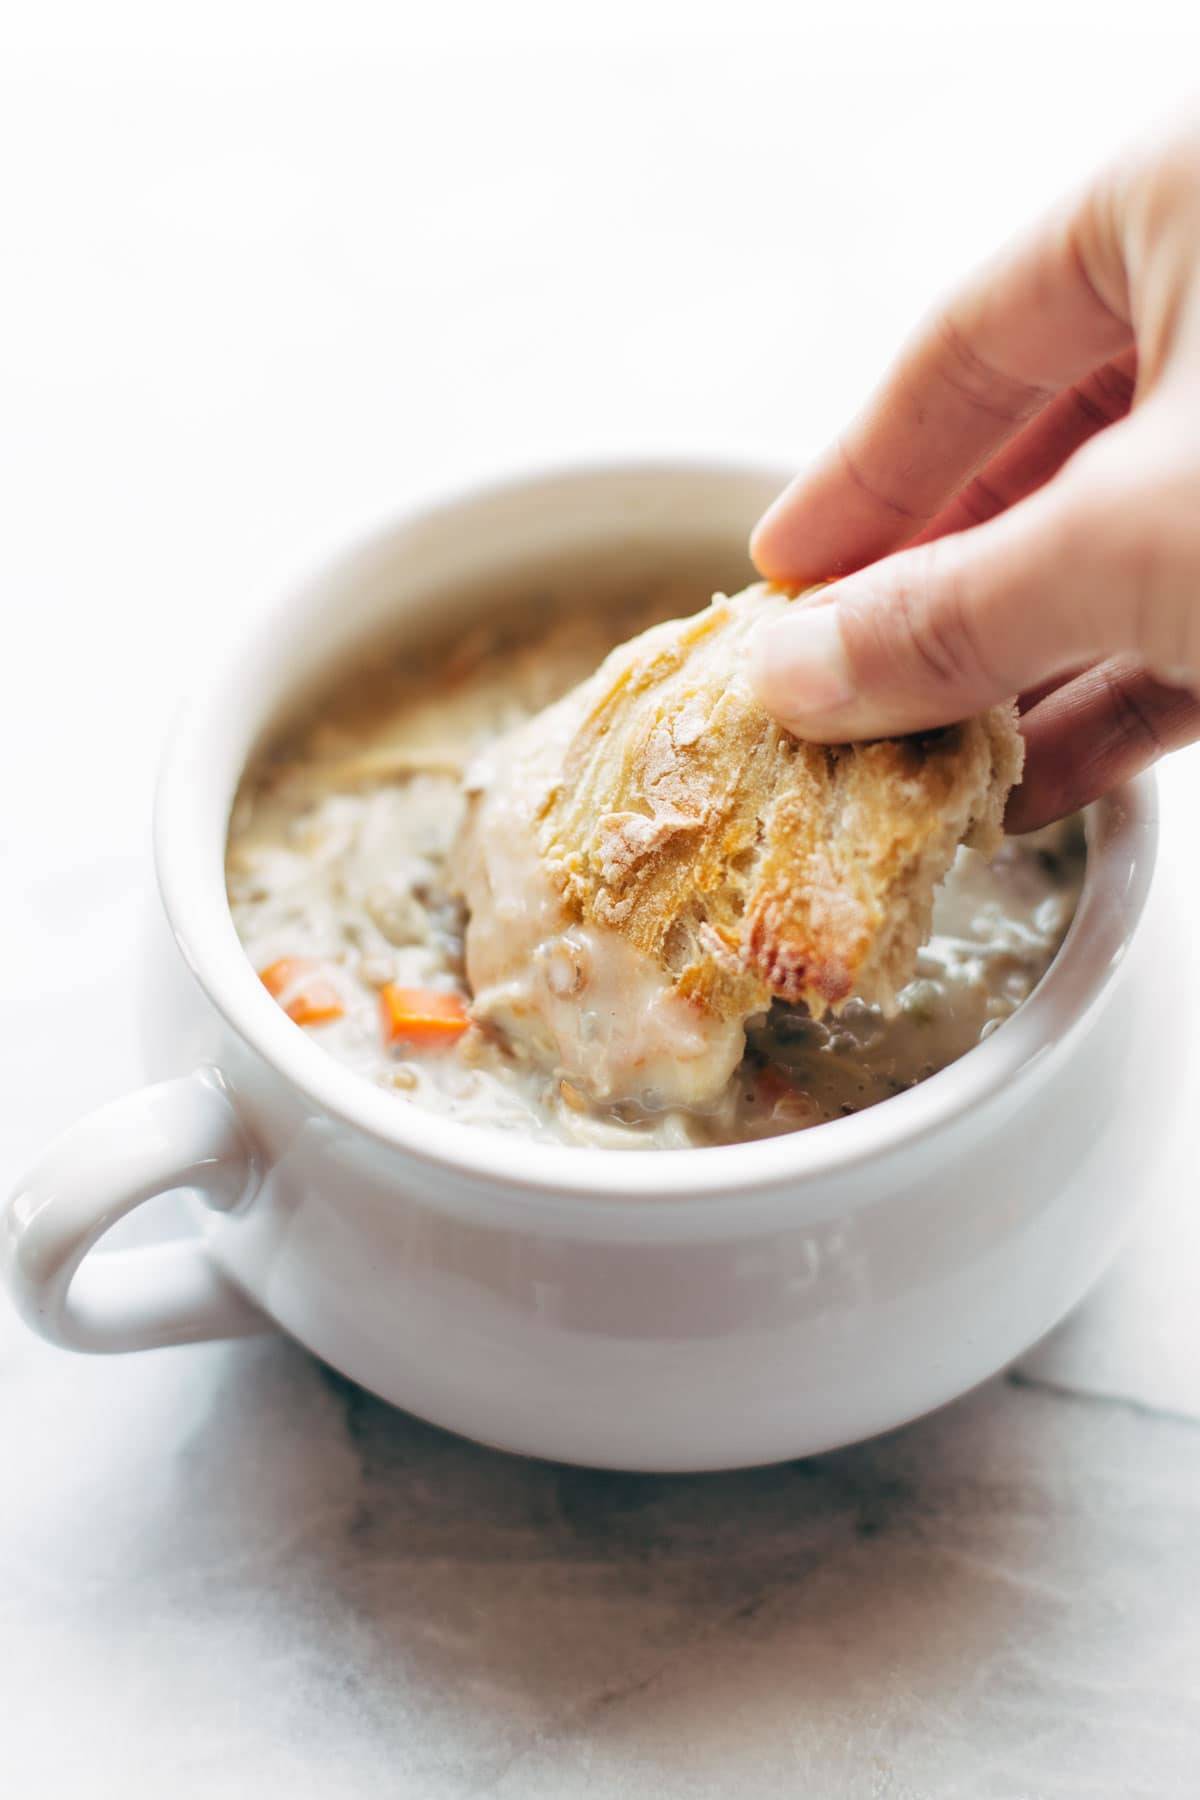
(👇🏼 pictured here dipped in Chicken Wild Rice Soup. cannot recommend that situation highly enough.)

Miracle No Knead Bread! this is SO UNBELIEVABLY GOOD and ridiculously easy to make. crusty outside, soft and chewy inside - perfect for dunking in soups! | pinchofyum.com

You can read about ten other things I love to do with my adorable red Lodge Dutch Oven in THIS POST from years back. Yes, I am that much of a superfan.

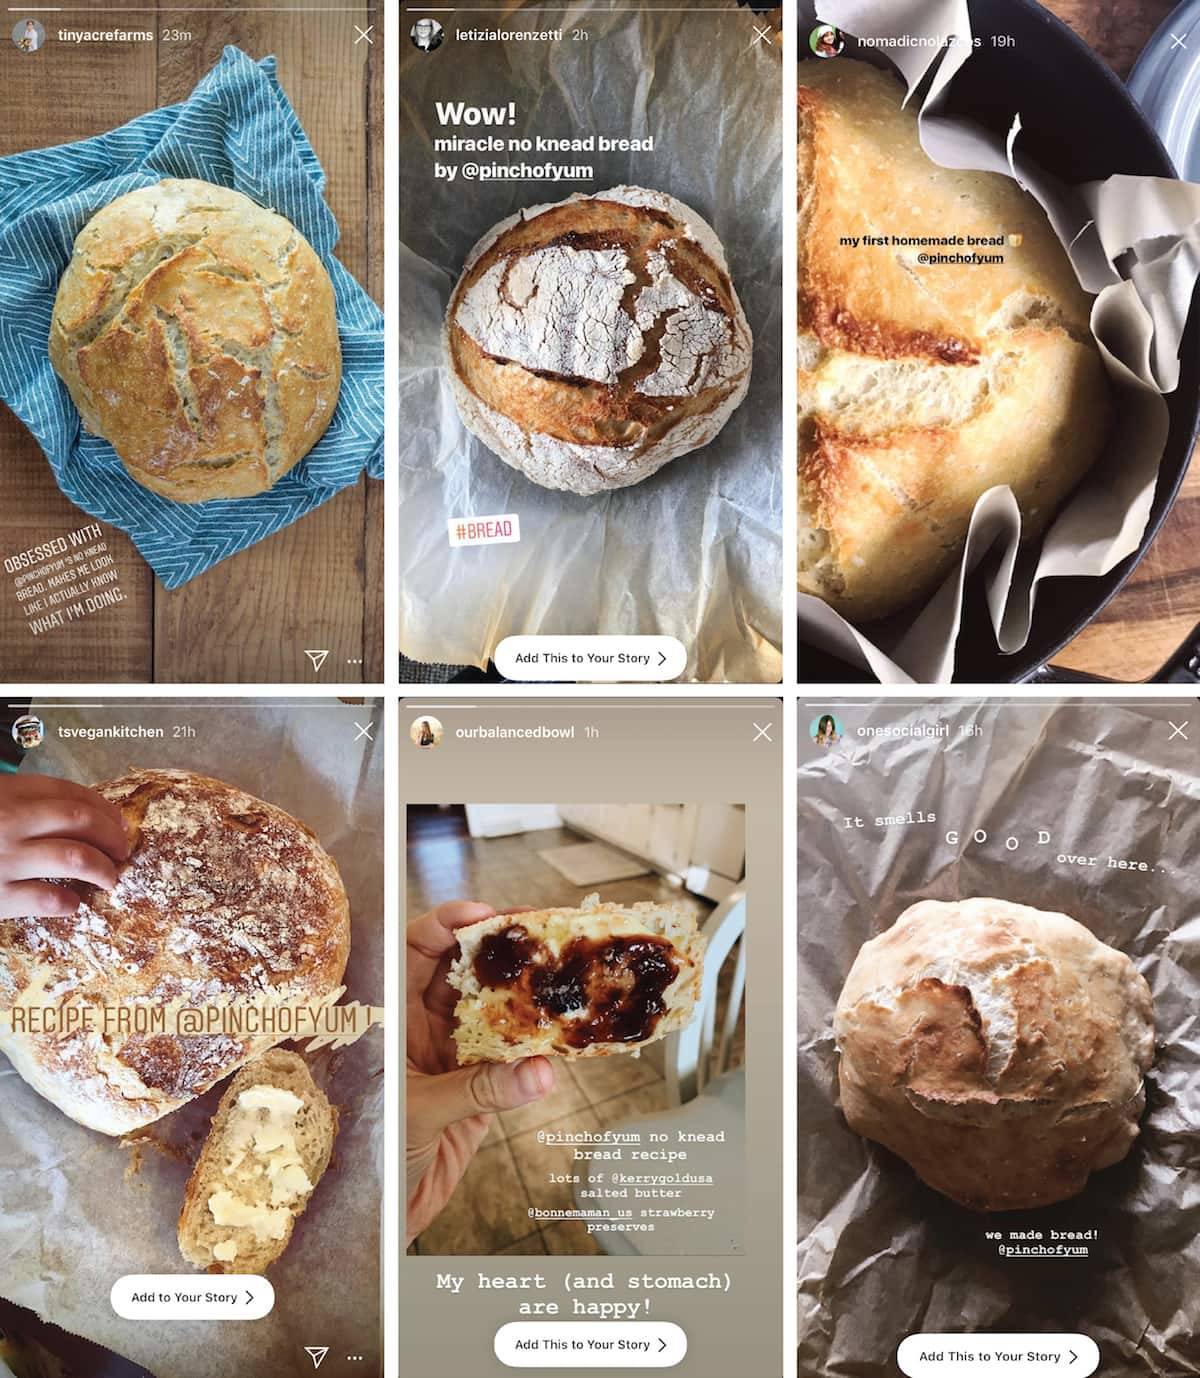
TIME TO SHOW YOU OFF!

One more thing!

This recipe is part of our collection of easy baking recipes. Check it out!

The post Miracle No Knead Bread appeared first on Pinch of Yum.


from Pinch of Yum https://ift.tt/2ysYKPP

Monday, November 9, 2020

Oatmilk Honey Latte

Oatmilk honey latte in a mug.

Holy moly, this is good.

Steaming hot, rich, and dark, but also satisfyingly creamy – thank you, oatmilk! – and just barely sweet and warm-spiced… it’s hard for this not to just feel like the drink form of your favorite sweater.

Even with just a handful of ingredients, the flavor is incredibly nuanced because every jar of honey has a little bit of a different thing going on, know what I mean? I could drink these for 100 days in a row and not get tired of them. And I’m currently making good progress towards that goal.

Let’s just take a moment to address the fact that I really don’t share a lot of drink recipes here. In my real life, I hardly feel like I have time to get dinner on the table (just me? anyone?), much less make a beautifully crafted coffee drink or cocktail to complement the moment (unless it’s this Creamy Cashew Coffee). As a general life rule, I go for quick and easy at home (i.e. open a can of sparkling water) and I save my fancy drinks for my dining out experiences. So please know, when I share a drink, it’s because I really, really, really love a drink. (Thinking of you, agua fresca.)

While most drinks require too much energy to make it worthwhile for me, the equation is just right on this one.

The minimal effort involved + the resulting incredibly cozy taste and texture = worth it. More than worth it. Better than worth it.

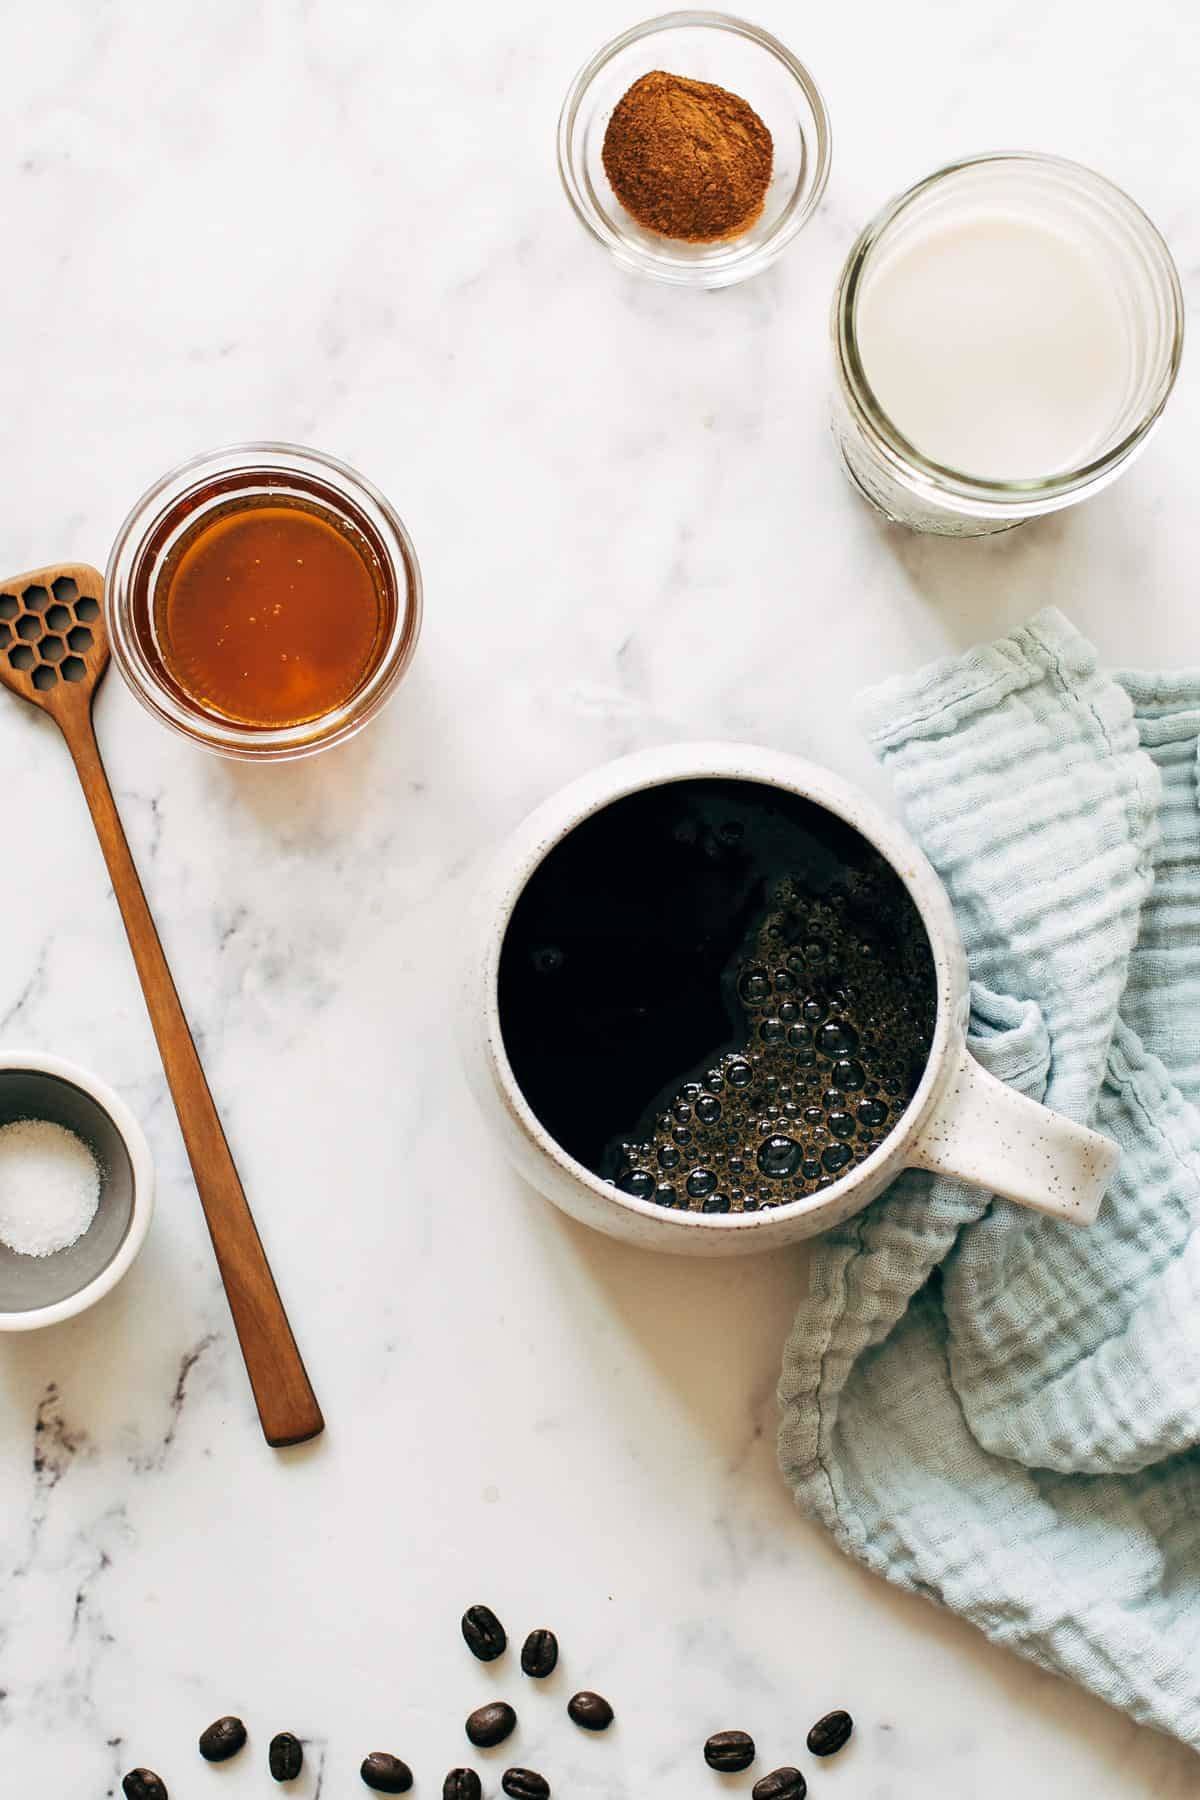
Ingredients for oatmilk honey latte.

Here’s what you need:

  • Instant coffee – or brew your own, but you only need about 1/2 cup and I like to just make it real fast (and strong) with hot boiling water, plus I use decaf and we don’t often have a pot of decaf sitting around, so, yeah. Instant coffee. You do you.
  • Oatmilk – thickness, taste, and frothing quality varies by brand; I like Oatly, Chobani, and Forager.
  • Honey – usually local is best for finding one with a good flavor, but I recently bought some Wholesome! brand honey and was shocked at its unique, rich floral flavor.
  • Cinnamon – optional, but do you love yourself or not?
  • Salt – just a half a pinch.

You heat up your honey, oatmilk, and salt in a jar in the microwave, pop the lid on, and shake it up. Now you pour it over your coffee. And you win the cozy-morning-at-home olympics. The end.

Oatmilk honey latte in a mug.

This has been my constant companion this fall – from the office in the late afternoon to the couch on a chilly Saturday morning. It is pure coffee shop level deliciousness at regular-person skill and effort level. Bring on the cozy! ♡

This latte method (shake in a jar) was one that I saw in the September issue of Magnolia Magazine – shaking in a jar to froth your milk?! Totally new concept to me. But flavor-wise, mostly this oatmilk honey latte is influenced by the Starbucks version that I love, love, love.

Print

Oatmilk Honey Latte


  • Author: Lindsay
  • Prep Time: 5 minutes
  • Cook Time: 5 minutes
  • Total Time: 10 minutes
  • Yield: 1 serving

Description

Oatmilk Honey Latte – a delicious homemade morning treat! Steaming hot, rich, and dark coffee that’s satisfyingly creamy, barely sweet, and warm-spiced.


Ingredients

  • 3/4 cup oatmilk
  • 12 tablespoons honey (depends how sweet you like it)
  • tiny tiny pinch of salt
  • 1/2 cup of strongly brewed coffee (decaf, in my case!)
  • dusting of cinnamon, optional

Instructions

  1. Pour the oatmillk, honey, and salt into a glass jar. Microwave for about a minute, until very hot.
  2. Put a cap on the jar and wrap with a towel (the metal lid will get hot). Shake until foamy and delicious.
  3. Pour your milky mixture into a mug. Add coffee. Sprinkle with cinnamon. Your cozy morning awaits.
  • Category: Drinks
  • Method: Brew
  • Cuisine: American

Keywords: oatmilk latte, oatmilk honey latte, dairy-free latte, honey latte, homemade latte

Recipe Card powered by

The post Oatmilk Honey Latte appeared first on Pinch of Yum.


from Pinch of Yum https://ift.tt/38p8MCp