Friday, November 19, 2021

The Very Best Chocolate Cookies

Dark chocolate cookies on a plate next to a glass of milk.

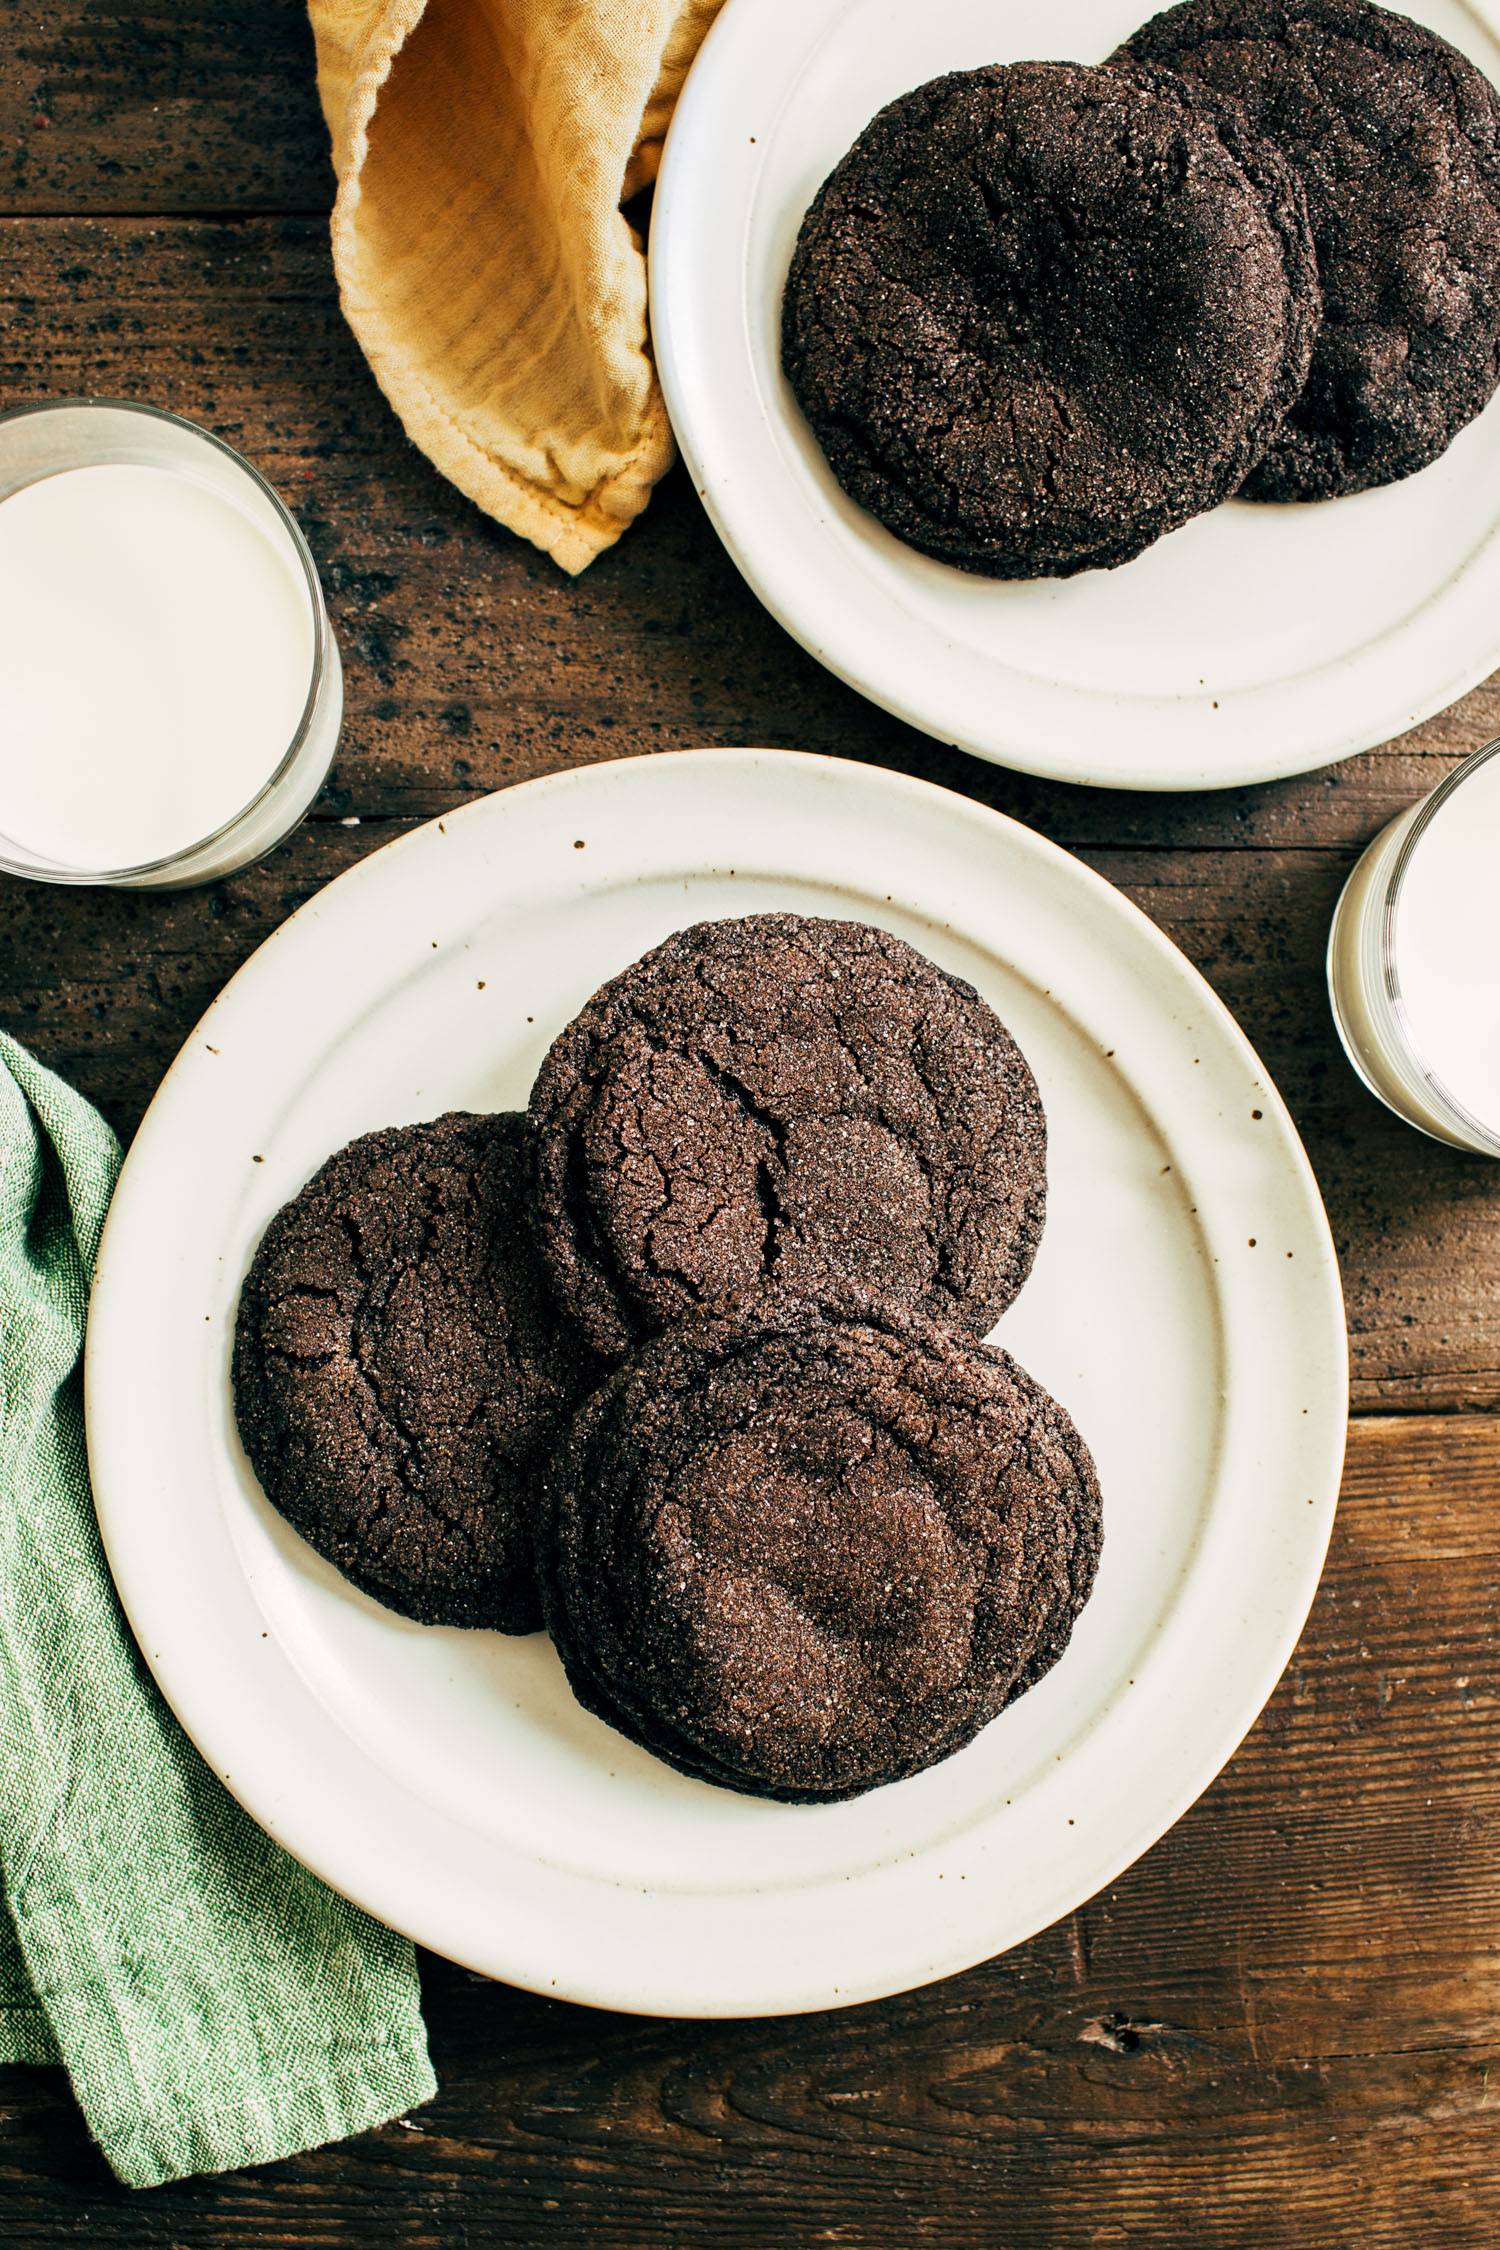
Let no Holiday Series pass without cookies! Really, let nothing pass without cookies. Especially thick, soft-centered, crispy-edged, dark, rich, melt-in-your-mouth chocolate cookies. Laced with espresso powder and with a snowy sprinkle of cardamom sugar on top (optional, but such a wintery treat). They’re beautiful, festive, deeply delicious, and you’re going to be lucky if they last a day in your house. Be prepared when you set them out. People will come in droves…family, friends, neighbors, the Amazon delivery person may wander in and grab one for the road.

They are truly remarkable. So put some in your pockets before they’re gone.

Dark chocolate cookies on a plate with a bite taken out of them.

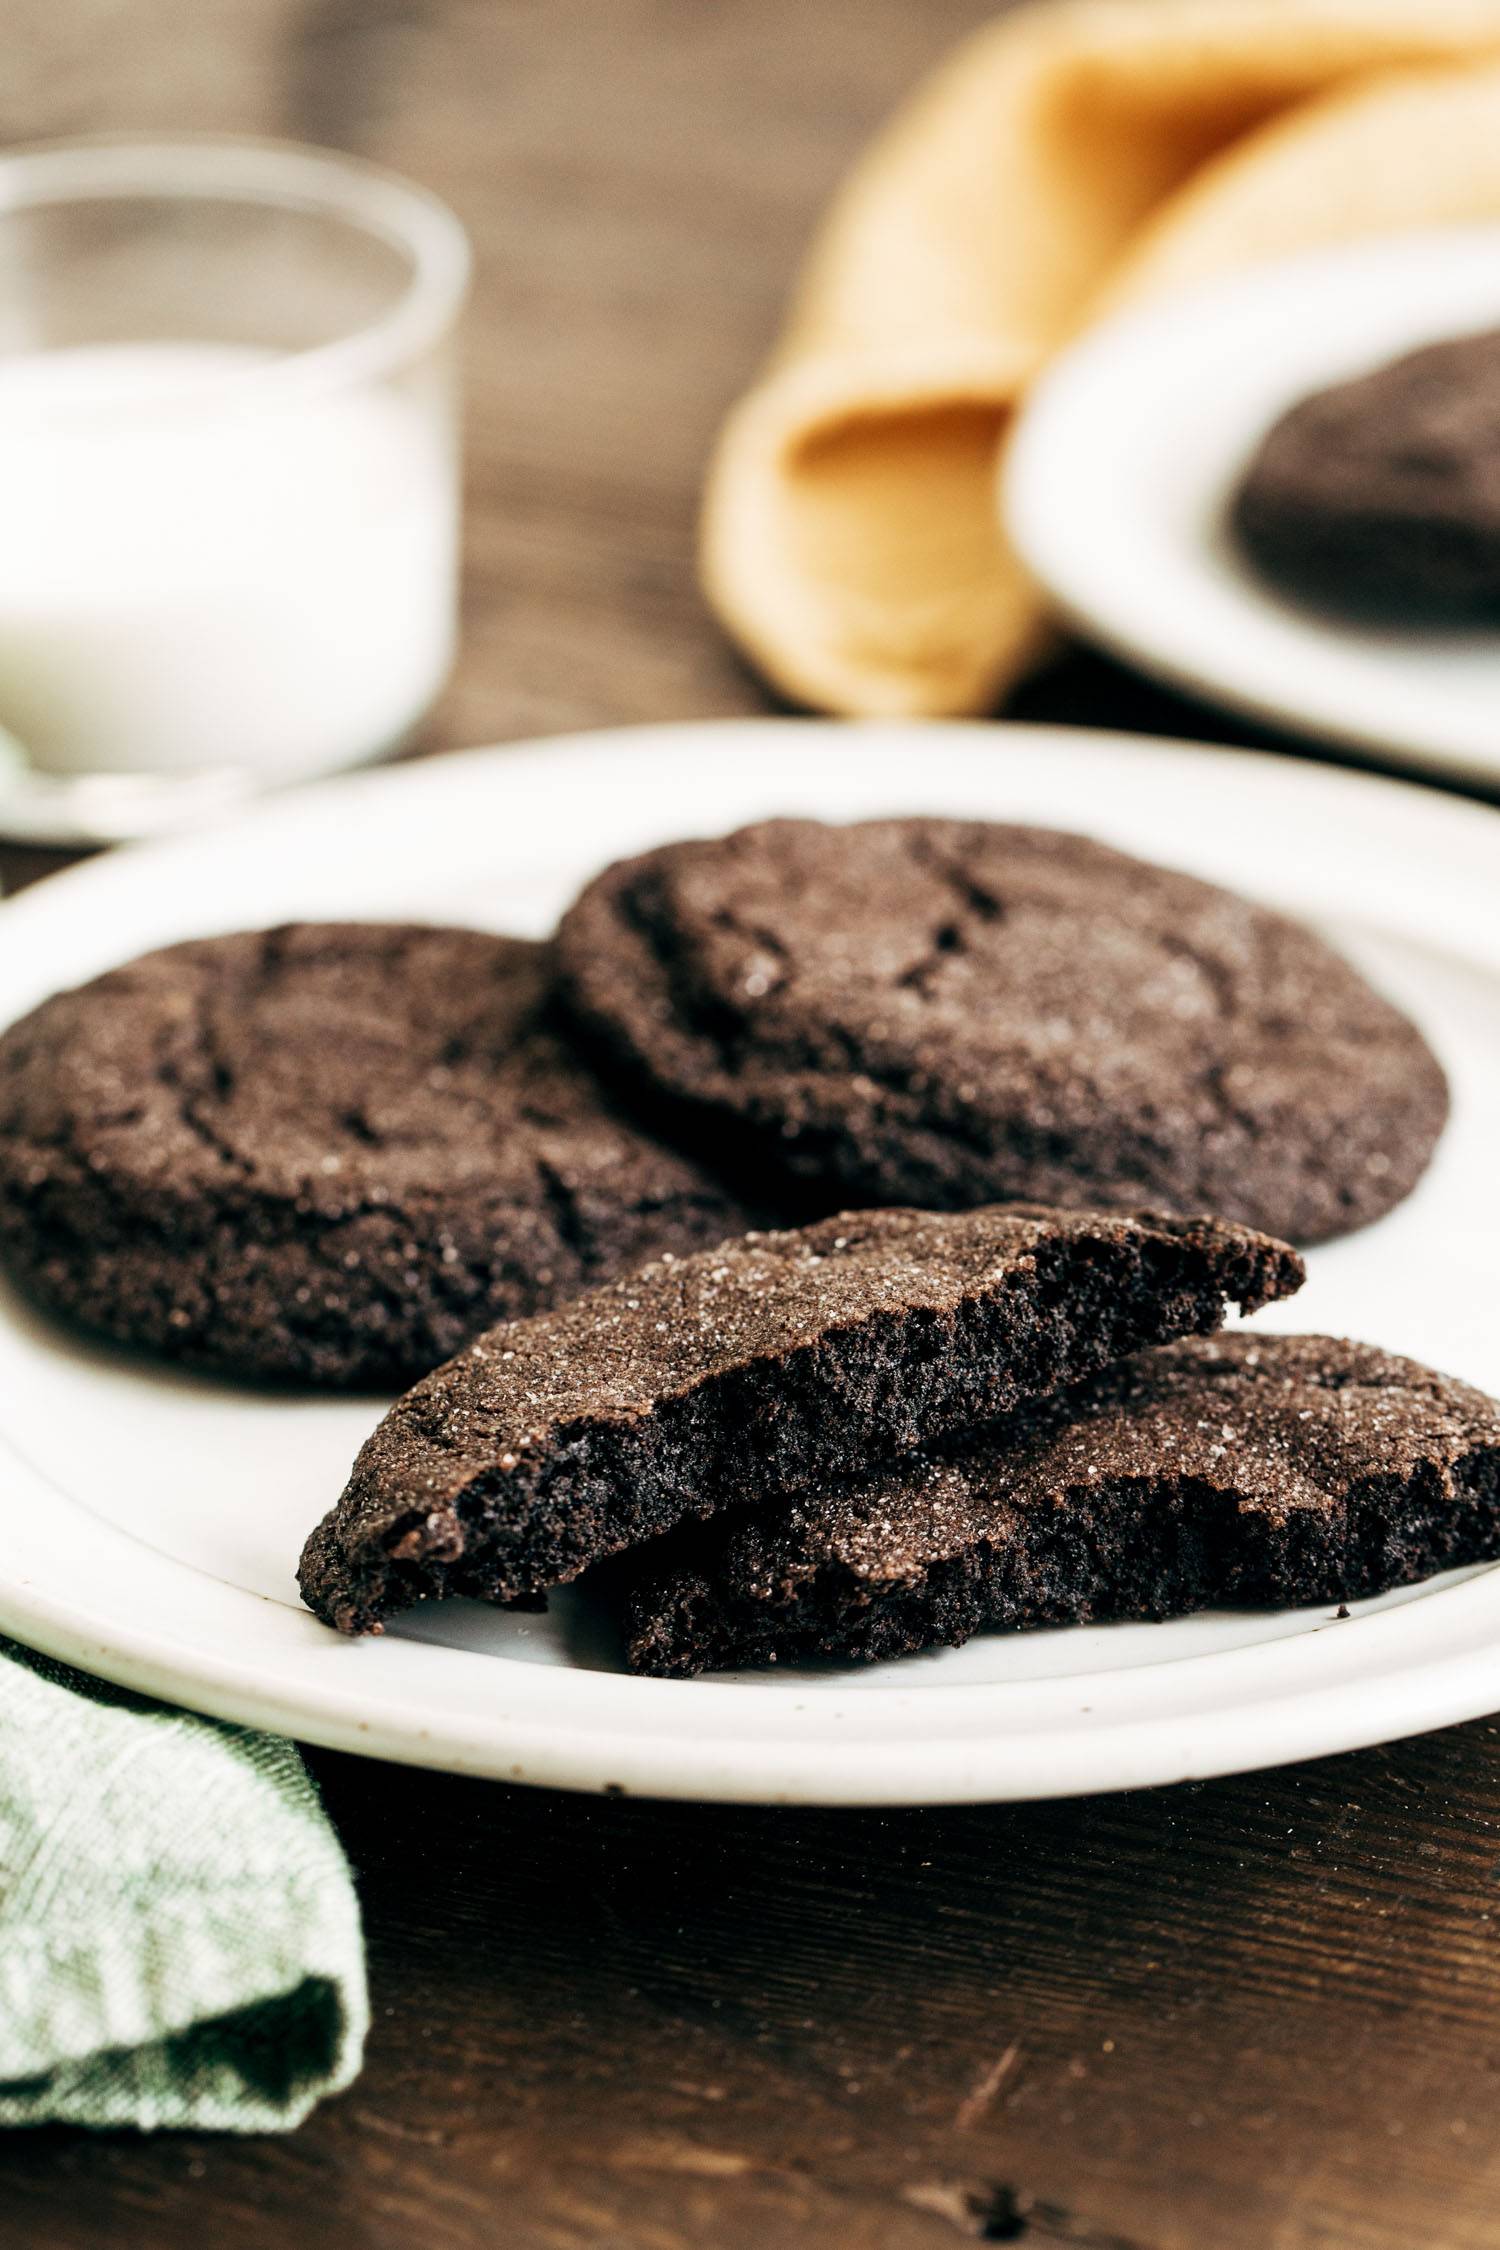
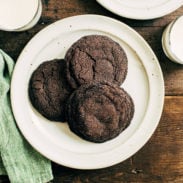
Soft Centers, Crispy Edges

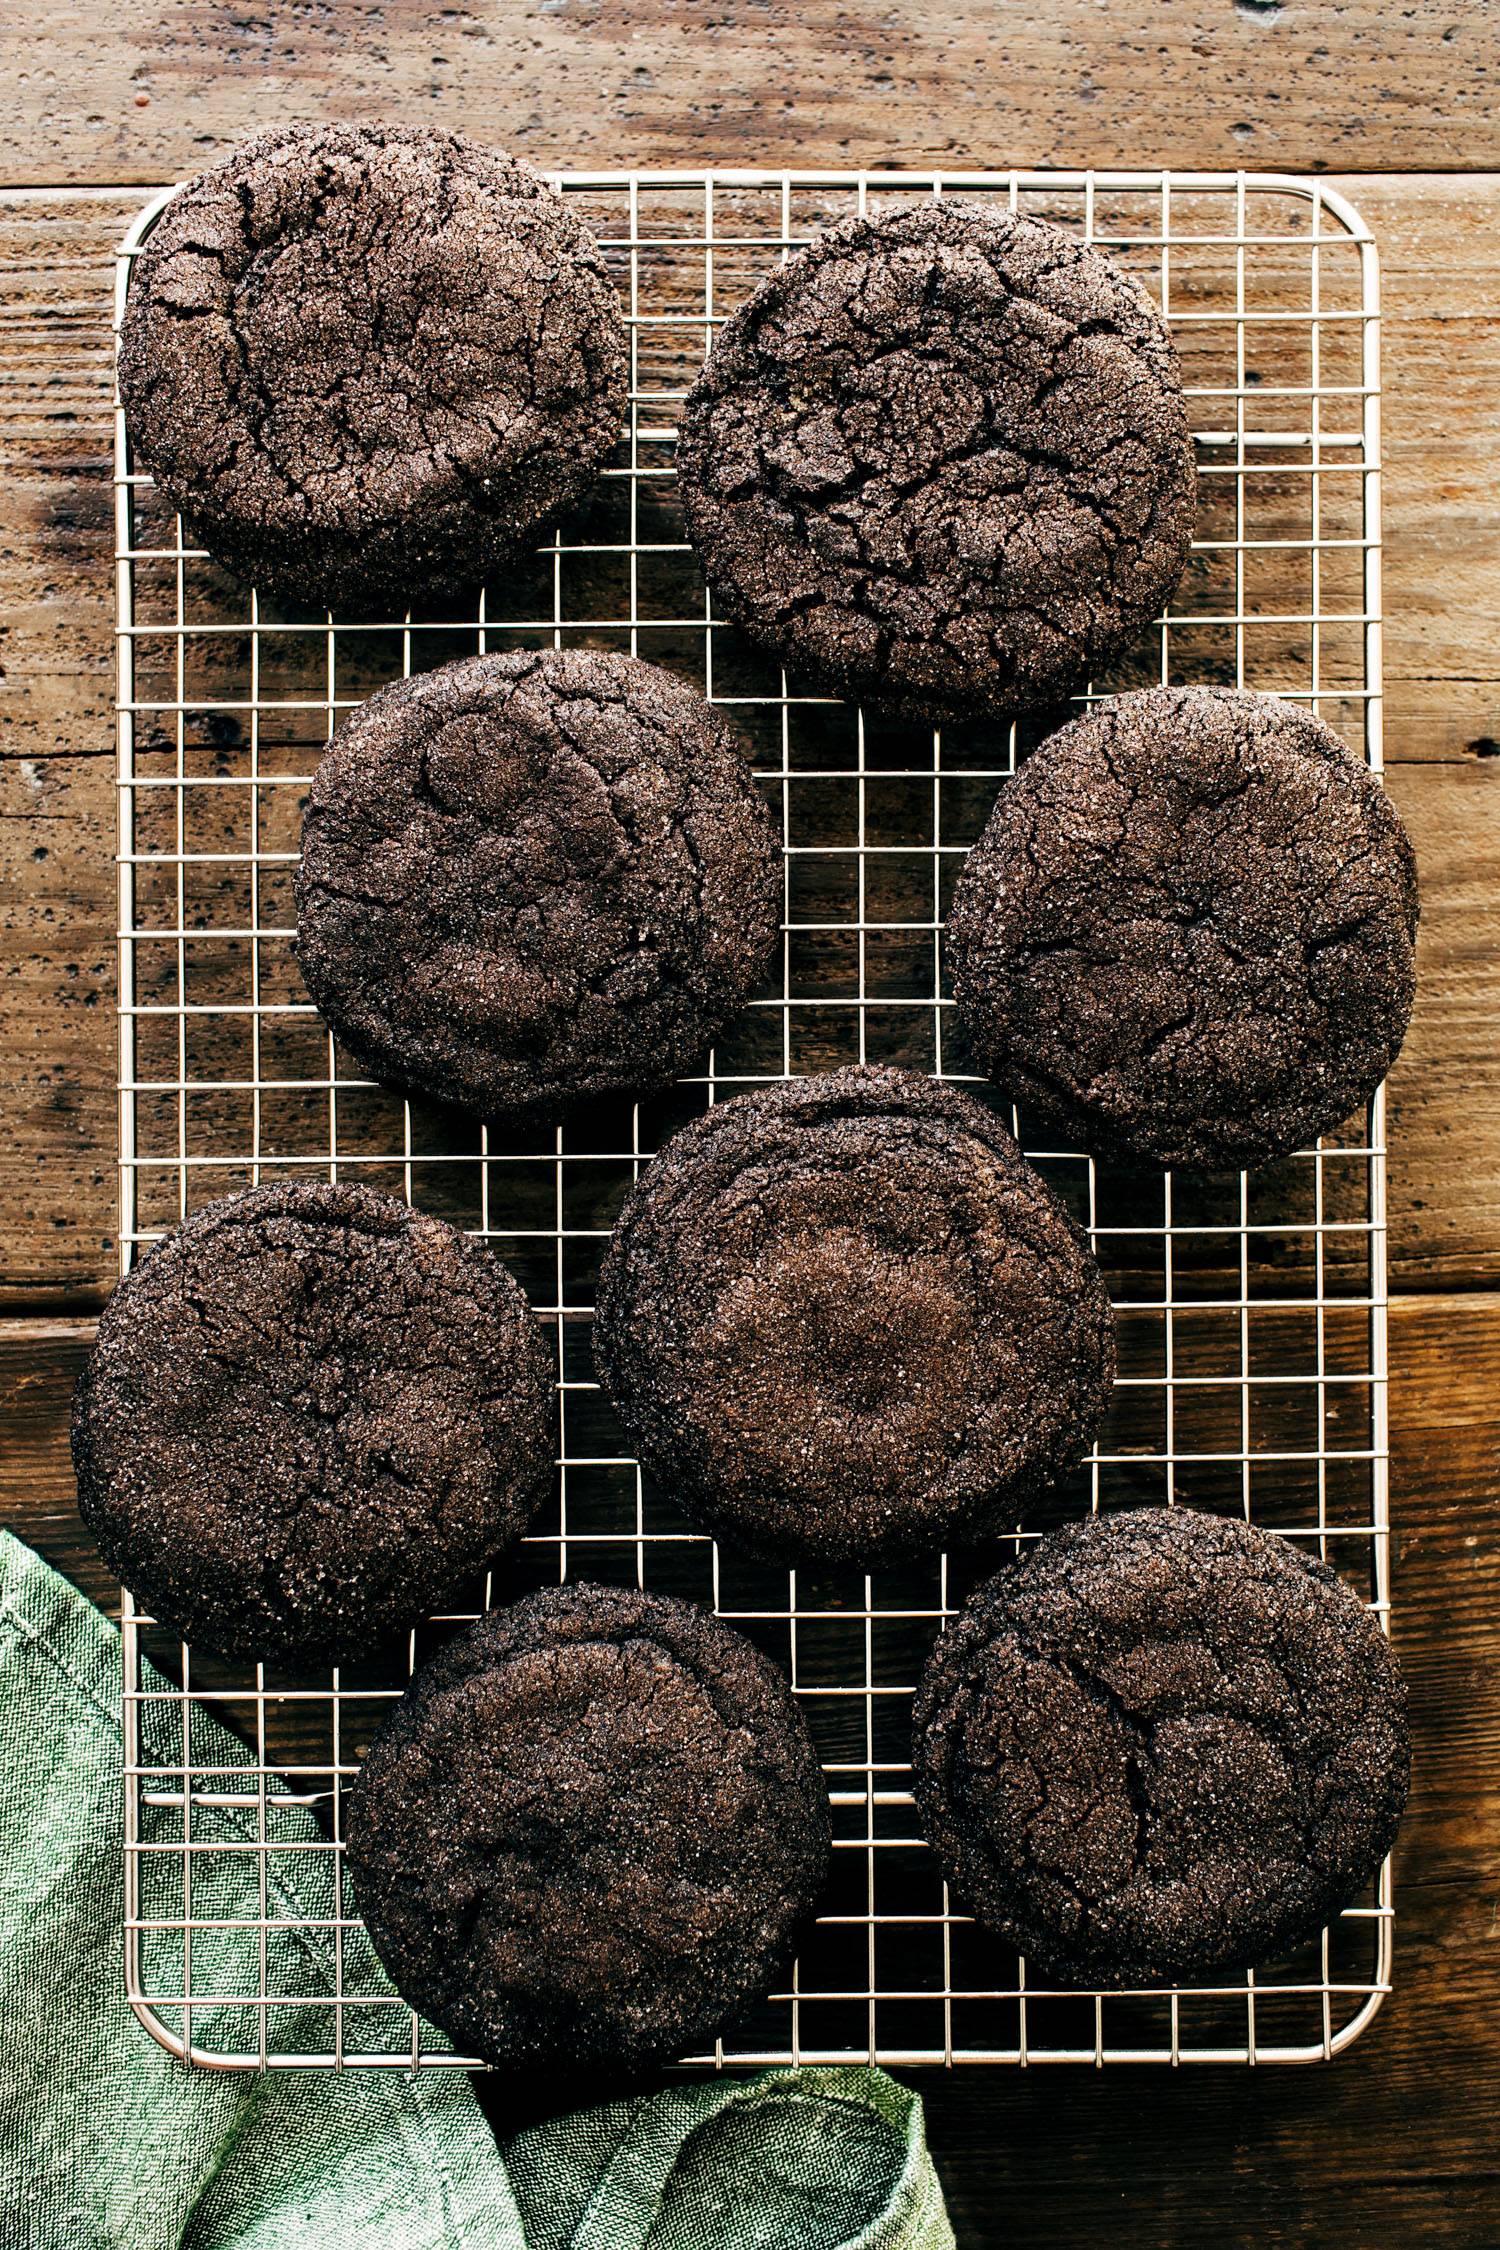
This recipe will make about twenty-four very large cookies. We’re not messing around here with baby cookies. We want a cookie that says we mean it. Because we DO.

The larger size of the cookie also helps achieve that perfectly thick sunken soft middle. The kind you just want to curl up in, the kind that pull apart at each craggy little crack. The kind that makes you think, “Maybe I should eat just one of these”, but you know it will probably be two. Or ten.

Also, with a little bit of settling on the pan after you pull them out of the oven, not only will you have soft chewy middles but you also get those nice crispy little edges. That tiny crunch in each bite. And, yes, it’s all a part of the same cookie but it just tastes different, you know? The oven crisp edge with the melty fudgy center…

HELLO IS THIS A DREAM COOKIE OR WHAT? Honestly tearing up just writing about it.

What You Need For These Cookies

Cardamom is interesting because you can’t exactly place it, but you can tell when it’s not there. It’s just slightly warmer, a tinge of something special, a little Christmasy speckle on your palate. It is certainly not required to make these cookies delicious, they are unbelievable with or without, but it really is worth a try. And let’s be serious here, you’re going to wind up making batch after batch of these on repeat, so why not dust one batch with this wintery spice?

To make the rest of the magic happen, you’ll want to gather up:

  • your cookie basics: butter, brown sugar, eggs, flour, baking soda, salt
  • vanilla
  • cocoa powder
  • extra sugar for rolling
  • cardamom (optional)
  • espresso powder (also optional, but let’s be fun)

A warm heart? A festive spirit? A readiness to chomp chocolate cookies for the rest of your holiday days? Also on the list.

How To Make These Chocolate Cookies

It’s hard to choose what to love most about these cookies, but the fact that they’re a real mix & bake, no-fuss kinda situation certainly makes the list!

  1. Make the dough. Cream butter and sugar and then add the eggs and vanilla until just combined. Then, in goes the flour, cocoa powder, espresso powder (if using, but remember, let’s be fun), baking soda, and salt.
  2. Form into balls. About 1/4 cup per ball because you mean it. Roll each in the extra sugar (or cardamom sugar if you’re feeling festive!).
  3. Bake in batches. We recommend 6-8 at a time. Remove from oven and LET. THEM. REST. so you get the crispy edges and soft craggy middles.
Dark chocolate cookies on a cooling rack.

We’re feeling all the feelings these days. Admittedly, the Christmas music is already playing and we’re so ready for things to be glowy and merry and bright. We’re so ready to keep our stand mixers busy and our rolling pins dusted because there’s nothing quite like deep chocolatey cookie smells swirling through the air and your home being filled with the extra warmth from the oven. Merry, merry indeed. Happy cookie-making!

Chocolate Cookies: Frequently Asked Questions

How should I store these cookies to keep them fresh?

Store them at room temp in an air-tight container for maximum freshness.

Can I add chocolate chips?

Great idea! Yes, that definitely works.

Can you freeze the cookie dough?

Yes! To make it even easier for when you’re ready to bake the cookies, form the cookies into little balls you can just pop on a baking sheet.

Can I use regular cocoa powder?

Sure! The dark cocoa powder will just add a bit more rich flavor and a deeper color.

Print
Chocolate cookies on a plate

The Very Best Chocolate Cookies


Description

These are really the very best Chocolate Cookies! Thick, soft-centered, and crispy-edged. All your basic cookie ingredients here plus dark cocoa powder and ground cardamom to make things extra festive! 


Ingredients

Units
  • 2 cups unsalted butter, room temperature
  • 3 1/2 cups brown sugar
  • 2 large eggs
  • 2 teaspoons vanilla extract
  • 3 1/4 cups all-purpose flour
  • 1 cup dark cocoa powder
  • 12 tablespoons espresso powder (optional)
  • 1 1/2 teaspoon baking soda
  • 1 teaspoon salt
  • Extra sugar for rolling
  • 1 teaspoon ground cardamom (optional)

Instructions

  1. Preheat oven to 350. In the bowl of a stand mixer, cream butter and sugar until fluffy and light. Add eggs and vanilla, mixing gently until just combined.
  2. Add flour, cocoa powder, espresso powder, baking soda, and salt. Mix until combined into a soft dough.
  3. Form into balls (about ¼ cup per cookie / ball). Roll each ball in the extra sugar (mixed with cardamom, if you want). Bake for 10-12 minutes (I recommend 6-8 at a time on the baking sheet, so you’ll need to bake in batches). Remove from oven and let them rest – you want the cookies settle down a bit and give you crisped edges with thicker, soft-baked centers.
  • Prep Time: 20 minutes
  • Cook Time: 10 minutes
  • Category: Dessert
  • Method: Bake
  • Cuisine: American

Keywords: chocolate cookies, chocolate cardamom cookies, cookie recipe

Recipe Card powered by Tasty Recipes logo

The post The Very Best Chocolate Cookies appeared first on Pinch of Yum.


from Pinch of Yum https://ift.tt/3CBYZnX

Wednesday, November 17, 2021

Caramelized Onion Dip

Caramelized Onion Dip with chips.

Can you guys learn to love this caramelized onion dip even if it is not a) healthy, or b) particularly beautiful?

Can you look past outward appearances to the soul of the caramelized onion dip which is, above all else, extremely luscious, totally delicious, and wonderful to share with friends? Can you envision a future for this caramelized onion dip that includes appetizers, burgers, sandwich spreads, and maybe even a little something to help you get extra with your eggs?

I knew you could. I knew you had that in you.

Close up onions.

How To Make Caramelized Onion Dip

Step 1: Caramelize those onions in a pan.

Step 2: Mix them up with everything else in a bowl and EAT.

The caramelization here is obviously key, and as with most of life, wine helps, but water can also soften things up for you if you’d rather not with the wine. What matters most here is TIME. They just need time. A good nonstick pan, a knob of butter, some gentle heat, and lots of patient time. We are looking for that deep golden brown color – my rule of thumb is that once I think they look pretty good, I give them another ten minutes just to be safe, and I’m always glad I did. We want deep, dark, sweet, soft, and fragrant.

After that, things get pretty basic: cream cheese, sour cream, a dash of this and a sprinkle of that… boom.

Grab a chip and DIVE TO THE BOTTOM OF THAT GOLD MINE.

Caramelized Onions in a pan with tongs.

Let’s Talk About Caramelizing Onions

Okay, so this is where you’ll spend approximately 90% of your time in this recipe. Caramelized onions take some time but they are WORTH IT. Oh so worth it.

Slow and low is the long game here – we don’t want those onions to burn, but we do want that delicious golden-brown caramelized goodness. Caramelized onions can take up to 30-40 minutes, so please please please be patient here.

And how do you know when your onions are *officially* caramelized? They’ll be golden brown, very soft, and sticky/ jammy.

Caramelized Onion Dip in a bowl with a spoon.

What To Serve with Caramelized Onion Dip

Chips are a good dipping option (says the food blogger obsessed with all kinds of chips). I am partial to sour cream and cheddar ruffle-cut chips here, but plain potato chips are fine as well. I can also vouch for bagel chips, pita chips, pretzel crisps (especially Parmesan Garlic! why dey so good) and if you need to go the veggie route then FINE, yes, snap peas and red peppers and cherry tomatoes are also nice.

If you are making this recipe to eat between two people, I’d suggest cutting it in half. It will give you A LOT of dip. It is ideal for a big holiday party, like 10-15 people.

GOOD NEWS is that it will keep well in the fridge for 3-4 days so you can relive the joy on all your future eats. I have yet to find a savory breakfast, lunch, or dinner that did not benefit from a spoon-plop of caramelized onion dip on top.

Caramelized Onion Dip on a chip.

Caramelized Onion Dip: Frequently Asked Questions

Can you use any type of onions?

Yes! Yellow onions, white onions, red onions, shallots, or a mix of all of them – this is a very, very forgiving recipe.

How long does this last in the fridge?

This should last for 3-4 days, so you can eat beyond the party or make it a day ahead.

How should I serve this dip?

The most obvious way: with chips and other dippers (potato chips, pita chips, tortilla chips, veggies if you must). BUT it also makes for a delicious burger or sandwich spread if you find that you have some extra to use up.

Are there any shortcuts for caramelizing the onions?

If you don’t want to stand over your stove, you have options. You can caramelize your onions in the oven, or dump them in the Instant Pot for an even more hands-off option.

Print
A large rustic bowl of onion dip.

Caramelized Onion Dip


  • Author: Lindsay
  • Total Time: 55 minutes
  • Yield: 12+ (perfect amount for a party)

Description

This caramelized onion dip is a total crowd pleaser! Serve with chips, pita or bagel crisps, or on sandwiches and burgers. YUM.


Ingredients

  • 3 medium size yellow onions
  • 2 tablespoons salted butter
  • 2 teaspoons each salt and sugar
  • 1/4 cup white wine
  • 12 ounces sour cream
  • 8 ounces cream cheese, softened
  • fresh parsley to taste
  • soy sauce (!!) or Worcestershire to taste

Instructions

  1. Prep: Peel the onions and slice them very thinly. I find it helpful to use a mandoline for this.
  2. Sauté: Heat the butter in a nonstick skillet over medium heat. Add the onions, sprinkle with salt and sugar, and saute for 10-15 minutes, stirring every few minutes. Pour a little bit of wine in and let it sizzle out. Stir, add wine, sizzle, etc. After about 30 minutes, your onions should be deeply golden brown and fragrant.
  3. Mix: Transfer onions to a cutting board and chop coarsely into small pieces – or just use a kitchen scissors and snip them up right in the pan. Mix the cream cheese and sour cream. Mix in the onions and a handful of fresh parsley. Taste and season – if you want just a little sumthin sumthin extra, add a small splash (like, a tablespoon or less) of soy sauce and/or Worcestershire. This just gives it a little depth and umami flavor.

Notes

I also like this with a mayo base, so sometimes I’ll swap half of the sour cream or cream cheese for an equal amount of mayo.

I used Sauvignon Blanc for the wine, but water works fine, too. You just want to keep the onions from getting overly dried and browned and the liquid helps them stay juicy and caramely.

  • Prep Time: 10 mins
  • Cook Time: 45 mins
  • Category: Dip
  • Cuisine: American

Keywords: caramelized onion dip, onion dip, party onion dip

Recipe Card powered by Tasty Recipes logo

One More Thing!

This recipe is part of our collection of best dip recipes. Check it out!

The post Caramelized Onion Dip appeared first on Pinch of Yum.


from Pinch of Yum https://ift.tt/3FoIAVP

Monday, November 15, 2021

Pumpkin Shortcakes with Cinnamon Apples and Maple Whipped Cream Cheese

Pumpkin shortcakes on plates.
This post is sponsored by ALDI

Warm, gooey cinnamon brown sugar apples piled on and between fluffy, just out of the oven pumpkin (yes pumpkin! 😍) biscuits. Giant creamy twists of whipped maple cream cheese capping this lush holiday tower. Do we have your attention? Good, because you’re not going to want to miss this.

This was described around the POY kitchen as a “maximalist approach to seasonal baking” – lol, and that is *very* accurate. Nothing about this is minimal. It’s a real wow-the-table, unite pumpkin pie and apple pie lovers alike, absolutely next-level approach to a holiday dessert or, importantly, brunch – and we are here for it.

Pumpkin shortcakes on plates with a fork.

Why You Need To Make This For The Holidays

Yes, yes we understand. Maybe you always make pumpkin pie or maybe Aunt Fran is just NOT HAVING IT unless there is apple crisp on the table and sure, those can all still sail through this holiday season at some point but, can we just please oh please convince you to brag a little at the Thanksgiving table this year?

These autumnal sweetstacks are every good dessert thing wrapped into one. The brown sugar cinnamon apples are just the right amount of soft and sticky and saucy and sweet. All the best parts of pie. The pumpkin biscuits are light and subtle and cozy and delicious. Why waste your chomps on pie crust when you could have these.

That thick smooth airy maple whipped cream? We’d eat bowls on bowls on bowls of just this for dessert but like we said, maximal. You can’t stop at just whipped cream when you can set down a literal tower of sweet holiday goodness at each place setting. SO beautiful and unbelievably delicious.

Get ready, because Aunt Fran is seriously gonna lose her beans when she lays her eyes on these. Promise.

Pumpkin biscuits on a cooling rack.

What You Need For These Shortcakes

As with most any dream come true, it starts with ALDI. Seriously friends, if you’re not already doing your holiday meal shopping at ALDI, get on it! You can get everything you need to make a traditional Thanksgiving meal – like a whole Butterball turkey, sides, pumpkin pie, all of the essentials – all from ALDI and all for less than $30.* Count us in! And while we’re there, we’re picking up everything we’ll need for these dessert stacks happen. Along with some pantry staples, here’s the all-star lineup to make this gem:

  • Apples (we used honeycrisp because we’re Minnesotan like that)
  • Baker’s Corner Canned Pumpkin
  • Specially Selected Pure Maple Syrup
  • Cream cheese
  • Simply Nature Organic Ground Cinnamon

Grab your reusable ALDI bag and gather your cream, your flour, your sugar, your butter. Your pumpkin pie spice and your dose of holiday cheer and let’s get baking.

Pumpkin biscuits on a cooling rack with apples in a pan.

How To Make These Delicious Shortcakes

These beauties will take a few steps to bring together but what are the holidays for if not taking a little quiet time to think about what you’re grateful for. Might we suggest doing this while bringing together some homemade biscuit dough and slowly caramelizing some apples?

  1. Make the pumpkin biscuits. Bring the dough together speckled with brown sugar, pumpkin pie spice and canned pumpkin. Press it out, have at it with a cookie cutter or jar lid and then bake until golden brown.
  2. Get your apples going. You’ll get your apples cooking first in some brown sugar, butter and spices and then thicken things up a bit with a cornstarch slurry so you will have warm gooey sauce drizzles at the ready.
  3. Maple whipped cream meets cream cheese frosting. Has there ever been a more beautiful sentence?! You’ll whip the cream and the cream cheese first until smooth and airy and then fold them together with the maple syrup and your tears of joy.
  4. Stacks on stacks. Cut one of your warm biscuits in half, pile with apples and a big ol’ dollop of the whipped cream. Other biscuit half on top, more apples, more whipped cream, more caramely drizzles, you get it. Repeat Repeat.
Taking a bite of pumpkin shortcakes.

We hope you’ll give these a whirl for your holiday dessert, fancy weekend brunch, sneak-in-the-night when the house is finally calm. The apples and biscuits are like your coziest sweater, your warmest family hug, that maple whipped cream is the quiet satisfied smiles when you look around your table at the people you love best.

Everything about it feels special, and oof, we’re all so looking forward to something special this year.

Pumpkin Shortcakes: Frequently Asked Questions

What kind of apples do you recommend?

Honeycrisp apples are really perfect here. Pink Lady or Braeburn apples can also work though.

Can I prep this ahead of time?

It works to prep the cream cheese and the biscuits the day before. Store the prepared cream cheese in the fridge and the biscuits in a sealed container at room temp. Just give the biscuits a quick rewarm treatment before assembling.

Can I use salted butter?

Unsalted butter is best in this case, if you have it. The salt in salted butter isn’t standardized, so you just want to make sure you have the right balance of salt here, which is why unsalted is key.

Print
A picture of Pumpkin Shortcakes with Cinnamon Apples and Maple Whipped Cream Cheese

Pumpkin Shortcakes with Cinnamon Apples and Maple Whipped Cream Cheese


  • Author: Lindsay
  • Total Time: 55 minutes
  • Yield: 6-8 shortcakes

Description

Pumpkin Shortcakes with Cinnamon Apples for you! Warm and gooey cinnamon brown sugar apples piled between fluffy pumpkin biscuits that YOU made. Pile on the creamy twists of whipped maple cream cheese and yes, this is exactly the over-the-top brunch/dessert/snack you need. 


Ingredients

Units

Pumpkin Shortcakes:

  • 2 cups Chef’s Cupboard All-Purpose Flour
  • 1/4 cup packed Chef’s Cupboard Brown Sugar
  • 1 tablespoon baking powder
  • 1 teaspoon pumpkin pie spice
  • 1/2 teaspoon salt
  • 6 tablespoons cold Country Creamery Unsalted Butter
  • 1/2 cup whole milk
  • 1/2 cup Baker’s Corner Canned Pumpkin

Cinnamon Apples:

  • 2 tablespoons butter
  • 5 large apples, peeled and sliced
  • 1/2 cup Chef’s Cupboard Brown Sugar
  • 1 teaspoon Simply Nature Organic Ground Cinnamon
  • Pinch of nutmeg
  • 2 tablespoons water
  • 1 teaspoon cornstarch + 2 teaspoons water

Maple Cream Cheese: 

  • 1 cup heavy cream
  • 4 ounces cream cheese, softened (see notes)
  • 3 tablespoons Specially Selected Maple Syrup
  • Pinch of Simply Nature Organic Ground Cinnamon

Instructions

  1. Shortcakes: Preheat the oven to 400 degrees. Mix flour, brown sugar, baking powder, pumpkin pie spice, and salt together. Grate the cold butter into the flour and gently stir to coat the specs of butter in the flour. Be careful to not fully incorporate the butter. The goal is to still see specs of cold butter in the dough once the biscuits are ready for baking. Whisk together the milk and pumpkin and gently stir it into the flour mixture. Turn dough out onto a clean counter. The dough will look a bit messy, but do your best to bring it together by patting it down and folding it over about 7 times. Do not overwork the dough. Flatten the dough to a ¾ to 1-inch thick layer. Use a 2 ½-inch biscuit cutter or the opening of a glass to cut out 7 or 8 rounds. Bake for 18-20 minutes until golden brown.

  2. Apples: Heat the butter in a large saucepan over medium heat. Add in the apples, brown sugar, cinnamon, and nutmeg and stir until the apples are coated. Add in the water, and cook the apples for about 10 minutes until soft. Combine the cornstarch with a couple teaspoons of water to make a slurry. Add to the apple mixture, and bring to a boil, stirring until the mixture thickens. Take off the heat (you want these to cool down a bit before you layer them onto the stacks so they don’t melt all the whipped cream).

  3. Maple Whipped Cream: Using a hand mixer, beat the heavy cream until stiff peaks form. In a separate bowl, beat the cream cheese until smooth. Slowly beat in the maple and cinnamon. Fold the cream cheese mixture into the whipped cream.

  4. Assemble: Slice the biscuits in half. Add a layer of apples and maple whipped cream and place the other half of the biscuit on top. Top with more apples and whipped cream. Drizzle with the extra sauce from the apples.

Notes

The cream cheese needs to be really soft and warm to ensure a smooth, lump-free consistency. We put the cream cheese in an oven-safe bowl and warmed it up in the oven for 5-ish minutes to get it really nice and saucy. You could also do this in the microwave. Once it’s warm, we’d recommend beating the cream cheese on its own before incorporating the maple syrup and cinnamon into the mixture.

  • Prep Time: 25 minutes
  • Cook Time: 30 minutes
  • Category: Breakfast
  • Method: Bake
  • Cuisine: American

Keywords: pumpkin recipe, shortcakes, pumpkin breakfast recipe

Recipe Card powered by Tasty Recipes logo

Thank you to ALDI for sponsoring this post.

* Based on the items and quantities included in the American Farm Bureau Federation’s annual Thanksgiving Dinner Cost Survey for dinner for up to 10 with a 12lb Butterball turkey and additional miscellaneous items (e.g. coffee, butter, flour, sugar, eggs) not included in the survey. Available in-store and online. Tax and online fees not included.


More Over-The-Top Holiday Yum

The post Pumpkin Shortcakes with Cinnamon Apples and Maple Whipped Cream Cheese appeared first on Pinch of Yum.


from Pinch of Yum https://ift.tt/3otfq14