Spicy, peanutty, noodley bit of super easy comfort food coming your way with these saucy gochujang noodles!
This post contains referral links for products we love. Pinch of Yum earns a small commission on these links at no cost to you, and the links will always be marked with an asterisk. We ♡ honesty!
Summer has summer-ed and the outside shouldn’t hog all the heat for itself, let the sauce have some! Thank you ever so to the subtle heat of the gochujang sauce and rich creaminess of the peanut butter, thank you to the twisty twirls of the little ramen noodle bricks, and bless those piles of fresh herbs on top.
This new pal is so easy to throw together you might just find yourself making it again and again and ok yes sure, why not one more time this week.
Ingredients For Gochujang Ramen Noodles
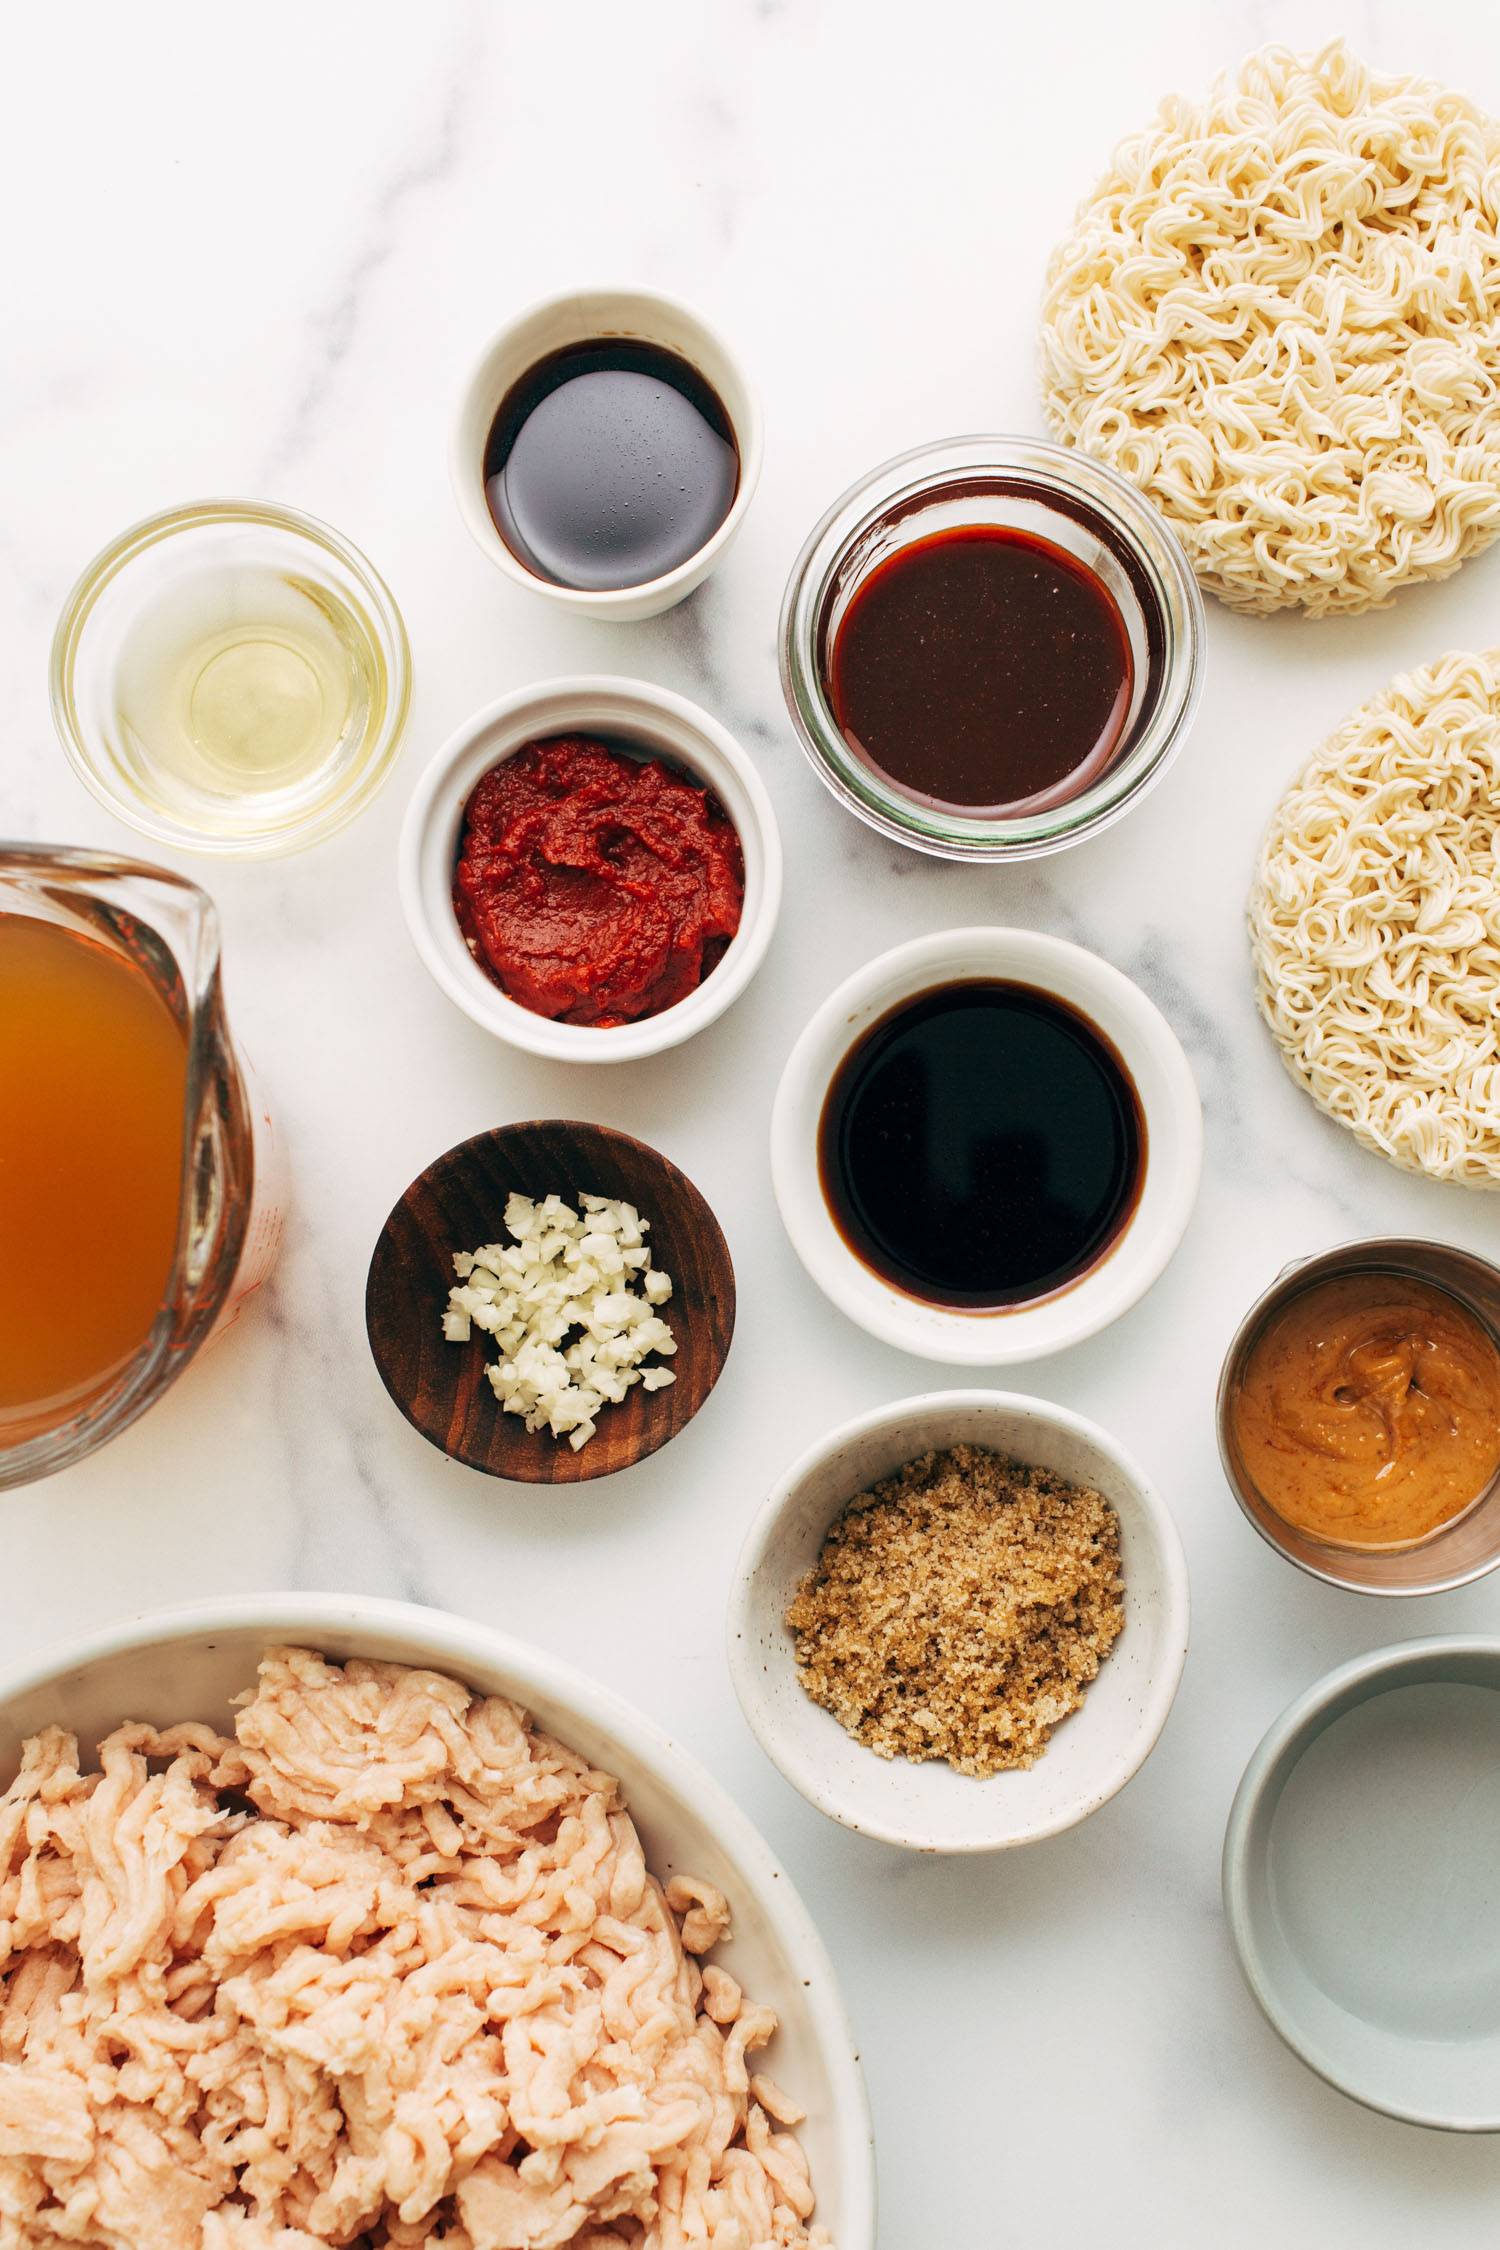
A handful of pantry/fridge staples probably already on hand for this baby, but then round up the rest and get ready. We’re using the standard crinkly ramen from the little packages (minus the spice packet) but any stir fry noodles would also work great here!
For the sauce:
- soy sauce
- gochujang sauce (like this one*) or gochujang paste (will be spicier)
- tomato paste
- peanut butter
- brown sugar
- sesame oil
- garlic
- broth or water for thinning
For the noodle paradise:
- ground chicken (ground pork could work too!)
- ramen noodle bricks (just the noodles)
- fresh spinach
- fresh herbs, chili oil, and sesame seeds for topping
The type/brand of gochujang sauce will also determine your spice level. When testing with the P.F. Chang brand, it was definitely on the mild side and was totally kid-able. But other brands like Bibigo packed more heat.
What Is Gochujang?
If you’re not familiar, gochujang — a staple ingredient in Korean cooking with an absolutely delicious lingering heat and strong umami flavor — mixed with some other ingredients like soy sauce, vinegar, and a sweetener. Gochujang itself is a spicy-sweet-savory paste that is made from fermented soybeans, red chile pepper flakes, sticky rice, and salt and it is commonly used to flavor meat dishes, soups and stews, and sauces. You can read a little more about how it’s made and used from Christina Chaey over at Bon Appetit.
For this recipe, we actually used a gochujang sauce which is premixed with other ingredients, mostly because it is almost always available at our local grocery store. But also because it is a little less potent than the paste, closer to a mild sriracha, whereas the paste is thicker and spicier.
If you happen to have the paste, it is definitely a deep and interesting flavor and can of course be used here! But you might consider adding a splash of soy sauce and honey to balance out the flavors.
Let’s Make These Delicious Weeknight Noodles

Easy peasy is the name of the noodle game here so you could definitely whip these up on a weeknight. Or multiple weeknights in a row, should your heart to desire. Let’s get to it.
- Sauce. Whisk the sauce ingredients (minus the extra broth) in a small bowl or just give them all a jar-shake until thick and creamyish.
- Chicken. Get your ground chicken browned up in a skillet and season generously.
- Noodles. Again, we just used the wavy noodle ramen bricks and cooked until softened.
- Magic. Once the chicken is done add your fresh spinach and the cooked/drained ramen, cover in sauce and toss everything over heat to combine. Add extra broth as needed to get to your optimal sauciness.
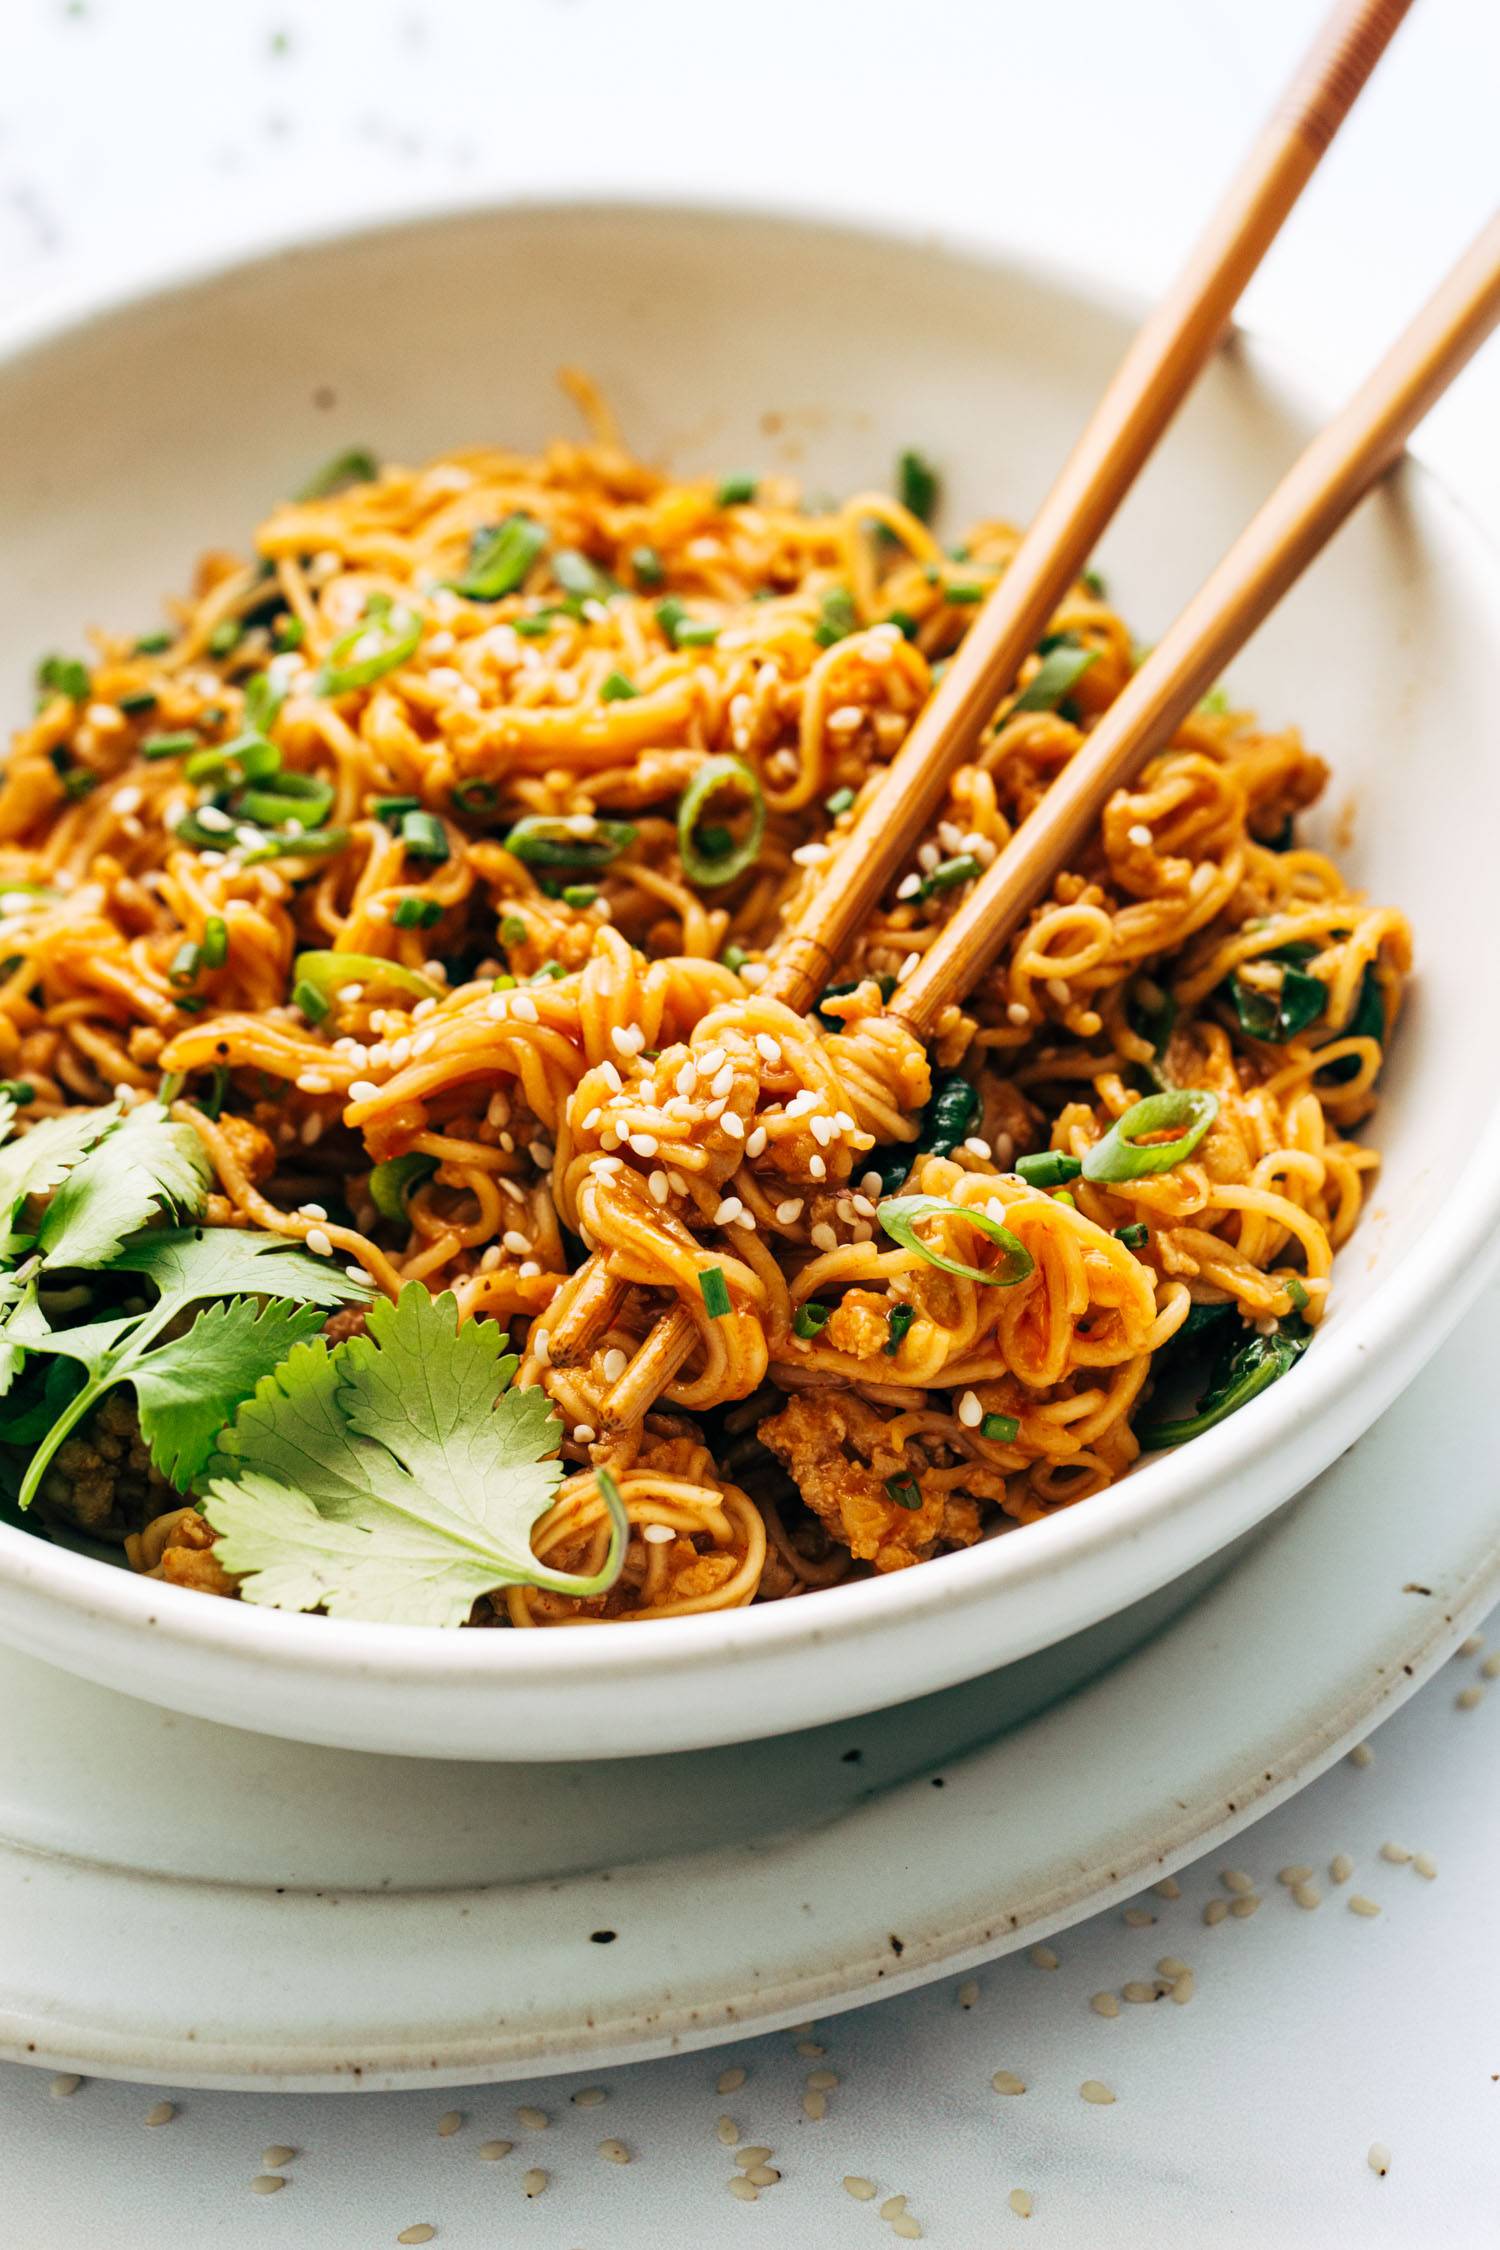
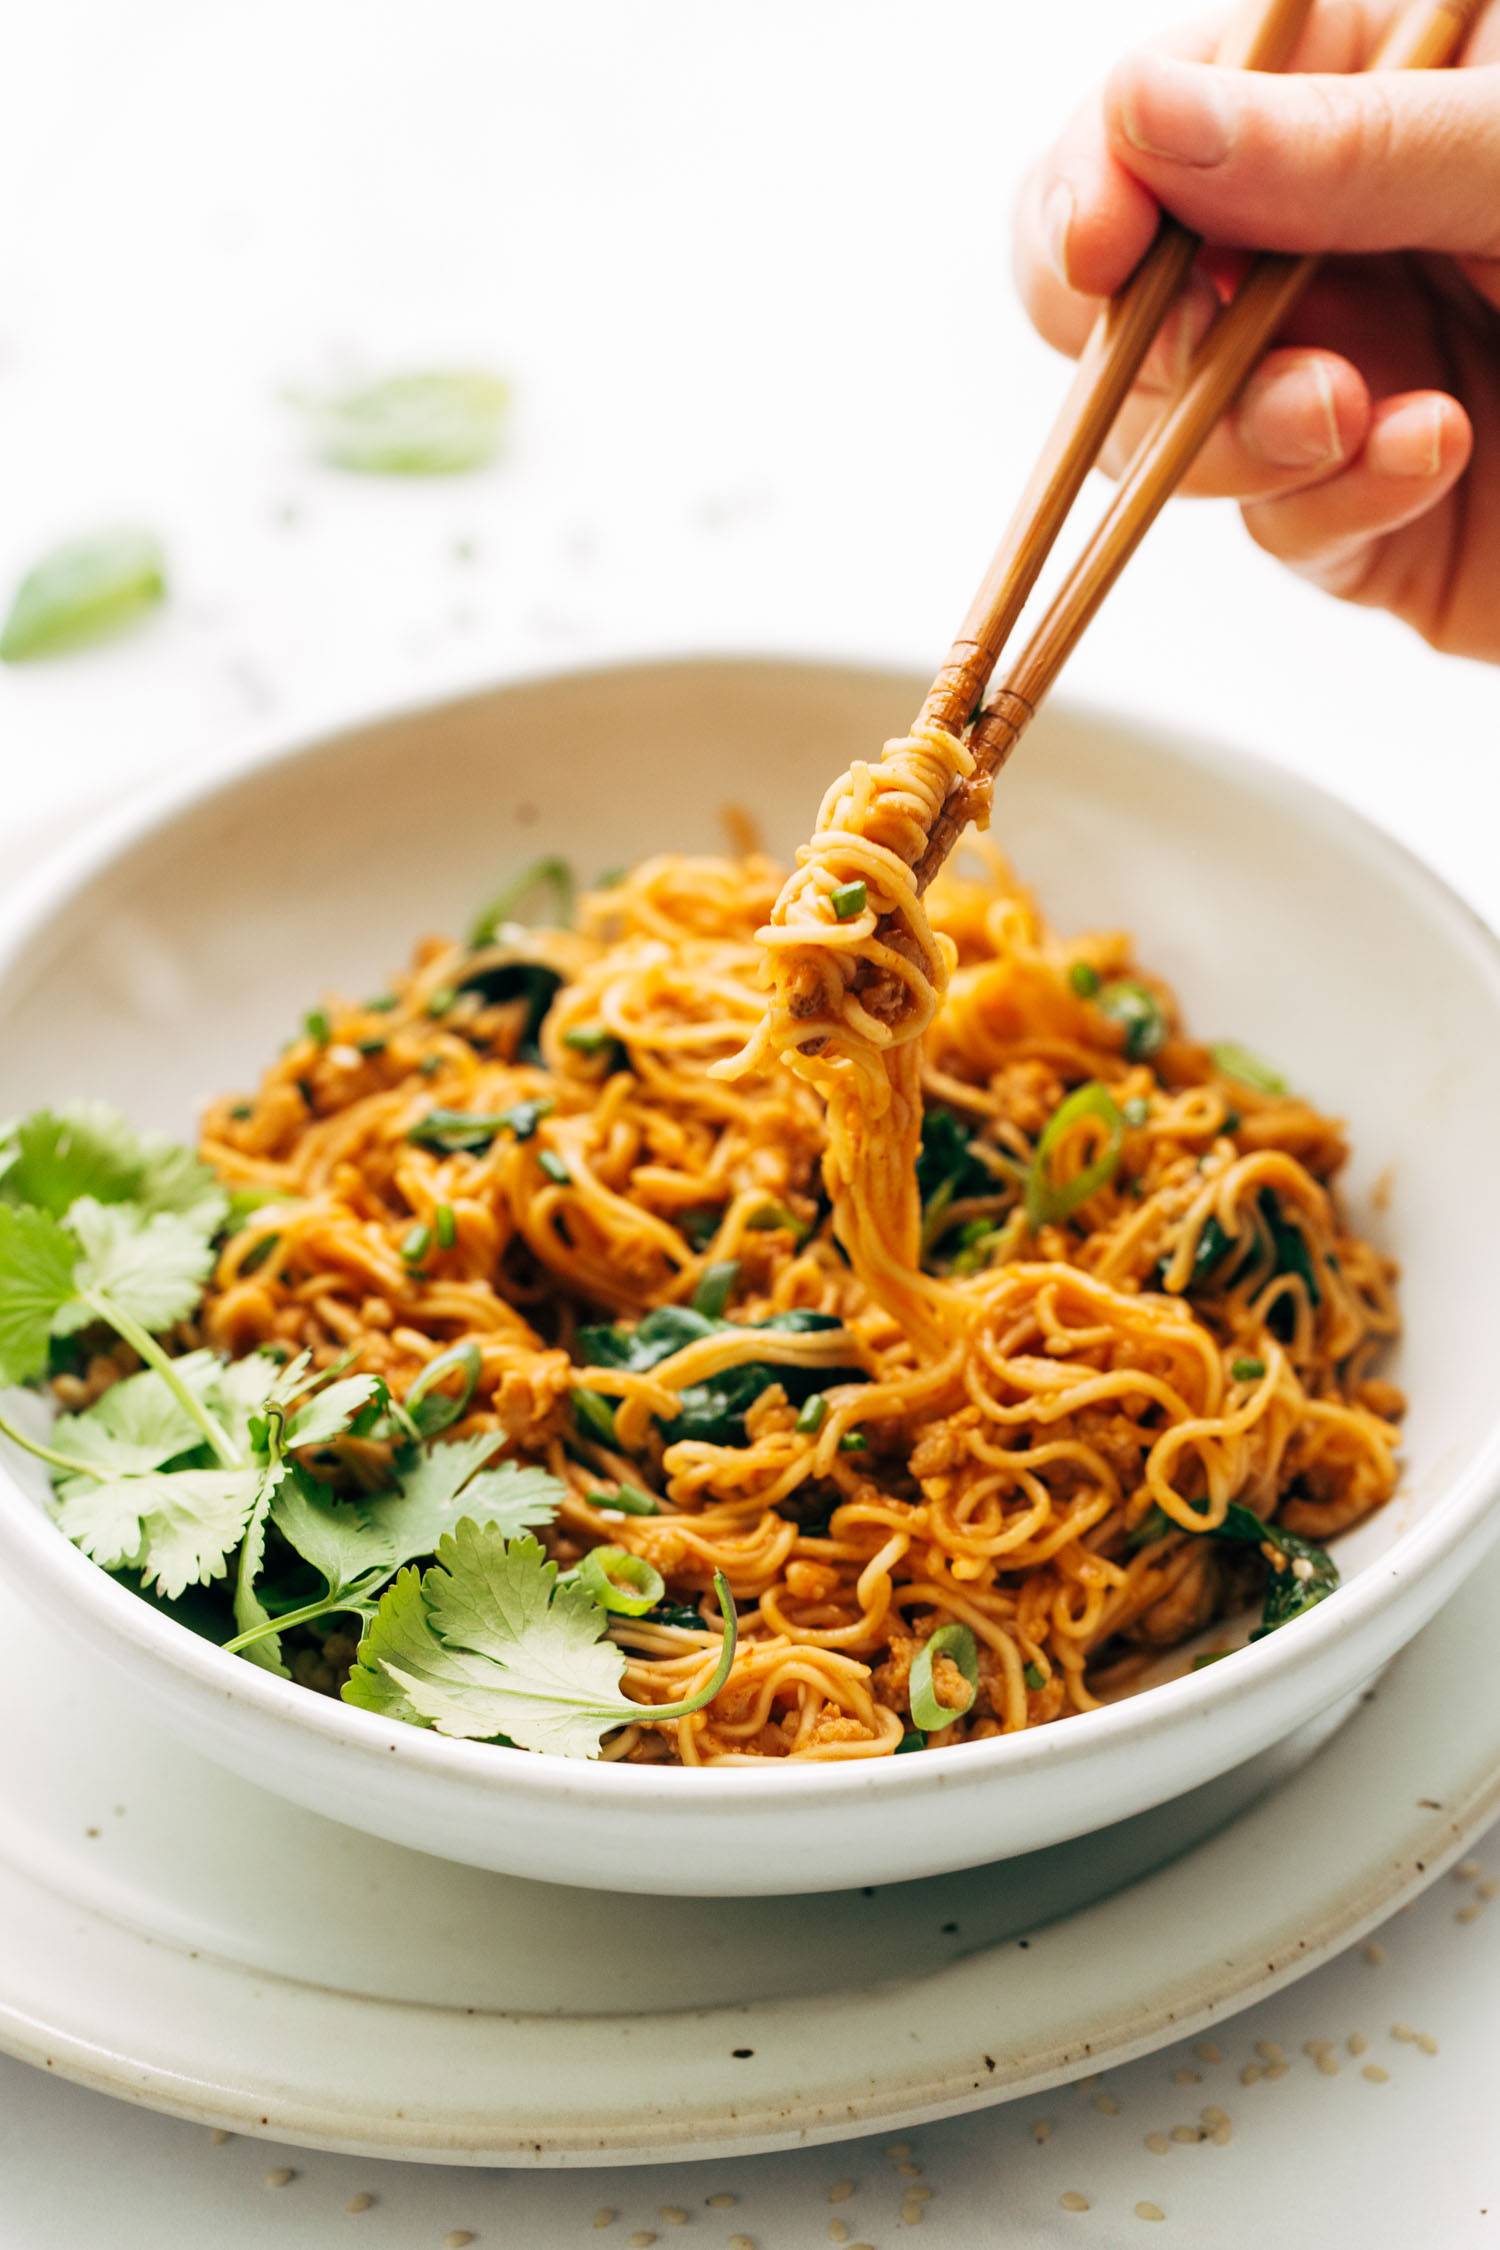
Serve those noodles piled in a bowl, absolutely showered with fresh herbs, green onions, sesame seeds, maybe a little chili oil. YES.
Just a quick textural note, these noodles will get stickier (still very delicious!) the longer they rest, so you may have to add a little water to loosen things up and get back their silkiness when you’re returning for seconds, thirds, fourths or leftovers.
Subs and Jazzers For This Noodle Pile
What is truly great about a weeknight wonder like this is that you can really make it your own! You can swap ground pork or ground turkey for the meat, or if you want to make it vegetarian you could try:
- vegetarian crumbles
- crispy tofu (try this technique)
- or just pile in the veggies (peppers? roasty brocc? mushrooms? could all be great!)
If you don’t have or can’t find the gochujang sauce or paste, you could certainly sub in some sambal oelek, sriracha or any other chili paste you might have. Just check the spice levels as you go!
And this would not be a noodle wonderland if you did not jazz it up with piles of fresh herbs on top — basil, cilantro, chives, green onions, or all of the above. Are you going to drizzle with sesame oil and squeeze on some lime juice and sprinkle some toasted sesame seeds on top? Man, we hope so.
Please report back on how often you are making these so we can feel totally normal and non-obsessive about how often we’re making these, ok? Carry on, noodle lovers.
Sources: Sesame Gochujang Noodles (BA) and Spicy Short Rib Noodles (POY)
Gochujang Noodles: Frequently Asked Questions
This makes for a very delicious lunch the next day! The texture does get stickier the longer it rests, so you may just need add some more water to loosen everything up and make it saucy again.
Gochujang sauce is premixed with other ingredients, thinner in consistency, and more mild. Gochujang paste is thicker, spicier, and more potent than the sauce. We’re using sauce in this recipe!
Rice noodles would work great here!
If you’re using gochujang sauce, they have a kick (because, well, gochujang!) but still somewhat mild. If you’re using the paste, definitely higher on the spicy levels.
Skip the ground chicken or sub in your favorite vegetarian sub (like tofu!).
Source Notes: This recipe was inspired by these Gochujang-Sesame Noodles by Zaynab Issa at Bon Appétit. You can also read a little more about gochujang and how it’s made from Christina Chaey over at Bon Appetit.
Print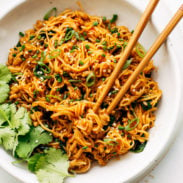
Saucy Gochujang Noodles with Chicken
 Total Time: 30 minutes
 Yield: 4-6 servings
Description
Spicy, peanutty, noodley bit of super easy comfort food coming your way! These gochujang noodles require just a handful of pantry ingredients – like ramen noodles, peanut butter, sesame oil, soy sauce, and more – and come together in just 20 mins. Weeknight win!
Ingredients
Gochujang Sauce:
- 3 tablespoons soy sauce
- 2–3 tablespoons gochujang sauce (like this one*)
- 2 tablespoons tomato paste
- 2 tablespoons peanut butter
- 2 tablespoons water
- 1–2 tablespoons brown sugar
- 1 tablespoon sesame oil
- 1 clove minced garlic
- 1–2 cups broth or water for thinning the sauce
Ramen:
- 1 pound ground chicken (could also use pork)
- 1/2 teaspoon salt
- freshly ground black pepper
- 2 packets ramen or stir fry noodles (just the noodles)
- a couple big handfuls of fresh spinach
- chives, scallions, cilantro, basil, or whatever herbs you like for topping
- salt, chili oil, or sesame seeds for finishing
Instructions
- Whisk the sauce ingredients (except the extra broth) in a small bowl or shake together in a jar. It should form a thick sauce.
- Cook the chicken in a large skillet over medium high heat. Season generously with salt and pepper.
- Boil the noodles for just a few minutes to soften. Drain and set aside.
- When the chicken is done, add spinach, cooked noodles, and sauce to the pan, keeping it over medium high heat. Toss to combine; heat until the spinach is wilted. Add extra water or broth to thin the sauce, a little at a time, to get the sauciness that you like (I usually add about 1 1/2 cups total).
- Serve topped with fresh herbs, scallions, chili oil, sesame seeds, and whatever else you like.
Equipment
 Buy Now →
 Buy Now →
Notes
The type of gochujang used will determine how spicy the noodles are. I’ve used both the Bibigo brand and P.F. Chang’s brand. With the P.F. Chang’s gochujang sauce, I felt like it was mild enough to serve to my kids. If you want to be sure, you can reduce the overall amount of gochujang and then just add a bit of extra heat with chili oil or the gochujang sauce for the spicy lovers right before serving.
- Prep Time: 10 minutes
- Cook Time: 20 minutes
 Category: Dinner
 Method: Stovetop
 Cuisine: Korean-Inspired
Keywords: gochujang, noodles, stir fry, ground chicken, spicy noodles, weeknight dinner
More Saucy Noodle Recipes To Love
- Instant Pot Spicy Short Rib Noodle Soup
- Rainbow Vegetarian Pad Thai
- 15 Minute Lo Mein
- Black Pepper Stir Fried Udon
- Spicy Peanut Soba Noodle Salad
The post Saucy Gochujang Noodles with Chicken appeared first on Pinch of Yum.
from Pinch of Yum https://ift.tt/r7qDfMY