Monday, November 7, 2022

Everybody’s Favorite Corn Casserole

Clear a spot on the Thanksgiving table this year for this deliciously savory, unstoppably scoopable corn casserole with its hint of sweet, its confetti of bacon, and pulls of sharp cheddar cheese. There is a new side dish in town and it is not messing around.

Corn casserole in a casserole dish with a serving spoon.
This post is sponsored by ButcherBox.

Corn Casserole and Holiday Turkey: A Match Made In Heaven

This corn recipe has been a holiday favorite with my family over the years (hence the name “everybody’s favorite”)! We make it every year.

This year, we get to re-share this favorite recipe in partnership with ButcherBox and I get to tell you about how you can get a FREE TURKEY to be serving alongside your corn casserole at the Thanksgiving or holiday meal.
How it works: if you’re a new member, click here to get a 10-14 pound turkey totally free in your first box! You just have to make sure you sign up by Sunday, November 13th.

I’ve been using ButcherBox personally for the last year – I actually signed up when they had their turkey deal LAST year, so I got in on the free turkey action myself!

Being a ButcherBox customer for the last year, I have felt so good about buying from a company that prioritizes family farms, sustainability, and humane farming practices.

And bonus – I love their bacon in this recipe!

Onto The Corn Casserole

This beautiful dish is not like a loose creamed corn and it is not sturdy or dry like a cornbread. It’s somewhere delightfully in the middle with a soft tight texture that feels almost more like a corn custard but also…not quite that? It’s a bit of a uniCORN situation (lol, sorry forever). It is a truly unique and highly inviting texture and we just cannot stop piling scoop after golden scoop onto our holiday plates. The sweet corn is speckled throughout so you get little bursty bites here and there. Plus, garlic and bacon and cheese so, you know, all the best things.

Also, we don’t want to brag but, it is just really beautiful. Sure, that whole slow-roasted turkey thing is often the star but….honestly, we would maybe just pop this gal in the center of the table and see how it goes.


In This Post: Everything You Need For Corn Casserole


Prefer To Watch Instead Of Read?

Scoop out of corn casserole in a casserole dish.

Creamed Corn Vs. Corn Casserole Vs. Cornbread: What’s The Difference?

Creamed corn — maybe you love it, maybe you hate it — has several different variations in its prep (heavy cream? cream cheese? corn milk from the cob? yes, that’s a thing), but one thing that is consistent is that it is well, creamy. A lot of sauciness among your corn kernels. There are several delicious recipes out there for it that go way beyond the canned version you may have discreetly pushed aside when passed to you during holidays past. And though a can of creamed corn on its own maybe isn’t everyone’s favorite, a can of it in this recipe is very chef’s kiss! It helps keep the casserole supple and thick enough that it holds together scoop after scoop.

Corn casserole, however, is entirely different than creamed corn. It is a very popular southern holiday side dish and it is super moist, almost creamy with bright bursty corn kernels throughout. It’s like creamed corn, cornbread and almost a soufflé all in one dish!

Ingredients For This Recipe

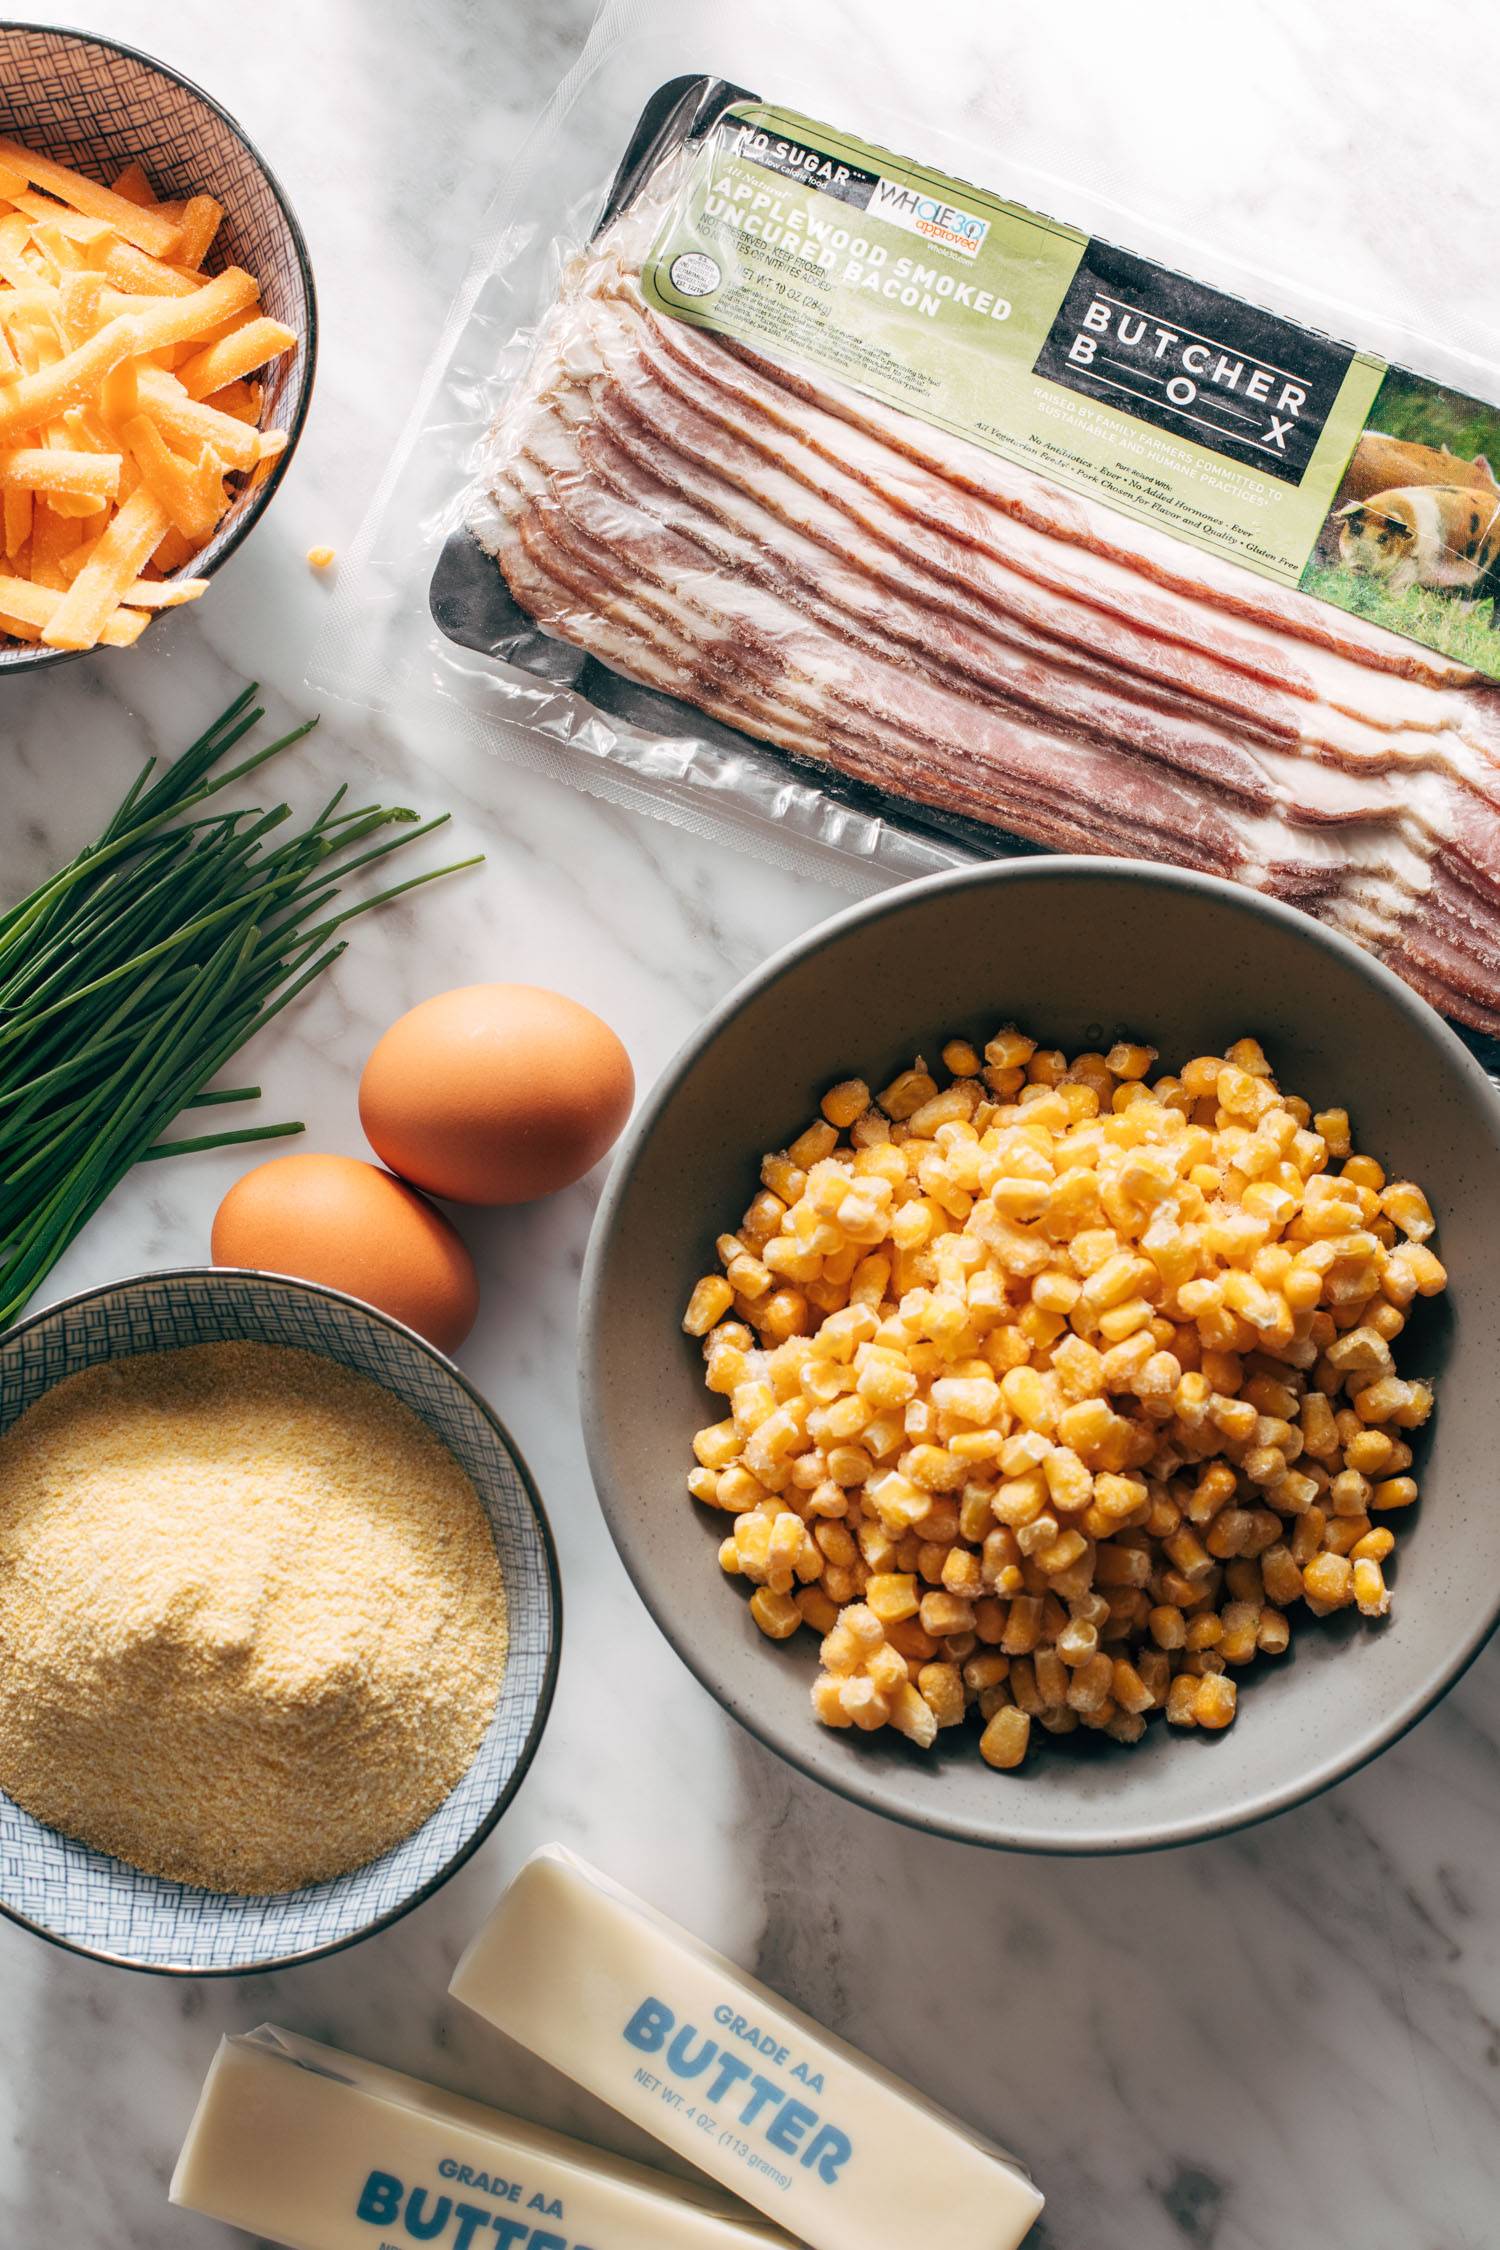
Straight-up corn casserole is nothing short of amazing but we’re feeling festive, and we wanted to zazz things up a little. And when one zazzes, one must gather:

  • bacon (ButcherBox bacon is our favorite to use!)
  • onion and garlic
  • sharp cheddar cheese
  • fresh chives

Once your zazzers are collected, grab your pantry basics (flour, sugar, baking powder, etc) along with some:

  • cornmeal
  • corn
  • can of creamed corn
  • sour cream
  • melted butter
  • eggs

No Jiffy Box Here! Corn Casserole From Scratch

We’re going fully from scratch here on this so you can tuck away that little box of Jiffy corn muffin mix.

No judgment on a box mix at all, we love a good shortcut. But bringing this casserole together from scratch is really key to its delicious flavor and addicting texture, you can adjust the sweetness and flavors as you see fit, and it really isn’t all that much more time-consuming!

How To Make Corn Casserole

You’ll start with crisping bacon and end with showering cheddar cheese and chives on top, and everything in between is pretty simple.

  1. Bacon. You’ll start by crisping up your bacon and then you’ll get your onions and garlic going in that same pan for optimal yum boosts. You’ll chop up the bacon and save half for the mix and half to toss on top at the end.
  2. Batter. Mix your dry ingredients and then whisk together your wet ones in a separate bowl. Add the corn, creamed corn, sour cream, onion mixture, half the bacon bits and all their salty goodness, and then slowly incorporate your dry ingredients.
  3. Bake. Pour into a greased baking dish and bake for about 35 minutes. Remove and cover with shredded sharp cheddar cheese, the rest of the crispy bacon, and some fresh chives and bake for 5 minutes more.

Then plop that beauty IN THE CENTER OF YOUR TABLE and see if anyone can even finish their “oohs and aaahs” before digging into that rich golden goodness. It’s so, so good.

Corn casserole on a plate with a fork.

What To Serve with Corn Casserole

We’re hoping this is on the table for your Thanksgiving or holiday spread with all the other fixings, but in case you need some more guidance, here what it’s delicious with.

If corn casserole is already part of your holiday feast, congratulations on being very smart and good at holidays, and also please consider trying this zazzed up version this year? If you’re new to it, whoo boy, you’re in for such a beautiful, rich, deeply comforting, delicious surprise. Merry holidays to you.

Corn Casserole: FAQs

How can I make this ahead of time?

You can prep this casserole by doing everything through step 2 and baking the casserole in a greased baking dish for 35 minutes. Cover and store in the fridge for up to 2 days. Rewarm in the oven at 350 degrees for 10 minutes and complete the rest of step 3.

Can I freeze this casserole?

Yes! Store in an airtight freezer-safe container for up to 3 months.

How can I make this vegetarian?

Just leave out the bacon and add in a little bit more salt.

How do you store and reheat leftovers?

Cover your leftovers in the pan and keep in the fridge. When you’re ready to reheat, you can either heat up an individual portion in the microwave in a pinch, or cover the whole thing with foil and pop it in the oven at 350 degrees for 10-15 minutes.

Can this be made in a slow cooker?

We haven’t tested this in a slow cooker, but think it could work! If you follow a similar recipe like this one, you should be able to cook it on high for 2-3 hours.

Print
Corn casserole in a casserole dish with a spoon.

Everybody’s Favorite Corn Casserole


Description

Corn Casserole all zazzed up! Bursty bites of cream-style corn and sweet corn plus garlic, bacon, and cheese throughout – so you know it’s really, really good! 


Ingredients

Units
  • 1 pound bacon, cut into small pieces
  • 1/2 onion, finely chopped
  • 1 clove garlic, minced
  • 2/3 cup cornmeal
  • 2/3 cup flour
  • 1/4 cup sugar
  • 1 tablespoon baking powder
  • 1/2 teaspoon salt
  • 1 cup sour cream
  • 1/2 cup butter, melted
  • 1 egg
  • one 15-ounce can corn, drained
  • one 15-ounce can cream-style corn
  • 1 1/2 cups sharp white cheddar
  • Chopped chives

Instructions

  1. In a bowl, combine the cornmeal, flour, sugar, baking powder, and salt. In a separate bowl, whisk the sour cream, butter, and egg until smooth. Then, stir in the corn, cream corn, the onion mixture, half of the bacon. Add in the dry ingredients, and stir until just combined.

  2. Pour into a greased casserole dish. Bake for 35 minutes. Remove from the oven and top with the cheese and remaining bacon. Bake for another 5 minutes. Sprinkle chopped chives over the top.

  • Prep Time: 20 minutes
  • Cook Time: 50 minutes
  • Category: Casserole
  • Method: Bake
  • Cuisine: American

Keywords: corn casserole, corn souffle, casserole side dish

Recipe Card powered by Tasty Recipes logo

Thank you to ButcherBox for sponsoring this recipe!

More Thanksgiving Side Dishes We Love

The post Everybody’s Favorite Corn Casserole appeared first on Pinch of Yum.


from Pinch of Yum https://ift.tt/TtvP28E

Monday, October 24, 2022

Salted Caramel Rice Krispie Bars

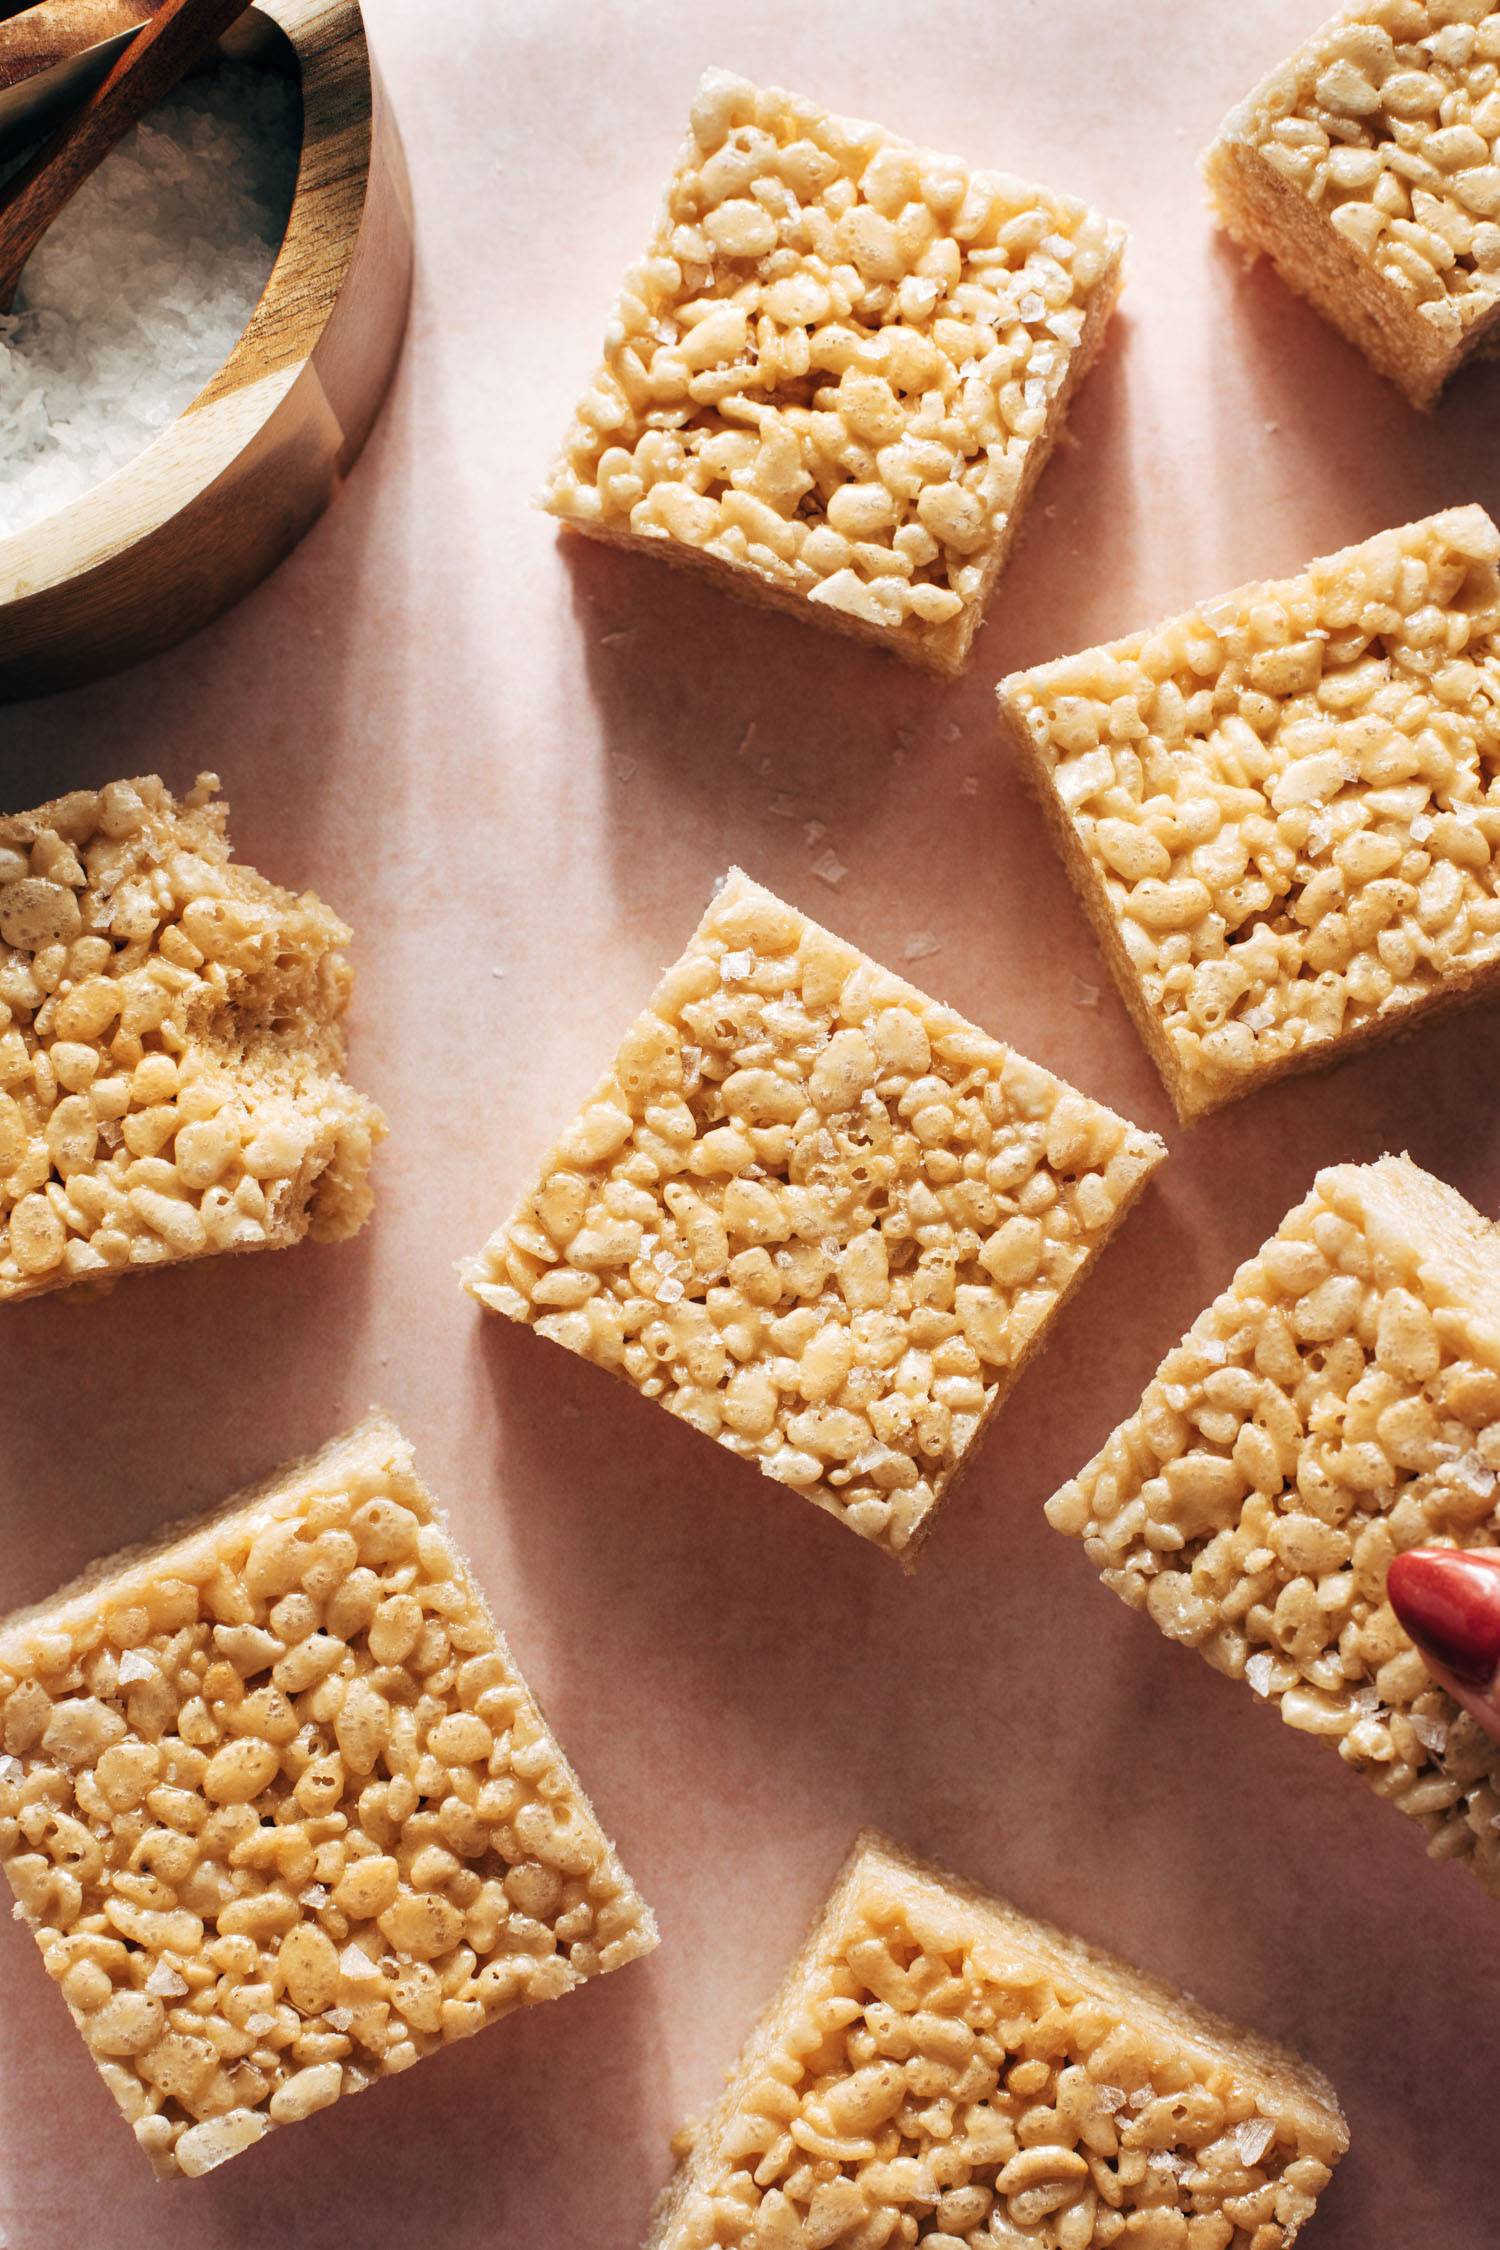
Hand grabbing cut rice krispie bars

This is a classic case of “it doesn’t have to be fancy to be amazing.”

In This Post: Everything You Need For Salted Caramel Rice Krispie Bars

The Rice Krispie Bar Love Story

I REALLY ADORE these Rice Krispie Bars.

I’ve been making them for a long time, ever since my cousin’s wife Erica brought them to us years ago and I fell absolutely in love with them.

I bothered her for the recipe, as one does, and she sent me this recipe from All Recipes.

The adjustments I’ve made over the years have mostly to do with convenience: standard-size boxes and bags rather than the hard-to-find ones, light brown sugar instead of dark, and ditching the corn syrup, since you already have the sticky caramel to hold it all together.

And also because I’m known to be a fan of short ingredient lists.

These Salted Caramel Rice Krispie Bars Aren’t For Everyone

If you’re the kind of person who likes an understated dessert, you might need to look elsewhere.

These are butter-forward, sugar-forward, and salt-forward. These are not subtle. They are simple, but they are also big, very sweet and salty, obnoxiously extra, and so deliciously life-changing.

They remind me of the Extra Good Puppy Chow – like, you’ve probably already had puppy chow, but you haven’t had AMAZING puppy chow until you’ve basically doubled the butter and chocolate and stuck the whole thing in the freezer.

That’s what’s happening here. You’ve had a Rice Krispie Bar, but you have not lived until you’ve had THIS Rice Krispie Bar. Extra butter, extra gooey goodness in the form of a quick homemade salted caramel, and extra textural goodness from a pop into the fridge. DIAL IT UP.

I won’t judge if you’re a person who takes their treats a little more restrained. But for those of us who enjoy a massively caramelly, unapologetically salty-sweet bite of a classic RKB, this one will deliver.

Please Refrigerate These Rice Krispie Bars – Yes, I Said It

Rice Krispie Bars usually aren’t refrigerated, but here is my weird secret: I really enjoy these Rice Krispie Bars cold out of the fridge.

For regular Rice Krispie Bars, that would not work. They’d dry out in two seconds.

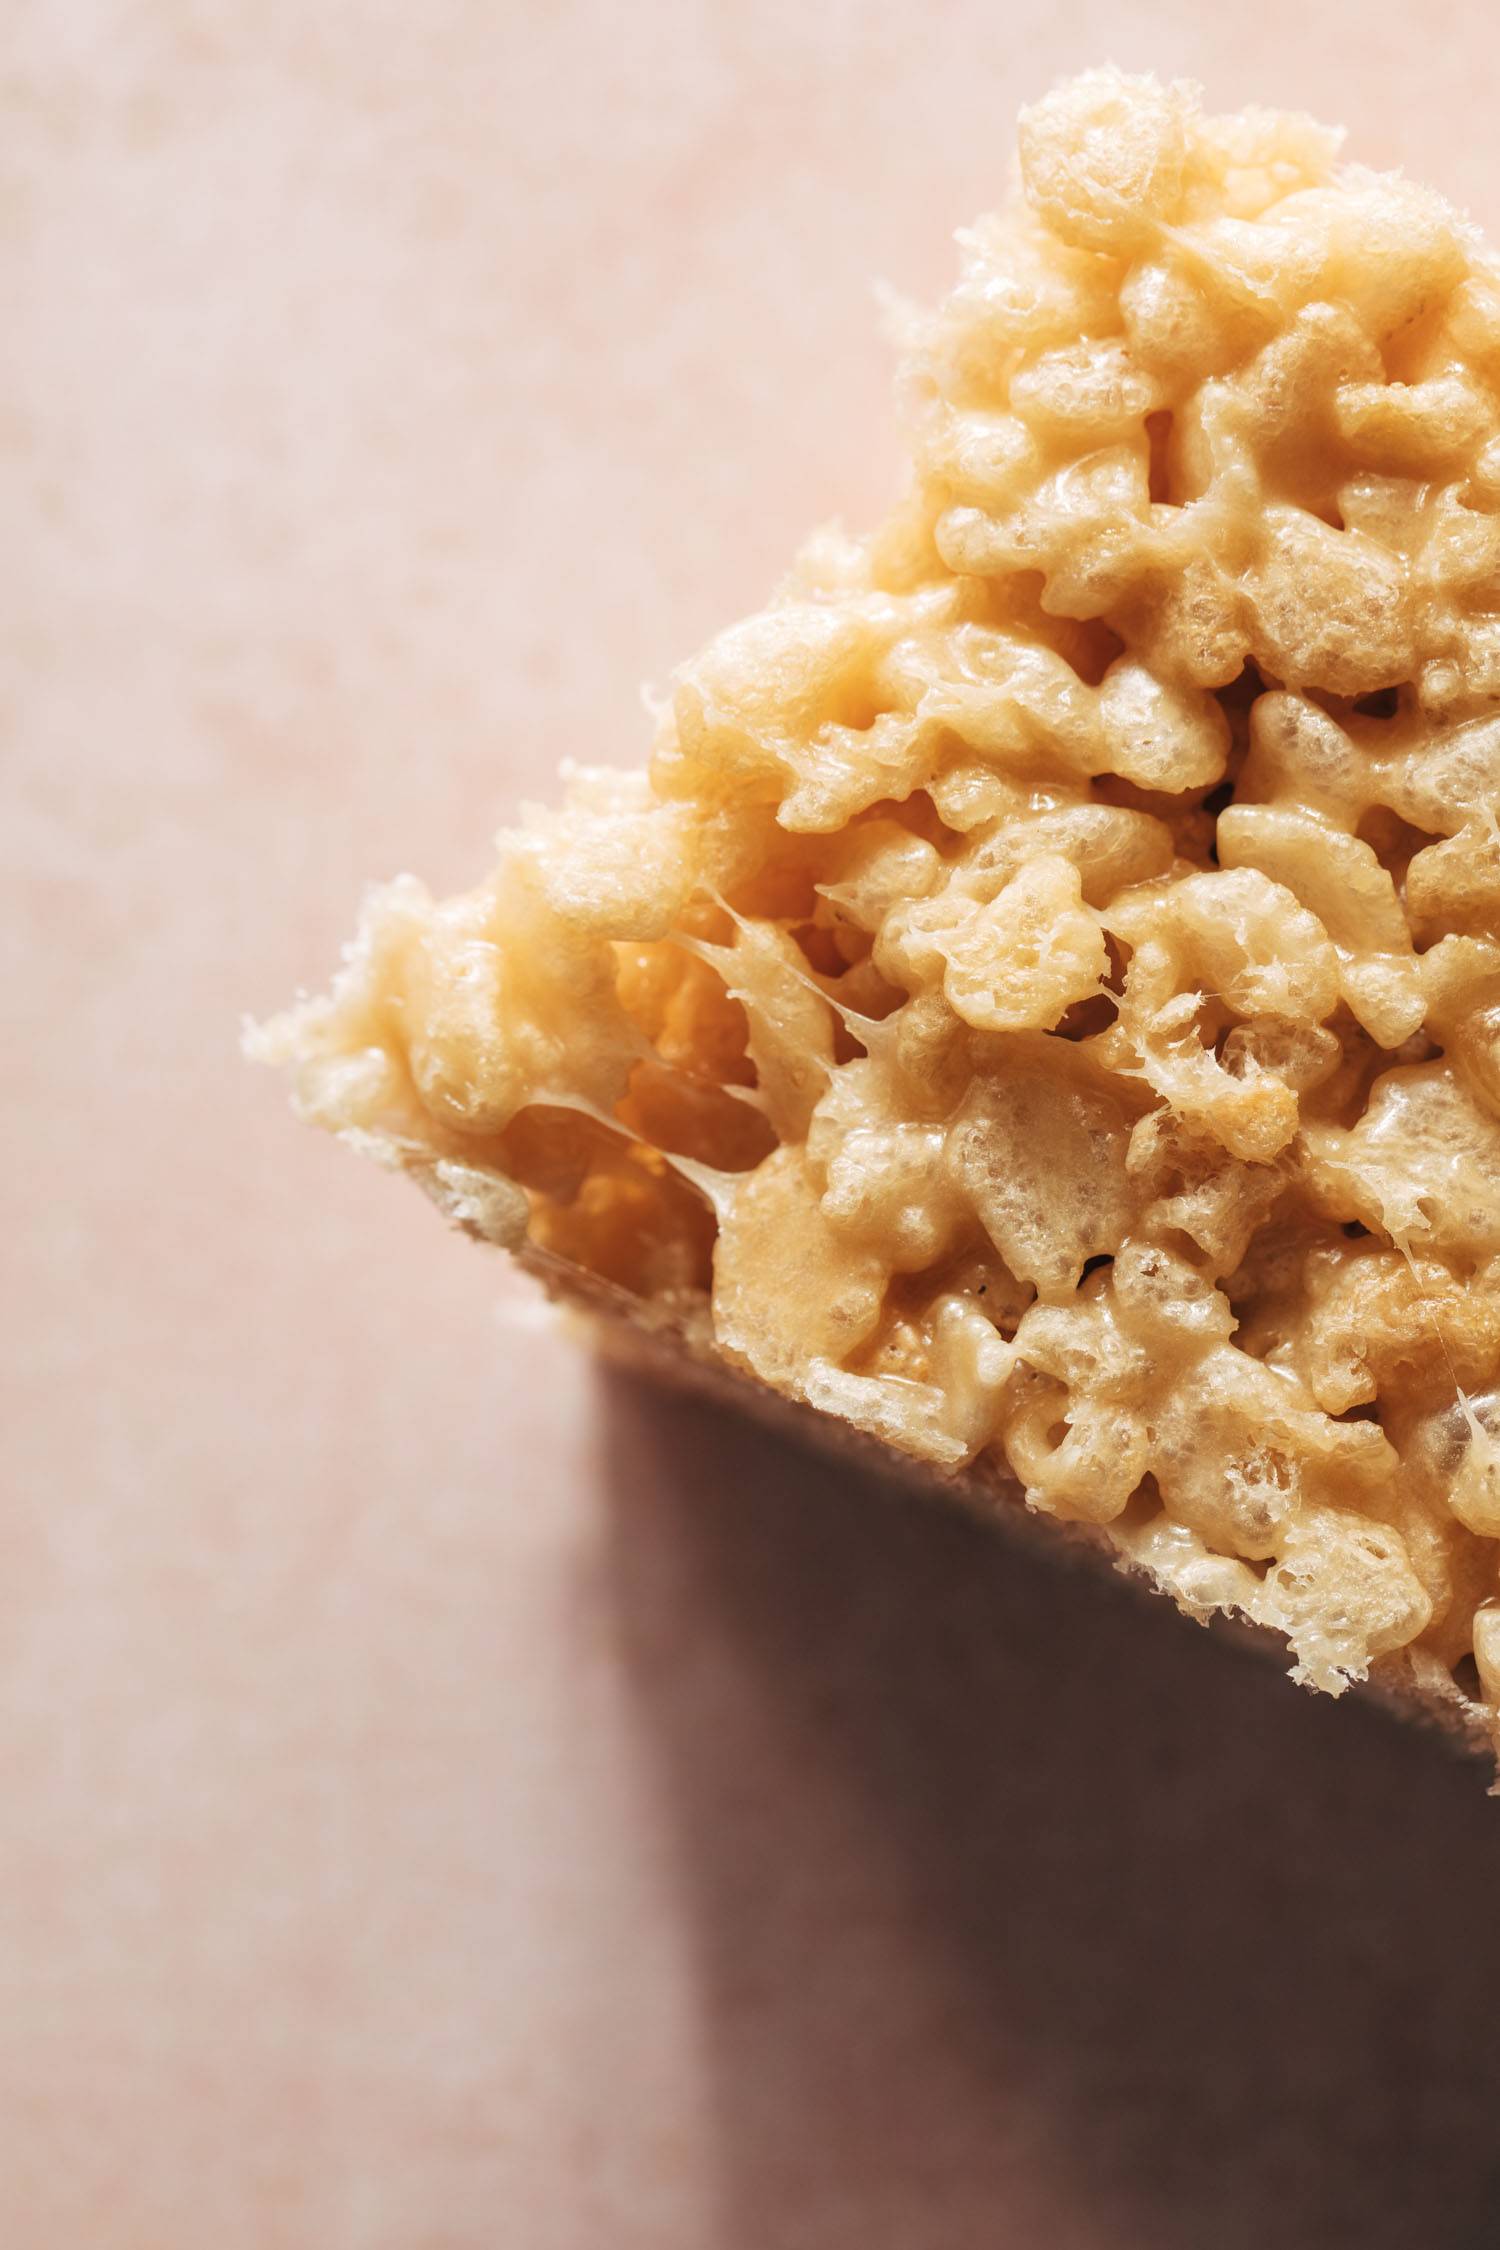
But in this case, we have twice the butter (yay!) so the cold treatment tightens up the buttery-mallow-salty-caramel mixture into something a bit more firm, but still very soft and chewable. So what you get is a tight, tender, chewy, sweet and salty crispy-crunch that is just so ultra-satisfying.

They are a 10 in all forms, so room temp will also work for you and be nice and soft. But just try refrigerating them for a texture boost. See if I’m crazy.

Gooey salted caramel rice krispie bar

Salted Caramel Rice Krispie Bars: Frequently Asked Questions

Should my caramel be firm or soft?

You’ll want soft caramel for these bars. To achieve this, avoid boiling the caramel excessively. I’d recommend just keeping the caramel over low heat and heating it just enough to get it incorporated and slightly thickened.

Flaky salt? What’s that?

Get yourself some Maldon Sea Salt Flakes – just so good! (affiliate link)

Can I store these at room temperature?

You can, but please try them in the fridge. They stay cold, crispy, buttery, and are still deliciously soft and chewy.

Print
A picture of Salted Caramel Rice Krispie Bars

Salted Caramel Rice Krispie Bars


  • Author: Lindsay
  • Total Time: 15 minutes

Description

Salted Caramel Rice Krispie Bars! Perfectly chewy, crispy, caramelly, buttery, soft, and exactly as over-the-top as you need them to be. 


Ingredients

  • 1 cup unsalted butter
  • 1 cup light brown sugar
  • 1/2 cup heavy whipping cream
  • 2 teaspoons flaky sea salt
  • one 10-ounce package miniature marshmallows
  • 12-ounce box of Rice Krispies or crispy rice cereal (about 12 cups)

Instructions

  1. Melt butter in a large pot over medium heat.
  2. Add sugar and whipping cream; stir to incorporate. It will take a minute, but as it heats, you’ll start to see a smooth, creamy caramel mixture form. Heat over medium-low heat for 5 minutes or so, until you have a caramel-like sauce that coats the back of a spoon.
  3. Remove from heat and stir in the salt.
  4. Add the marshmallows and stir until melted.
  5. Stir in the cereal. Press mixture into a 9×13 pan. You might have a little bit of extra that doesn’t fit in the pan – perfect for a little snack, if you ask me.
  6. Cool slightly, cut into squares, and enjoy! You can eat these at room temperature, but I also love them in the refrigerator! They stay excellently soft and chewy, and for some reason that cold, crispy, buttery texture is just really enjoyable.

Notes

You don’t want to boil the caramel mixture excessively, otherwise you’ll end up with firm caramel instead of soft caramel once the bars cool. I’d recommend just keeping the caramel over low heat and heating it just enough to get it incorporated and slightly thickened.

  • Prep Time: 5 minutes
  • Cook Time: 10 minutes
  • Category: Dessert
  • Method: No-Bake
  • Cuisine: American

Keywords: rice krispie bars, salted caramel rice krispie bar, dessert bar

Recipe Card powered by Tasty Recipes logo

More Treats To Love

The post Salted Caramel Rice Krispie Bars appeared first on Pinch of Yum.


from Pinch of Yum https://ift.tt/4E1uJVS

Monday, October 17, 2022

Chicken Orzo Tomato Soup

White hand dipping bread into soup
This recipe is sponsored by DeLallo

Chicken and orzo literally never fail. It can do no wrong. And make that chicken and orzo in an almost tomato soup form and you have a foolproof, everybody-likes-it dinner that is practically SOS-level easy.

This soup is a pantry essential with just a few ingredients coming straight out of the cupboards: tomato paste, garlic, broth, and orzo. And this is one of those cases where simplicity just wins.

Chicken orzo soup in a bowl with a spoon

The Flavor Of This Soup

This chicken orzo tomato soup can be a little bit of a chameleon – you can give it the flavors that you like. You build the base by caramelizing tomato paste and garlic (idea coming from a recipe in a Milkstreet cookbook!) and you can spice to your heart’s delight. I like to stay in the mainstream flavor zone for this one with Italian seasoning (almost has a pizza-like flavor to it with the tomato paste and garlic), but I feel like smoked paprika or other more zippy herbs could also be successful. The version I was inspired by in the Milkstreet cookbook had mint as one of the herbs! I wasn’t quite ready for the mint jump, but I’m just saying, you have options. Let the spirit lead!


In This Post: Everything You Need For Chicken Orzo Soup


My Preferred Orzo

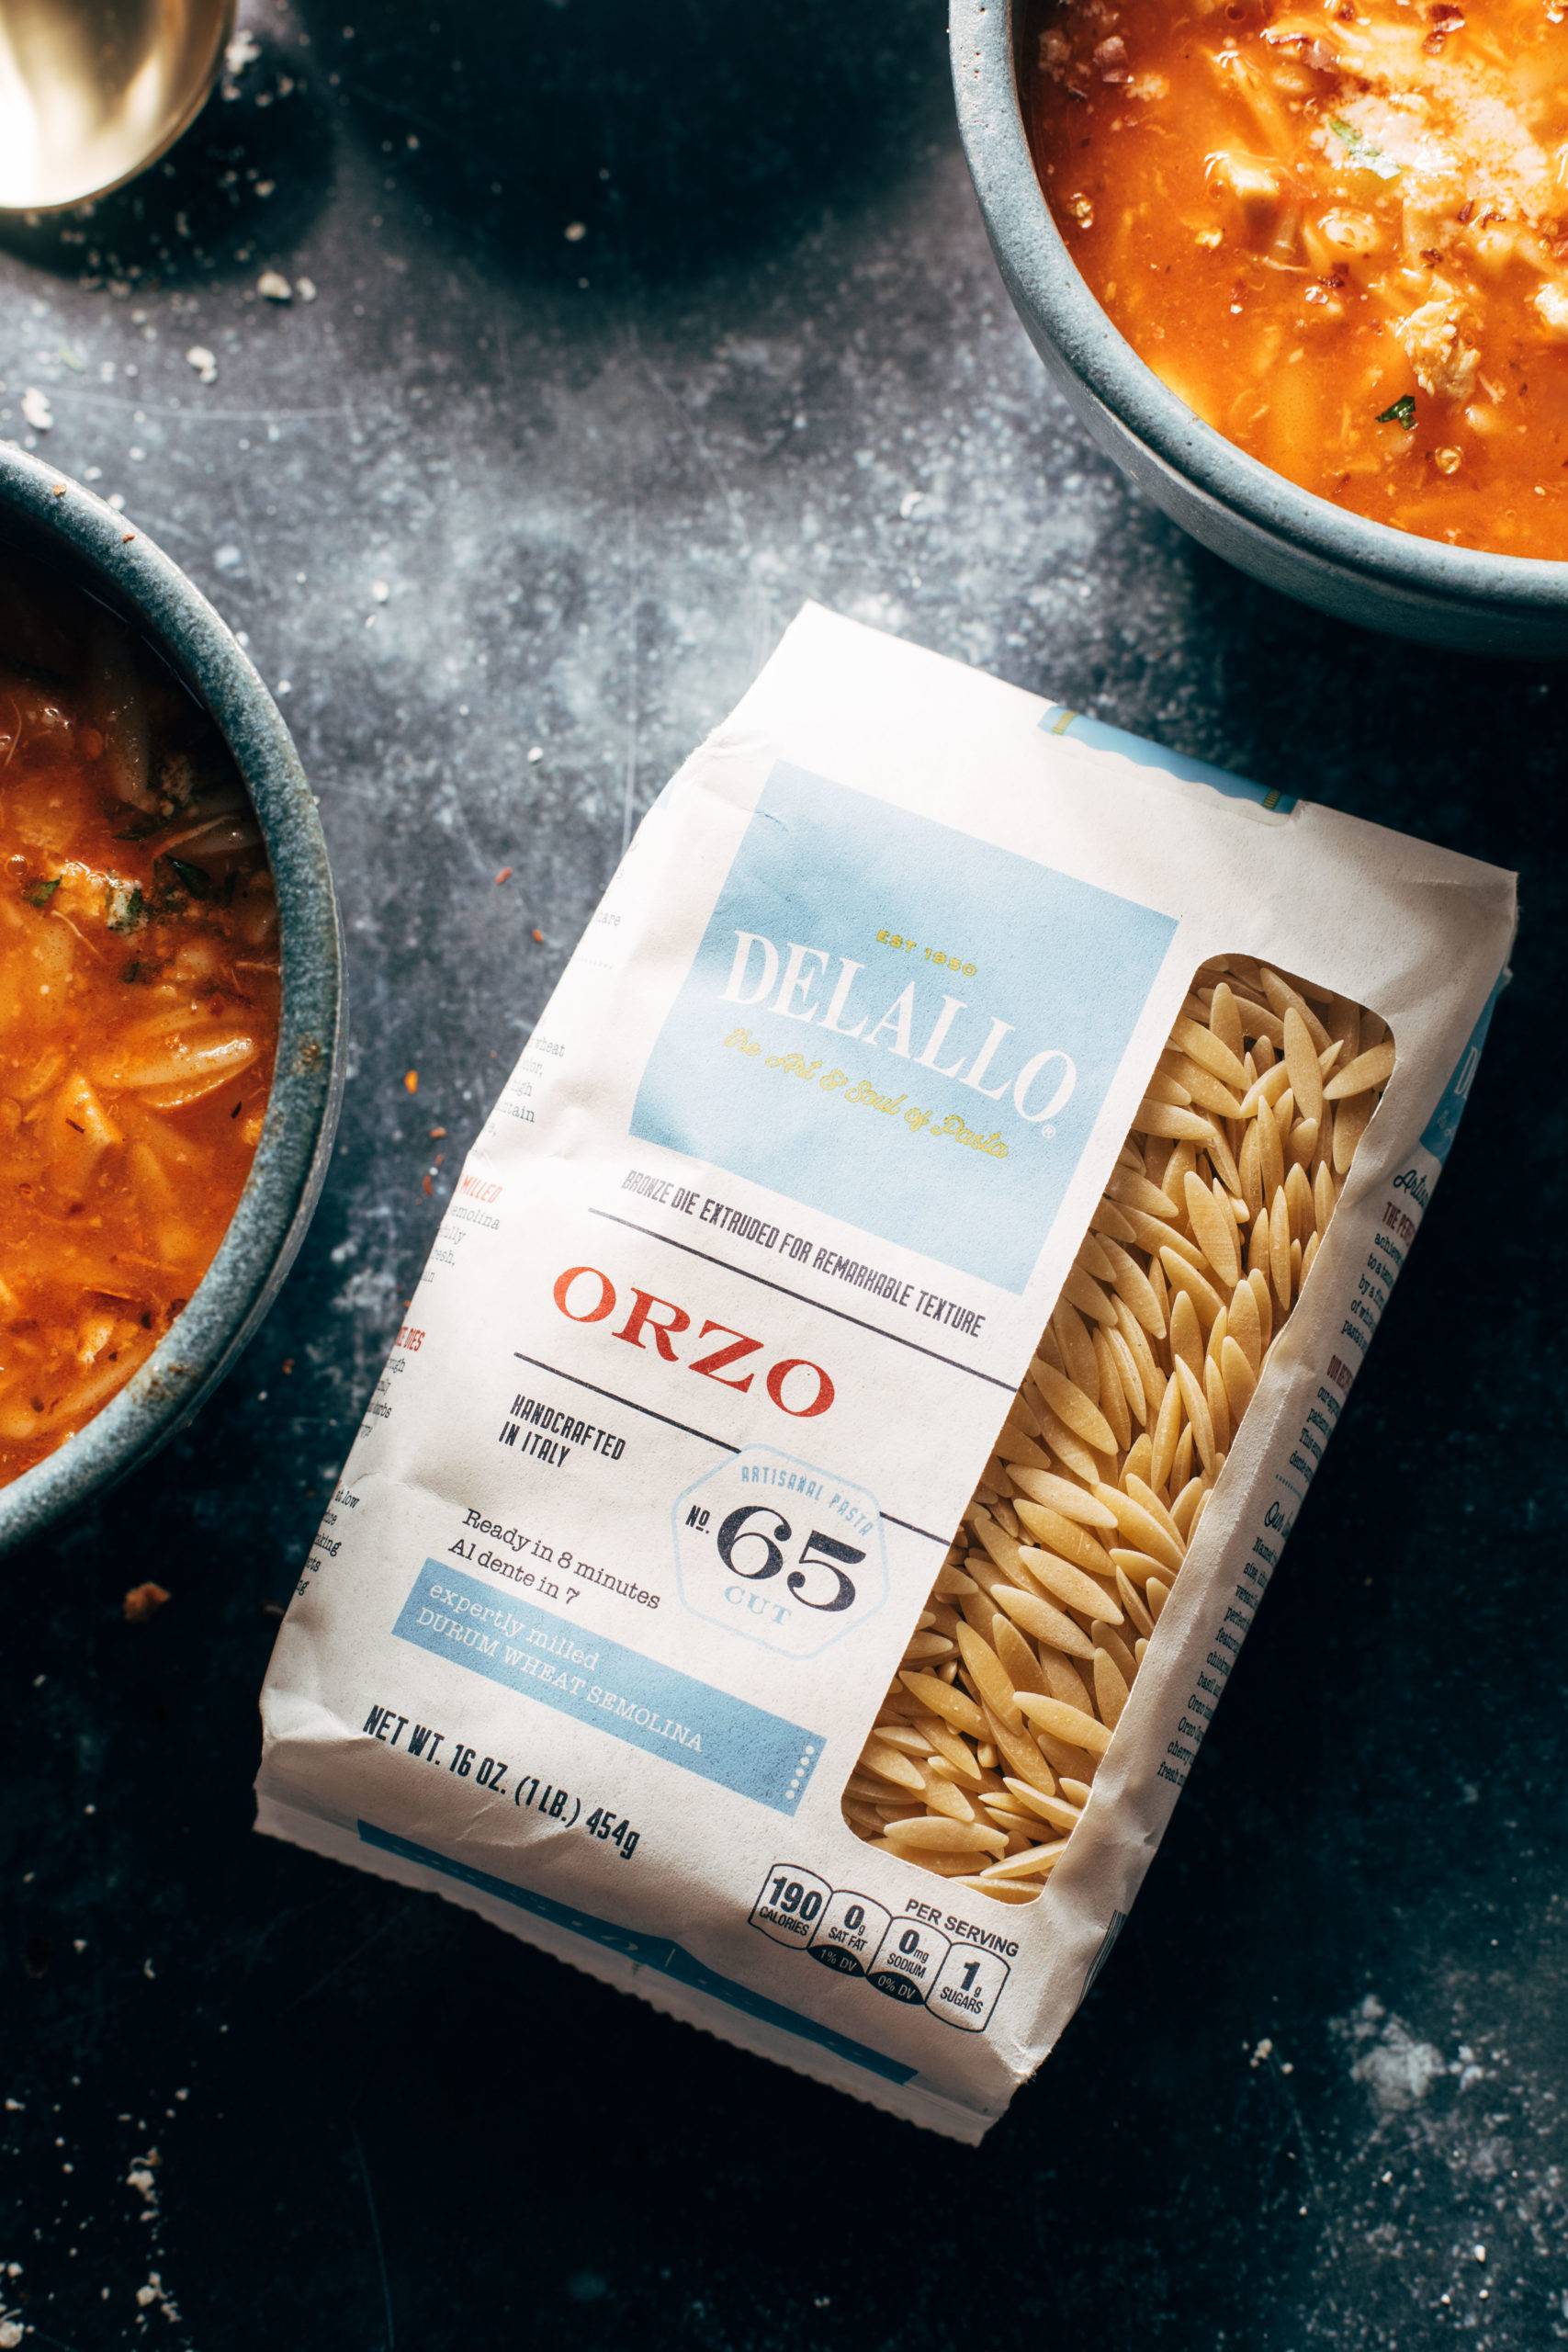
I consistently use DeLallo orzo – it is made IN ITALY and it’s bronze cut, which gives it unparalleled texture. It’s available in both semolina and whole wheat varieties, which is just really wonderful. Whole wheat orzo can be almost impossible to find, so if you’re looking for a stock-up, DeLallo is your place.

We’ve worked with DeLallo forEVER and we love their products.

Package of orzo pasta next to a bowl of soup

The Pesto Bread Dip Situation

Let it be known that I am a big fan of homemade pesto here, and I find that the best way to do things is to first dunk your bread in the pesto (it’s thick, flavorful, and delicious) and then dunk your pesto-ed bread into the soup. SO GOOD.

Fresh flavor in every nook and cranny.

I still have a bunch of basil left in my garden that is nearing the end of its life (aka winter is coming), so I am excited to be making a bunch of pesto right now. And the flavor – ugh. It’s so fresh and so good. I was licking the remnants of it right out of the food processor.

This recipe is so easy that I promise this extra step won’t feel like too much.

Variations On This Chicken Orzo Soup

Few ideas if you want to play around with it:

  • Get some wilted greens right up in the soup!
  • Try white beans in addition to (or instead of) chicken.
  • Reduce the broth and use ground Italian sausage for your protein – think Hamburger Helper but Italian style and homemade. Yum.
  • Omit any additional protein at all and just serve it like a spaghetti-o’s old school bowl of soup! Truly so magical.
  • Use cashew cream instead of heavy cream.
  • Add some pureed roasted red peppers for a red pepper flavor.

What To Serve With This

I mean, bread is a given. A take-and-bake loaf is great – but if you want to make your own, you need to try this No-Knead Miracle Bread.

Salad is nice – just something to really make this into a real you-pick-two lunch or dinner situation. And yes, once again, I would recommend the Simple Green Salad that goes with everything.

And if you want to go all-out with your veggies, Liz’s Roasted Broccoli Salad is legitimately exciting every single time.

Chicken orzo soup in a bowl with a spoon

This soup is cozy and comforting, easy and crowd-pleasing, and kind of just a love letter to all things simple and uncomplicated. Thank you, chicken and orzo!

Chicken Orzo Soup: Frequently Asked Questions

How can I make this soup vegetarian-friendly?

Easy! Just sub a can of white beans instead of the chicken and use veggie broth.

How do I make my own pesto?

Just blitz 1/4 cup toasted pine nuts, 1/4 cup Parmesan cheese, 1 clove garlic, 1/2 teaspoon salt (more to taste), 1 cup packed basil leaves, and 1 cup packed other greens, like spinach (!), in a food processor until it makes crumbles; drizzle in about 1/4 cup olive oil until it comes together into a sauce. Finish with a bunch of lemon juice and you’re good to go!

How can I make my own bread for lots of delicious bread dips?

The very best (and incredibly easy!) bread recipe can be found here!

Print
White hand dipping bread into soup

Chicken Orzo Tomato Soup


  • Author: Lindsay
  • Total Time: 30 minutes
  • Yield: 4 servings

Description

This soup is the perfect ode to fall! Chicken meets orzo in an almost tomato soup form plus lots of bread dips, of course. Let’s go! 


Ingredients

Units
  • 2 tablespoons DeLallo Private Reserve Extra Virgin Olive Oil
  • 4 cloves garlic, thinly sliced or minced
  • 1/4 cup DeLallo Tomato Paste
  • 1/2 teaspoon Italian seasoning
  • 4 cups chicken broth
  • salt to taste
  • 1 cup DeLallo Orzo Pasta
  • 2 cups chopped or shredded cooked chicken (I use the pulled meat from a rotisserie chicken)
  • 1/4 cup heavy cream
  • 1–2 cups water as desired
  • parmesan, herbs, red pepper flakes, and lemon for serving
  • bread for serving
  • pesto for serving (optional – recipe in notes)

Instructions

  1. Heat the olive oil in a soup pot over medium high heat. (See notes on types of pan to use!) Add the garlic; sauté for 1-2 minutes until soft and fragrant but not browned.
  2. Add the tomato paste and Italian seasoning; cook until it becomes caramelized and turns a deep red color, about 5 minutes.
  3. Add the broth gradually until the mixture incorporates into a smooth liquid. This is a good time to add salt; I recommend tasting the liquid to see how much salt it needs depending on how salty your broth was. Otherwise just add 1/2 teaspoon to start, and add from there.
  4. Add the orzo and bring the whole thing to a simmer for about 10 minutes until the orzo is soft. If needed, add a cup more of water and/or broth to get your desired consistency. Stir in heavy cream.
  5. Add the chicken and squeeze in a bunch of lemon juice to wake the whole thing up.
  6. Serve topped with Parmesan, herbs, red pepper flakes, and hot crusty bread. If you want, serve with a little side of pesto for dipping the bread in before dunking in the soup. YUM. So good!

Notes

I recommend using a nonstick pan for this – you can also use a Dutch oven or another type of pan, but you’ll need to stir periodically so that the orzo doesn’t stick. If the only nonstick you have is a large-ish sauté pan, I would use that! 

For the pesto, I blitz 1/4 cup toasted pine nuts, 1/4 cup Parmesan cheese, 1 clove garlic, 1/2 teaspoon salt (more to taste), 1 cup packed basil leaves, and 1 cup packed other greens, like spinach (!), in a food processor until it makes crumbles; then I drizzle in about 1/4 cup olive oil until it comes together into a sauce. Finish with a bunch of lemon juice and you’re good to go! Perfect bread-and-soup dunking companion.

  • Prep Time: 10 minutes
  • Cook Time: 20 minutes
  • Category: Soup
  • Method: Stovetop
  • Cuisine: Italian-Inspired

Keywords: orzo soup, chicken soup, chicken orzo soup

Recipe Card powered by Tasty Recipes logo

Thanks to DeLallo for sponsoring this recipe!


More Favorites with Orzo

The post Chicken Orzo Tomato Soup appeared first on Pinch of Yum.


from Pinch of Yum https://ift.tt/YUAcyJ1