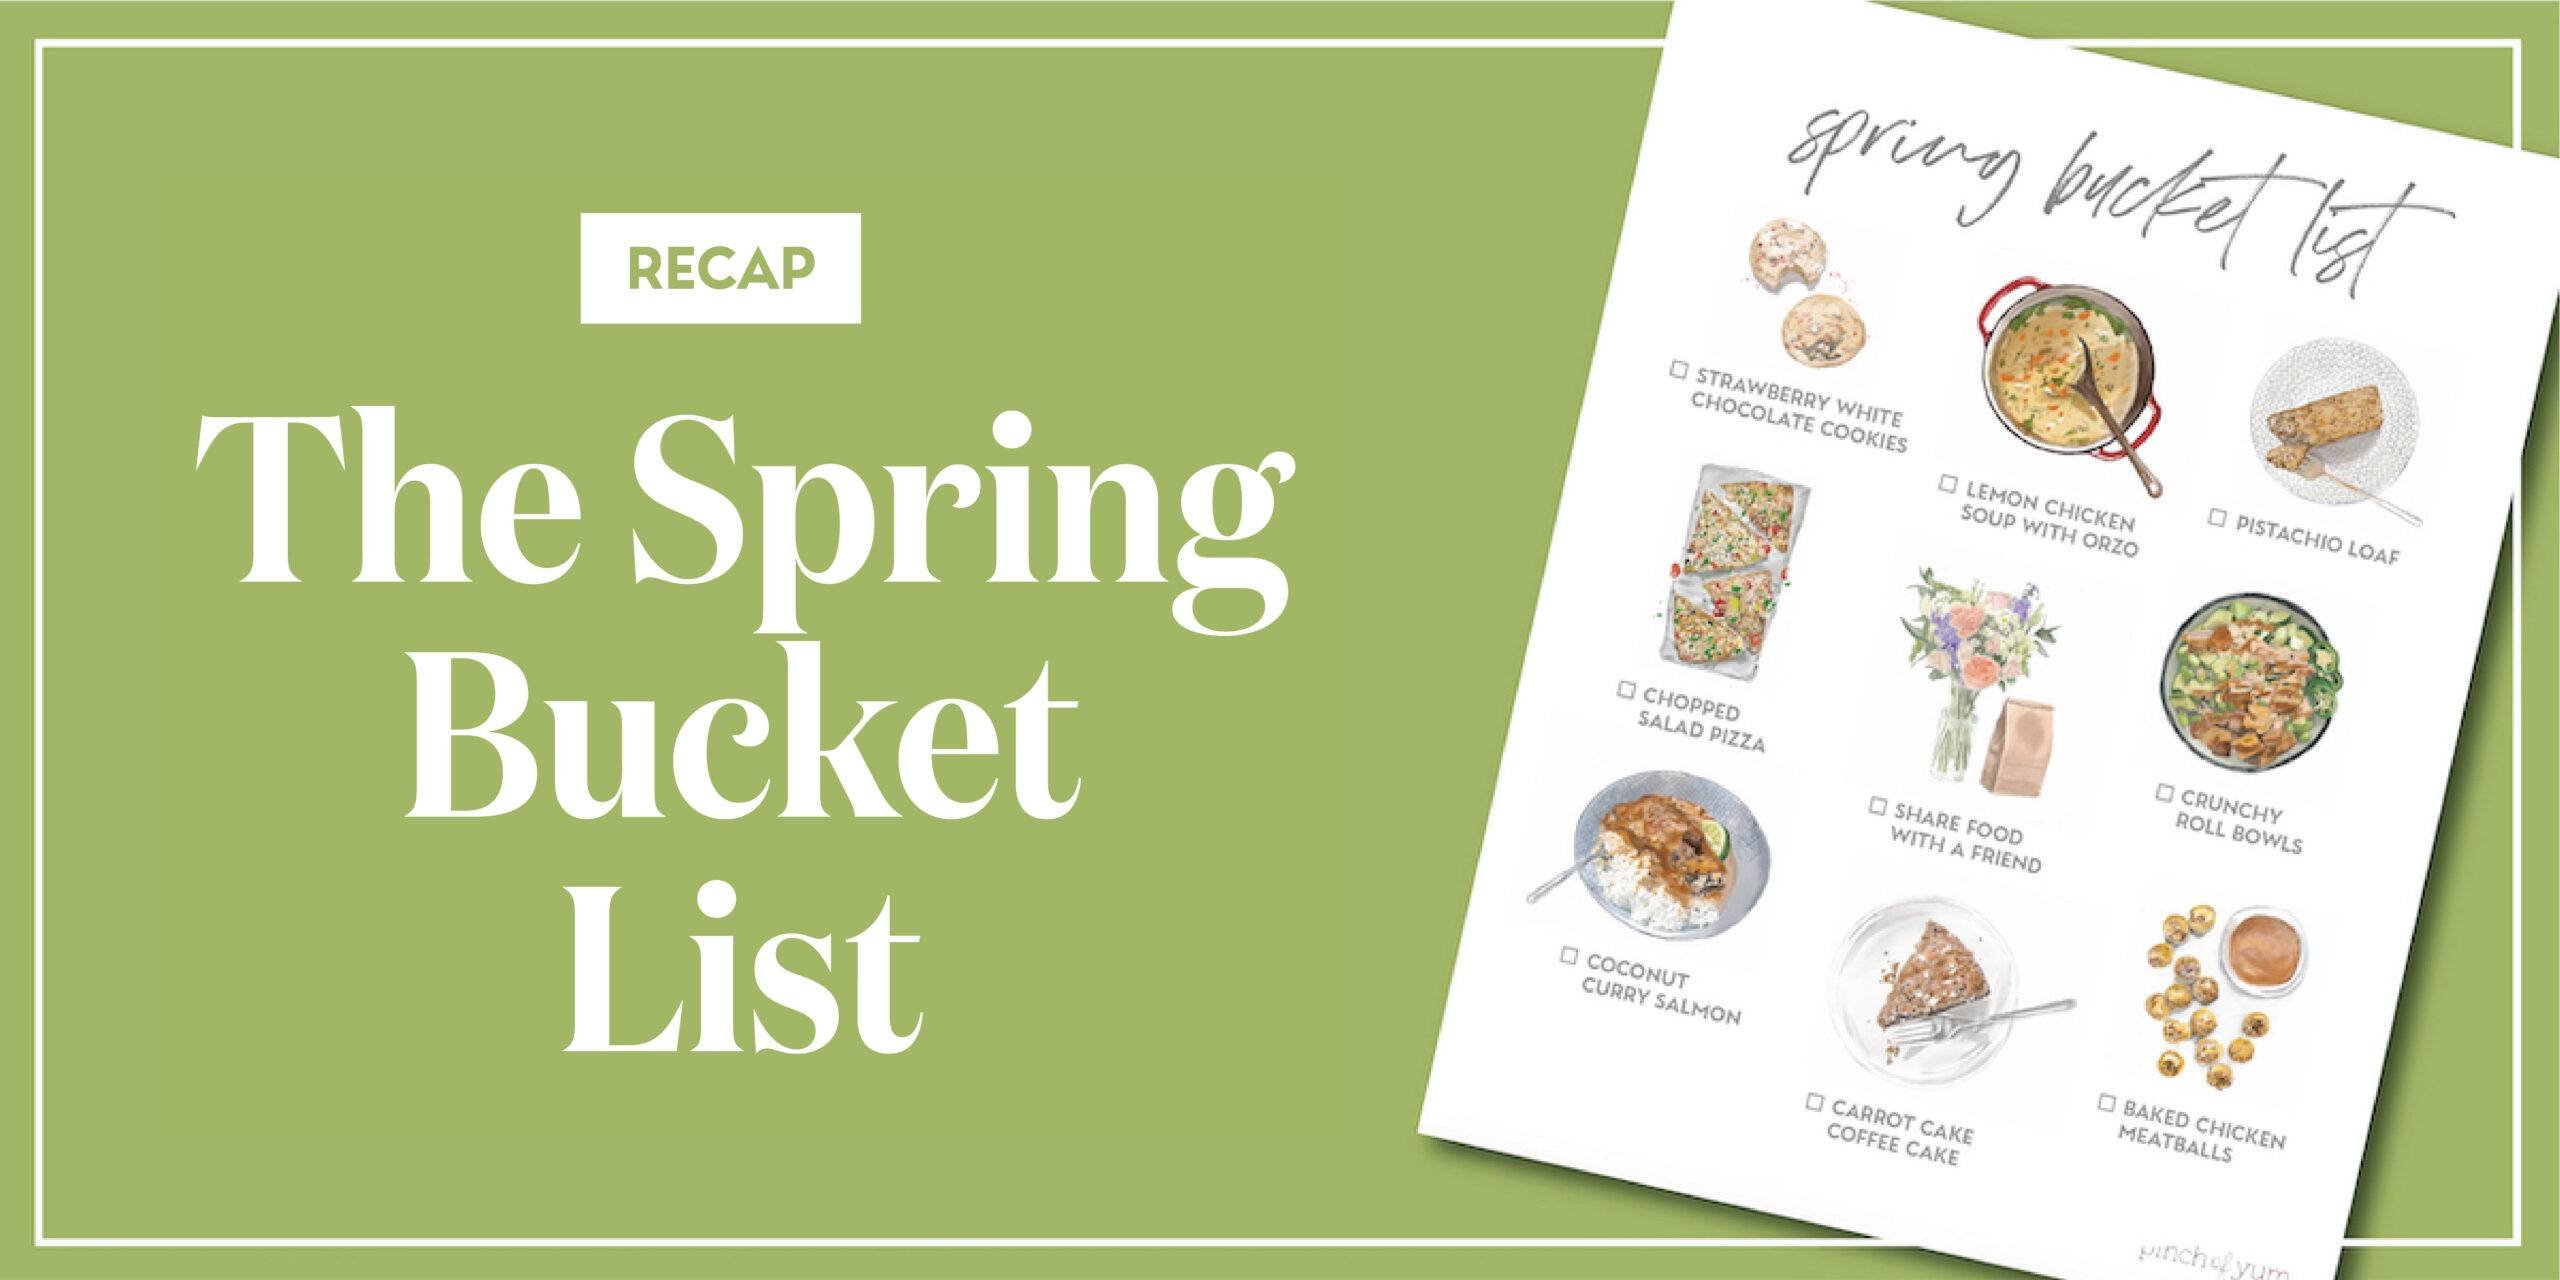
The Pinch of Yum Spring Bucket List challenge has come to a close and what a time it has been!
We hope you were able to make something from the bucket list that made your day shine a bit brighter. Maybe a new warm-weather favorite, a growing friendship from a meal shared with someone, or just some happy, springy weeknight magic in your very own kitchen.
Whatever it might be, we’re so grateful to have been around your table this season. 🌷✨
Announcing The Winners
Thank you for your submissions – we had close to 10,000!
Here are the winners for each recipe:
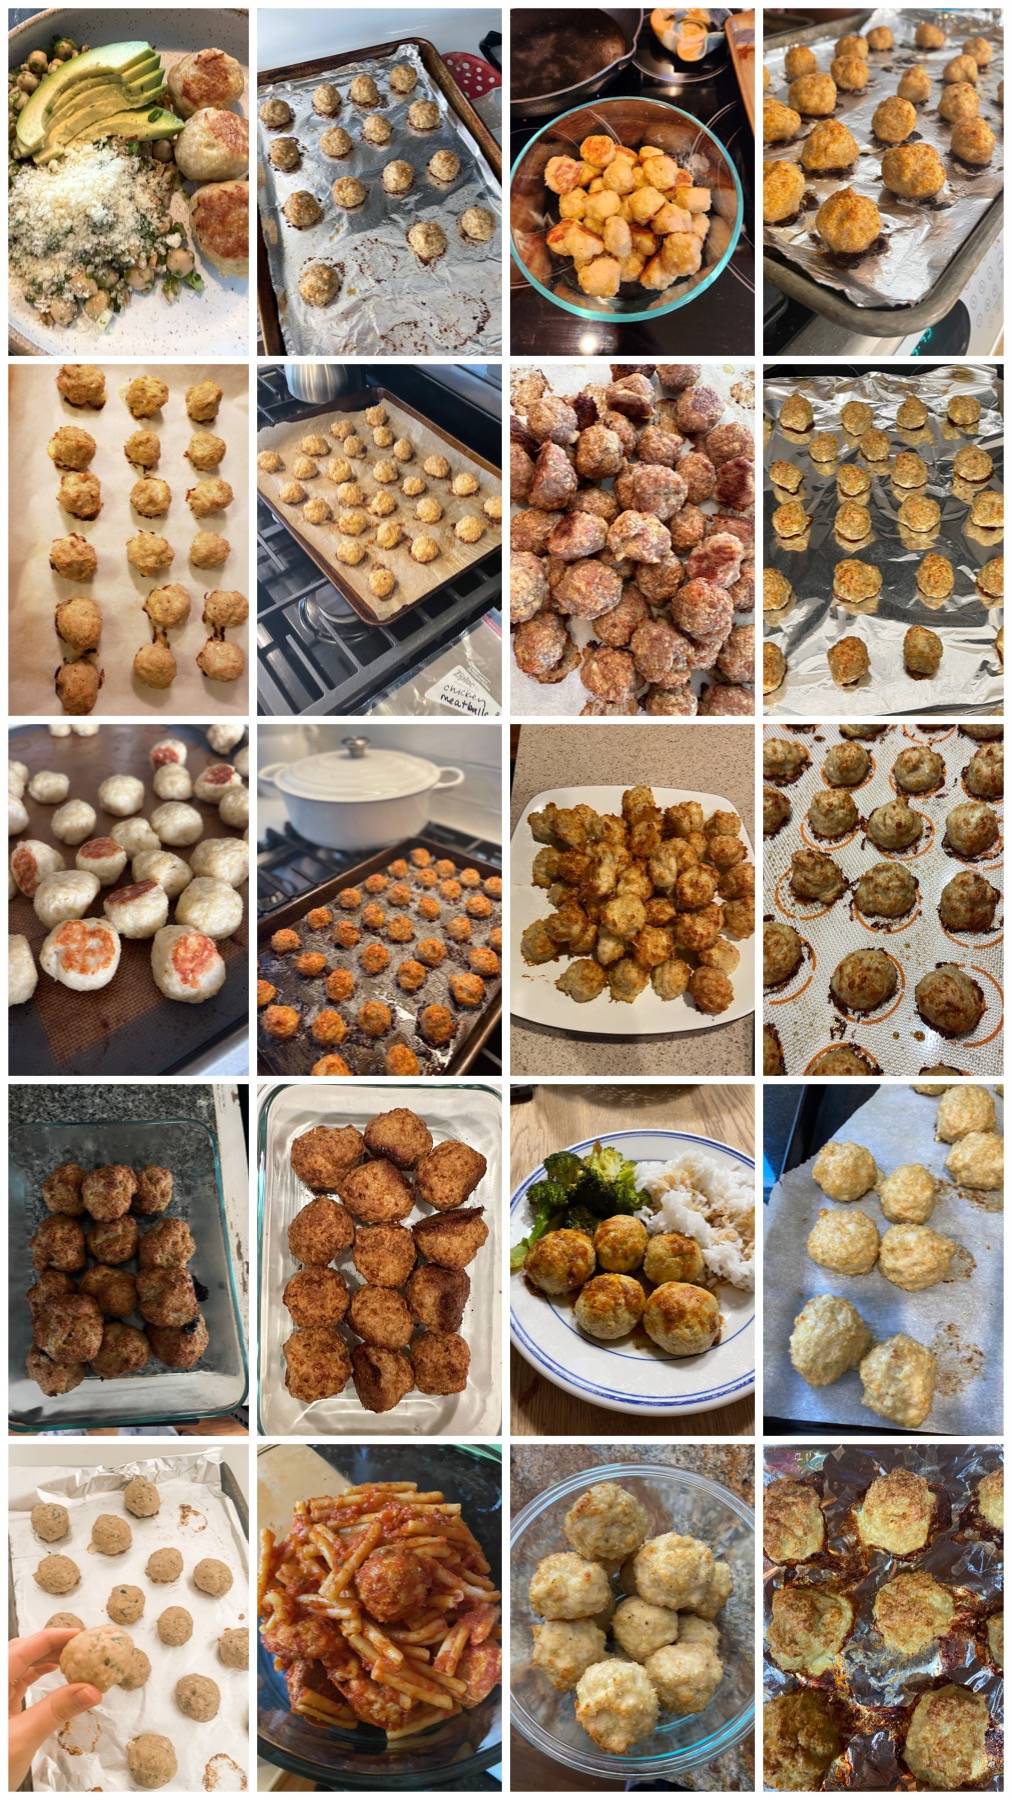
Best Anytime Baked Chicken Meatballs: Addy B.
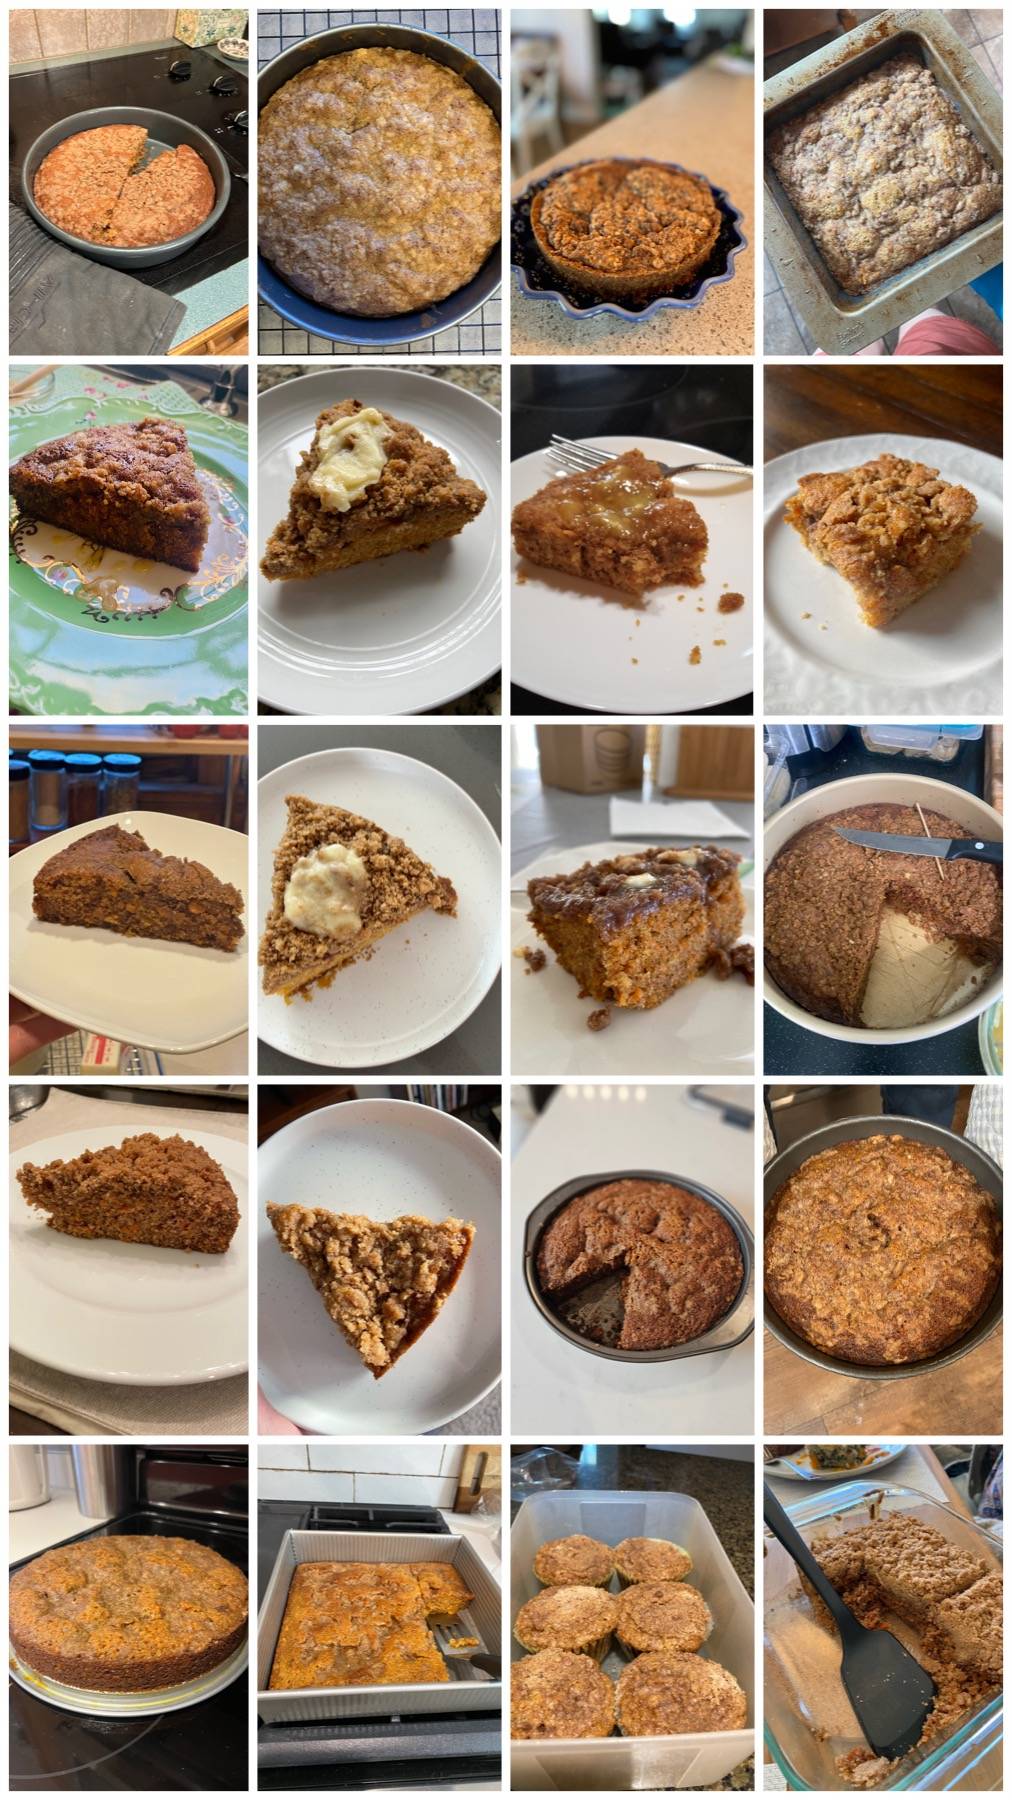
Carrot Cake Coffee Cake: Jennifer A.
Chopped Salad Pizza: Gabriel Y.
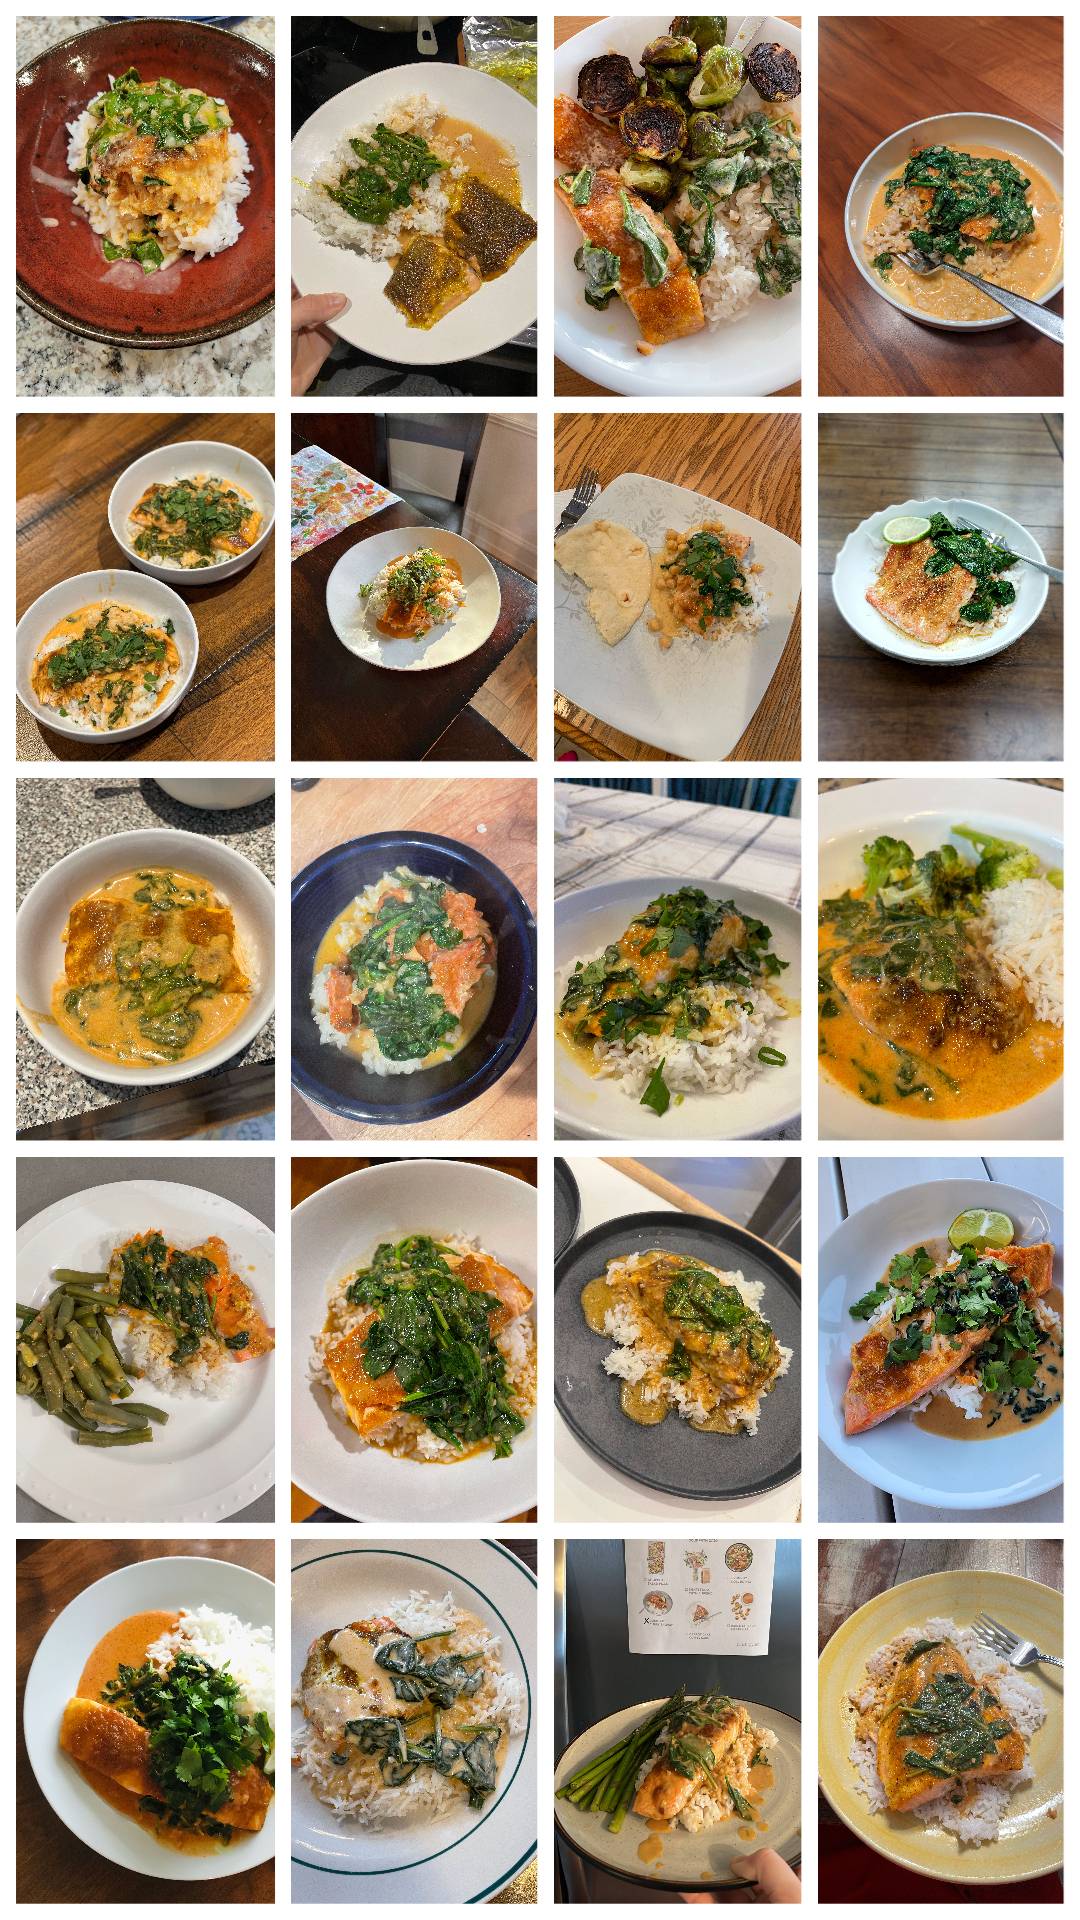
Coconut Curry Salmon: Katelyn L.
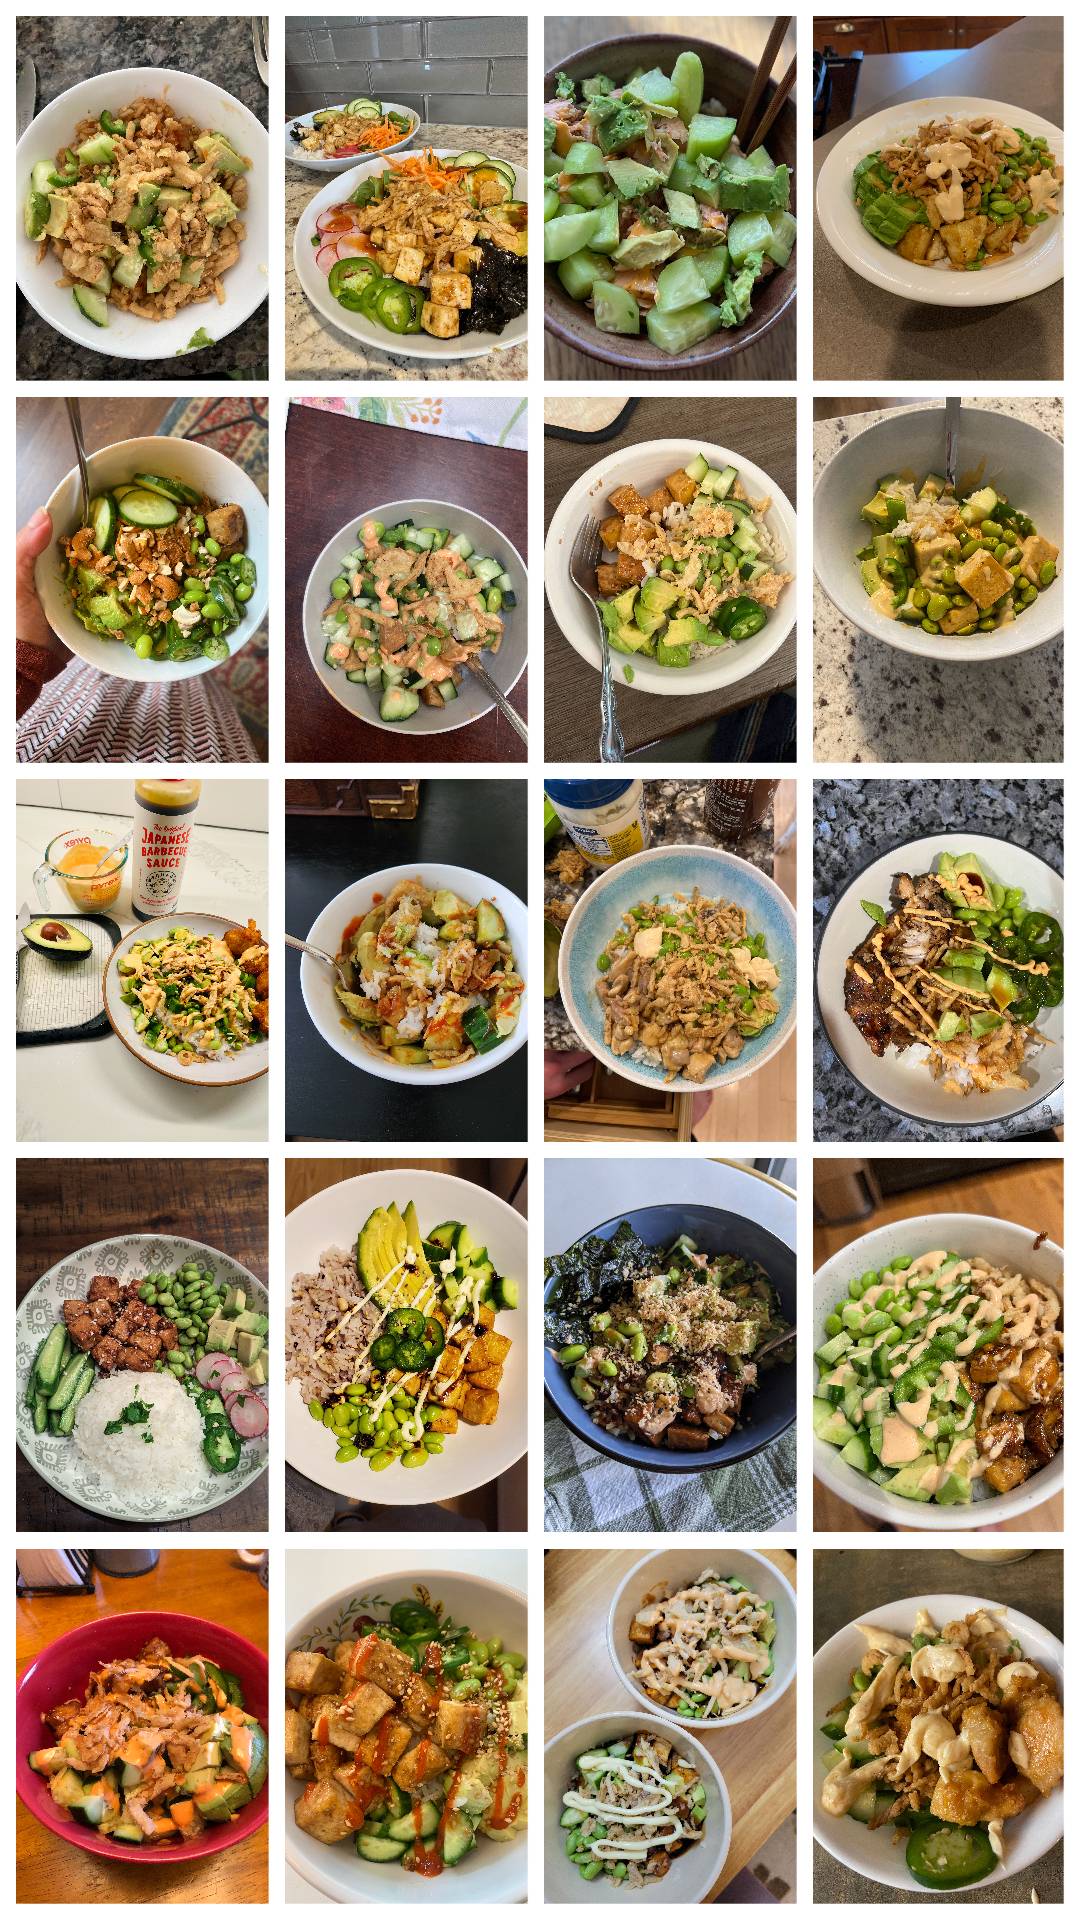
Crunchy Roll Bowls: Chelsey Z.
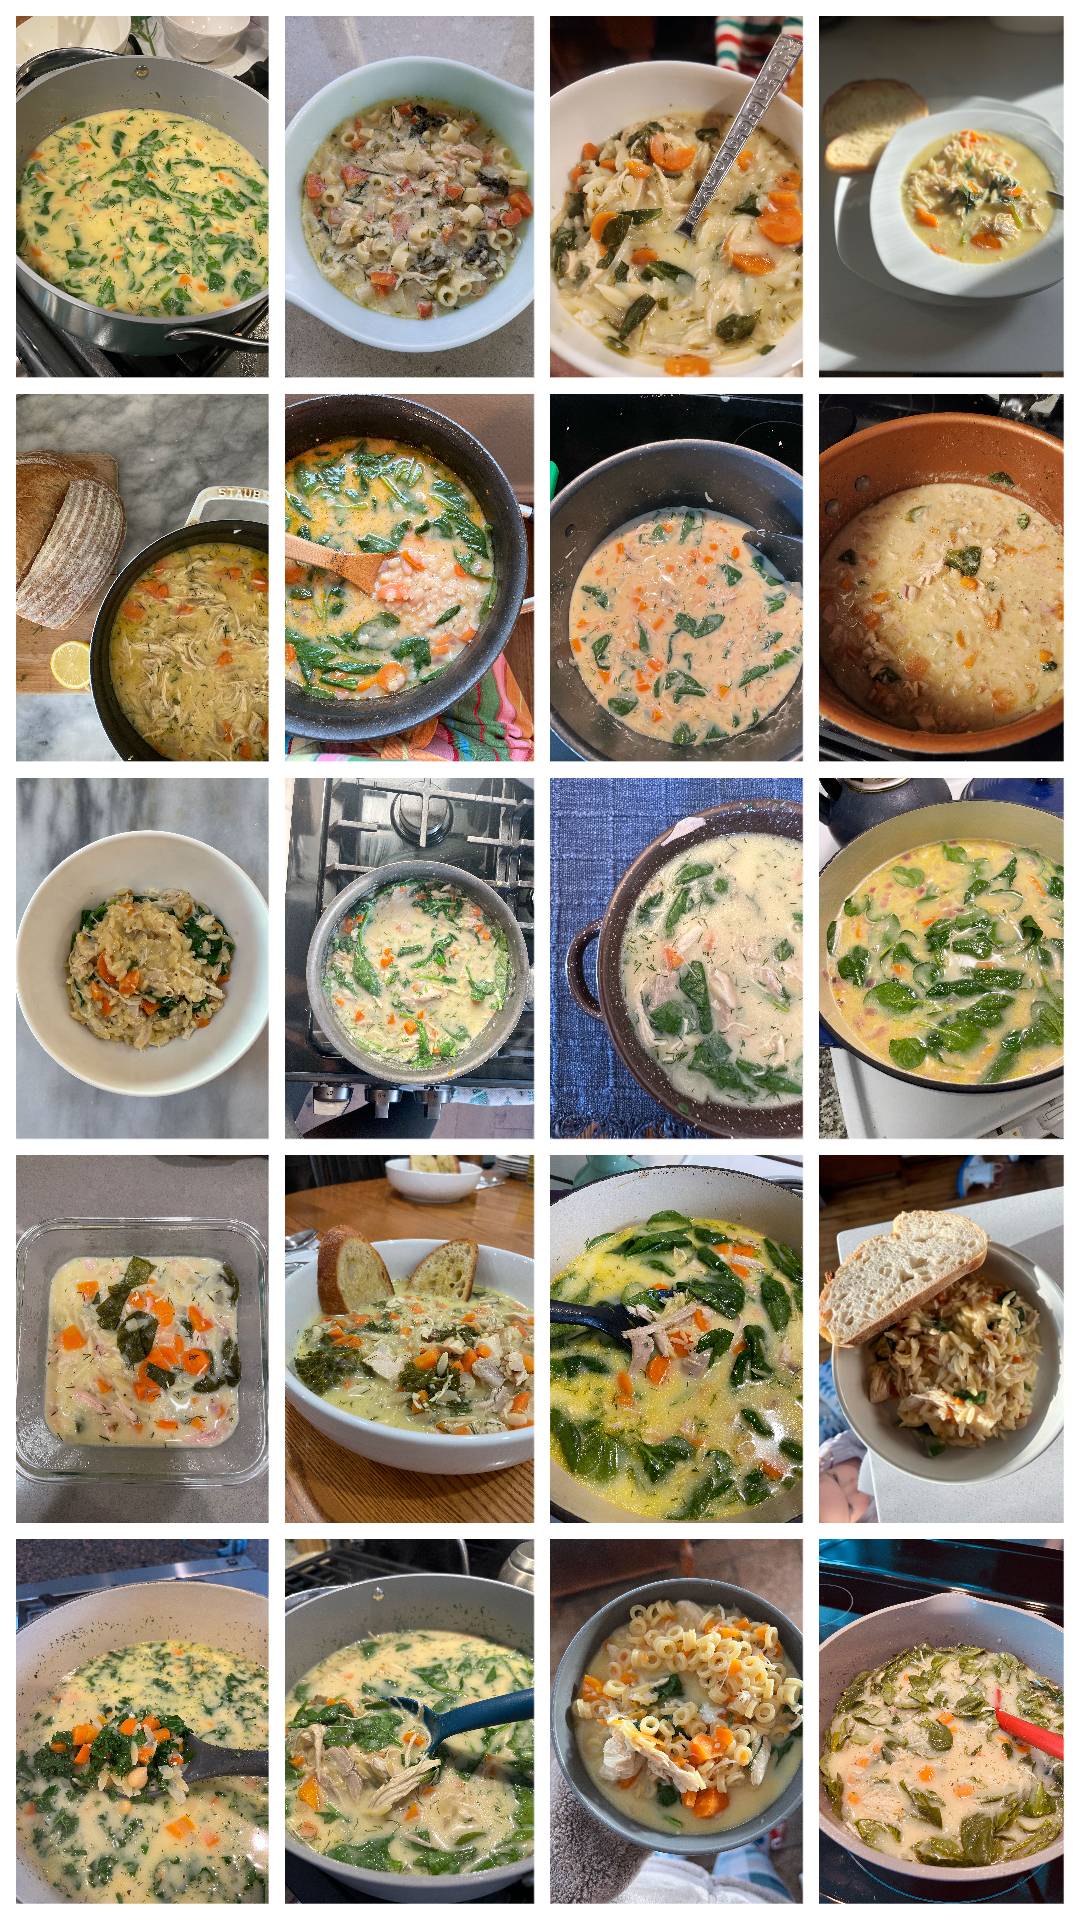
Lemon Chicken Soup with Orzo: Katlyn S.
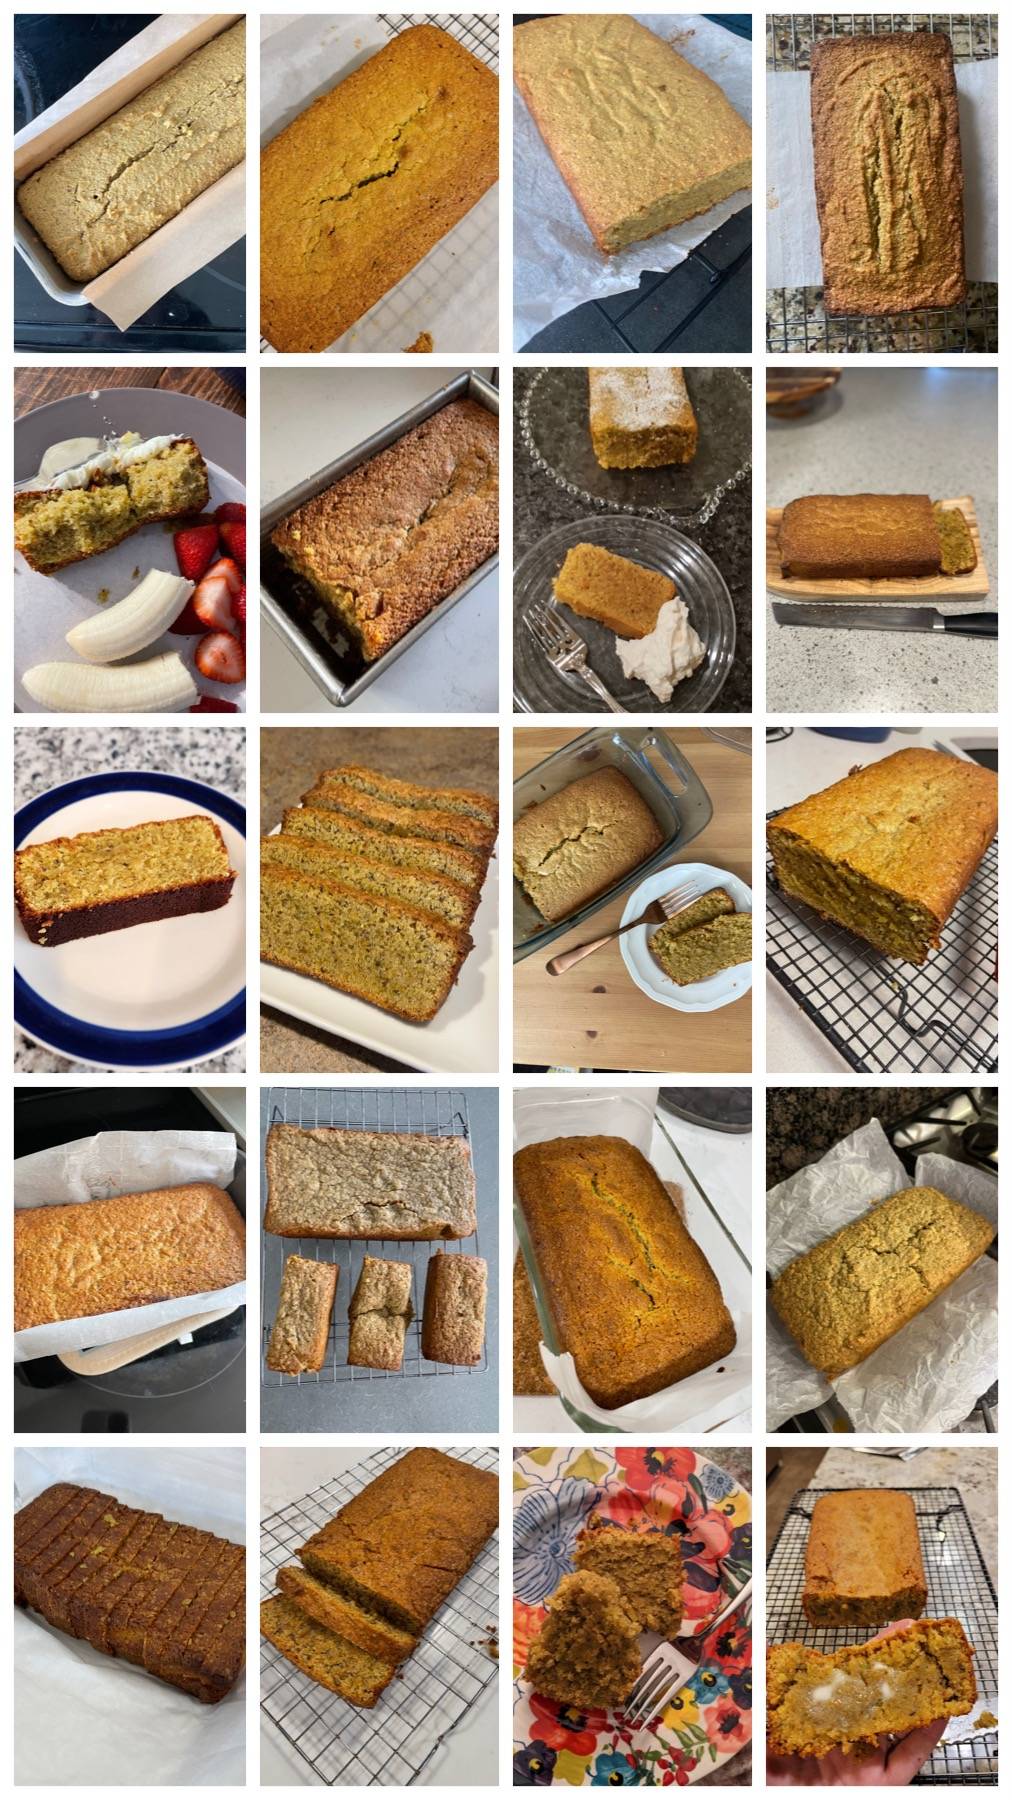
Pistachio Loaf: Courtney S.
Share Food with a Friend: Westie F.
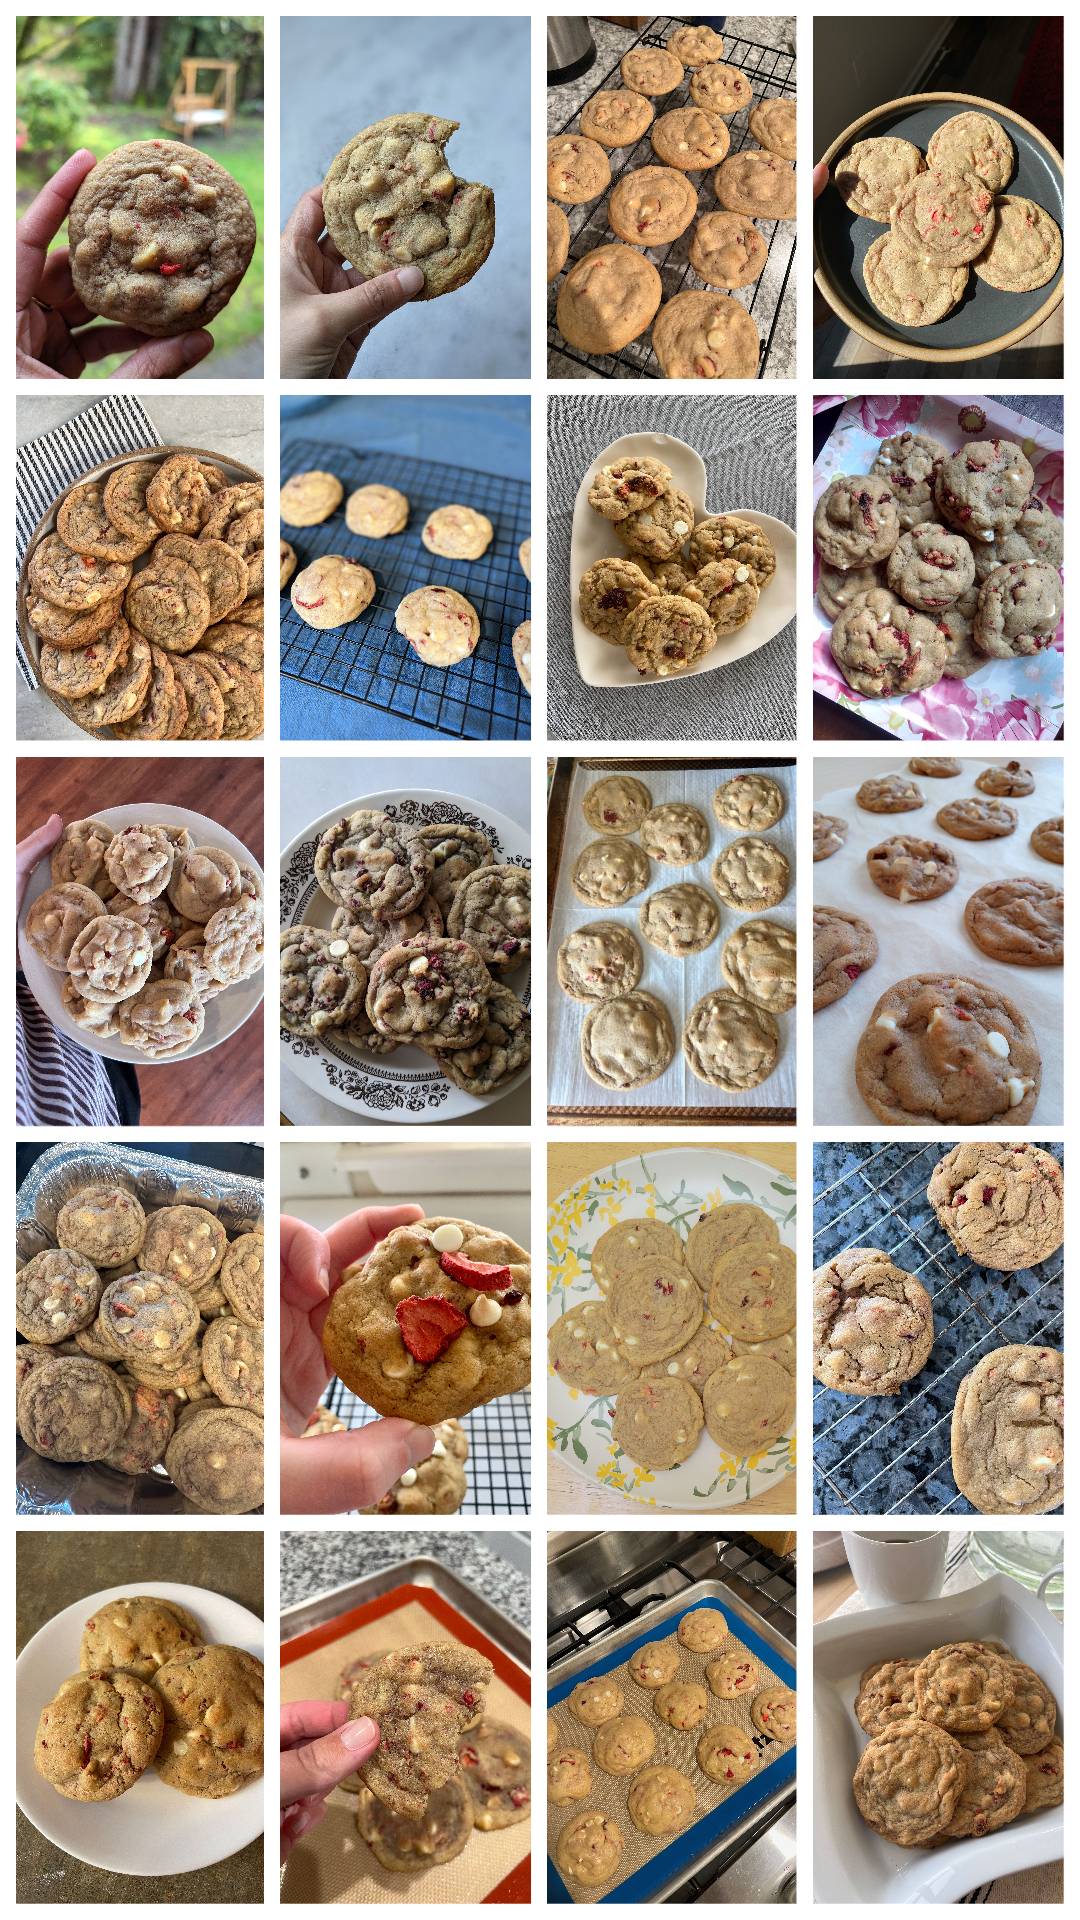
Strawberry White Chocolate Cookies: Melissa T.
GRAND PRIZE: Angela P.
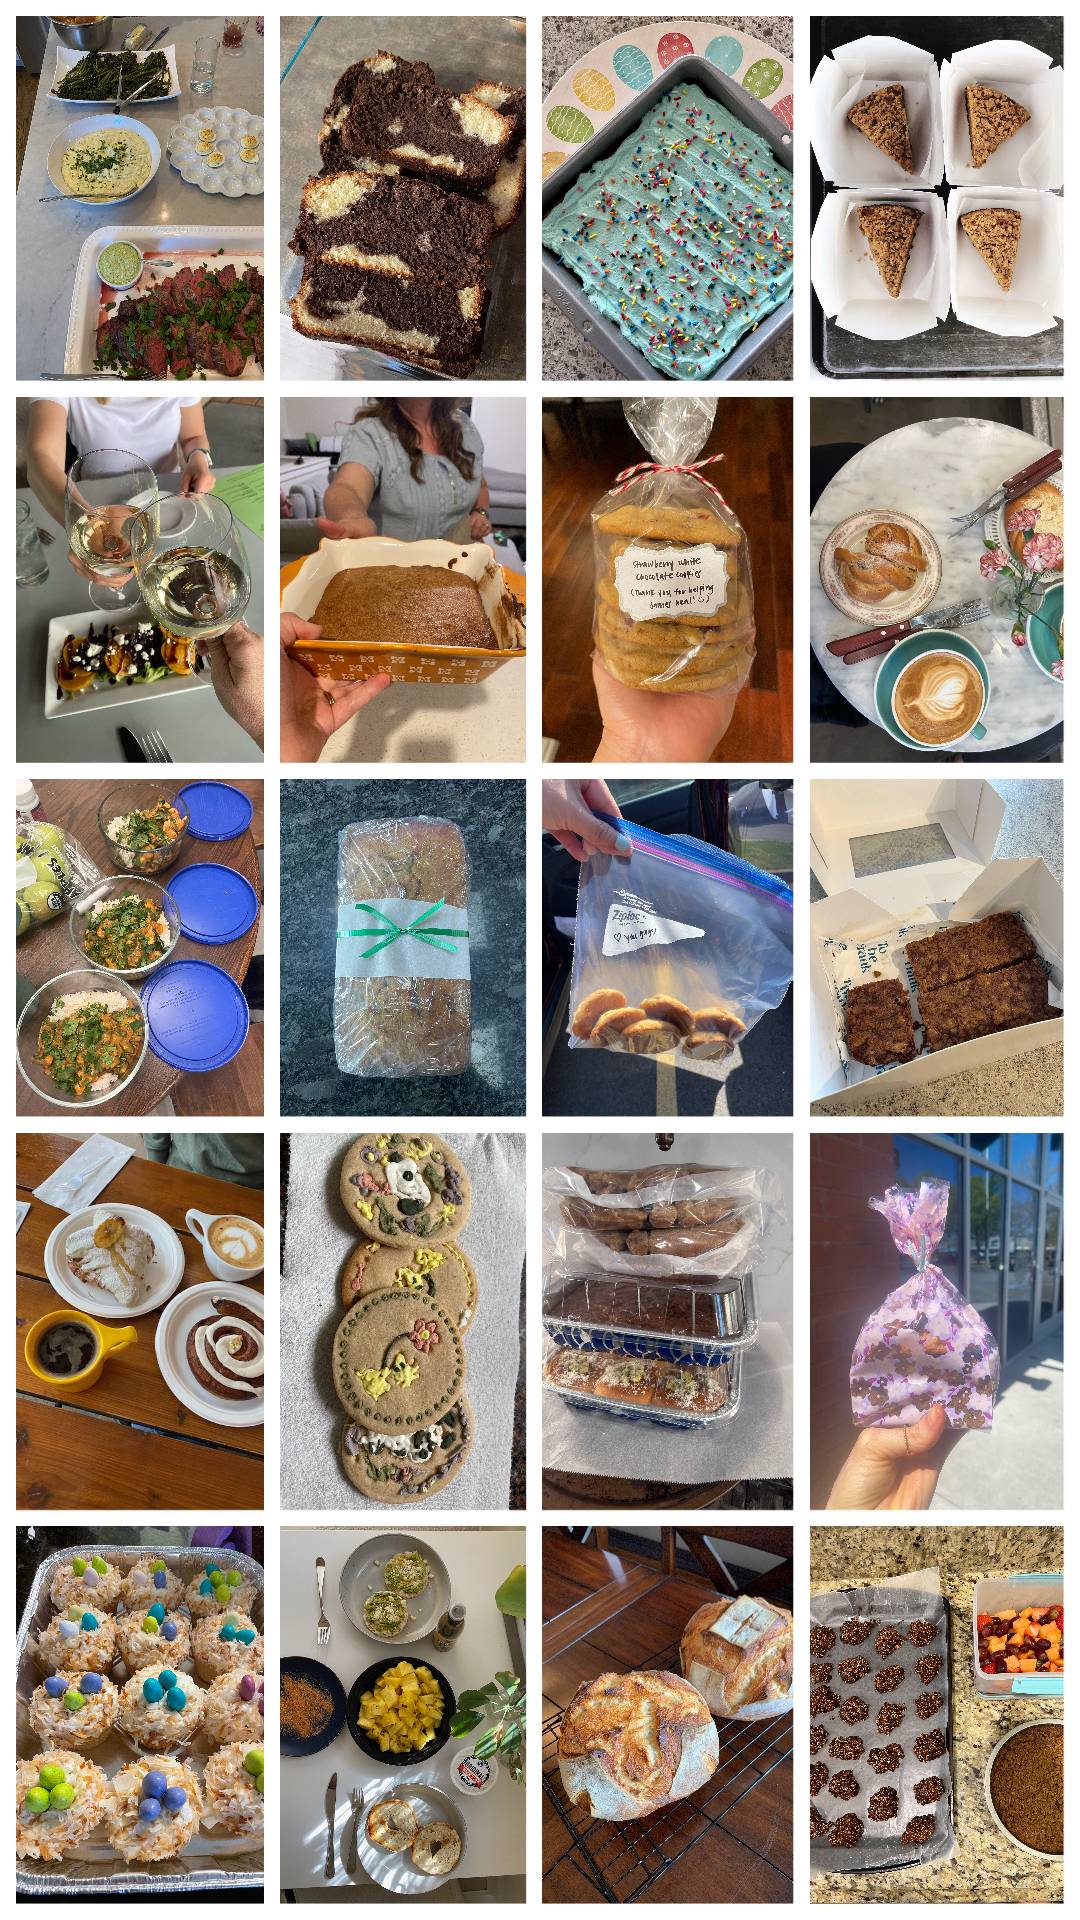
Here are a handful of your photo submissions. Beautiful, glorious, springtime joy!
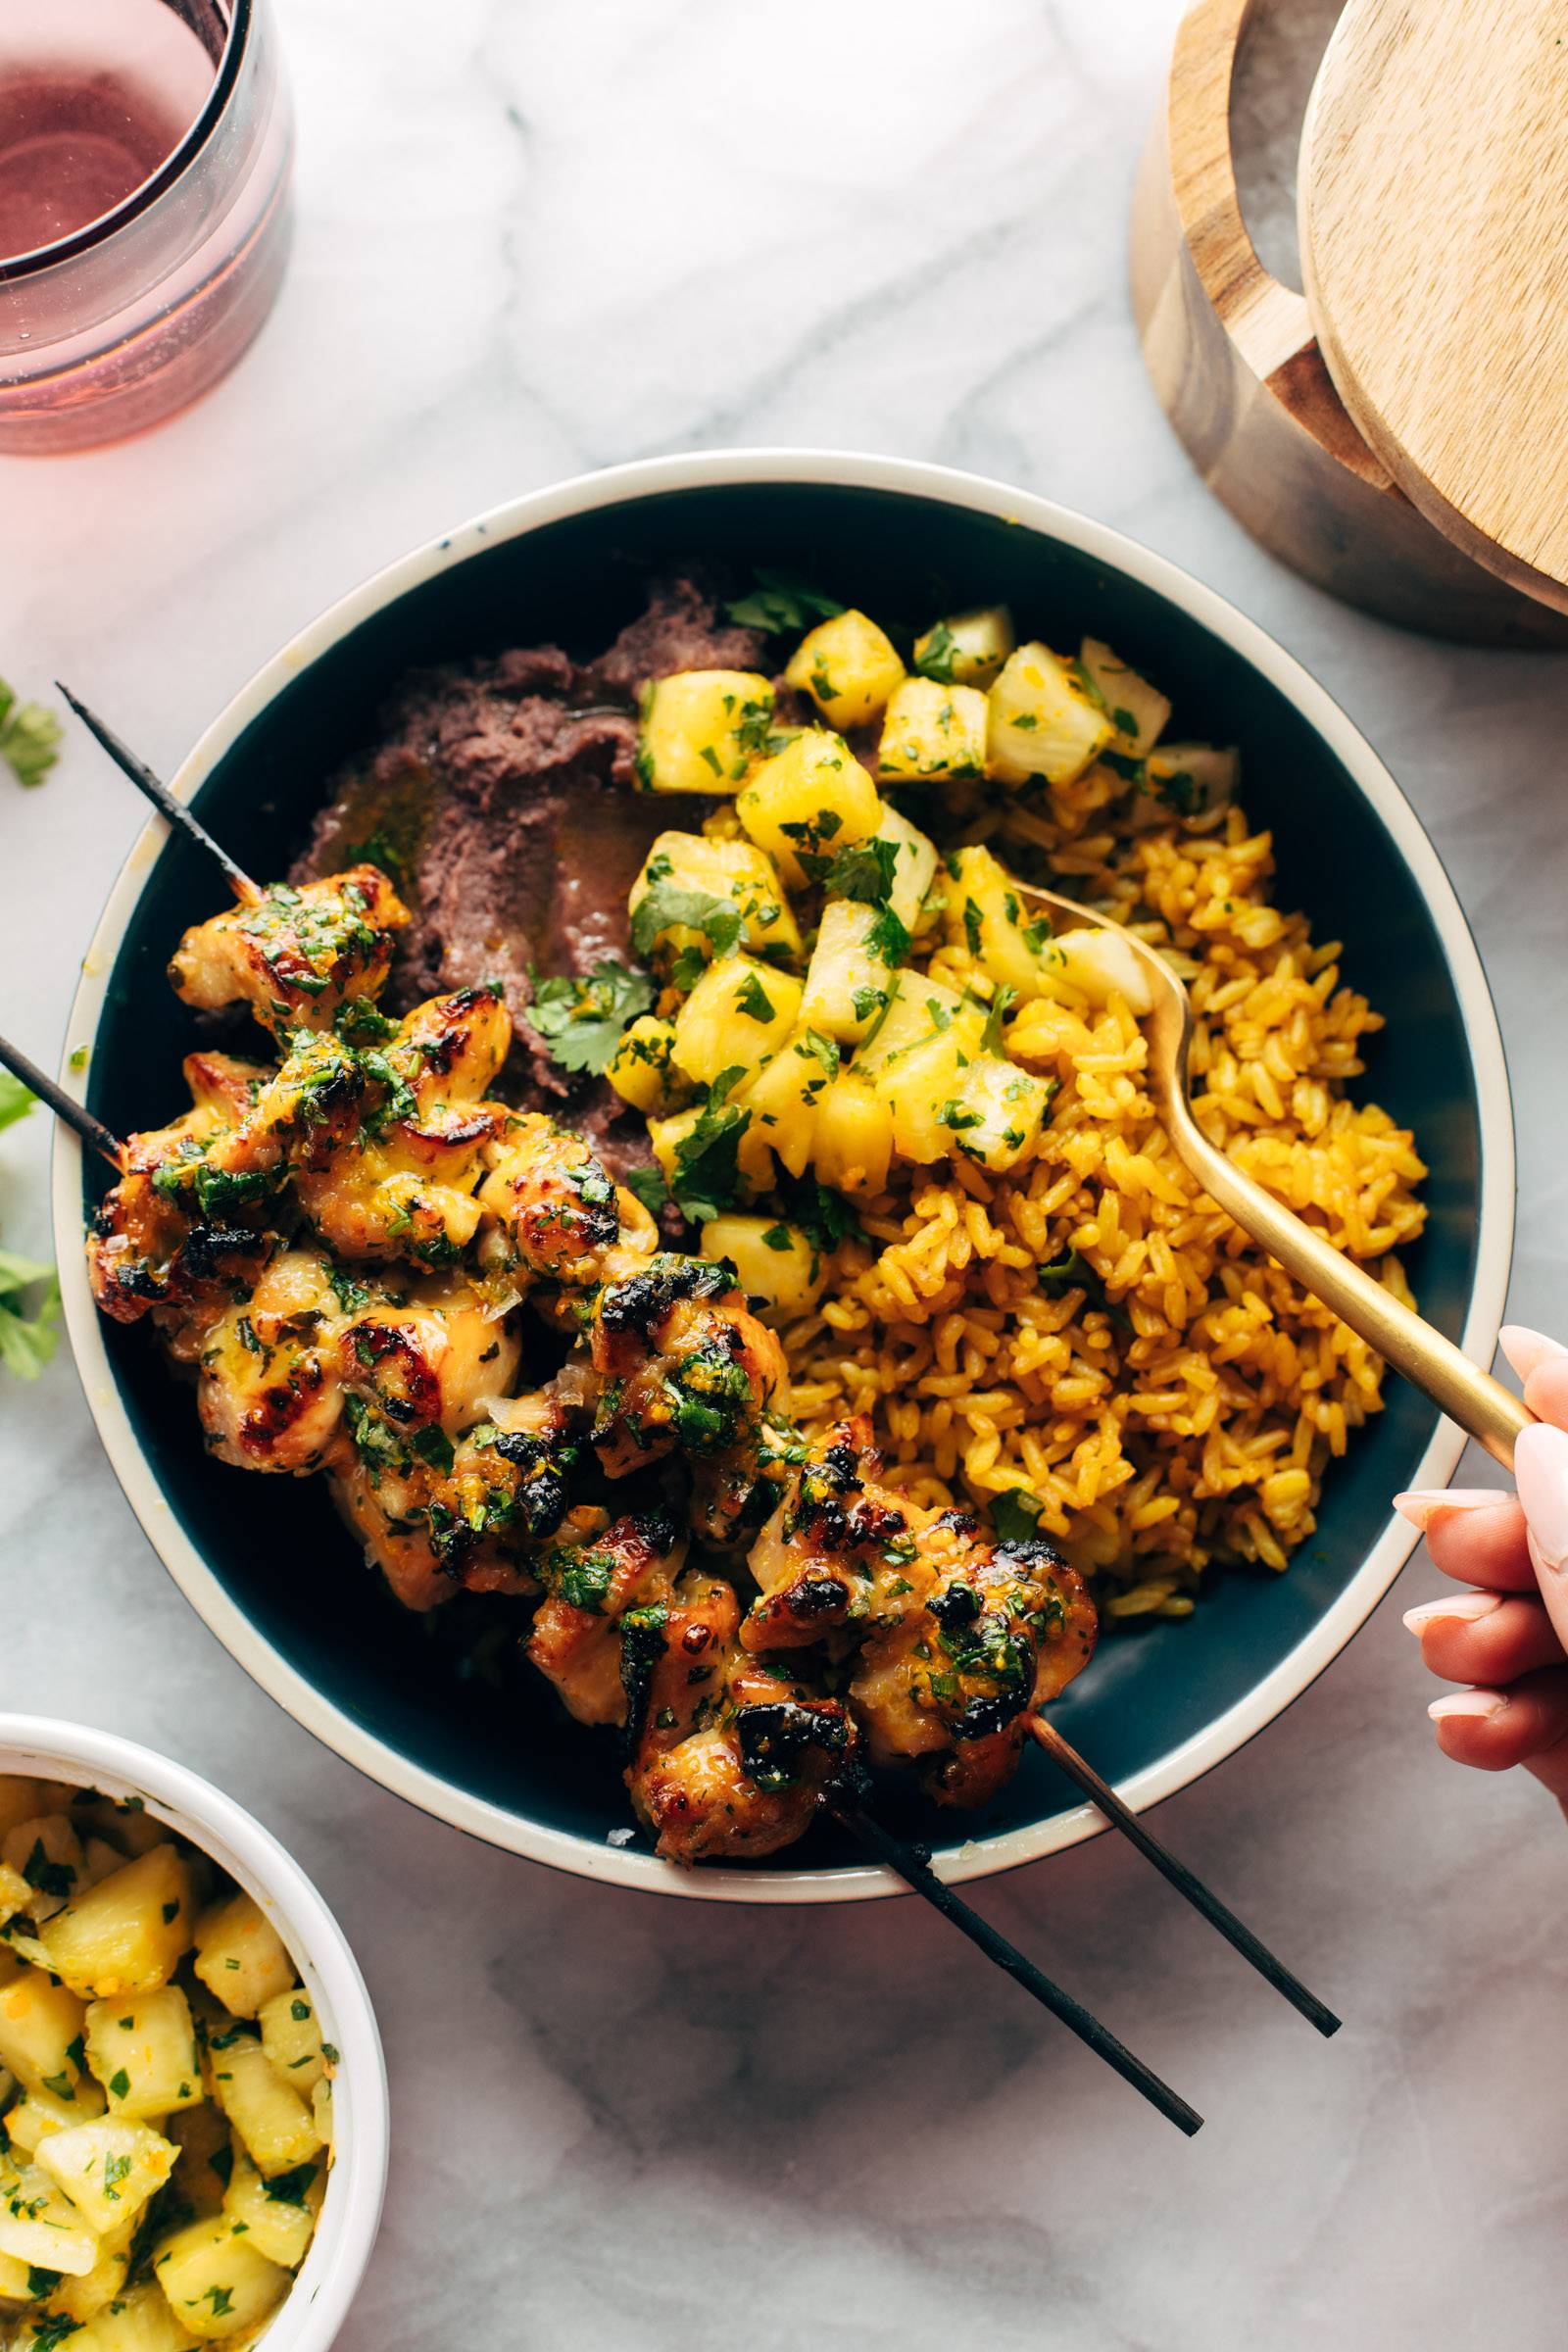
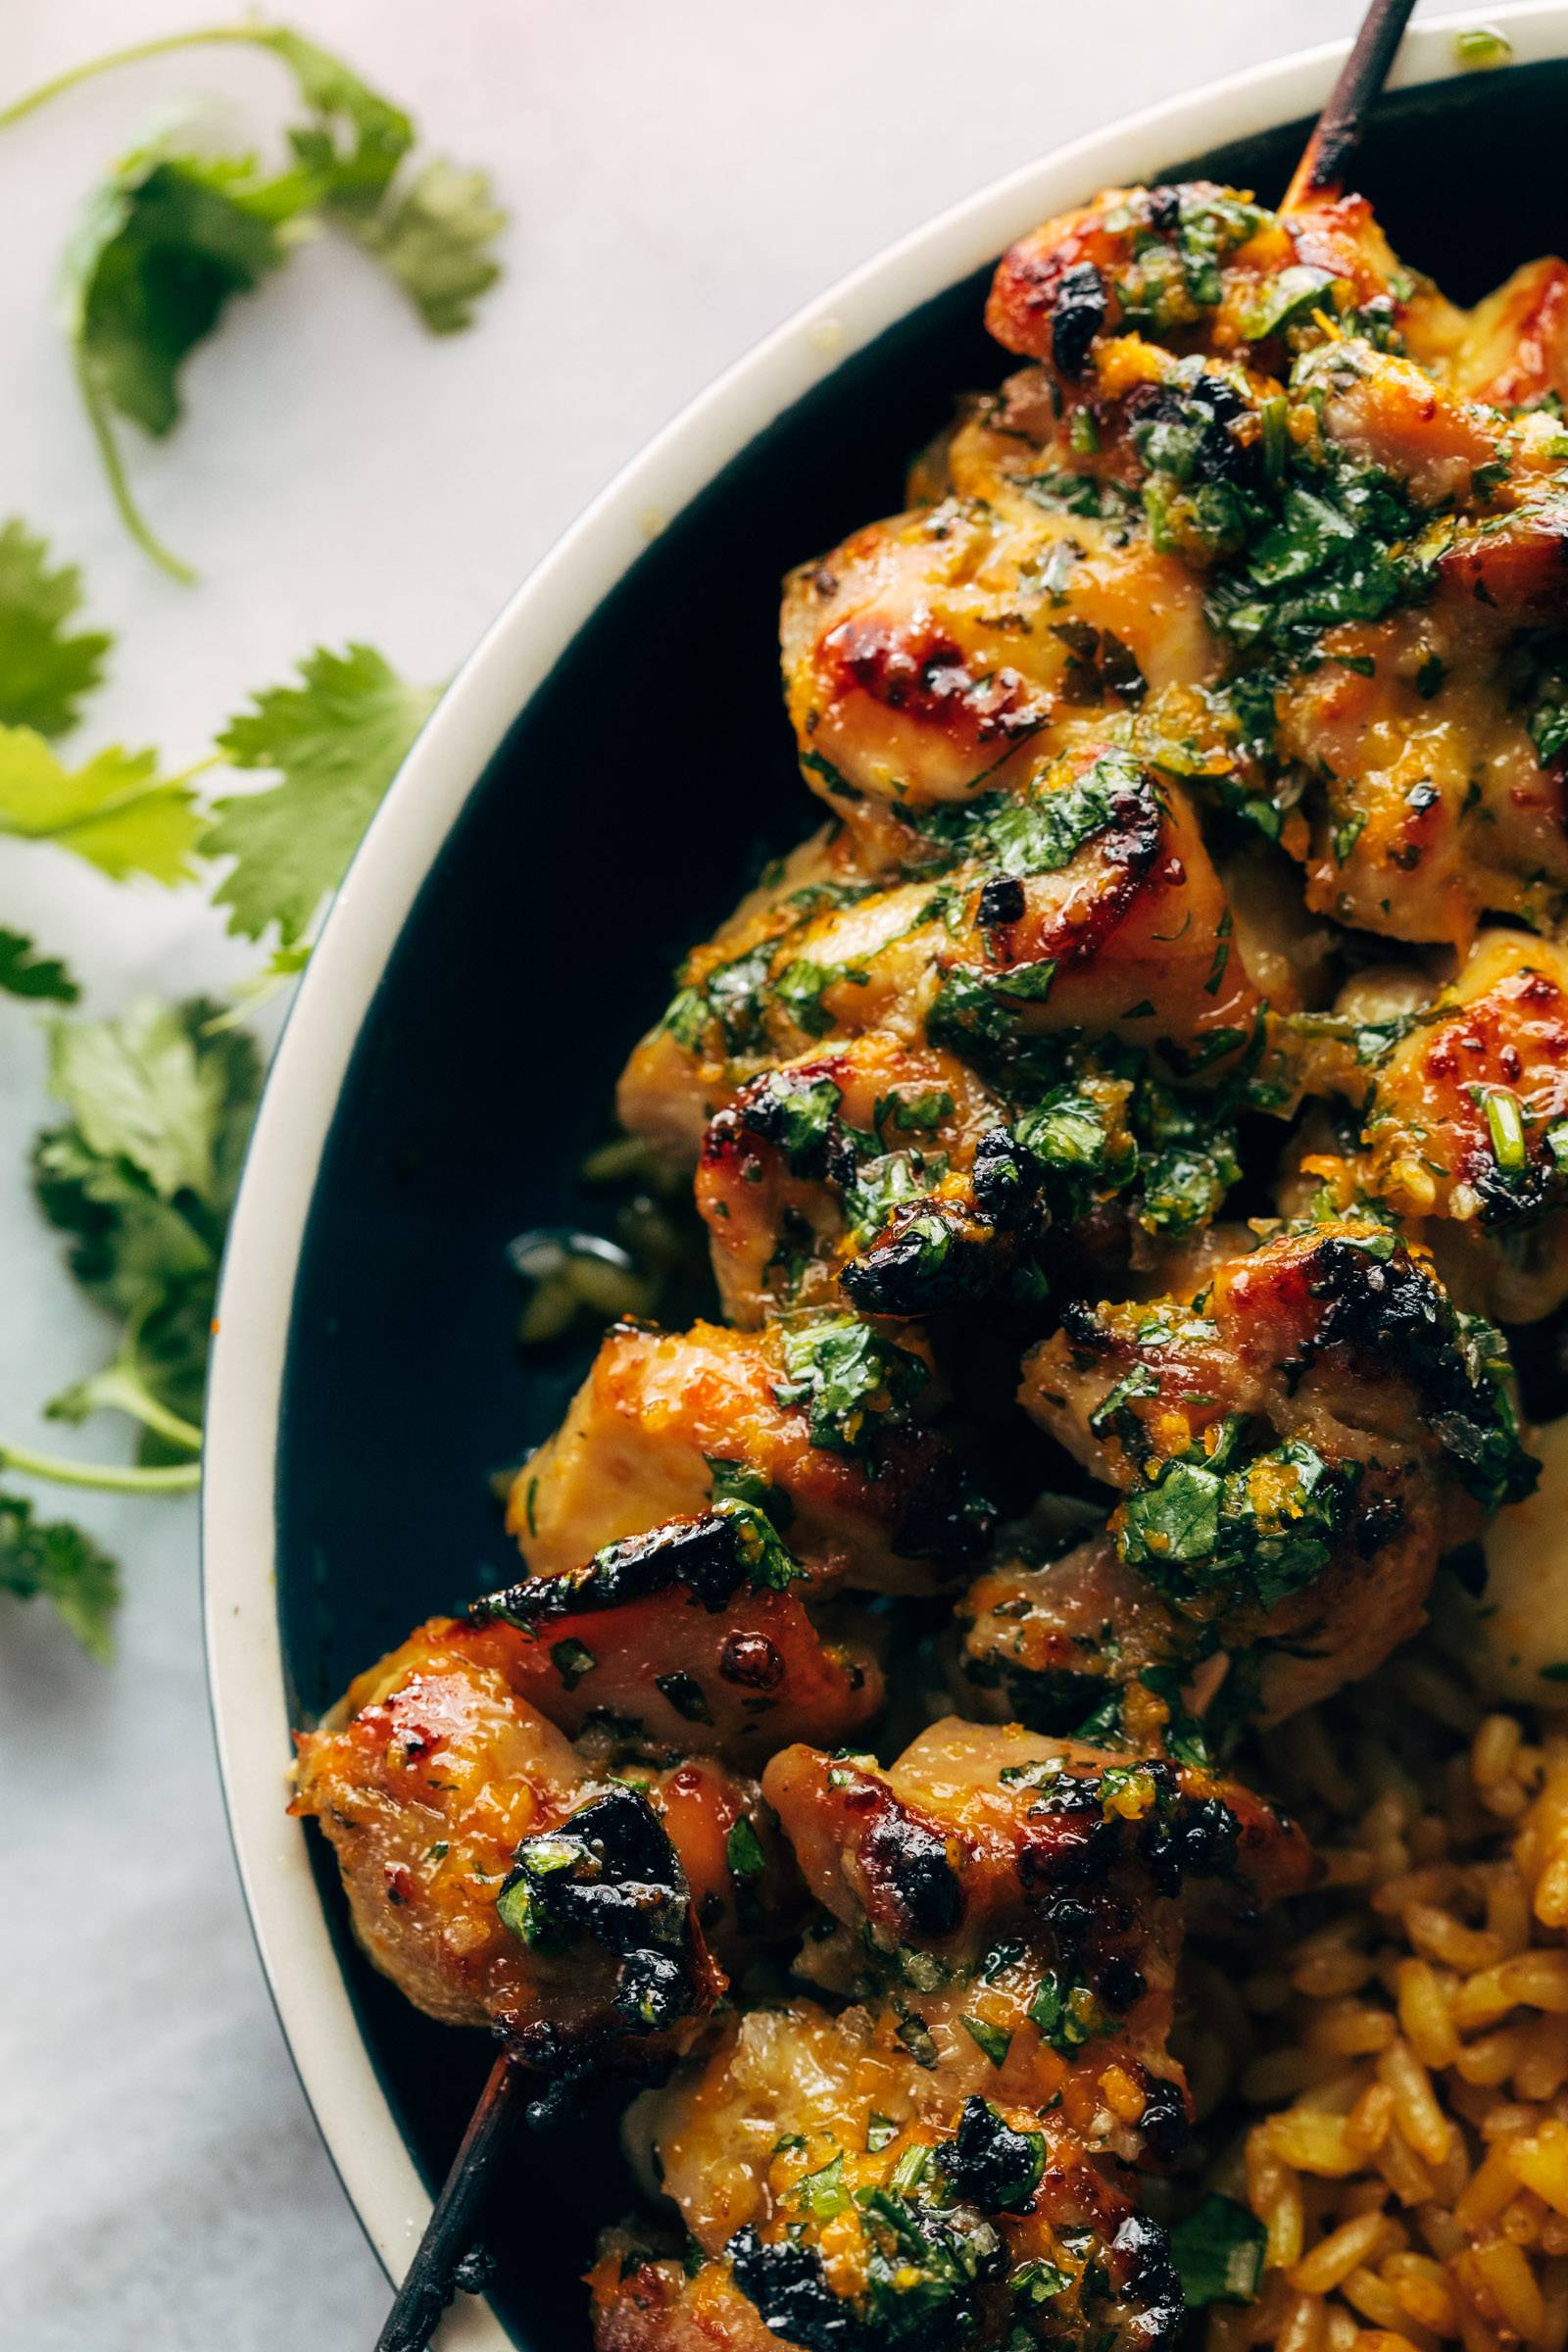
JUICINESS alert! This golden Cilantro Garlic Chicken is so flavorful, crisped to golden brown perfection, and just very finger-licking good. You’re going to need some napkins.
When I’m being normal, I usually serve it with rice, beans, and quick homemade pineapple salsa – which all just works together so well, you know? It has a Cuban feel to it: a mojo-like sauce with rice and beans and some tropical fruit on the plate for good measure. Yum. Yum yum yum.
But the beautiful thing is that if you don’t have time or patience for the extras, or you’re your most hungry and desperate self, the chicken can very much stand on its own.
It’s rare for me to really love a “plain chicken” recipe, but this chicken is eat-directly-off-the-pan delicious. Just brush that burnished chicken with some extra sauce straight out of the oven, pass me a couple skewers, and I am done. It’s all I need! Just a snack-turned-dinner standing over the stove.
Source Notes: I got the idea for this recipe from this Milkstreet cookbook. I played around with it a lot with things I thought I wanted: added limes, added spices, etc. but ended up just loving the original version plus vinegar for more punch! It’s delicious.
This golden Cilantro Garlic Chicken is so flavorful, crisped to golden brown perfection, and just very finger-licking good! Served with rice, beans, and a quick homemade pineapple salsa.
Ingredients
Units
Cilantro Orange Sauce:
1/4 – 1/2cupcilantro, finely chopped
3 cloves garlic, grated
juice of 2oranges(about 6 tablespoons juice) + a bit of zest
3 tablespoonsbrown sugar
3 tablespoonsavocado oil
1 tablespoonwhite vinegar
2 teaspoonssalt
Chicken:
1.25poundsboneless skinless chicken thighs, cut into bite sized pieces
Line a baking sheet with parchment paper or aluminum foil. Turn on the broiler, and make sure one of the oven racks is way up at the top, about 6 inches from the heating element.
Place chicken in a large mixing bowl.
Combine the sauce ingredients in a small bowl.
Pour only half of the sauce over the chicken and toss to coat; reserve the other half of the sauce for later. Thread the chicken pieces onto skewers, or you can just let the excess sauce drip off and add the chicken directly to your sheet pan!
Bake for 12 minutes, or until chicken is cooked through and has a burnished and golden exterior.
Optional – mix a little bit of the reserved sauce with the diced pineapple/mango/avocado to make a little “salsa.”
Brush the golden brown chicken with reserved sauce. Serve chicken with rice, beans, and your fruit salsa! Fresh, juicy and savory, so good.
Notes
My oven has high / low broil settings – I use the high broil for this recipe.
If you’re using wood skewers, make sure you soak them in water for 20-30 minutes before threading the chicken on and baking.
When using parchment paper, mine usually gets a bit brittle around the edges but stays intact throughout the middle of the pan due to the moisture from the sauce and the chicken. This article says you can use parchment for a broil, and it has always worked for me! But if you’re feeling unsure about it you can use aluminum foil.
The sauce has a lot of salt, and that is on purpose – you’re only putting half of the sauce on the chicken, and even then, not all of it will actually bake into the chicken. If you’re worried about it, you can start with 1 teaspoon in the sauce and just add extra salt to taste the chicken itself during or after baking.
Nope. You can place the chicken directly onto a parchment-lined baking sheet and position the pan 4-6 inches below the broiler. You’ll get the same juicy-delicious burnishing on the outside of the chicken without the work of the skewers! (But… if you have time, the skewers are definitely fun.) You can use these simple wood skewers or metal skewers to use over and over again! (affiliate links)
What If I Don’t Like Cilantro?
I would recommend another herb like parsley, basil, or maybe some oregano. Green onion could be good, too.
Do I Need To Marinate The Chicken?
I didn’t marinate the chicken – it was still great, especially because the sauce has a lot of flavor and you’re going to brush that over the chicken again before eating it. This is an SOS recipe (aka easy recipe) so we’re trying to keep the whole process simple and streamlined!
But if you had time and you wanted to marinate the chicken, I think that would be delicious! Just be sure to save some of your sauce in a separate container so you can use it for brushing after it’s done.
What About Grilling?
Yes! This would be so great on the grill. Here in Minnesota, we are not in grill season quite yet, so at the moment I prefer to just pop them in the oven. But if you’ve got your grill up and running, by all means!
What’s a Good Vegetarian Substitution?
I think you could do something similar with roasted cauliflower, sweet potatoes, or mushrooms! For a protein option, I’d try coating crispy baked tofu in this sauce and then roasting it for a few extra minutes to get it caramelized.
In This Post: Everything You Need For Butter Chicken Meatballs
About Butter Chicken
How to make this recipe dairy-free
Other protein options (meatless, too!)
How to add veggies
FAQ about this recipe
More weeknight meatball recipes
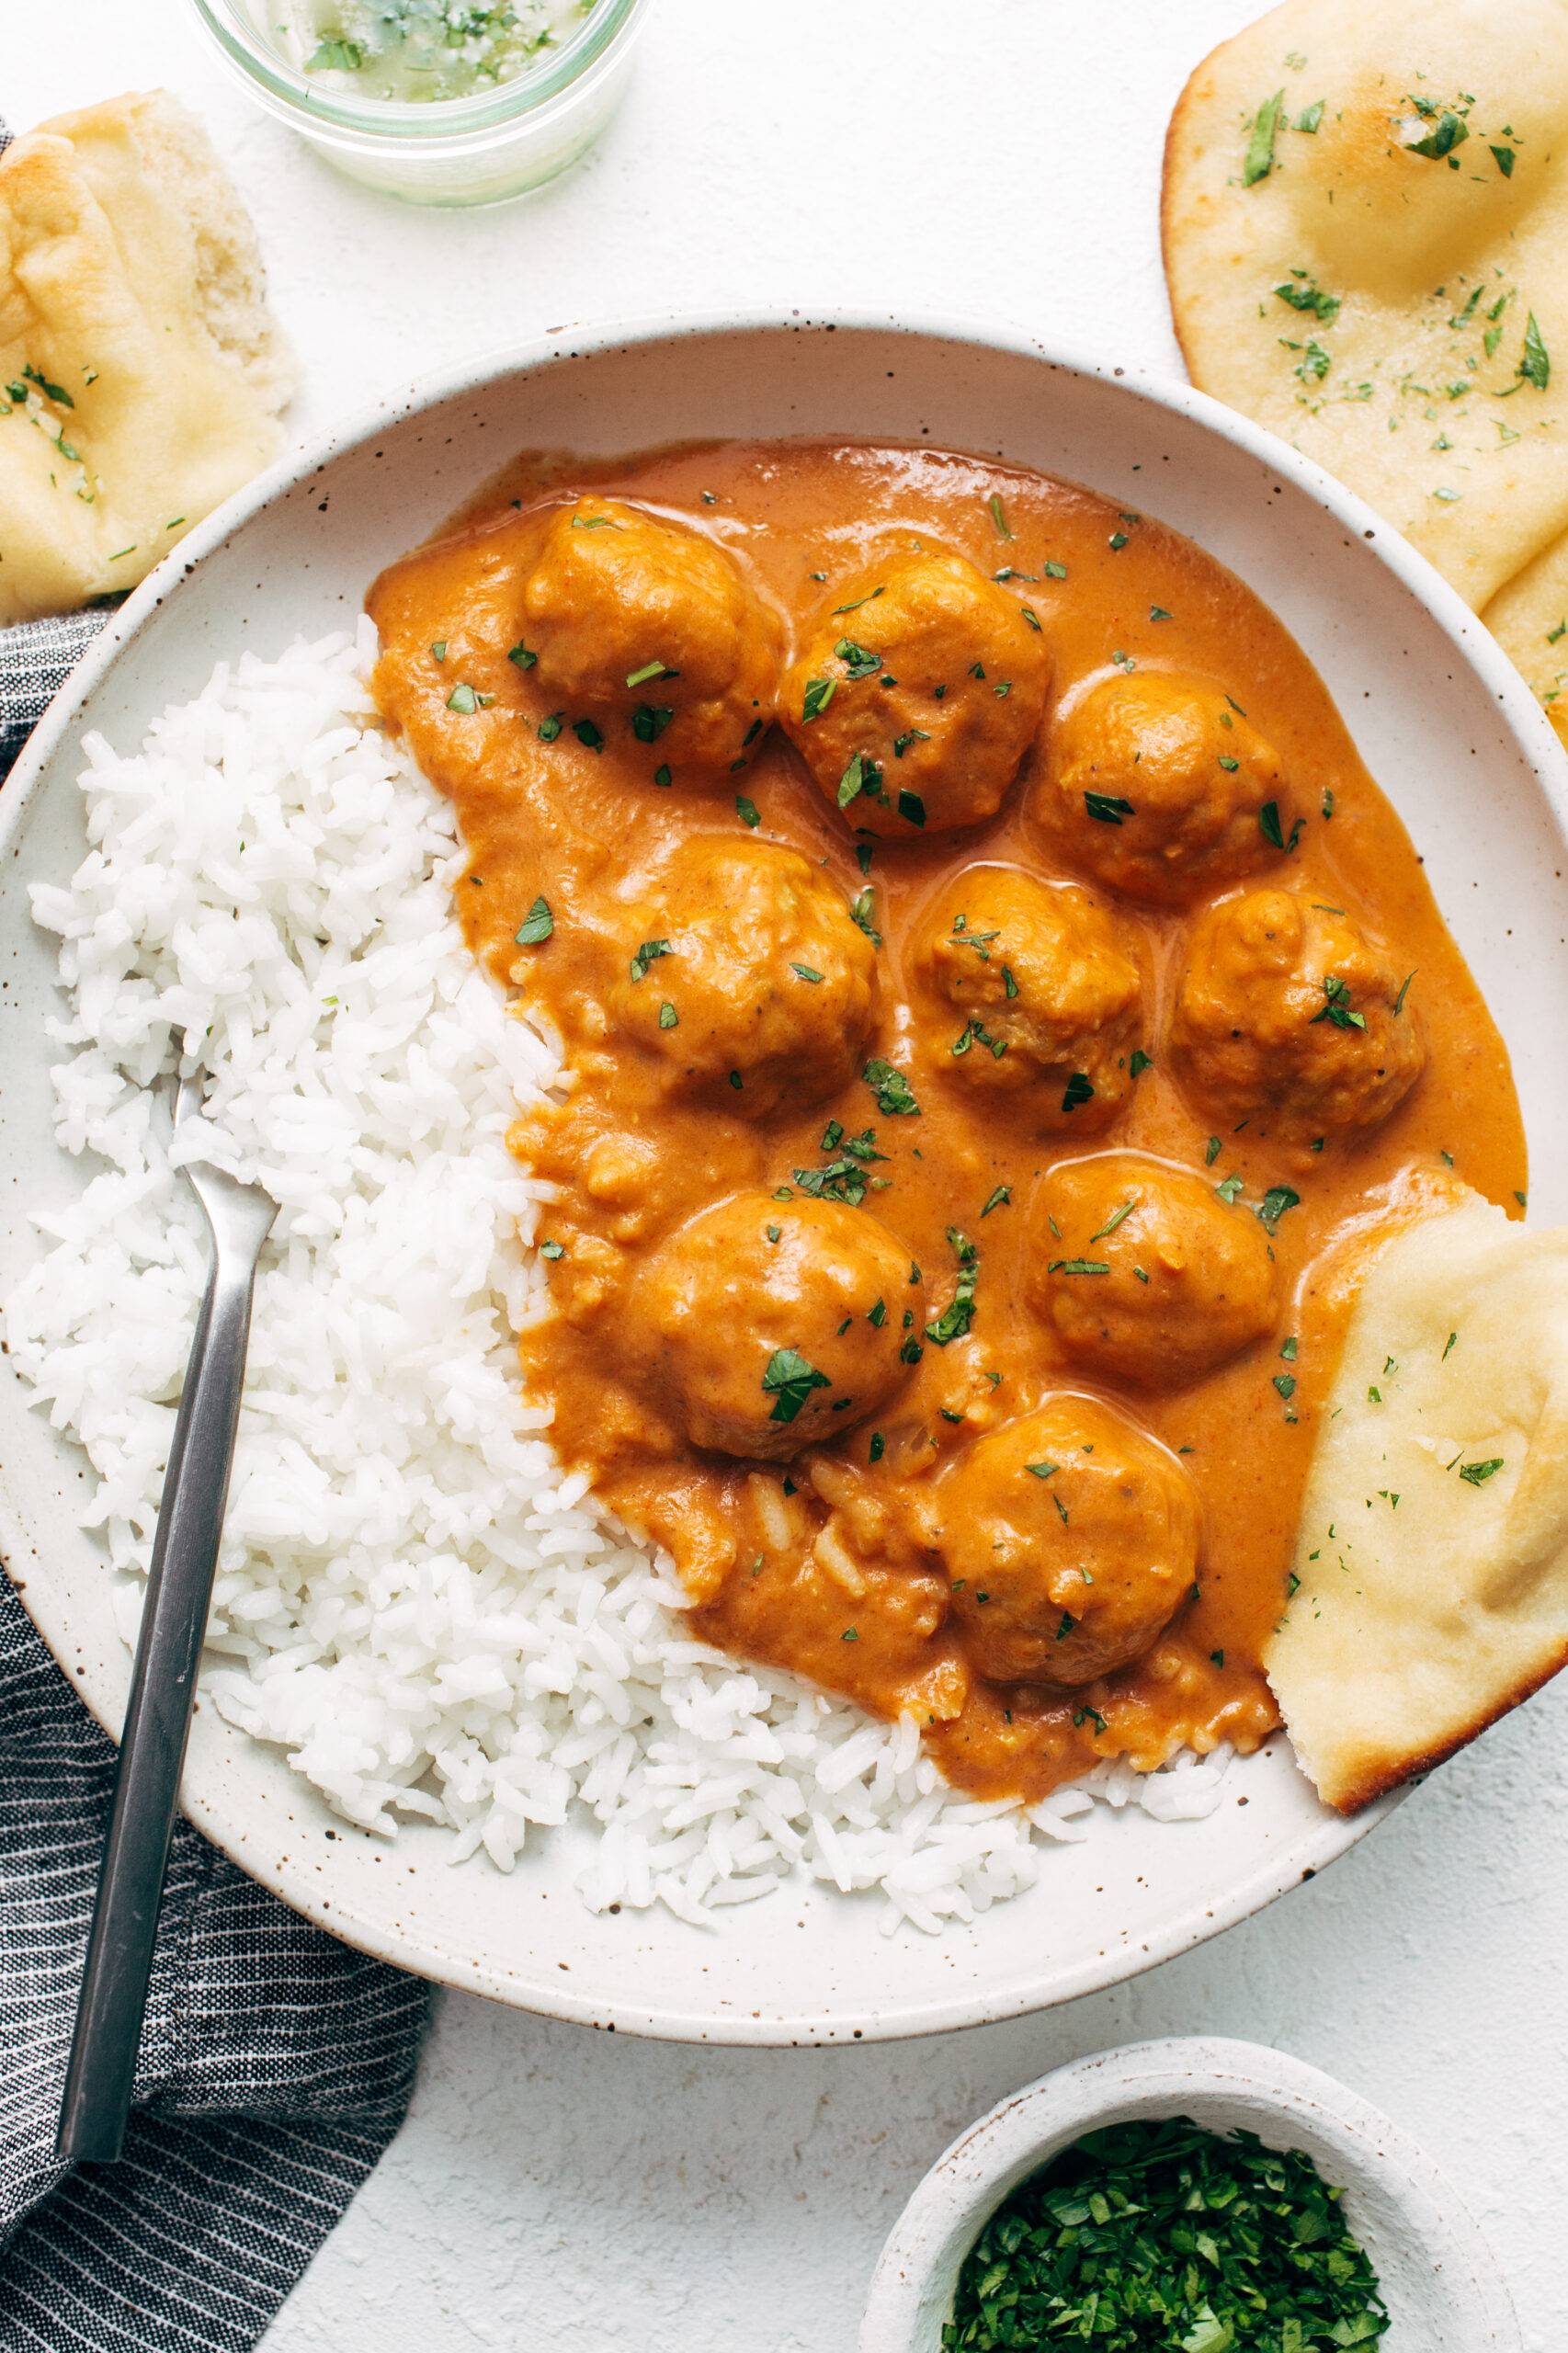
Butter chicken, but make it meatballs!
Oh my goodness, it’s so good! My family is truly in love with this recipe.
These butter chicken meatballs are covered in a rich and mildly spiced tomato gravy that is made luxurious with just a little bit of butter and cream. It is a thing of beauty. I look forward to dinner all day long when I know we are having this. And as I’m sure you imagine, the leftovers are even better, so lunch the next day is something to look forward to, too.
You can make it on the stovetop or in the Instant Pot, and you can use a regular or immersion blender to get your sauce nice and creamy. I often have a batch of baked chicken meatballs on hand so I like to use those, but this would be delicious and easy with some store-bought meatballs to really lock in the SOS goodness here
There are a lot of spices listed, but the beauty is that you probably already have them all and it takes two minutes or less to measure them and get them cooking into something spectacular.
These butter chicken meatballs are covered in a rich and mildly spiced tomato gravy that is made luxurious with just a little bit of butter and cream. Serious weeknight magic!
Ingredients
Units
Butter Chicken Base:
1 tablespoonavocado oil or olive oil
half of anonion, roughly chopped
3 cloves garlic, minced (or a garlic paste)
a small piece of fresh ginger, grated (or a ginger paste)
1/4 teaspoonturmeric
1/4 teaspoonsmoked paprika
1/2 teaspoongaram masala
1/2 teaspooncumin
one 14-ounce can crushed tomatoes or plain tomato sauce
1/2cupwater(more as needed later)
1/2 teaspoon to 1 teaspoon kosher salt(I use 1 teaspoon, just depends how salty you want it)
1 teaspoonsugar
1 batch of cooked chicken or turkey meatballs(these are the ones I always use! this should be about 4 cups of meatballs)
To Finish:
2 tablespoonsbutter
1/3cupheavy cream (more to taste)
To Serve:
1 1/2cupsbasmati rice, or precooked rice
1/4cup fresh cilantro
Instructions
Make your rice according to package directions.
Heat oil over medium heat in a large skillet or Dutch oven over medium heat. Add onion, garlic, ginger, and spices; sauté until softened.
Add tomatoes, water, salt, and sugar. Simmer for 10-15 minutes.
Transfer the sauce to a blender and puree until smooth, or use an immersion blender directly in the pot to blend.
Add sauce back to the pan. Add the meatballs; simmer with the cover on or keep on low heat until warmed through.
Add the butter and cream to make a luscious, heavenly sauce to coat your meatballs.
Serve over rice with a sprig or sprinkle of cilantro. Add spiciness to taste with cayenne or chili oil! OH ME OH MY.
Notes
Blending methods: For the silkiest sauce, I like to use a regular blender (we have a Blendtec at home). But an immersion blender can also work and it is the easier option; this works best with a deeper pot like a Dutch oven or the Instant Pot. If you’re using an immersion blender, tilt the pot to one side to pool all the sauce together before using. If you’re getting splatters, you might need to add an extra bit of water to make sure there’s enough volume of sauce to run it through the immersion blender smoothly. I would not recommend using an immersion blender in a shallow skillet where it will splatter over the sides – in that case, best to transfer to a blender!
Instant Pot instructions: Add all sauce ingredients; cook on high pressure for 5 minutes. Use an immersion blender directly in the Instant Pot to make it smooth; add meatballs and turn it to warm or sauté until heated through (this takes 5-10 minutes). Finish by stirring in the cream and butter.
Instant Pot instructions with regular chicken: If you’re using just regular chicken breasts or thighs instead of meatballs, add the chicken to the Instant Pot right at the beginning of cooking with the sauce. Cook on high pressure for 12 minutes, then remove and shred or pull apart the chicken. Meanwhile, blend sauce, and then add chicken back in with the cream and butter. We do it this way quite a bit as well!
Prep Time:5 minutes
Cook Time:15 minutes
Category:Dinner
Method:Instant Pot
Cuisine:Indian-Inspired
Keywords: butter chicken, butter chicken meatballs, Indian recipes, quick and easy dinner, dinner recipe
Recipe Card powered by
About Butter Chicken
Butter Chicken is a type of curry where chicken is coated in a spiced tomato and butter sauce, according to Wiki! It’s an Indian dish that is traditionally called Murgh Makhani, normally involving marinated chicken that is then cooked in a clay oven.
I’m taking a slightly different approach here – meatballs instead of chicken! No marinating, no clay oven, but the butter sauce in this recipe meant to be a fast and easy take on the classic that everybody loves.
I have made the Butter Chicken from Two Sleevers plenty of times (remember our “best of the internet Instant Pot recipes” post?) so this version is a play on that! I reduced the overall sauce amount so it’s not a double batch, and used store bought garam masala instead of making my own with whole spices, and discovered along the way that we actually really loved this with meatballs!
Making This Dairy Free
Subs for the butter: I think using dairy free butter would be awesome and an easy swap for the butter.
Subs for the cream: A knob of dairy free cream cheese melted in there would be perfect! Another idea: when you blend the sauce, add a handful of cashews (assuming you have a high powered blender) and you’d get a creamy, totally dairy free sauce. Method would be similar to this recipe.
Other Proteins That Would Be Good Here
Chicken: Obviously just regular chicken breasts, or chicken thighs, are the traditional protein and they work great – I use them both from time to time! If you do use regular chicken breasts or thighs, I’d recommend trying to find a texture that is somewhere between shredded and chopped. Roughly pulled chunks is what I like best! If you’re making this in the Instant Pot, I would just throw the chicken right in as the sauce cooks! 10 minutes for smallish chicken breasts, 12-14 for chicken thighs.
Meatless: This would be delicious with a cubed block of paneer. I just saw one at Costco this morning so that is fresh on my mind. YUM. You could fry up the paneer first and then get it all up in the sauce? Mmmm. Similarly – baked crispy tofu would be amazing! Here’s our guide for how to cook tofu with instructions for my favorite tofu method (the “baked crispy” one).
Meatless Meatballs: And let us not forget about the ALDI frozen meatless meatballs which are so fabulous and would just pop right into the sauce for a perfect meatless meal.
How To Get More Veggies In
Peppers: This would be more like a tikka masala, but you could sauté or roast some bell peppers and throw them in with the sauce and the chicken! Yum. I would not recommend putting them right into the Instant Pot because they might overcook and get mushy.
Cucumber Salad: No cooking required. Toss sliced cucumbers with a tiny splash of vinegar, olive oil, salt, and sugar. Throw some herbs in if you want. The end!
Simple Green Salad: My go-to for adding greens to a meal (especially in an SOS fashion) is this simple green salad. There’s a homemade balsamic maple dressing here, but I’ve also used store bought dressings – Trader Joe’s maple vinaigrette is fantastic. Throw some nuts and dried fruit on top and my whole family will get into this big time.
Roasted Veggies: Little more work required for this, but roasting up some broccoli or cauliflower in the oven while everything cooks up in the Instant Pot would be an easy, delicious idea too!
Yes! Paneer, tofu, or meatless meatballs would all be great options here. Highly recommend these vegetarian meatballs!
Can this recipe be made dairy-free?
Using vegan butter and using the coconut milk option would make this dairy-free. You could also try blending a handful of cashews into the sauce to make it creamy (if you have a high-powered blender).
Can this recipe be made gluten-free?
The only issue with gluten in this recipe could be the meatballs you use. For our Baked Chicken Meatballs, you can sub in some almond flour or GF breadcrumbs. Or, you can pivot to chicken breasts instead and eliminate the gluten entirely.
Is this butter chicken spicy?
As-is, not at all! But if you’re looking for some spice, I’d recommend some cayenne or crushed red pepper flakes to increase the heat.
Can this recipe be made with chicken breasts instead of meatballs?
Yep! If you’re making this in the Instant Pot, I would just throw the chicken right in as the sauce cooks! 10 minutes for smallish chicken breasts, 12-14 for chicken thighs. Then pull them out to chop or shred before you blend the sauce up, and then add the chicken back in after.
Please welcome into your life: Carrot Cake Coffee Cake.
This recipe is a fan favorite for spring and was originally published in 2021. It is also part of this year’s Spring Bucket List! Find out more about the bucket list here.
I know it might be confusing – carrot cake, which is like vegetables meets cake, but also still cake, combined with coffee cake, which is also cake but the kind you can eat for breakfast and it will still be totally appropriate and, obviously, cakey?
But no need to be confused.
If you like a carrot cake that tastes just slightly cinnamony and teeters perfectly between springy and dense…
And you like a coffee cake that is loaded with a mega amount of streusel topping…
And you like cakes that look beautiful and taste even more beautiful with a proper shmear of honey butter…
HELLO! Meet your one true match. This one is for you.
In This Post: Everything You Need For Carrot Cake Coffee Cake
This is different than a classic carrot cake recipe because of the incredible crumb topping that YOU NEED, but we have a pretty standard baking lineup ahead.
For the cake:
carrots
sugar
butter
eggs
all-purpose flour
baking soda
cinnamon
salt
For the streusel topping:
more butter (yum!!)
flour
brown sugar
cinnamon
salt
Let’s Make Carrot Cake Coffee Cake
Here’s how we make it (IT’S VERY EASY).
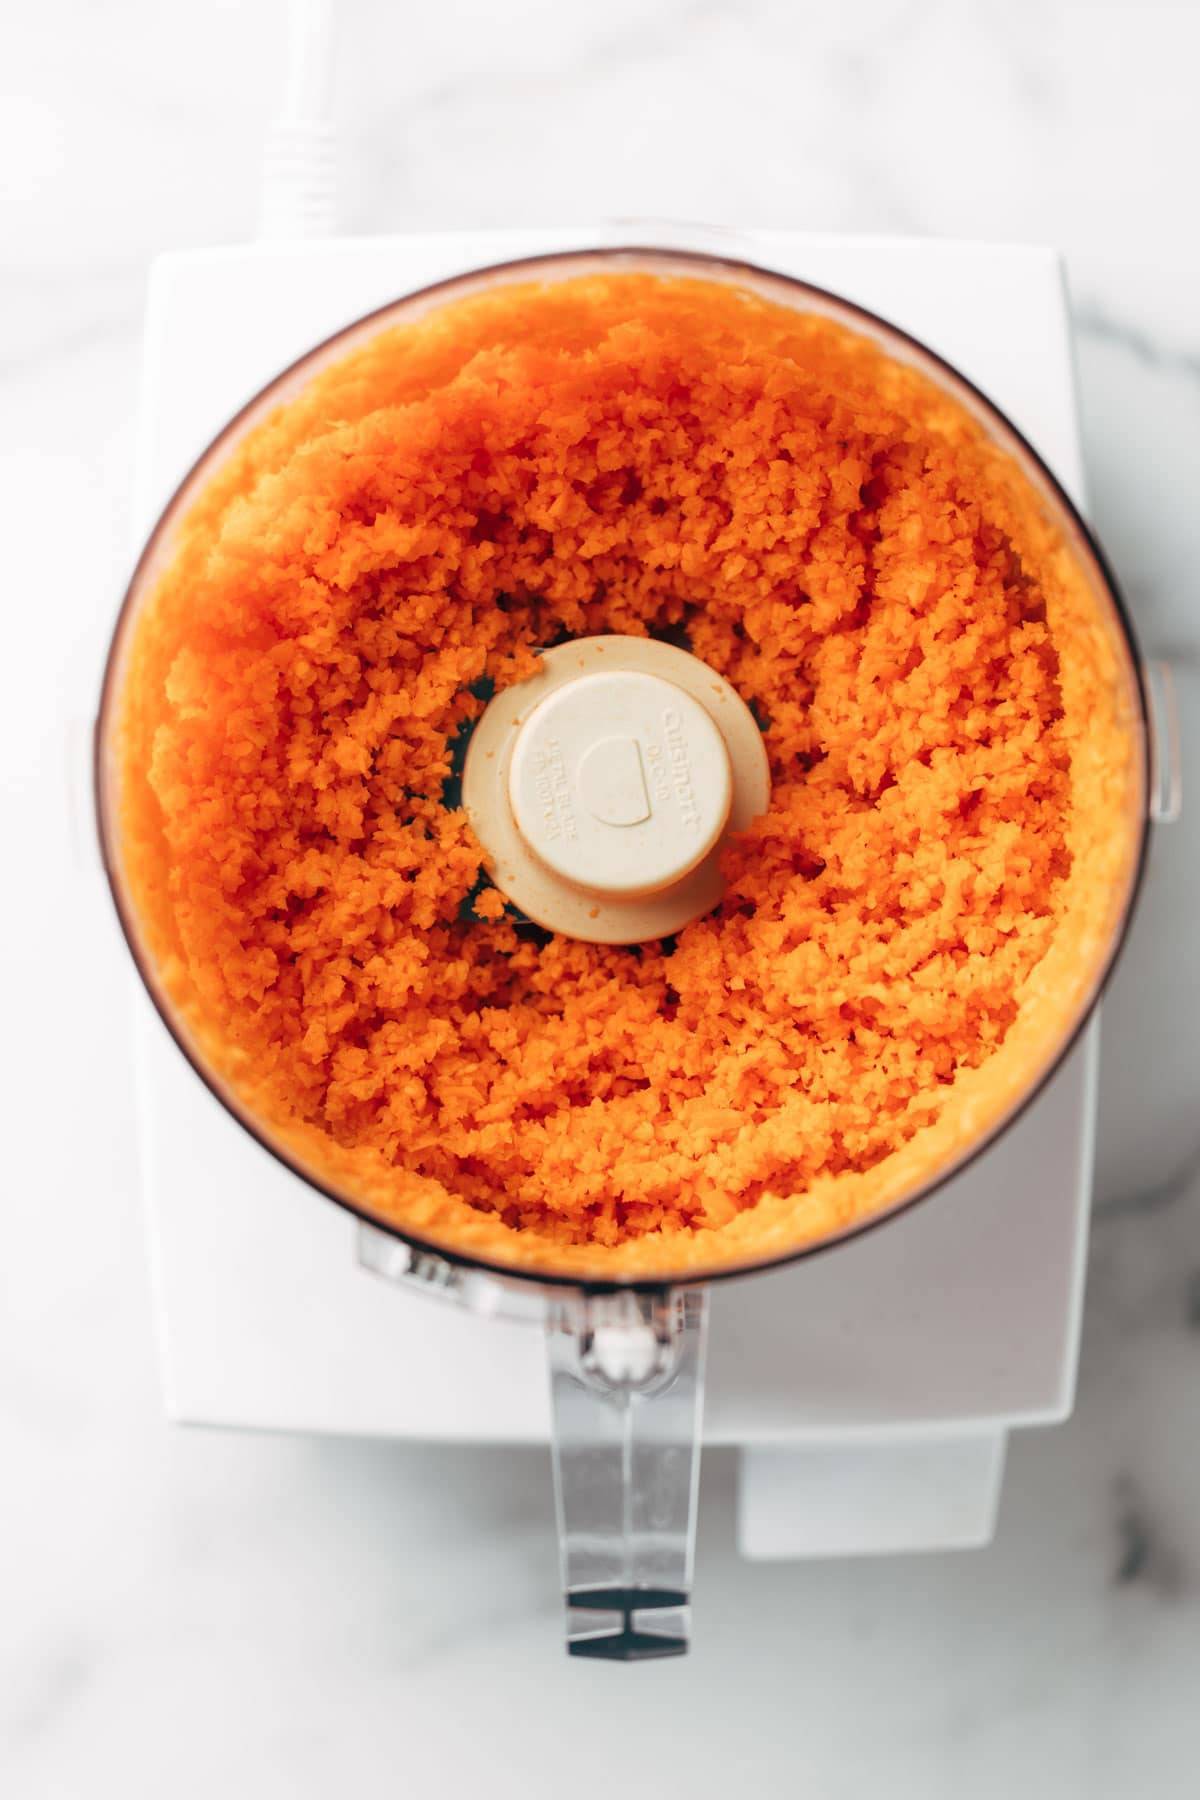
Pulse the carrots in a food processor. I hate grating things, especially carrots. I’m not even sorry. Put me on the record. I said it. So, I am not going to make you grate anything! Just run your peeled carrots through the food processor, and if you don’t have a food processor, what are you even doing? You need this post.
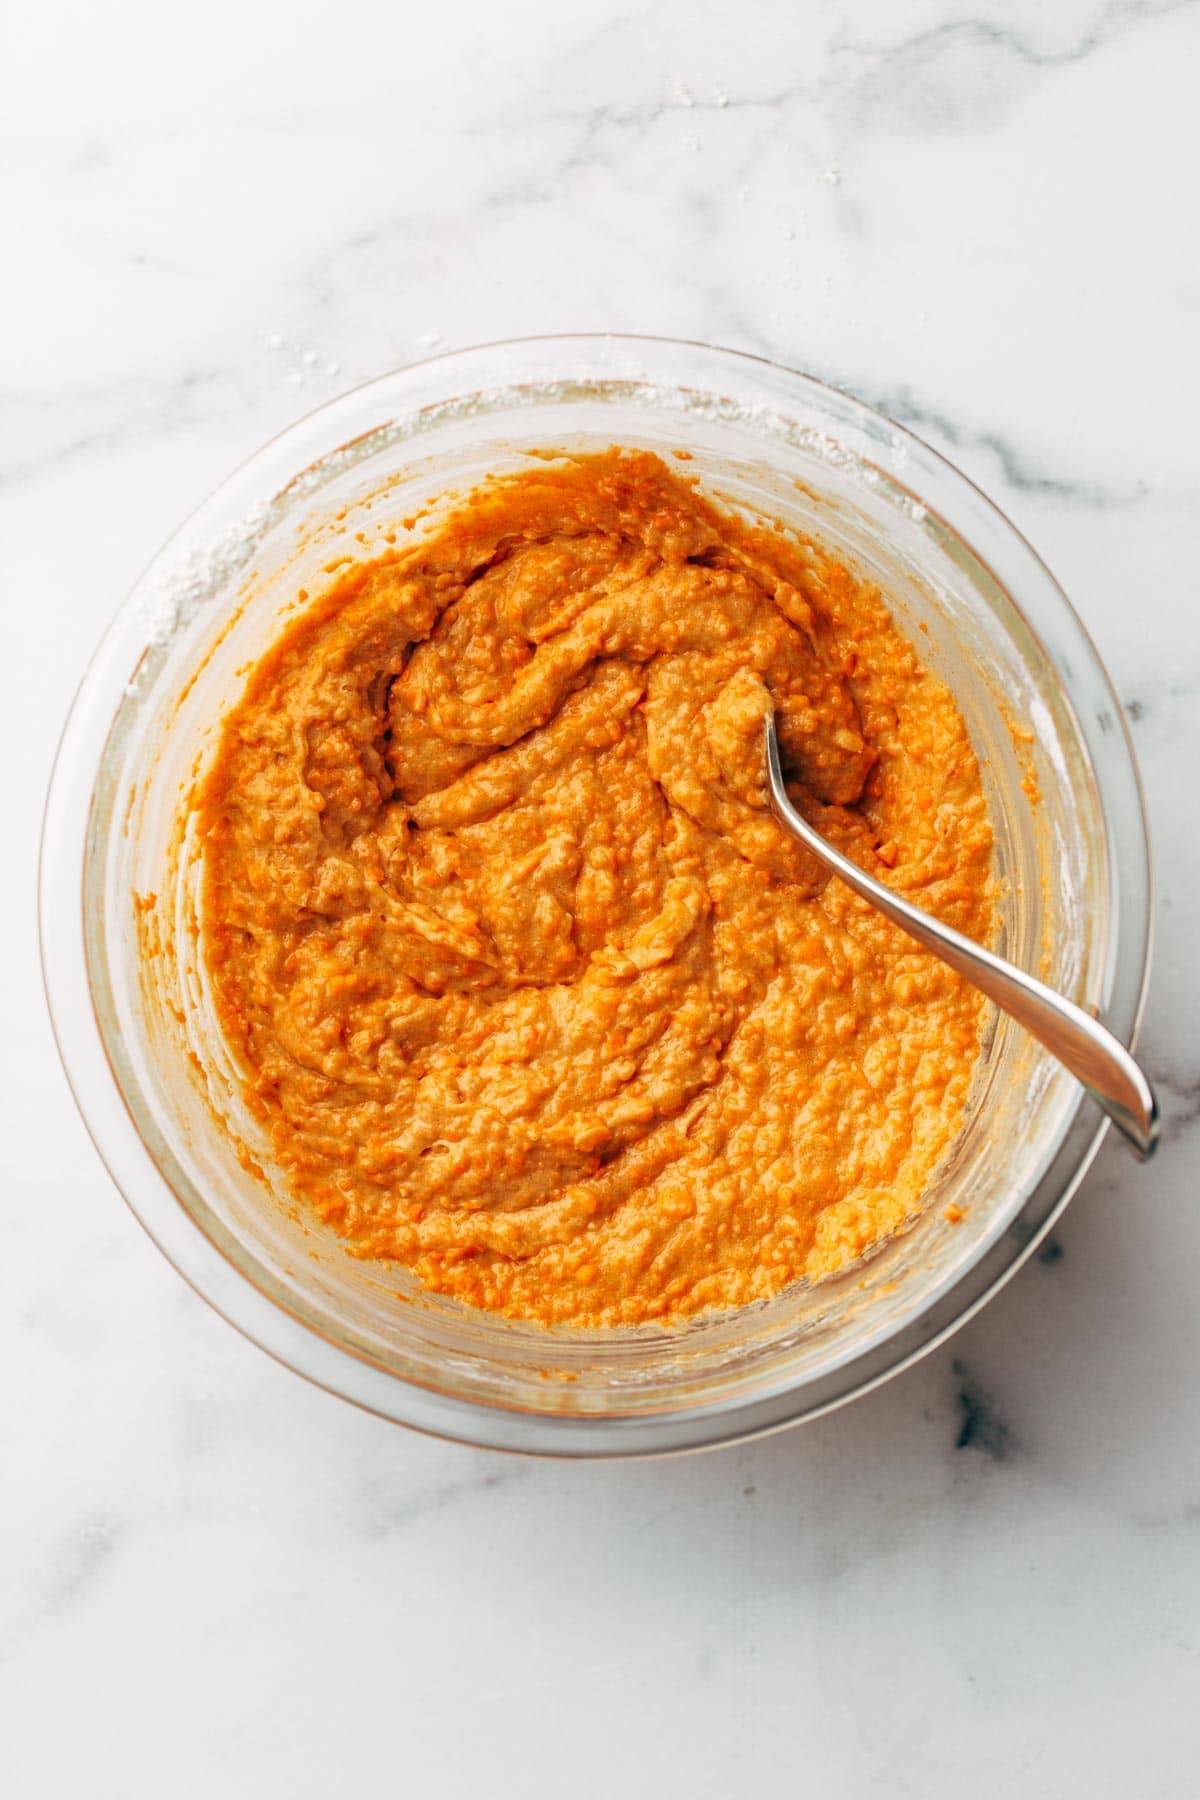
Make your batter. Grab a large bowl and mix up a very simple batter with eggs, flour, sugar, cinnamon, and (wait for it) butter. BUTTER. Carrot cakes traditionally use vegetable oil. But newsflash: BUTTER IS DELICIOUS. So today we use butter. Obviously.
Mix up your streusel layer. Bring all your streusel ingredients together in a small bowl and pulse things up until you get a pebble-like texture.
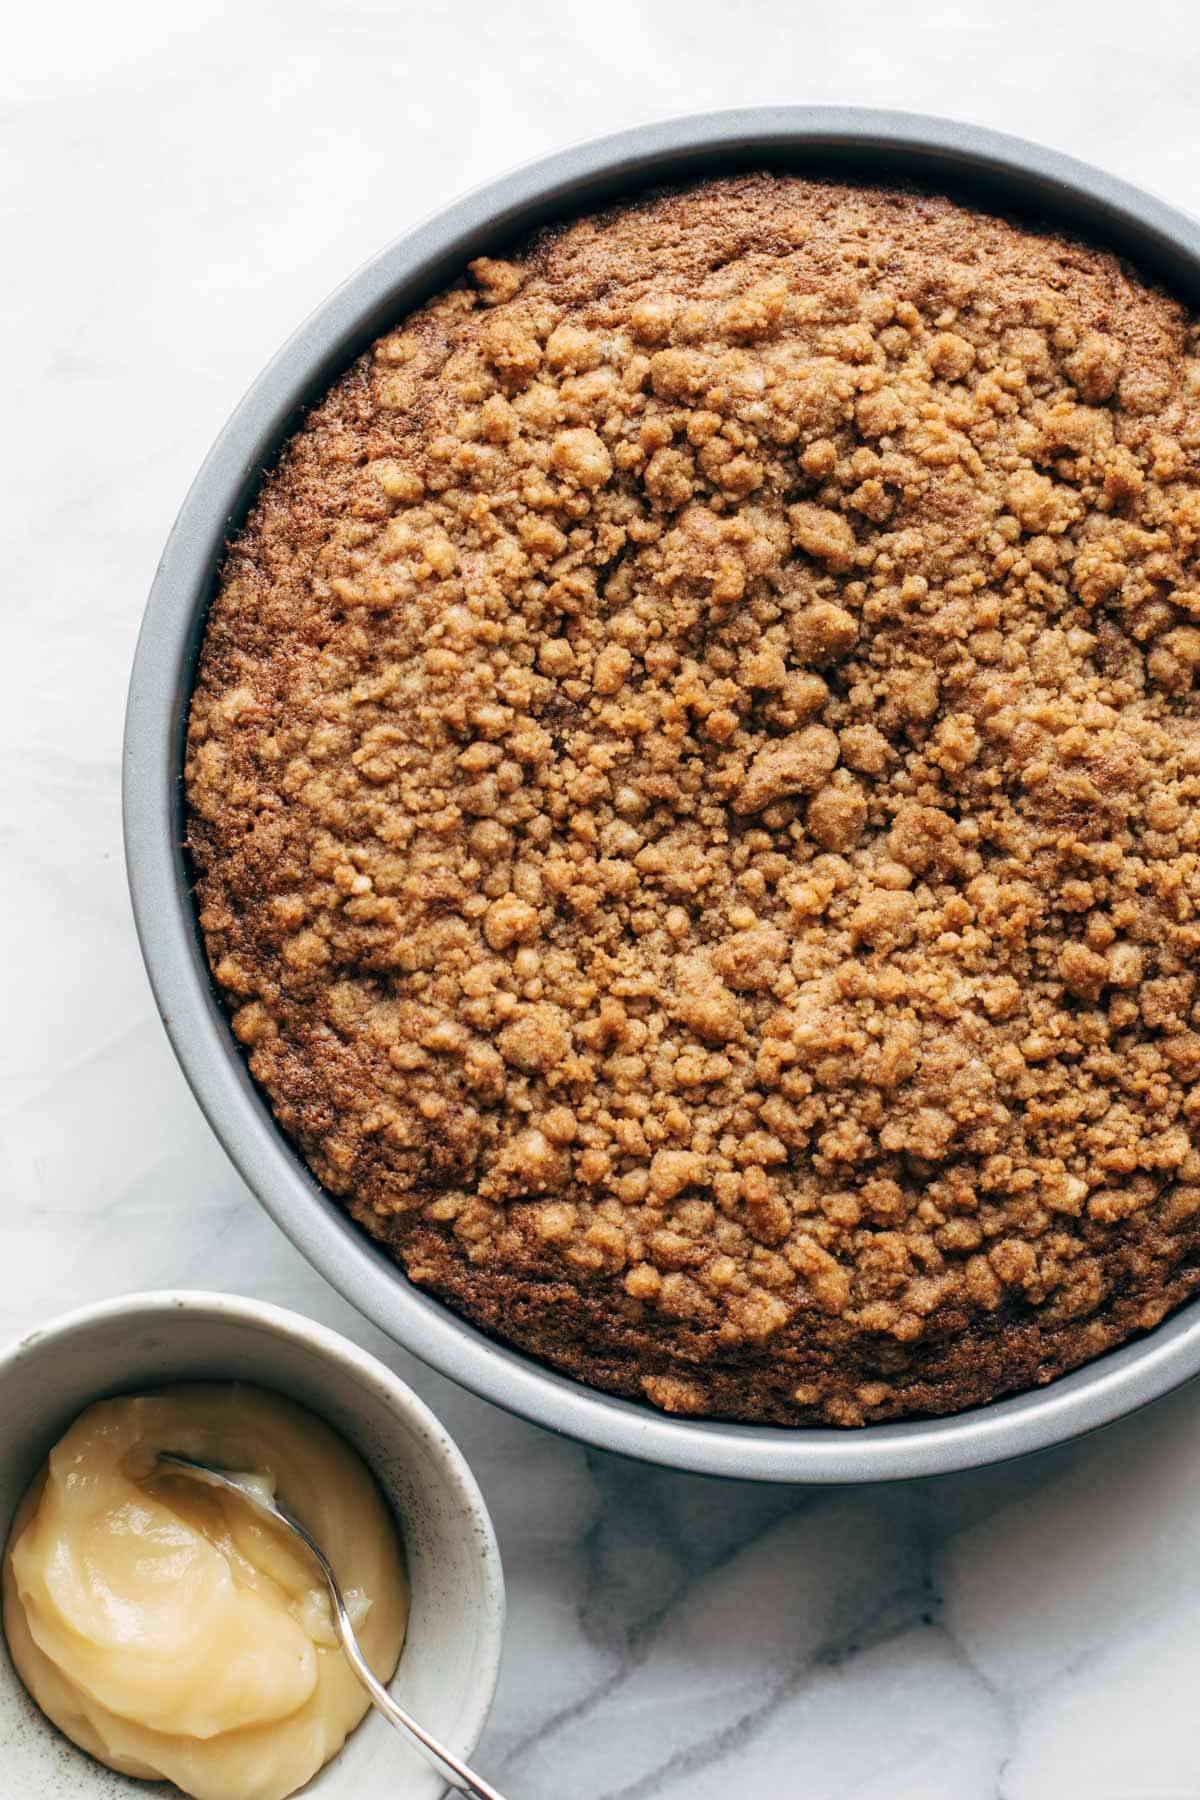
Bake! Grease your pan or put some parchment paper in there. Now it gets baked under an aggressively thick layer of streusel. You can test the cake doneness by sticking a toothpick in the center. If the toothpick comes out clean, it’s good to go!
Major YUM! Whatcha waiting for? Drizzle some honey butter on (or, like some readers have done, a layer of cream cheese frosting!) and let’s gooo!
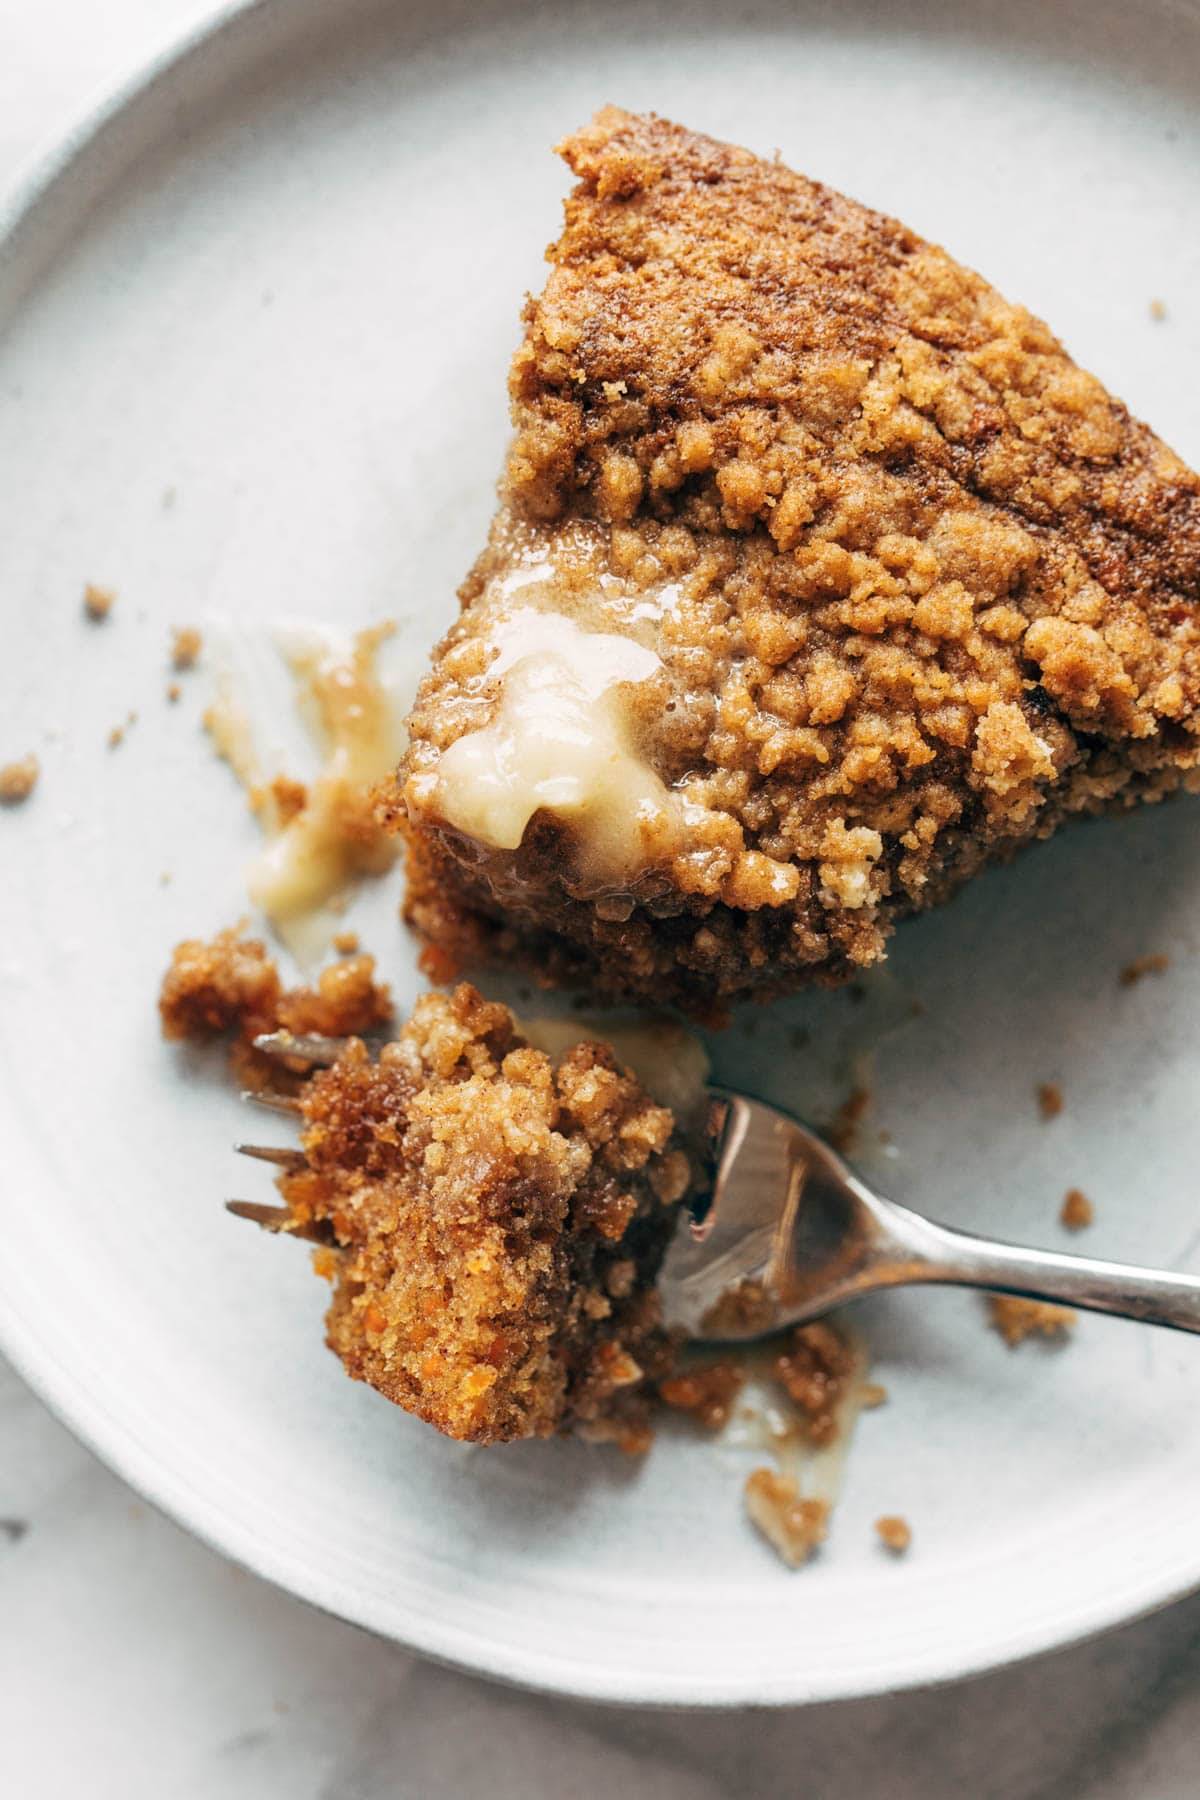
And finally, THIS HAPPENS.
The crumbly topping is just barely crunchy, and the honey butter shmear gets melty-ish because it’s all still a little warm. You have a coffee in your other hand, and it might just be an excellent little afternoon spring hygge moment for you.
I used a 9-inch round cake pan, but an 8 or 9-inch square or smaller rectangular baking dish would also work.
How can I make the honey butter that goes on top?
It’s super easy! See recipe notes for exact instructions.
Should I use salted or unsalted butter?
Salted butter is best for this recipe!
How can I make this gluten-free?
We have not tested this recipe ourselves with a gluten-free flour alternative, but one reader used almond flour in place of it and said it worked well (however, they also reported that it did not bind together as well as regular flour). We’d probably recommend giving a 1:1 gluten-free flour a try instead as it will likely give you a closer result to the original!
Can I make this ahead of time?
Sure thing! We’d make this just a day ahead of time to make sure it’s still fresh and moist when you serve.
Could I make this with another alternative for butter?
One reader subbed vegetable oil in the cake and coconut oil on the topping and said it worked great! We’d expect a vegan butter to also work well.
Could you use an egg alternative?
While we haven’t tested this with flax or chia eggs, one reader did make this recipe with chia eggs and said it turned out wonderfully!
Carrot Cake Coffee Cake! A super easy batter loaded with shredded carrots, topped with a thick crumbly cinnamony streusel, and finished with a melty sweet honey butter.
Ingredients
Units
Carrot Cake Coffee Cake:
2 large carrots
3/4cupgranulated sugar
1/2cupbutter, melted
2eggs
1cupflour
1 teaspoonbaking soda
1 teaspooncinnamon
pinch of salt
Streusel Topping:
4 tablespoonsbutter, melted
1/2cupflour
1/2cupbrown sugar
1 teaspooncinnamon
pinch of salt
Instructions
Prep: Preheat the oven to 350 degrees. Peel and grate the carrots (I use my food processor). You should have about 1 1/2 cups.
Cake Batter: Whisk sugar, melted butter, and eggs. Stir in carrots. Add flour, baking soda, and cinnamon. Mix until just combined. The batter will be very thick.
Streusel: Mix ingredients for the streusel until you get a texture that looks like pebbles (sometimes I use my hands to mix it all together).
Bake: Spread batter into a greased 9-inch round baking pan (see FAQs). Sprinkle with streusel. Bake for 30 minutes until the center is just set. Top with honey butter if you’re extra (you are).
Notes
Honey Butter: Mix 1/4 cup very soft butter with 1/4 cup honey. Spread or dollop on warm slices of carrot cake coffee cake and die and go to heaven.