Watch How To Make This Tiramisu
This Is My New Favorite Dessert.

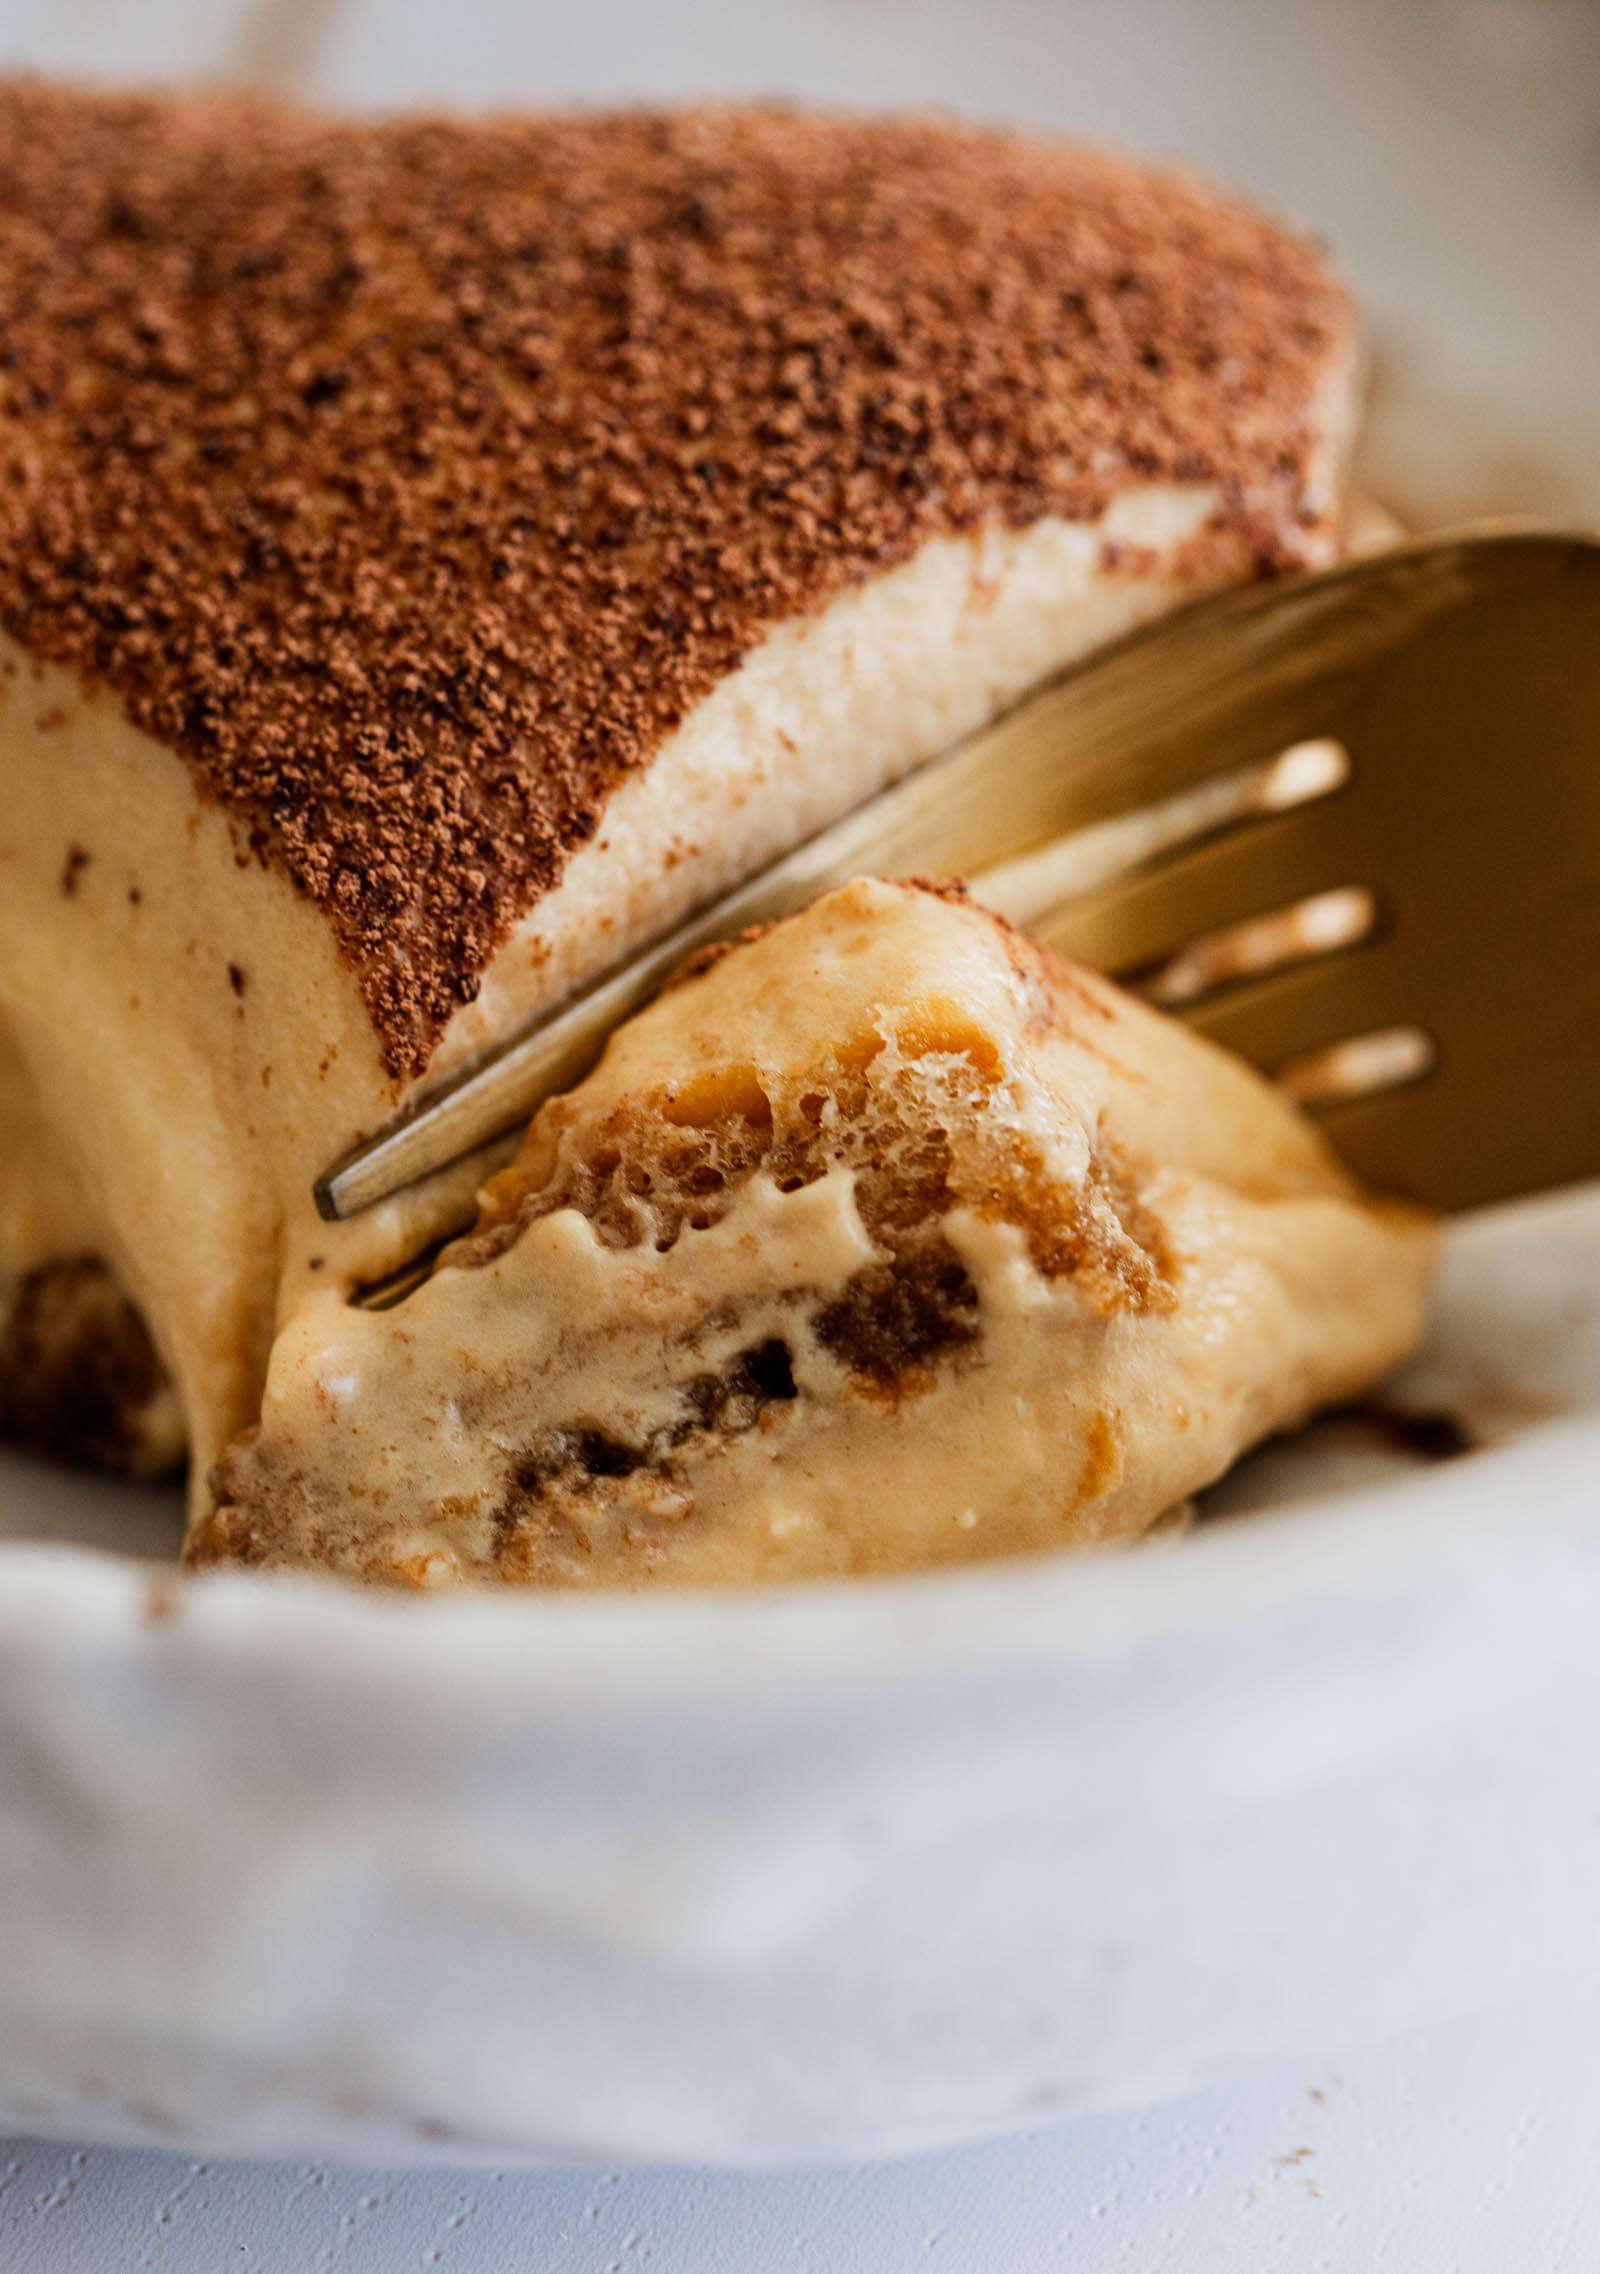
There’s nothing that currently tops it. It’s the creamy dulce de leche layer + the espresso-soaked ladyfingers all hugging each other in one creamy, delightful slice. It has my whole heart.
My all-time favorite desserts list:
- chocolate chip cookies
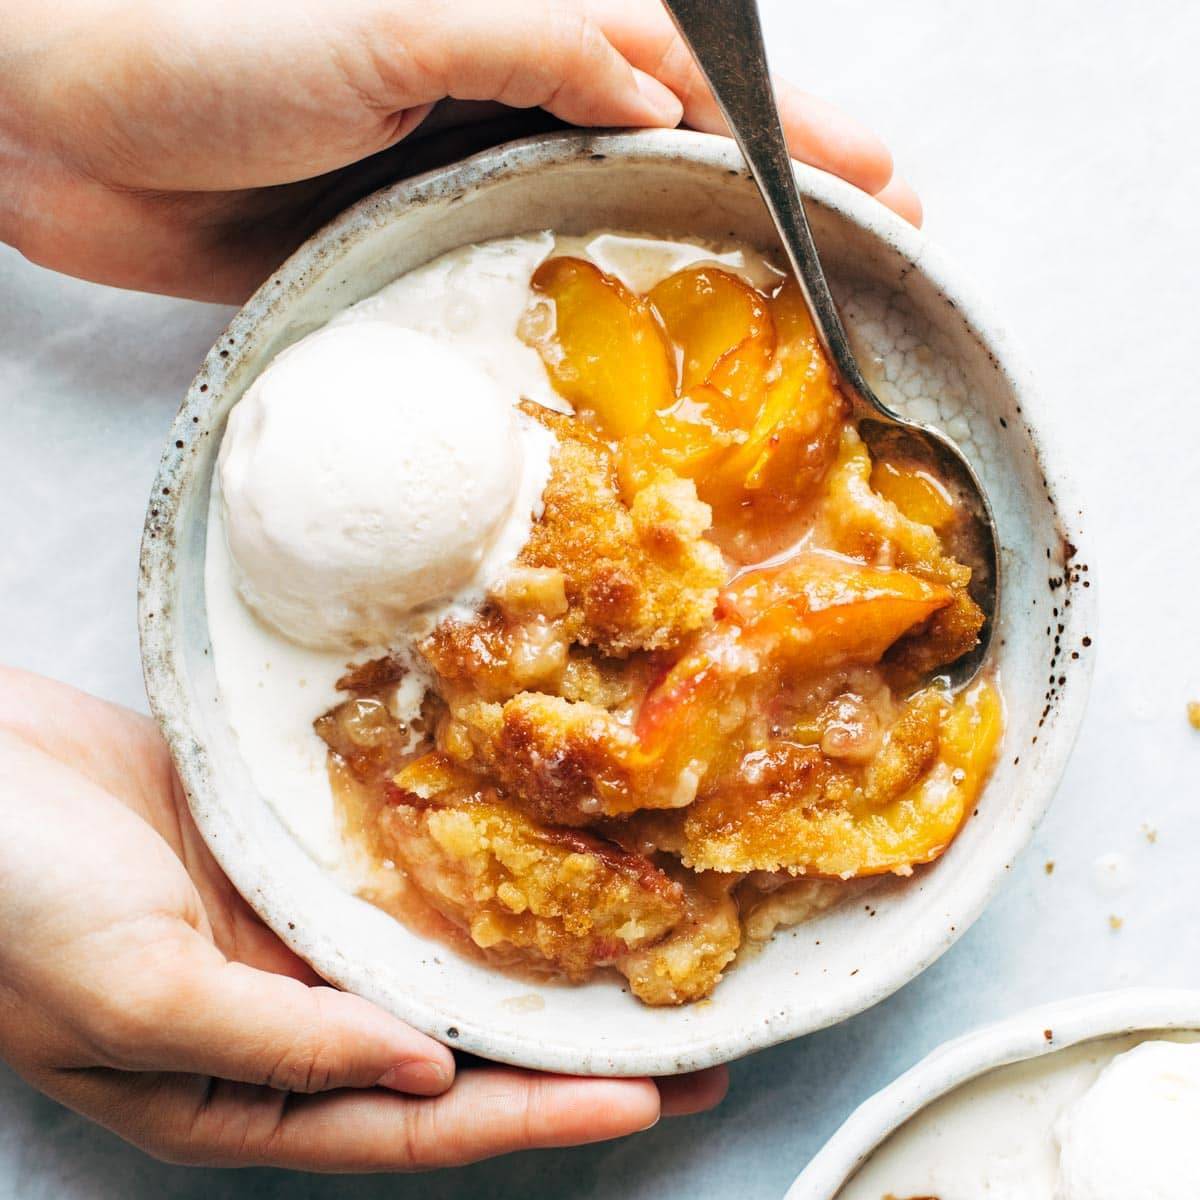
- peach cobbler
- the chocolate patticake from Yum! Bakery
- and now, this tiramisu.
In the last two years, I’ve bought an embarrassing number of little individual tiramisu cups from our local “fancy” grocery store (shoutout to Kowalski’s). They have a specific variety in their bakery case that is called Dulce De Leche Tiramisu, and it is my all-time favorite.
So, basically what I did is I made it myself. Here’s a picture of me side-by-side testing it…
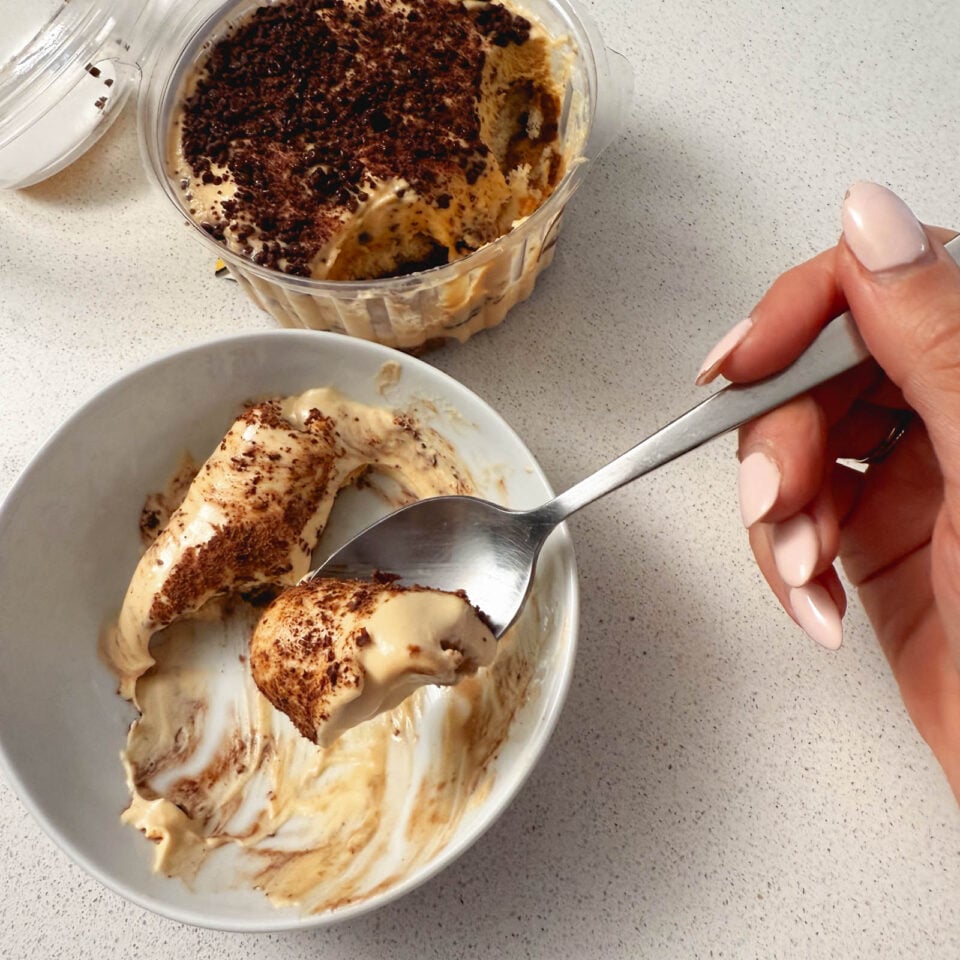
And determining that THIS HOMEMADE TIRAMISU IS EVEN BETTER! *wipes a tear*
I made this recipe in classic whole-pan form, which works so beautifully for an ooh-ahh show-stopping dessert at a dinner party or a holiday meal. I fully plan to make this for Christmas dessert every year from here on out.
And here’s the kicker: it’s shockingly easy to make, and actually needs to be made ahead! THE CONVENIENCE!
Since this version doesn’t include alcohol, the key to next-level success is using truly rich, dark espresso for soaking the ladyfingers. Technically you can use any strong coffee, or homemade espresso from a powder. But if you want to really knock your own socks off, go to Starbucks and order 5-6 espresso shots (decaf, in my case) to use for soaking. Or use an espresso maker if you have one at home.
You will die of joy. The richness! The depth! Contrasted with that sweet, creamy layer that tastes just subtly of dulce de leche – it’s SO incredible.

How To Make This Recipe
1
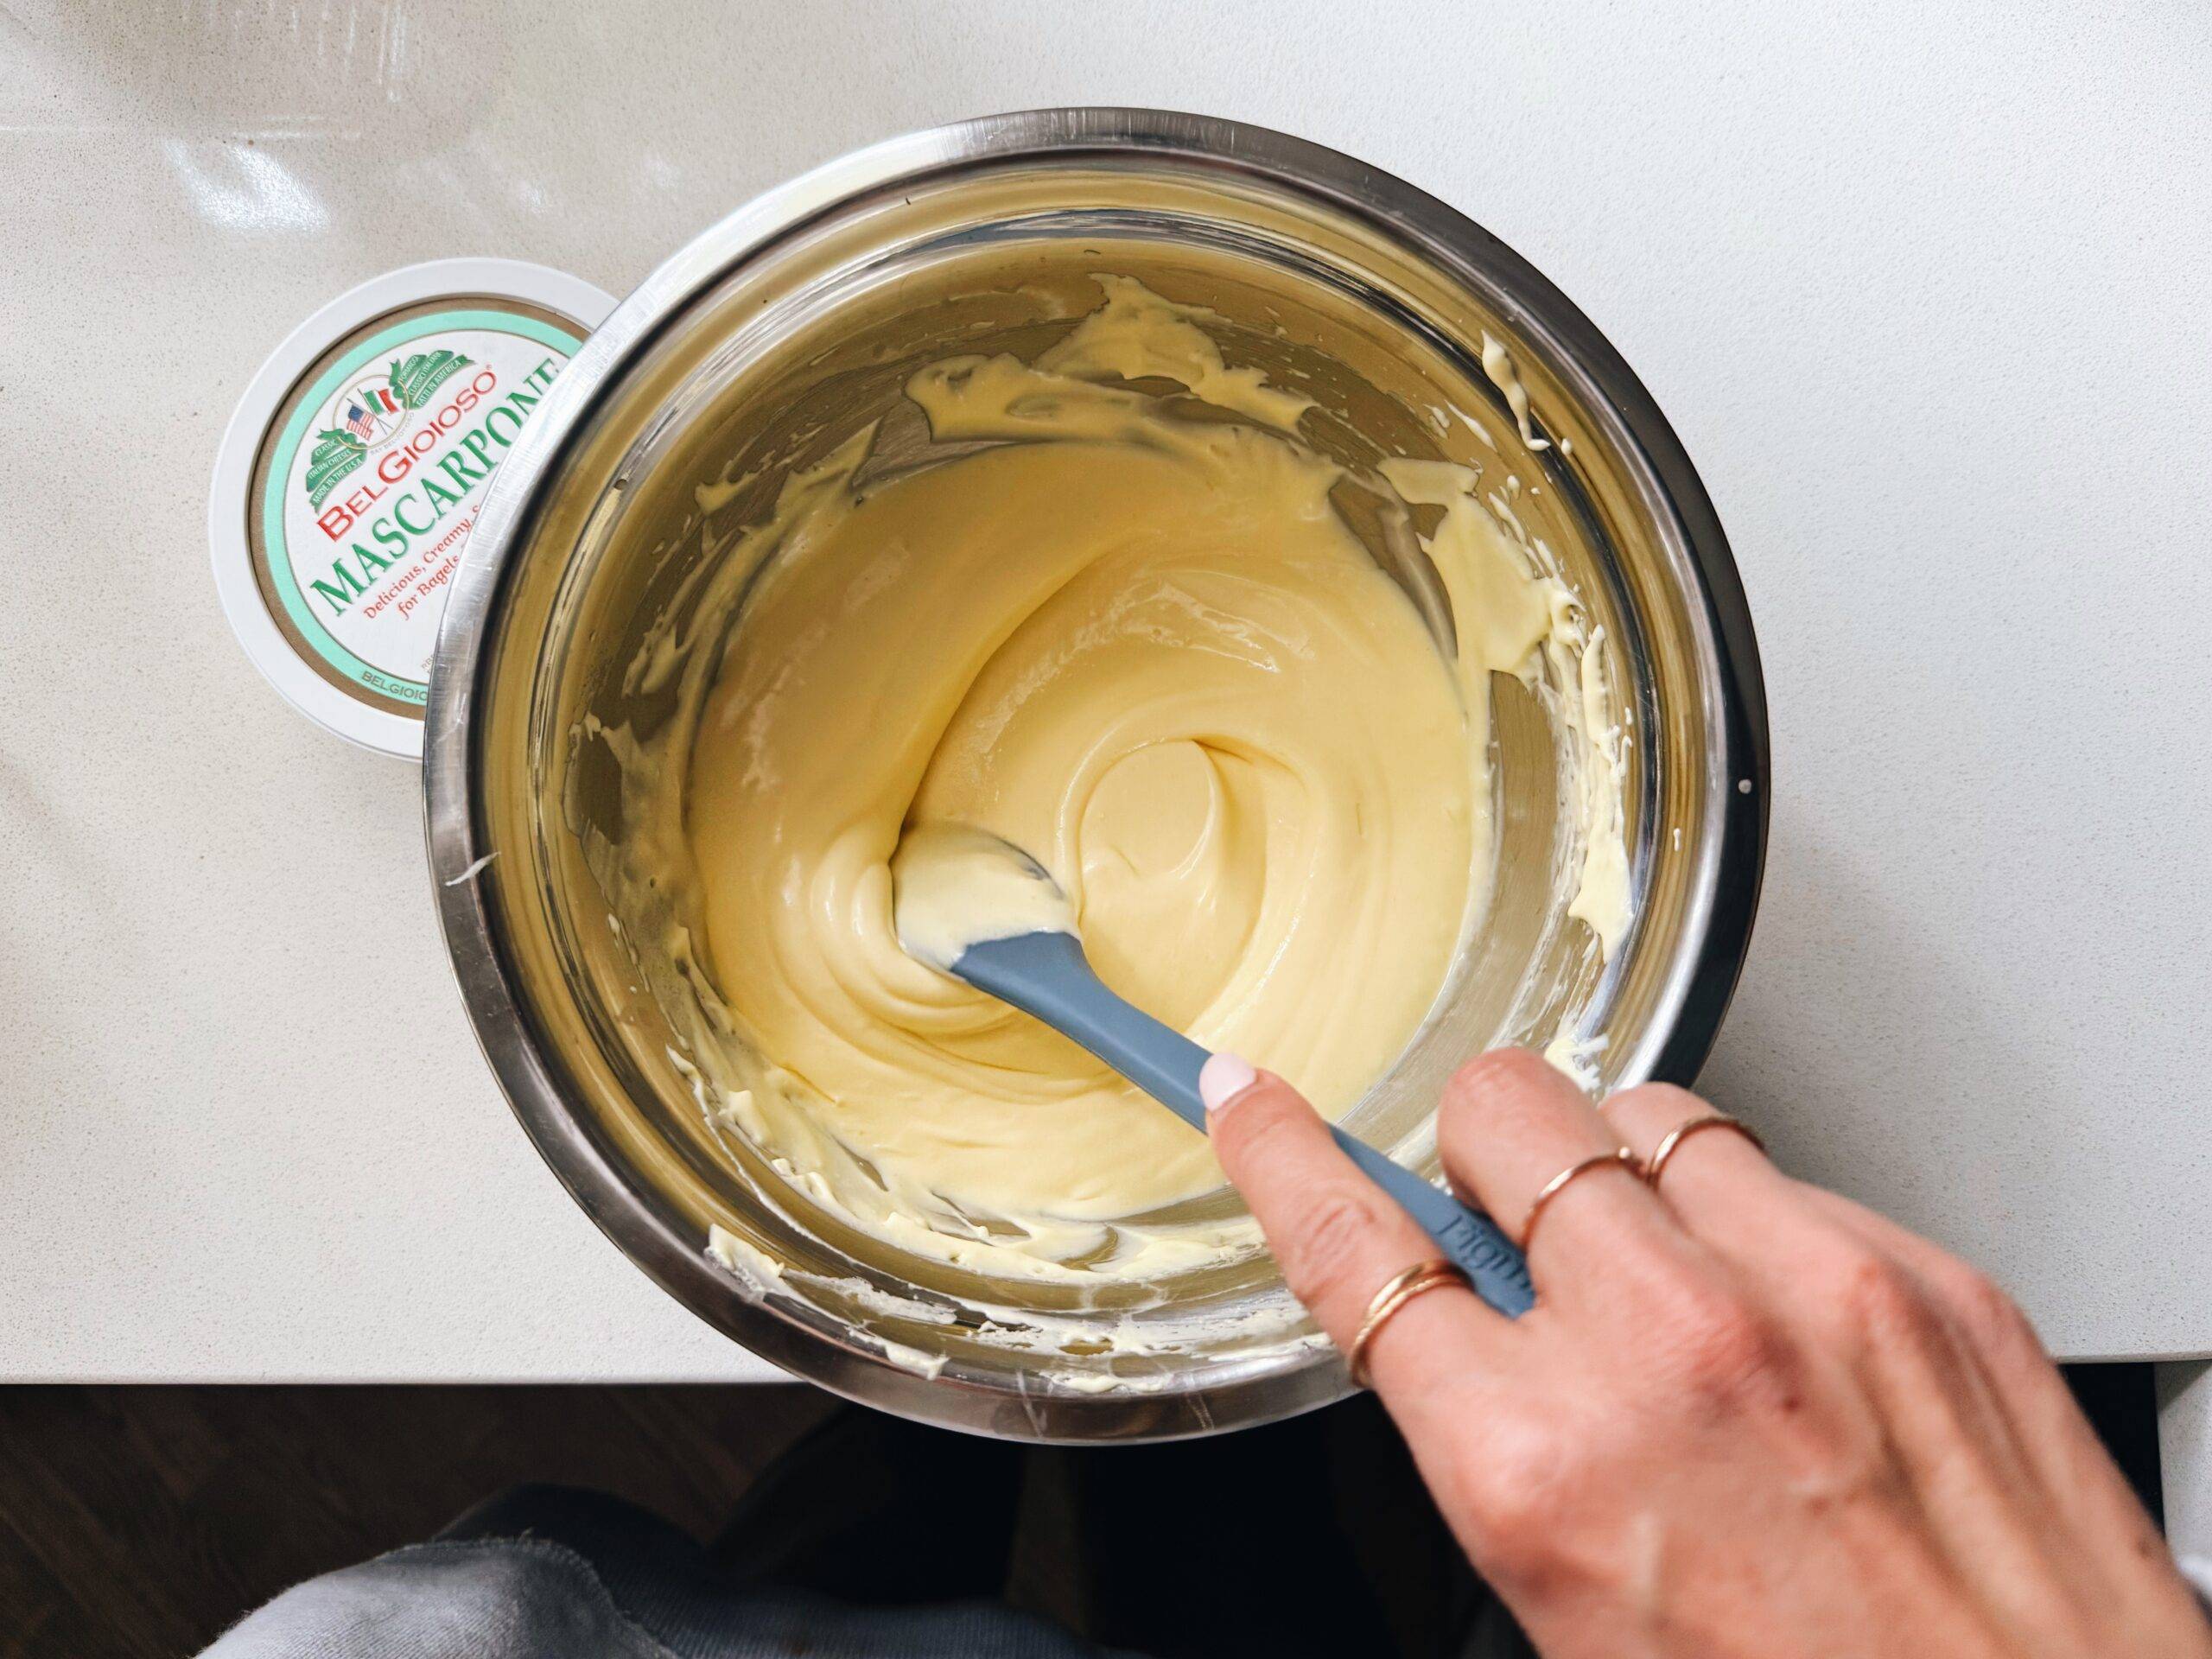
Mix Up Bowl 1!
Egg yolks and sugar, then mascarpone cheese.
2
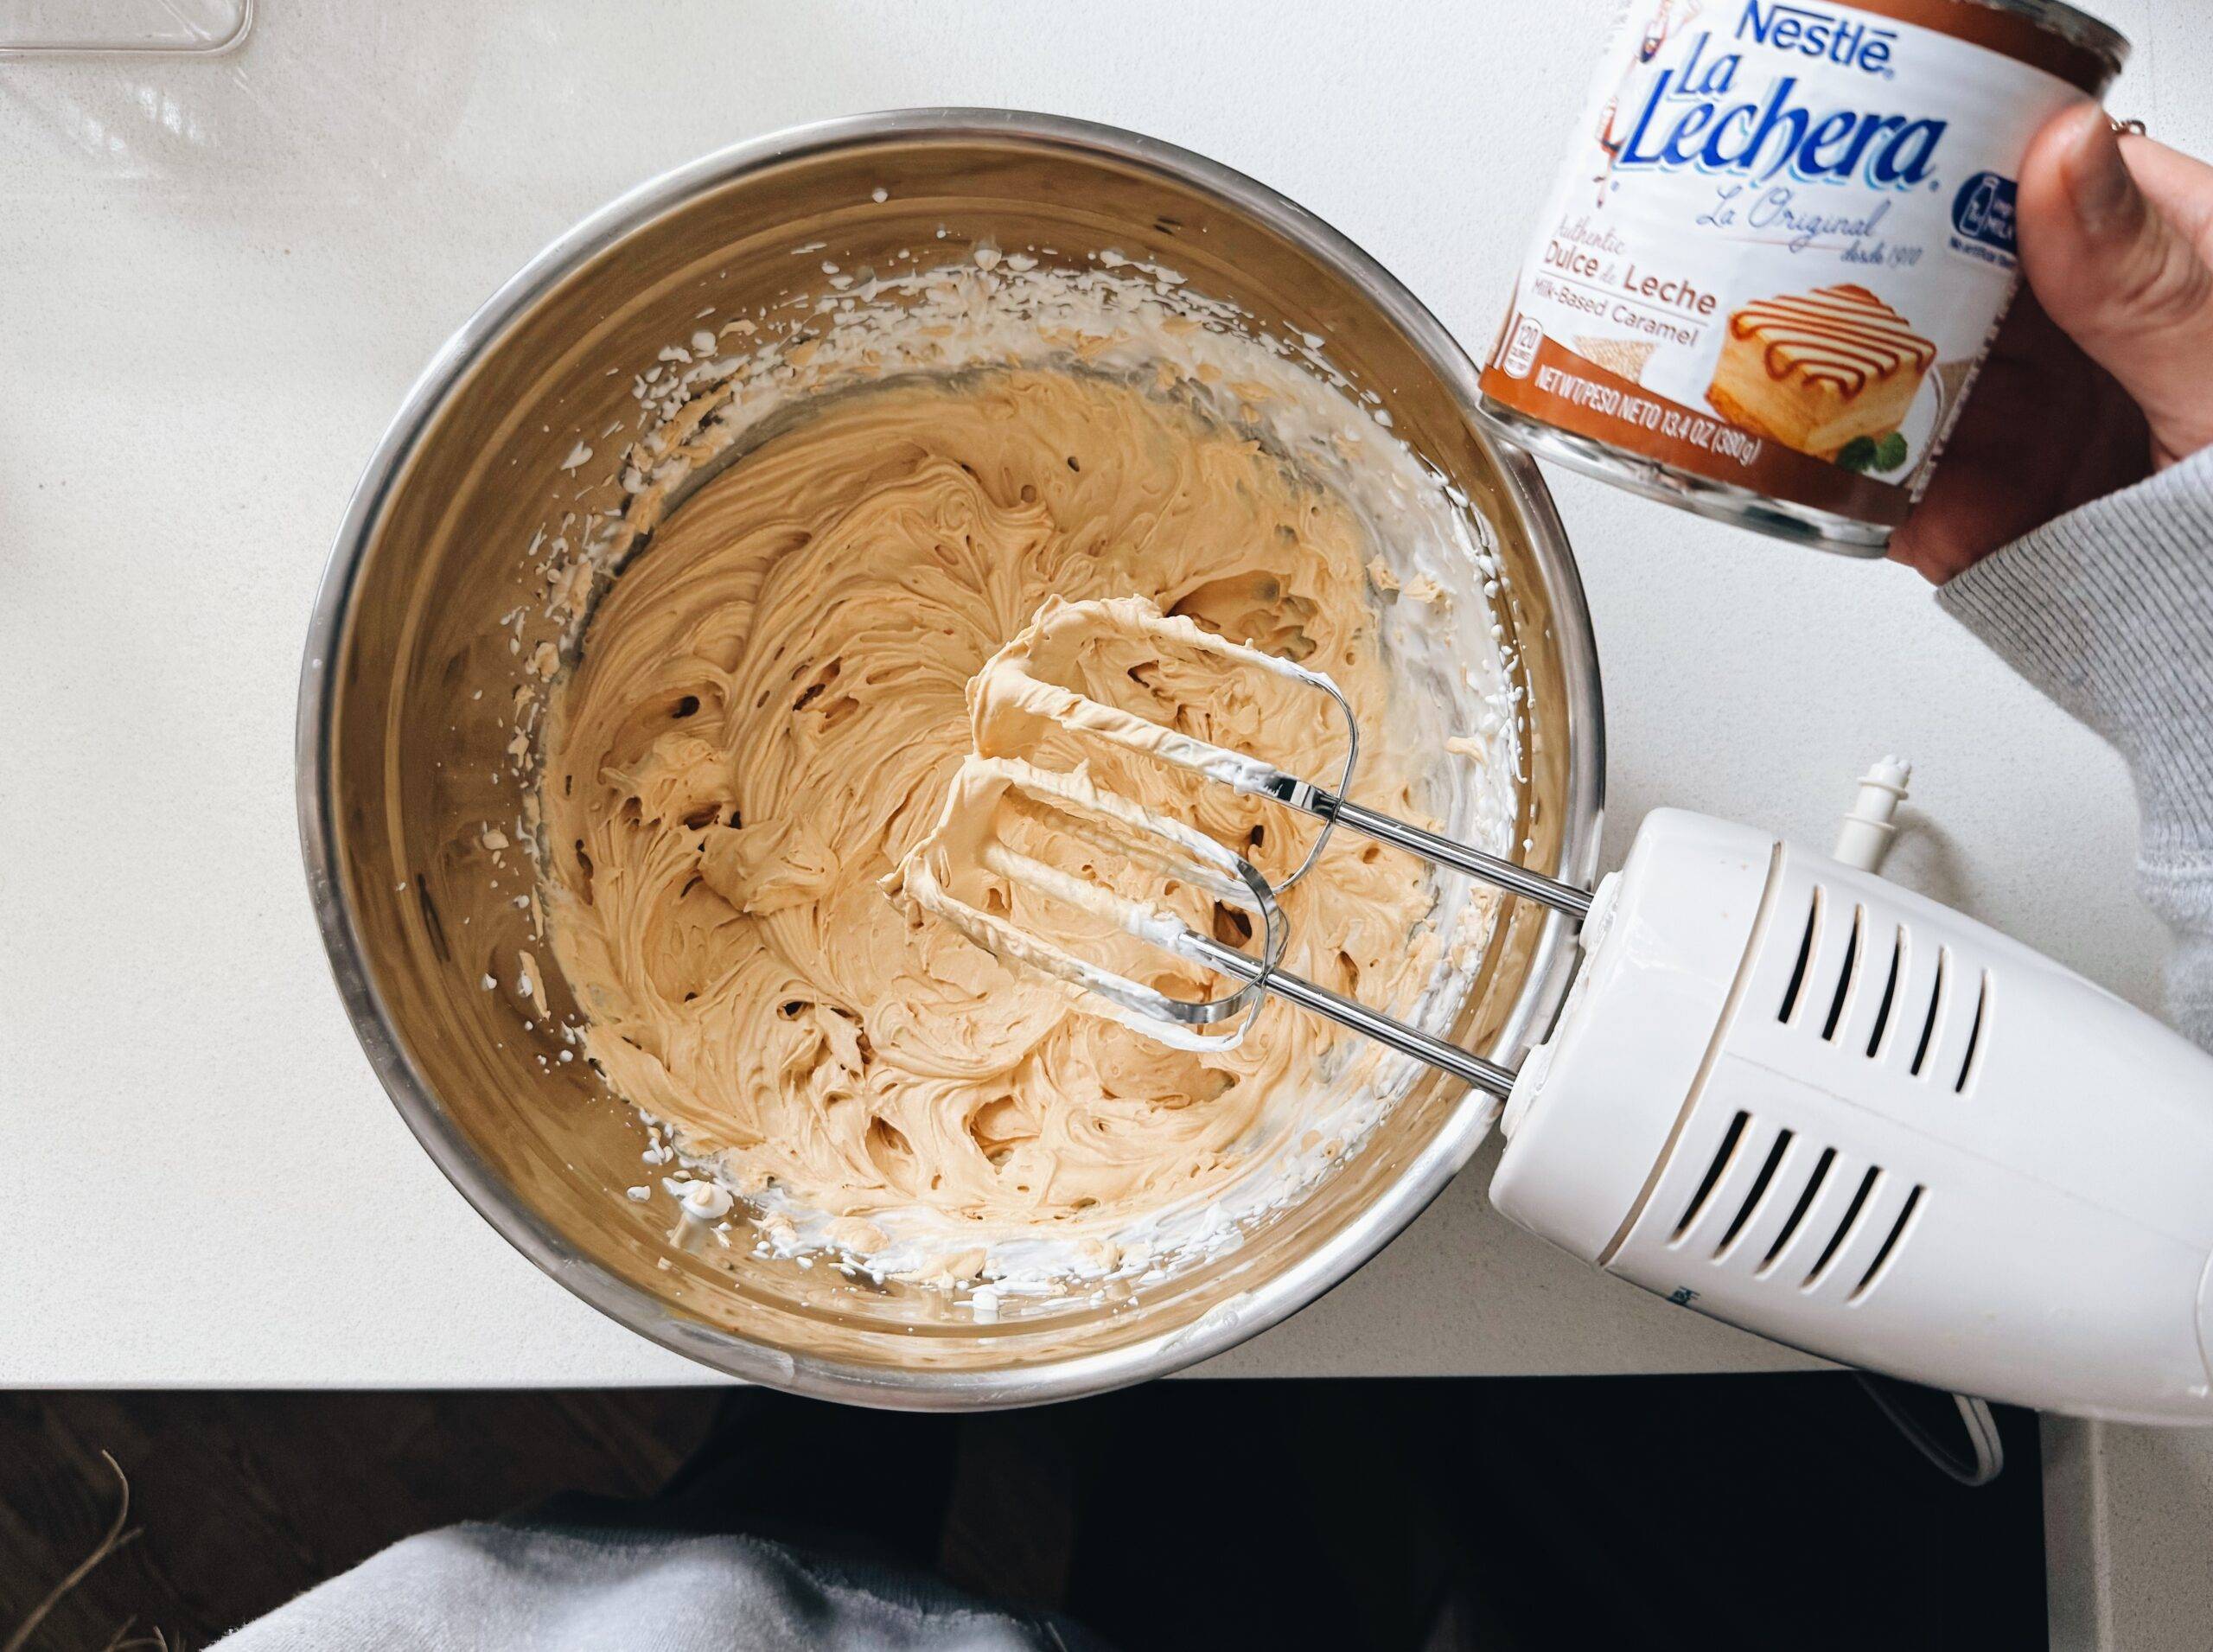
Mix Up Bowl 2.
The heavy whipping cream and dulce de leche! I use a can of dulce de leche (not the whole thing – just a dollop).
3
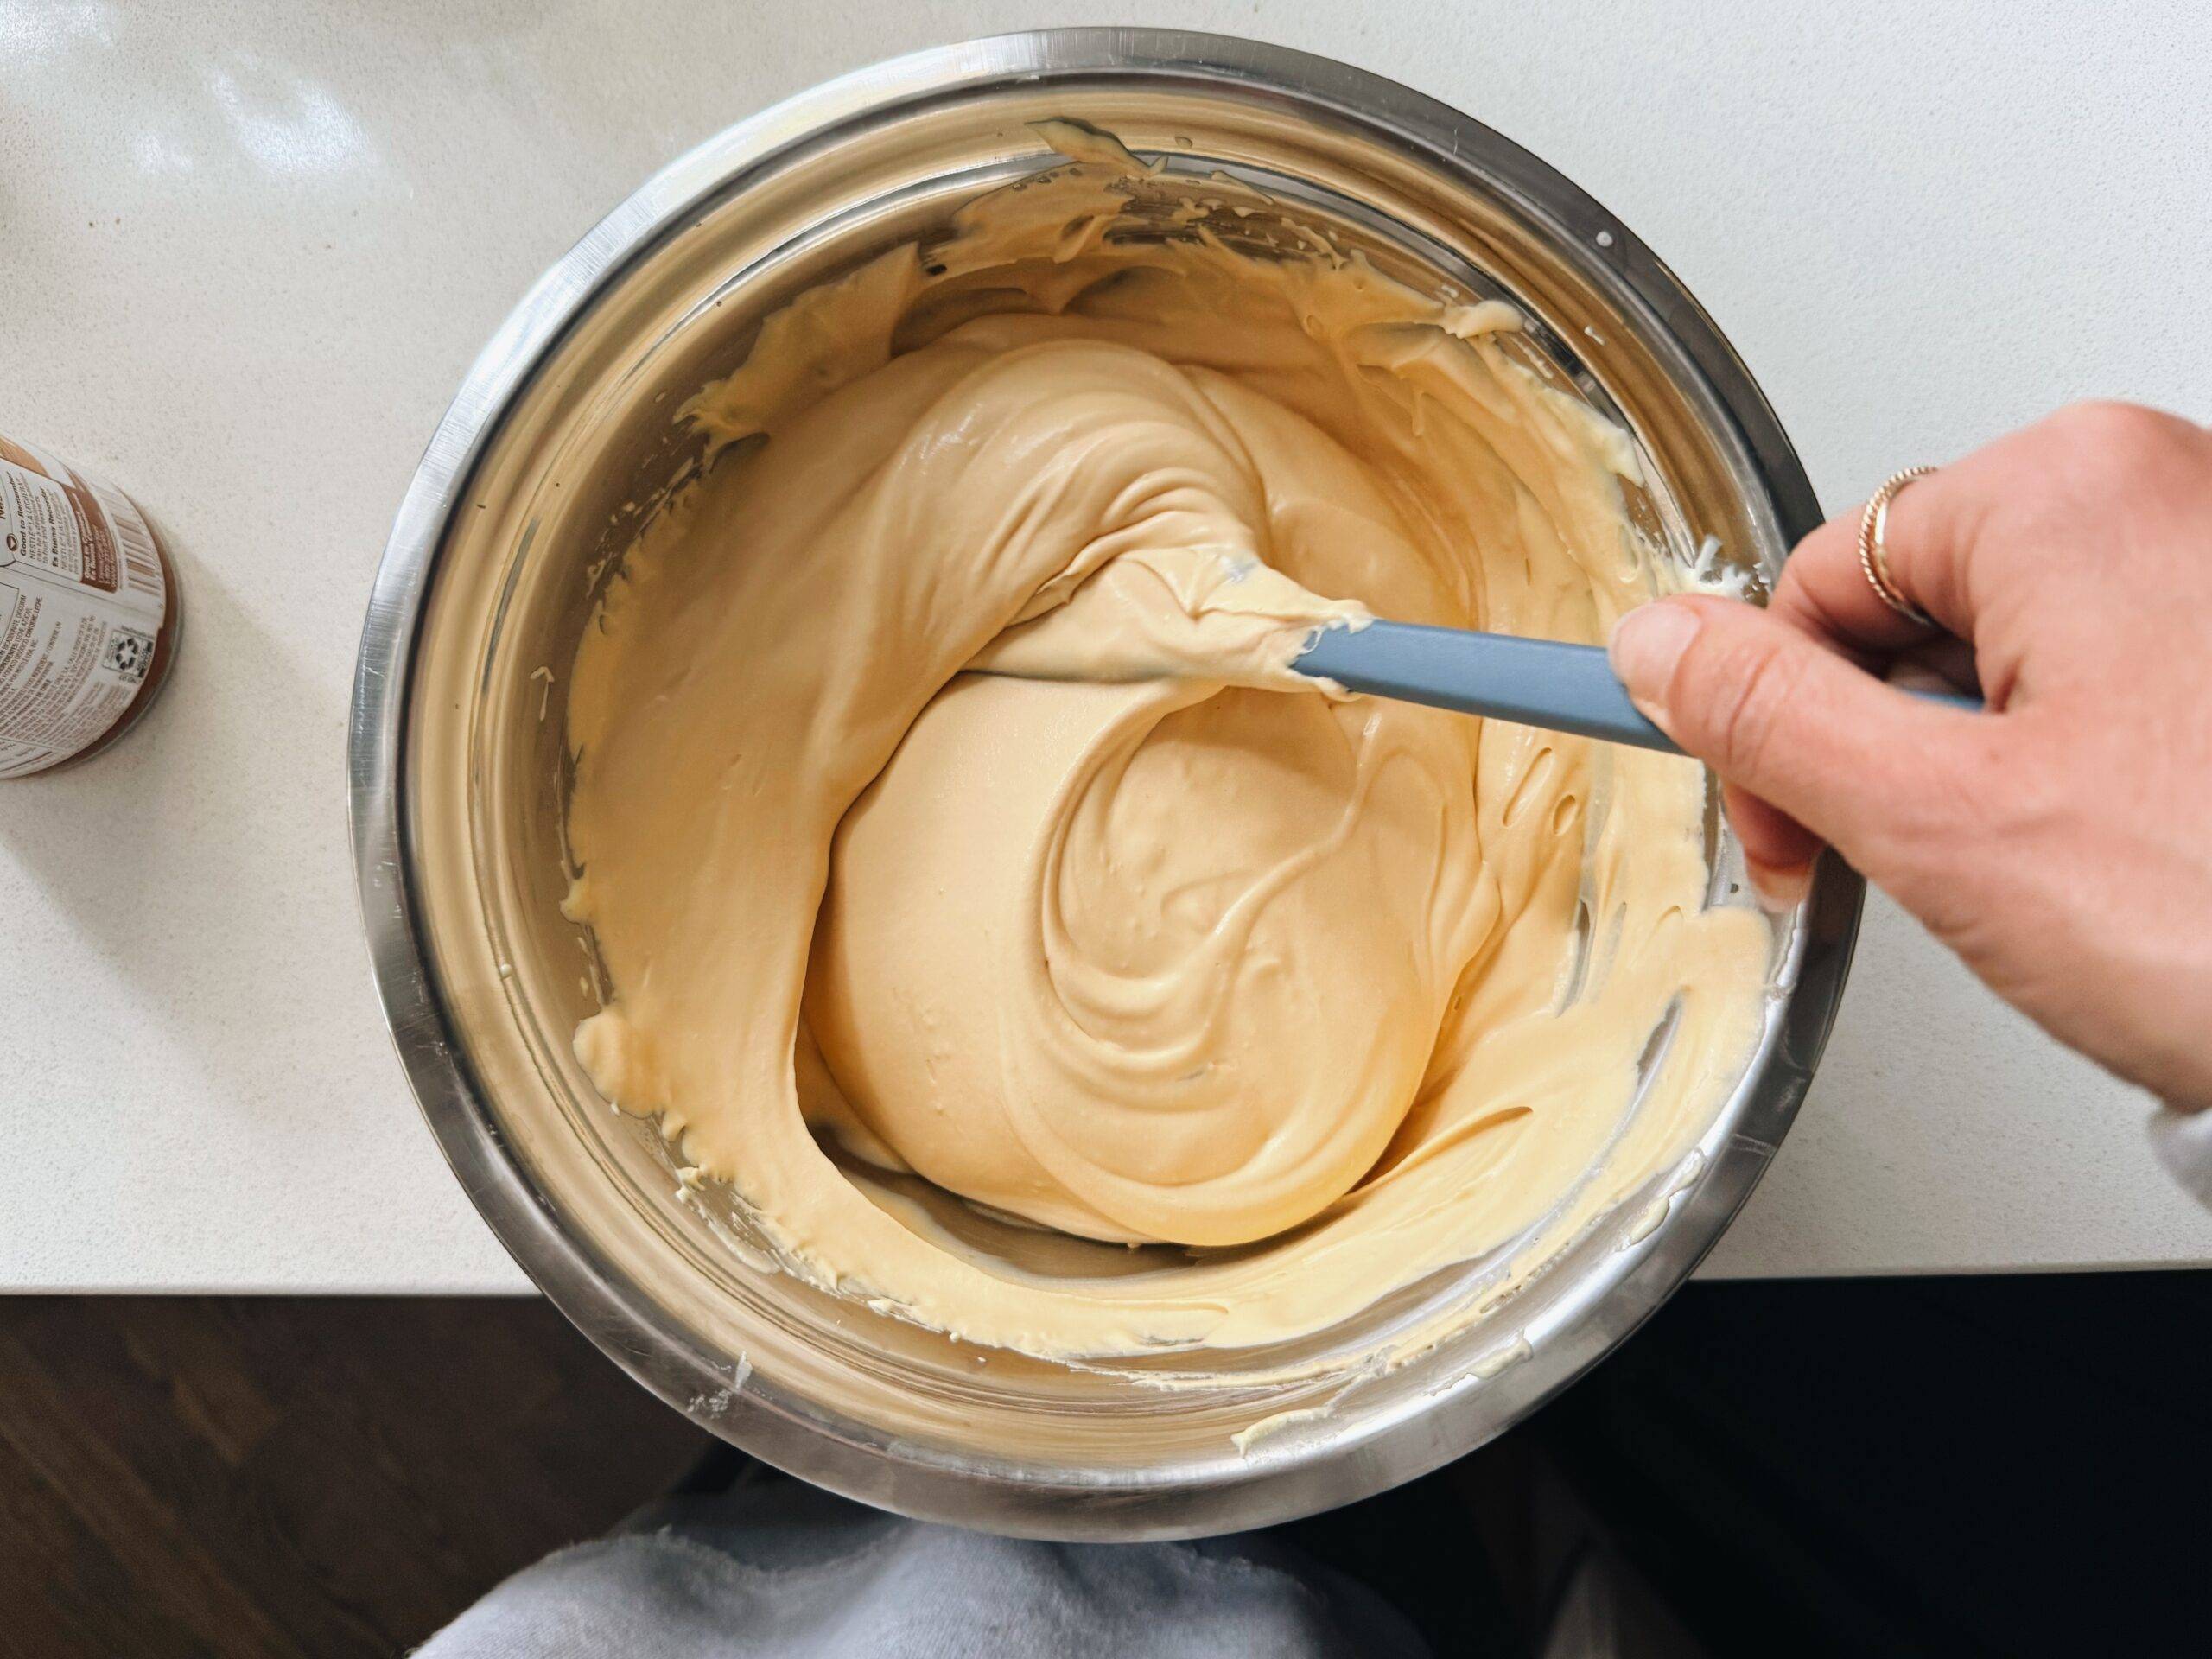
Combine Bowl 1 and Bowl 2.
This is where it becomes MAGICAL. The fluffy, heavy-but-light, silky consistency of this is unreal.
4
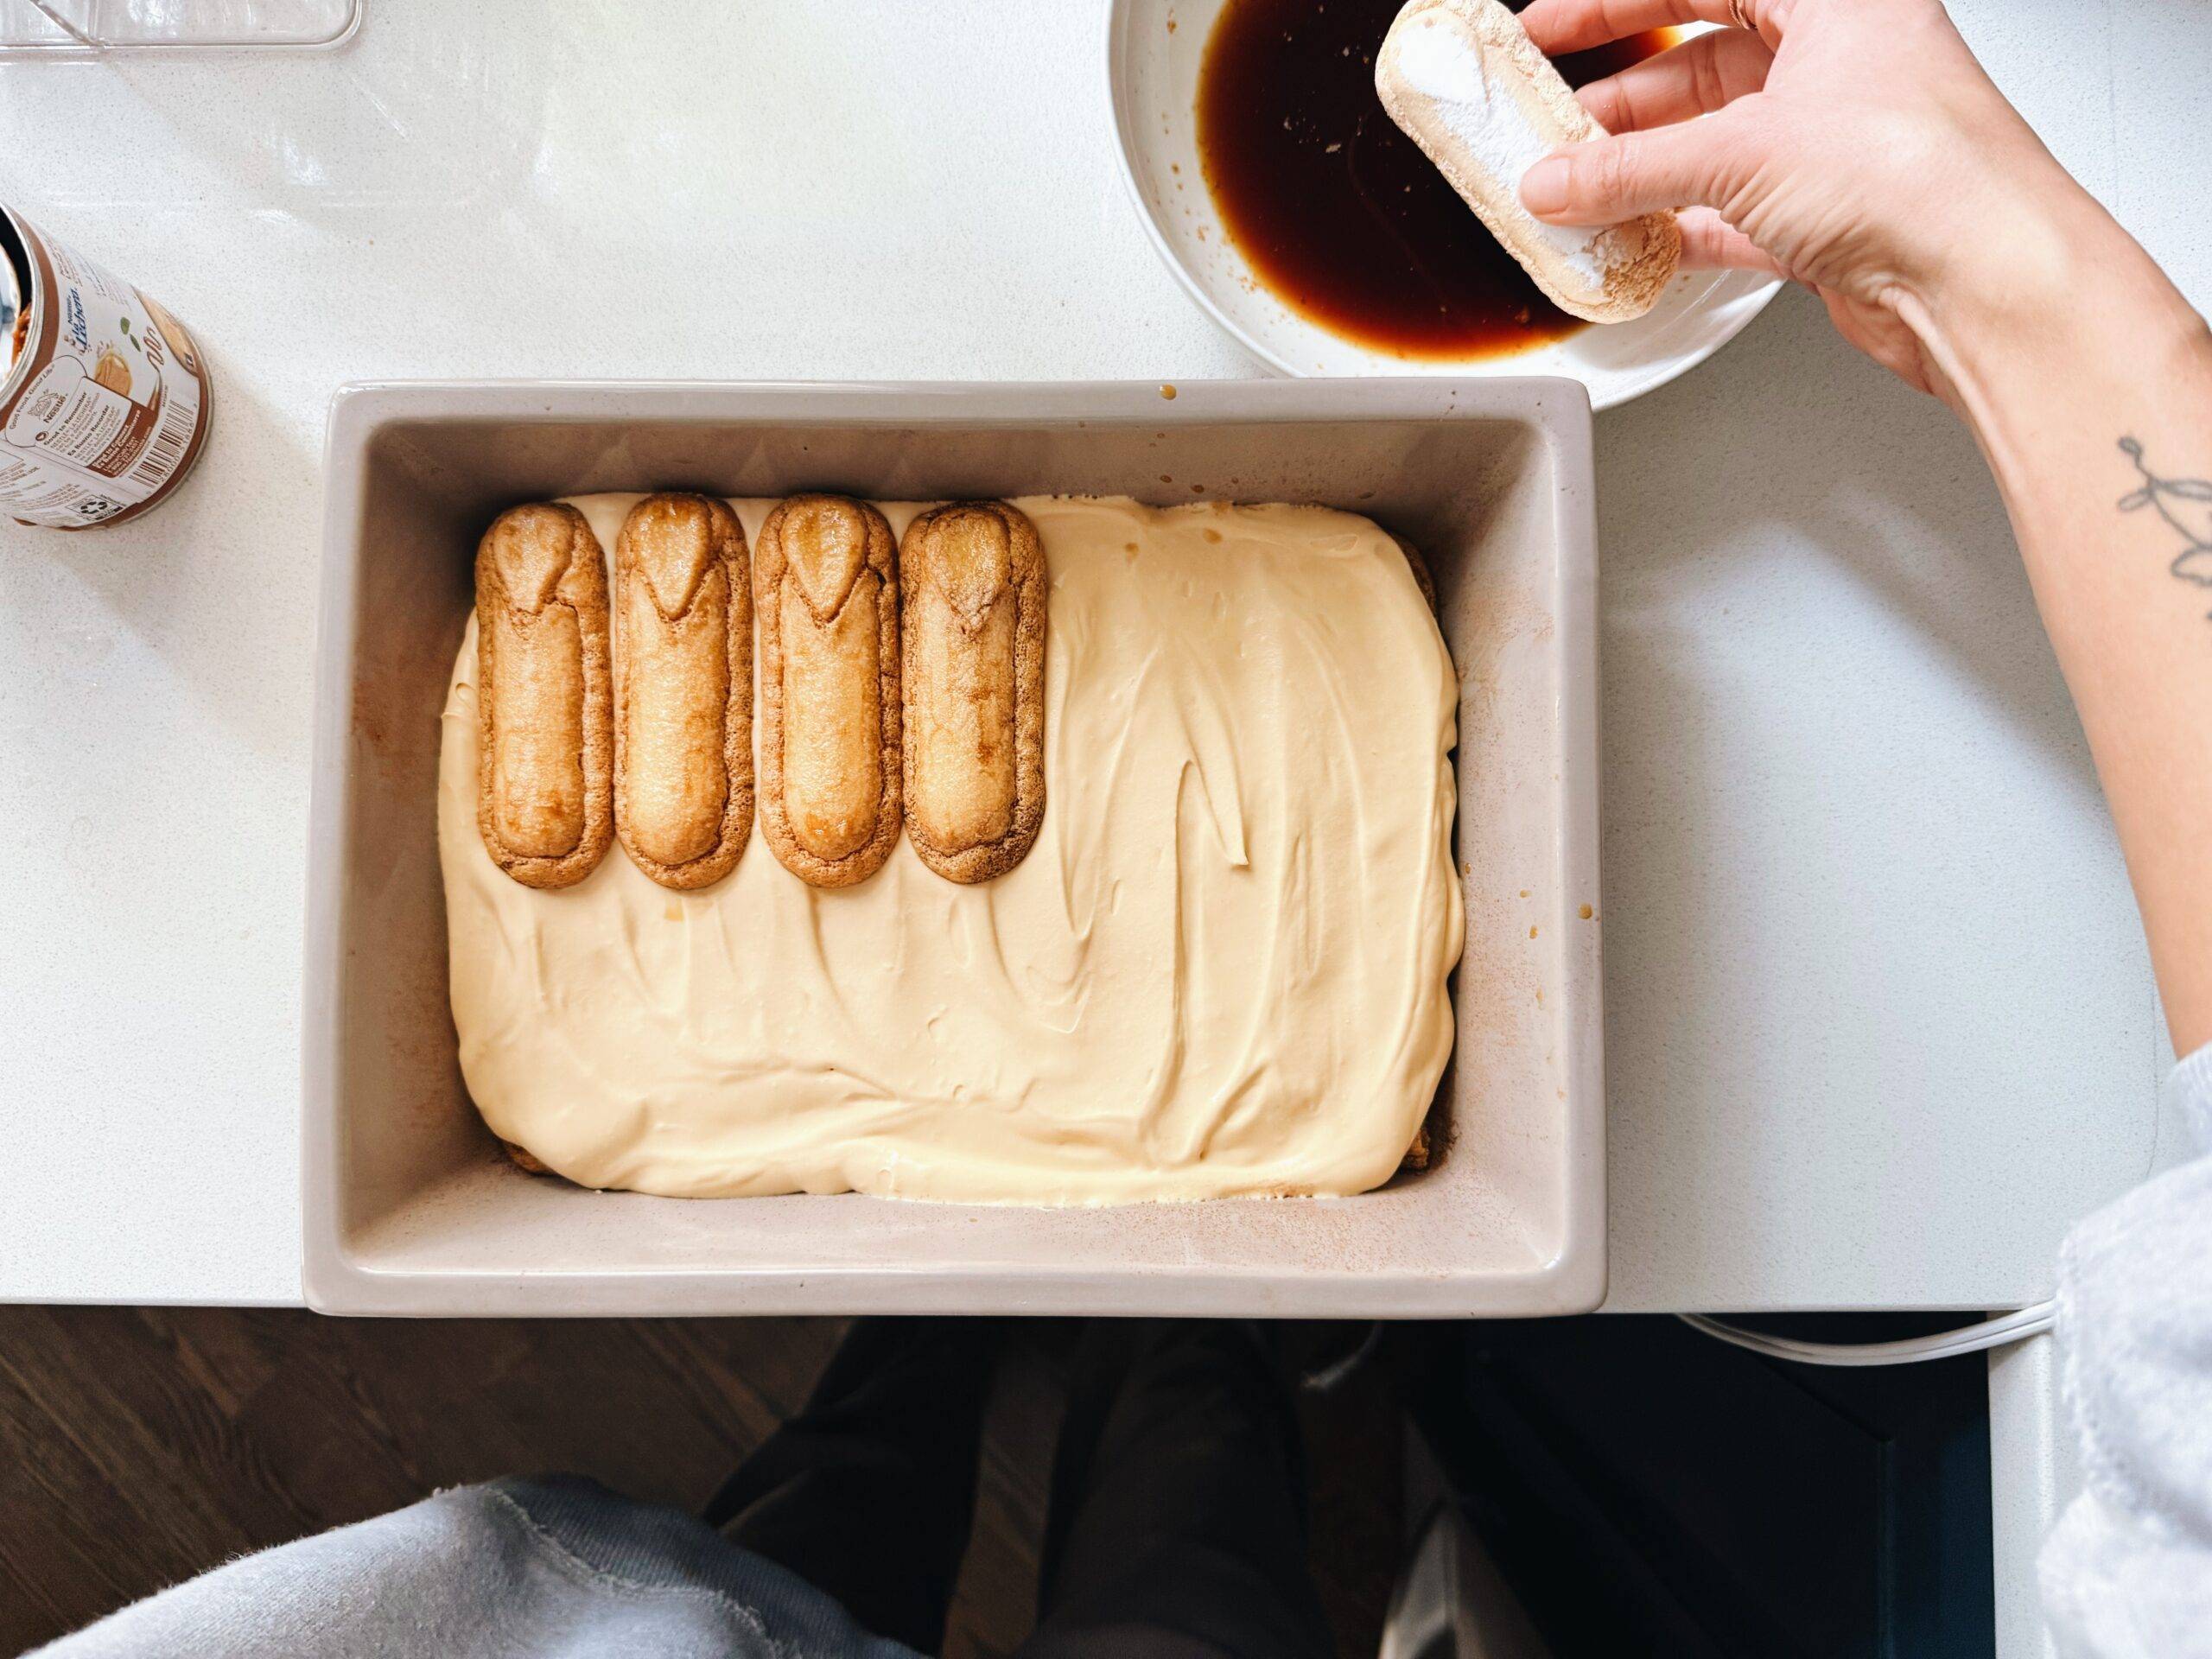
Soak Ladyfingers and Layer.
Use strong espresso! Use strong espresso! Use strong espresso! We want a layer of ladyfingers, then cream, then ladyfingers, then cream.
5
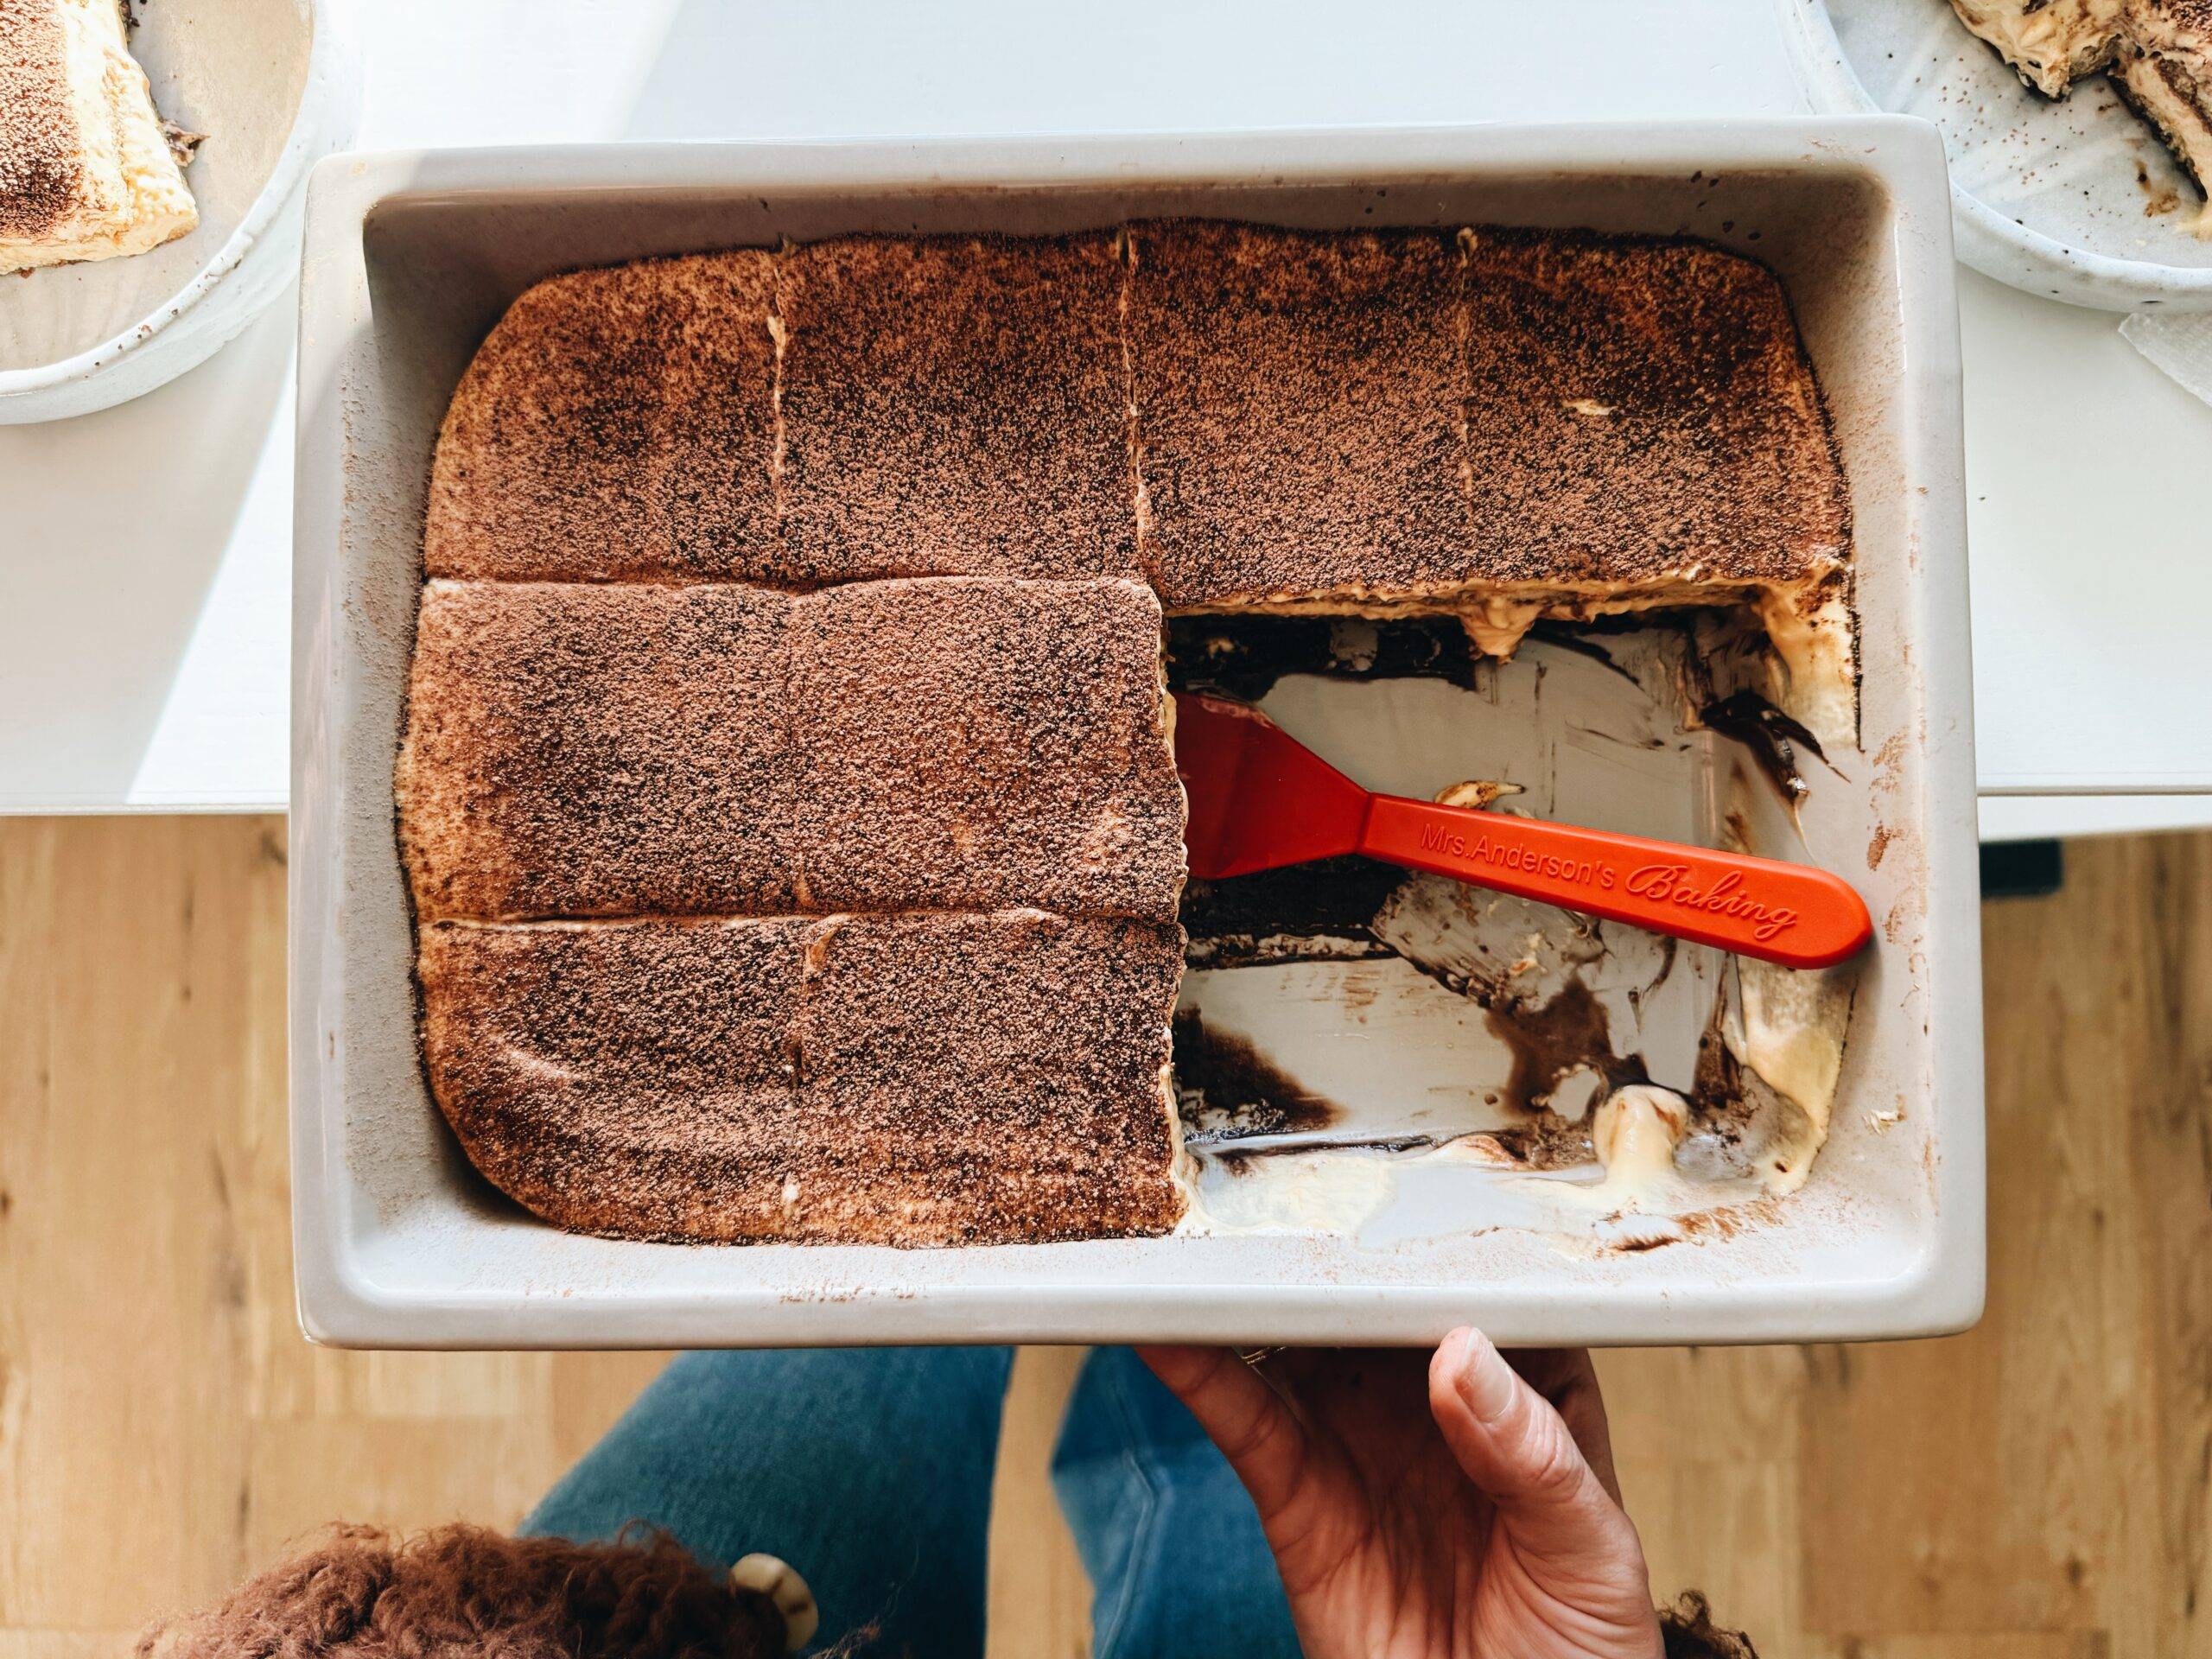
Finish!
I’d recommend popping this in the fridge for a minimum of 4 hours, but ideally more like 12-24 hours for the best consistency to serve. It’ll set and get easier to cut and serve in clean slices as it chills in the fridge – plus, those ladyfingers will absorb some moisture and the whole thing is just so divine.
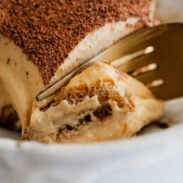
Dulce De Leche Tiramisu
 Total Time: 30 minutes
 Yield: 12 servings
 Print Recipe
 Pin Recipe
Description
Creamy dulce de leche layered with espresso-soaked ladyfingers in one delightful slice! This Dulce De Leche Tiramisu is my new favorite dessert.
Ingredients
Bowl 1:
- 6 egg yolks
- 3/4 cup granulated sugar
- 1 1/2 cups mascarpone (see notes)
Bowl 2:
- 1 1/2 cups heavy cream
- 1/4 cup + 2 tablespoons dulce de leche (I use this canned dulce de leche, which I buy at Target or Cub Foods)
- pinch of salt to taste
Layering:
- 3 4.4–ounce boxes of soft ladyfingers (I am very loyal to St. Michel soft ladyfingers – absolutely perfect with a little sugar crunch on top)
- 2 cups strong coffee or espresso (can be decaf but highly recommend that it is rich, dark, and strong)
- 1/2 cup cocoa powder
- chocolate bar for shaving / topping
*This section contains affiliate links.
Instructions
- Mix Bowl 1: Mix egg yolks and sugar with electric mixer until smooth. The mixture should “ribbon” off the end of the beaters in a silky, steady stream. Make it look smooth and creamy, basically. Add the mascarpone cheese and beat again until combined.
- Mix Bowl 2: Beat the heavy whipping cream on high for 1-2 minutes until you get whipped cream. Add dulce de leche, mix again, and add a pinch of salt to taste.
- Combine Bowls: Fold whipped cream into the egg and mascarpone mixture. WARNING: IT WILL BE DIVINE.
- Pan Prep: Grab an 11×7 pan (a 9×13 will work, as will honestly any shape or size of pan, but 11×7 is my favorite). Use a fine mesh strainer to dust the bottom of your pan with cocoa powder. This helps absorb excess moisture from the espresso so it doesn’t get too wet.
- Layer: Dip ladyfingers very briefly in the espresso; turn to coat (I give a slow count of 3 while flipping each one – back side, front side, back side again and remove). You don’t want these in the espresso for a very long time or the whole thing will fall apart. Ladyfingers should cover the bottom of the pan. Layer half the creamy mixture on top of the ladyfingers; repeat ladyfingers layer, then finish with the rest of the creamy layer. Finish with a dusting of cocoa powder again, and/or shaved chocolate.
- Fridge: Cover with plastic and transfer to the fride. Let it set for 4 hours minimum, but ideally 12-24 hours.
- You’re Done! Yum! Cut and serve straight out of the fridge. Finish slices with more cocoa powder or chocolate shavings on top if you want. Absolutely incredible.
Notes
Mascarpone Amount: If you only want to buy and use one container of mascarpone, which is 8 ounces, you can do that – it still works. 🙂 I wrote the recipe with 1 1/2 cups of mascarpone (one and a half containers, basically) because I prefer the consistency of that creamy layer with a little more mascarpone in there!
- Prep Time: 30 minutes
- Cook Time: 0 minutes
 Category: Dessert
 Method: No-Bake
 Cuisine: Italian
Keywords: tiramisu recipe, dulce de leche tiramisu, dessert recipe, Italian dessert
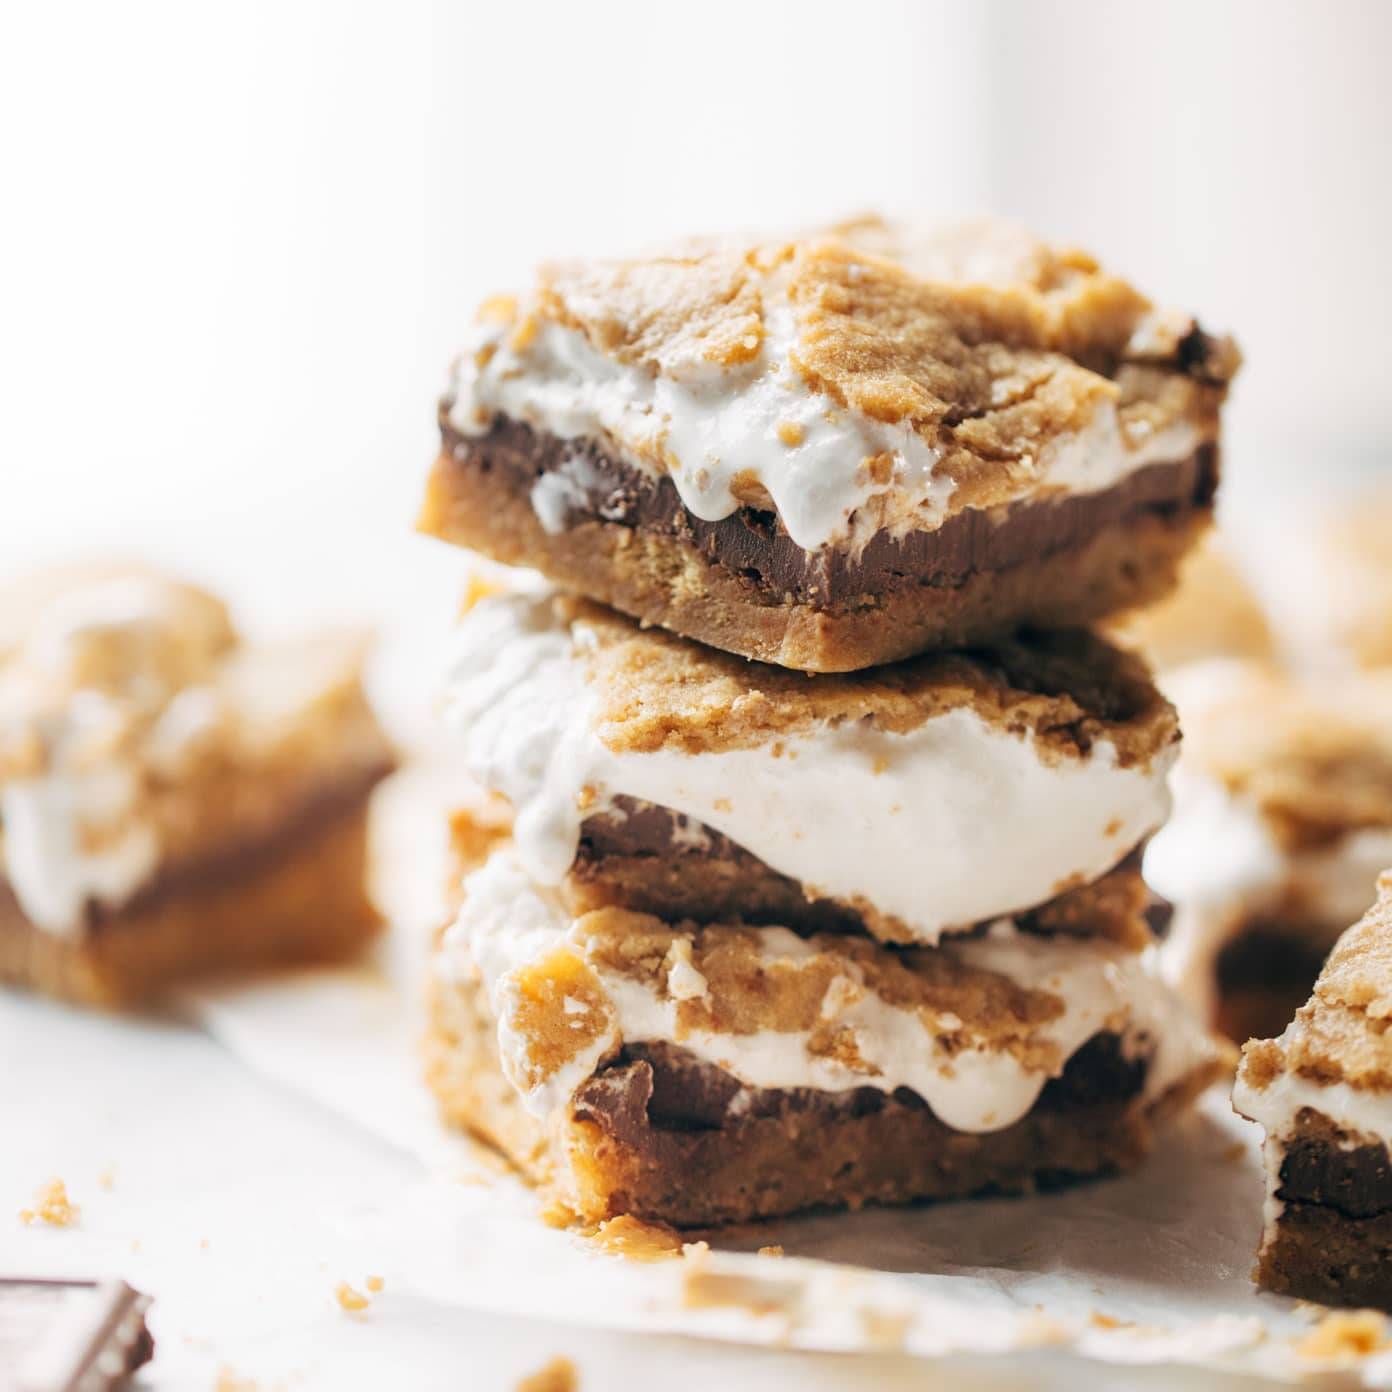
Three More Favorite Desserts For A Crowd

The post Dulce De Leche Tiramisu appeared first on Pinch of Yum.
from Pinch of Yum https://ift.tt/dEZyUJk