Sunday, March 9, 2025

My New Favorite Pizza Has a Cottage Cheese Crust

Pizza with a cottage cheese crust, cut into slices

It Has No Business Being This Good.

Lindsay Ostrom headshot.

So, I’ve made it 4x already this week.

I saw a video for a cottage cheese pizza crust from our friends at Fit Foodie Finds last week and I thought, hmm. Interesting. Maybe I should try that.

I am always a little suspicious about recipes based around cottage cheese, but HERE IS THE THING.

It’s ACTUALLY SO GOOD!

It is not one of these gimmicky cottage cheese moves. I mean, honestly, forget that there’s even cottage cheese in the crust. I mean, yay protein, but all I care about is that that crust is still somehow is light and airy and bready, but still gets a bit of a golden brown crisp out the outside? It’s a 20 minute miracle. Every time I am shocked and amazed.

I’ve tried some variations of this and I’ll put my thoughts into the notes of the recipe. But for now, just know: this is worth trying. You can find the Fit Foodie gals recipe here – I made it almost exactly the same as theirs! I just bake it a bit hotter, to get more crispy and browned. I also triple the amounts to make a thicker / bigger crust to feed our whole family of 4.

I had lots of people asking me about the details of my changes on Instagram, so here it is in writing for ya.

I hope you love it!

Lindsay signature.
Print
Cottage Cheese Pizza Crust

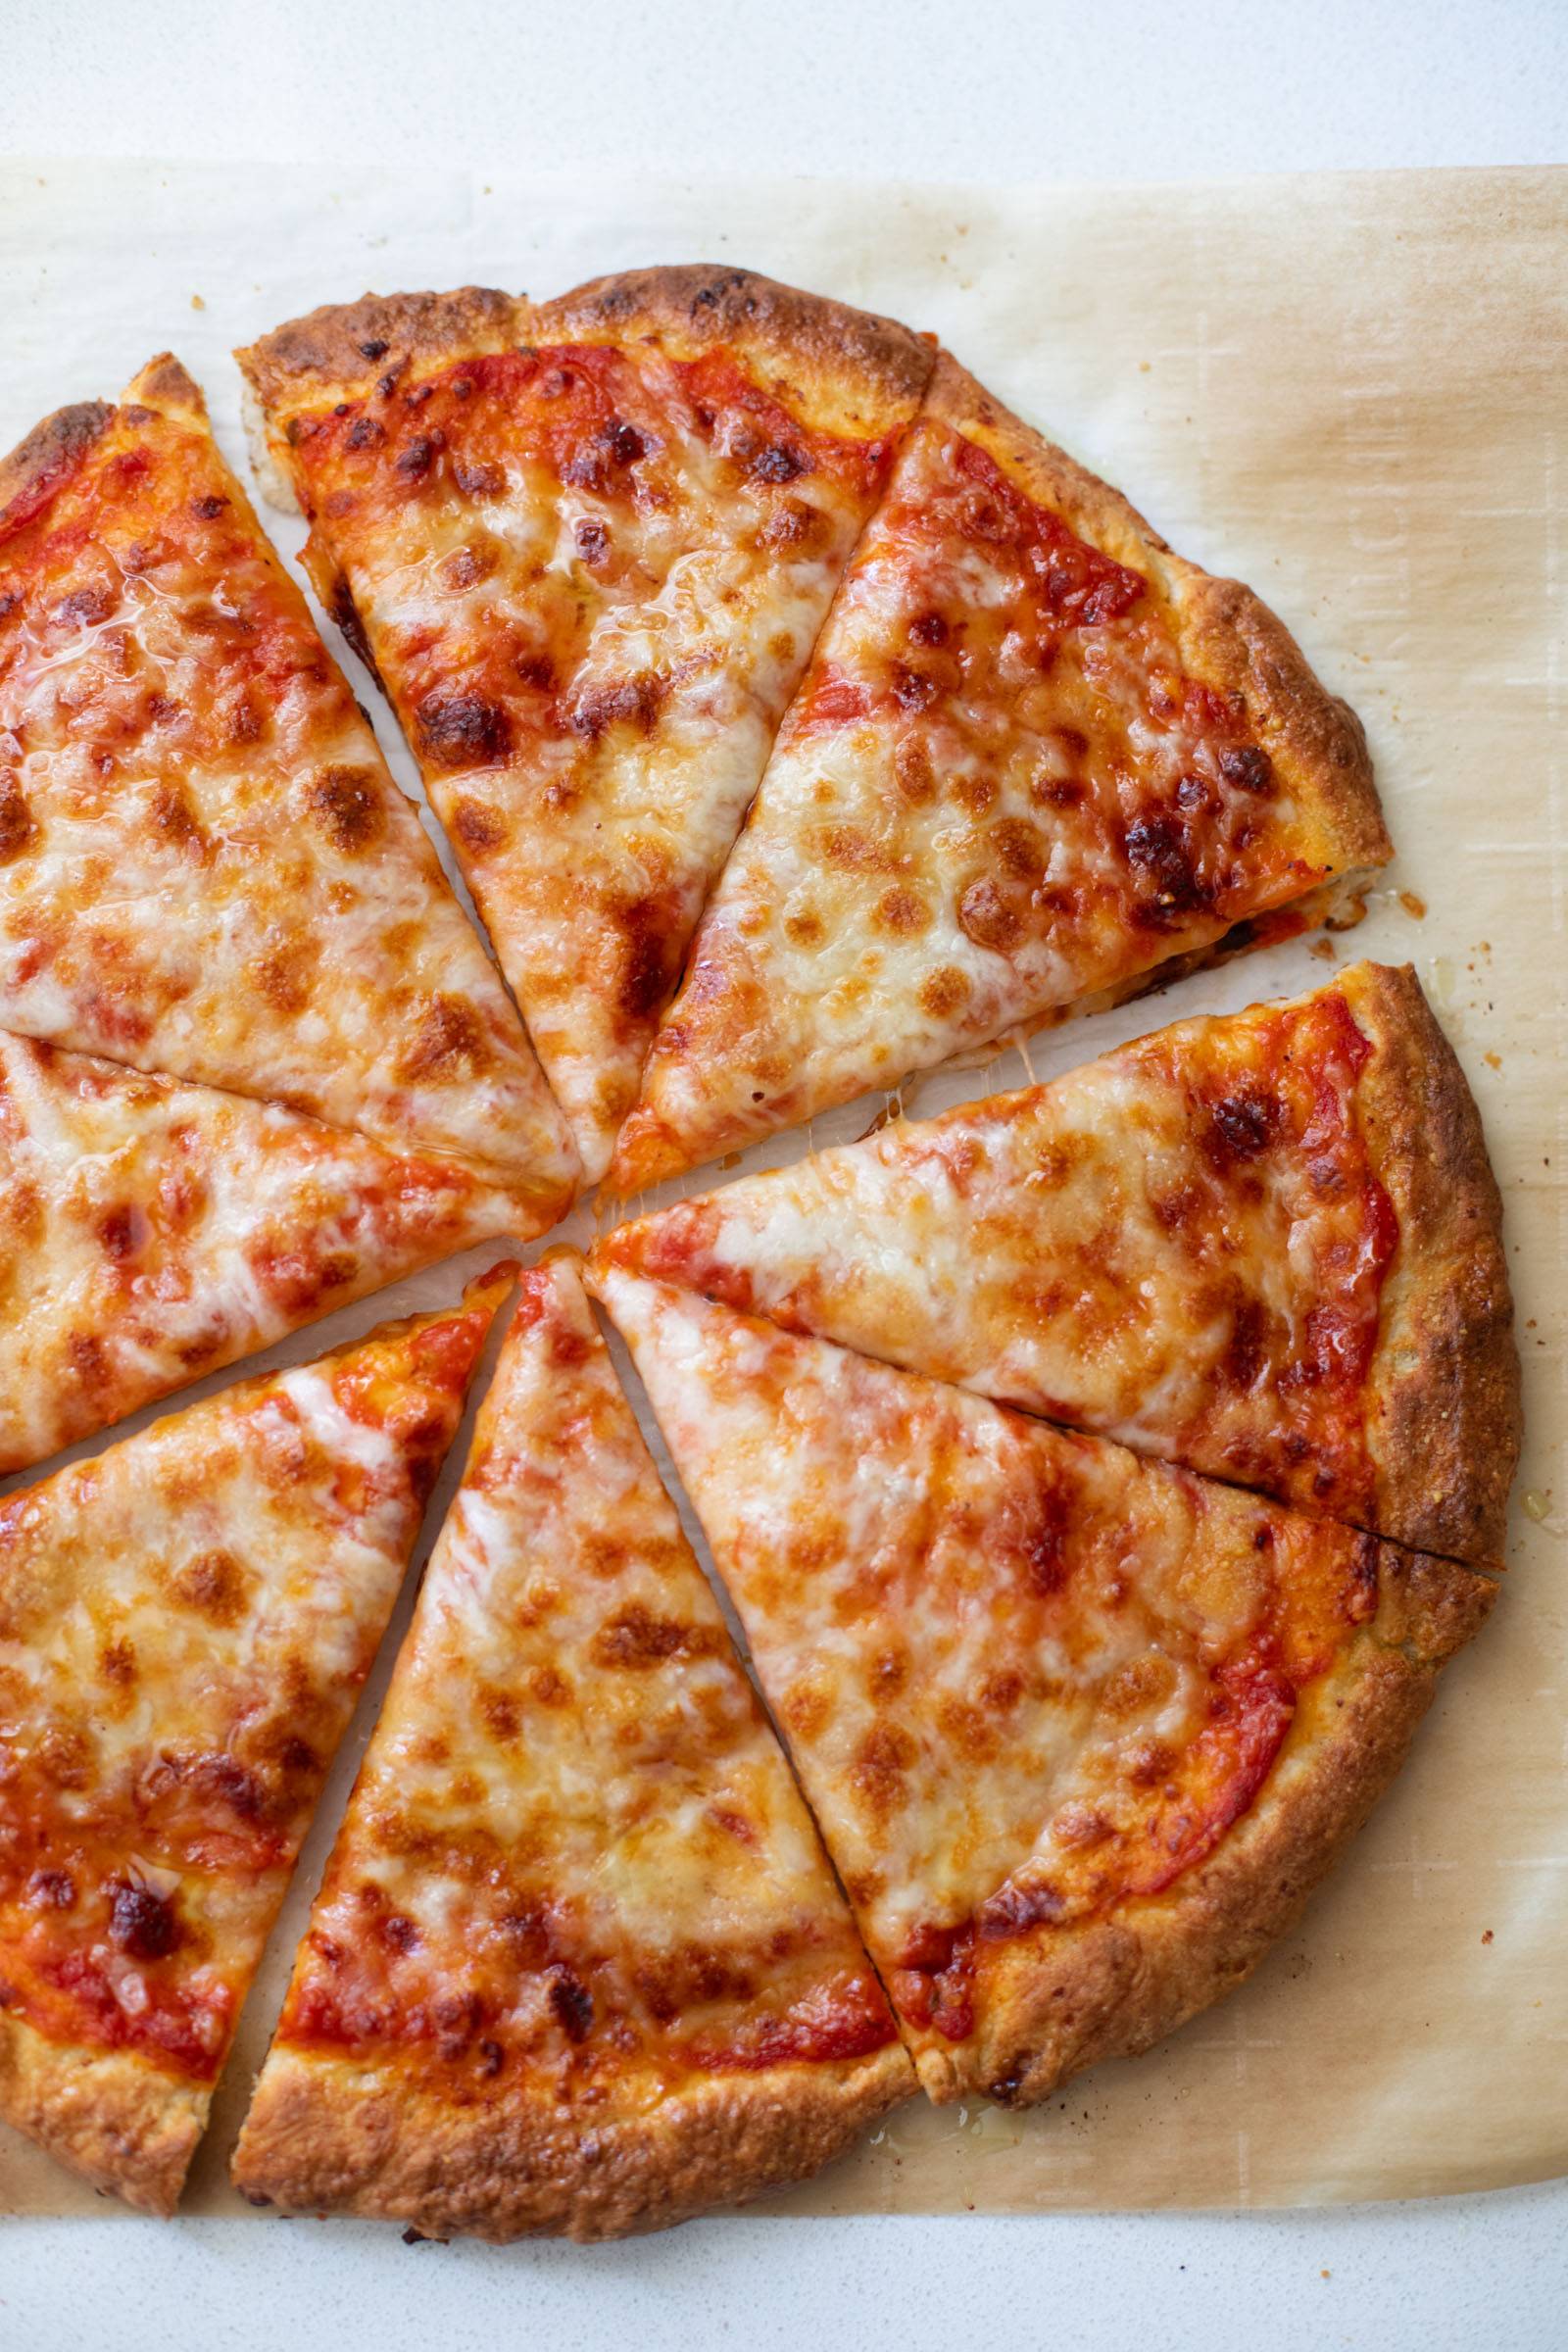
Pizza with Cottage Cheese Crust


5 Stars 4 Stars 3 Stars 2 Stars 1 Star

No reviews

  • Author: Lindsay
  • Total Time: 30 minutes
  • Yield: 3-4 servings

Description

Pizza with a 4-ingredient cottage cheese crust. That actually tastes good. What is happening.


Ingredients

Units
  • 1 cup cottage cheese
  • 1 cup flour + 1-2 tablespoons for dusting
  • 1 teaspoons baking powder
  • 1 teaspoons coarse kosher salt
  • 12 tablespoons olive oil

For the pizza:

  • 1/4 to 1/3 cup sauce (I’ve been using Rao’s marinara)
  • 1/3 to 1/2 cup shredded mozzarella cheese
  • 1/4 to 1/2 cup grated Parmesan cheese

Instructions

  1. Preheat the oven to 450 degrees and place a rack at the highest position, near the top.
  2. Blend the cottage cheese until smooth.
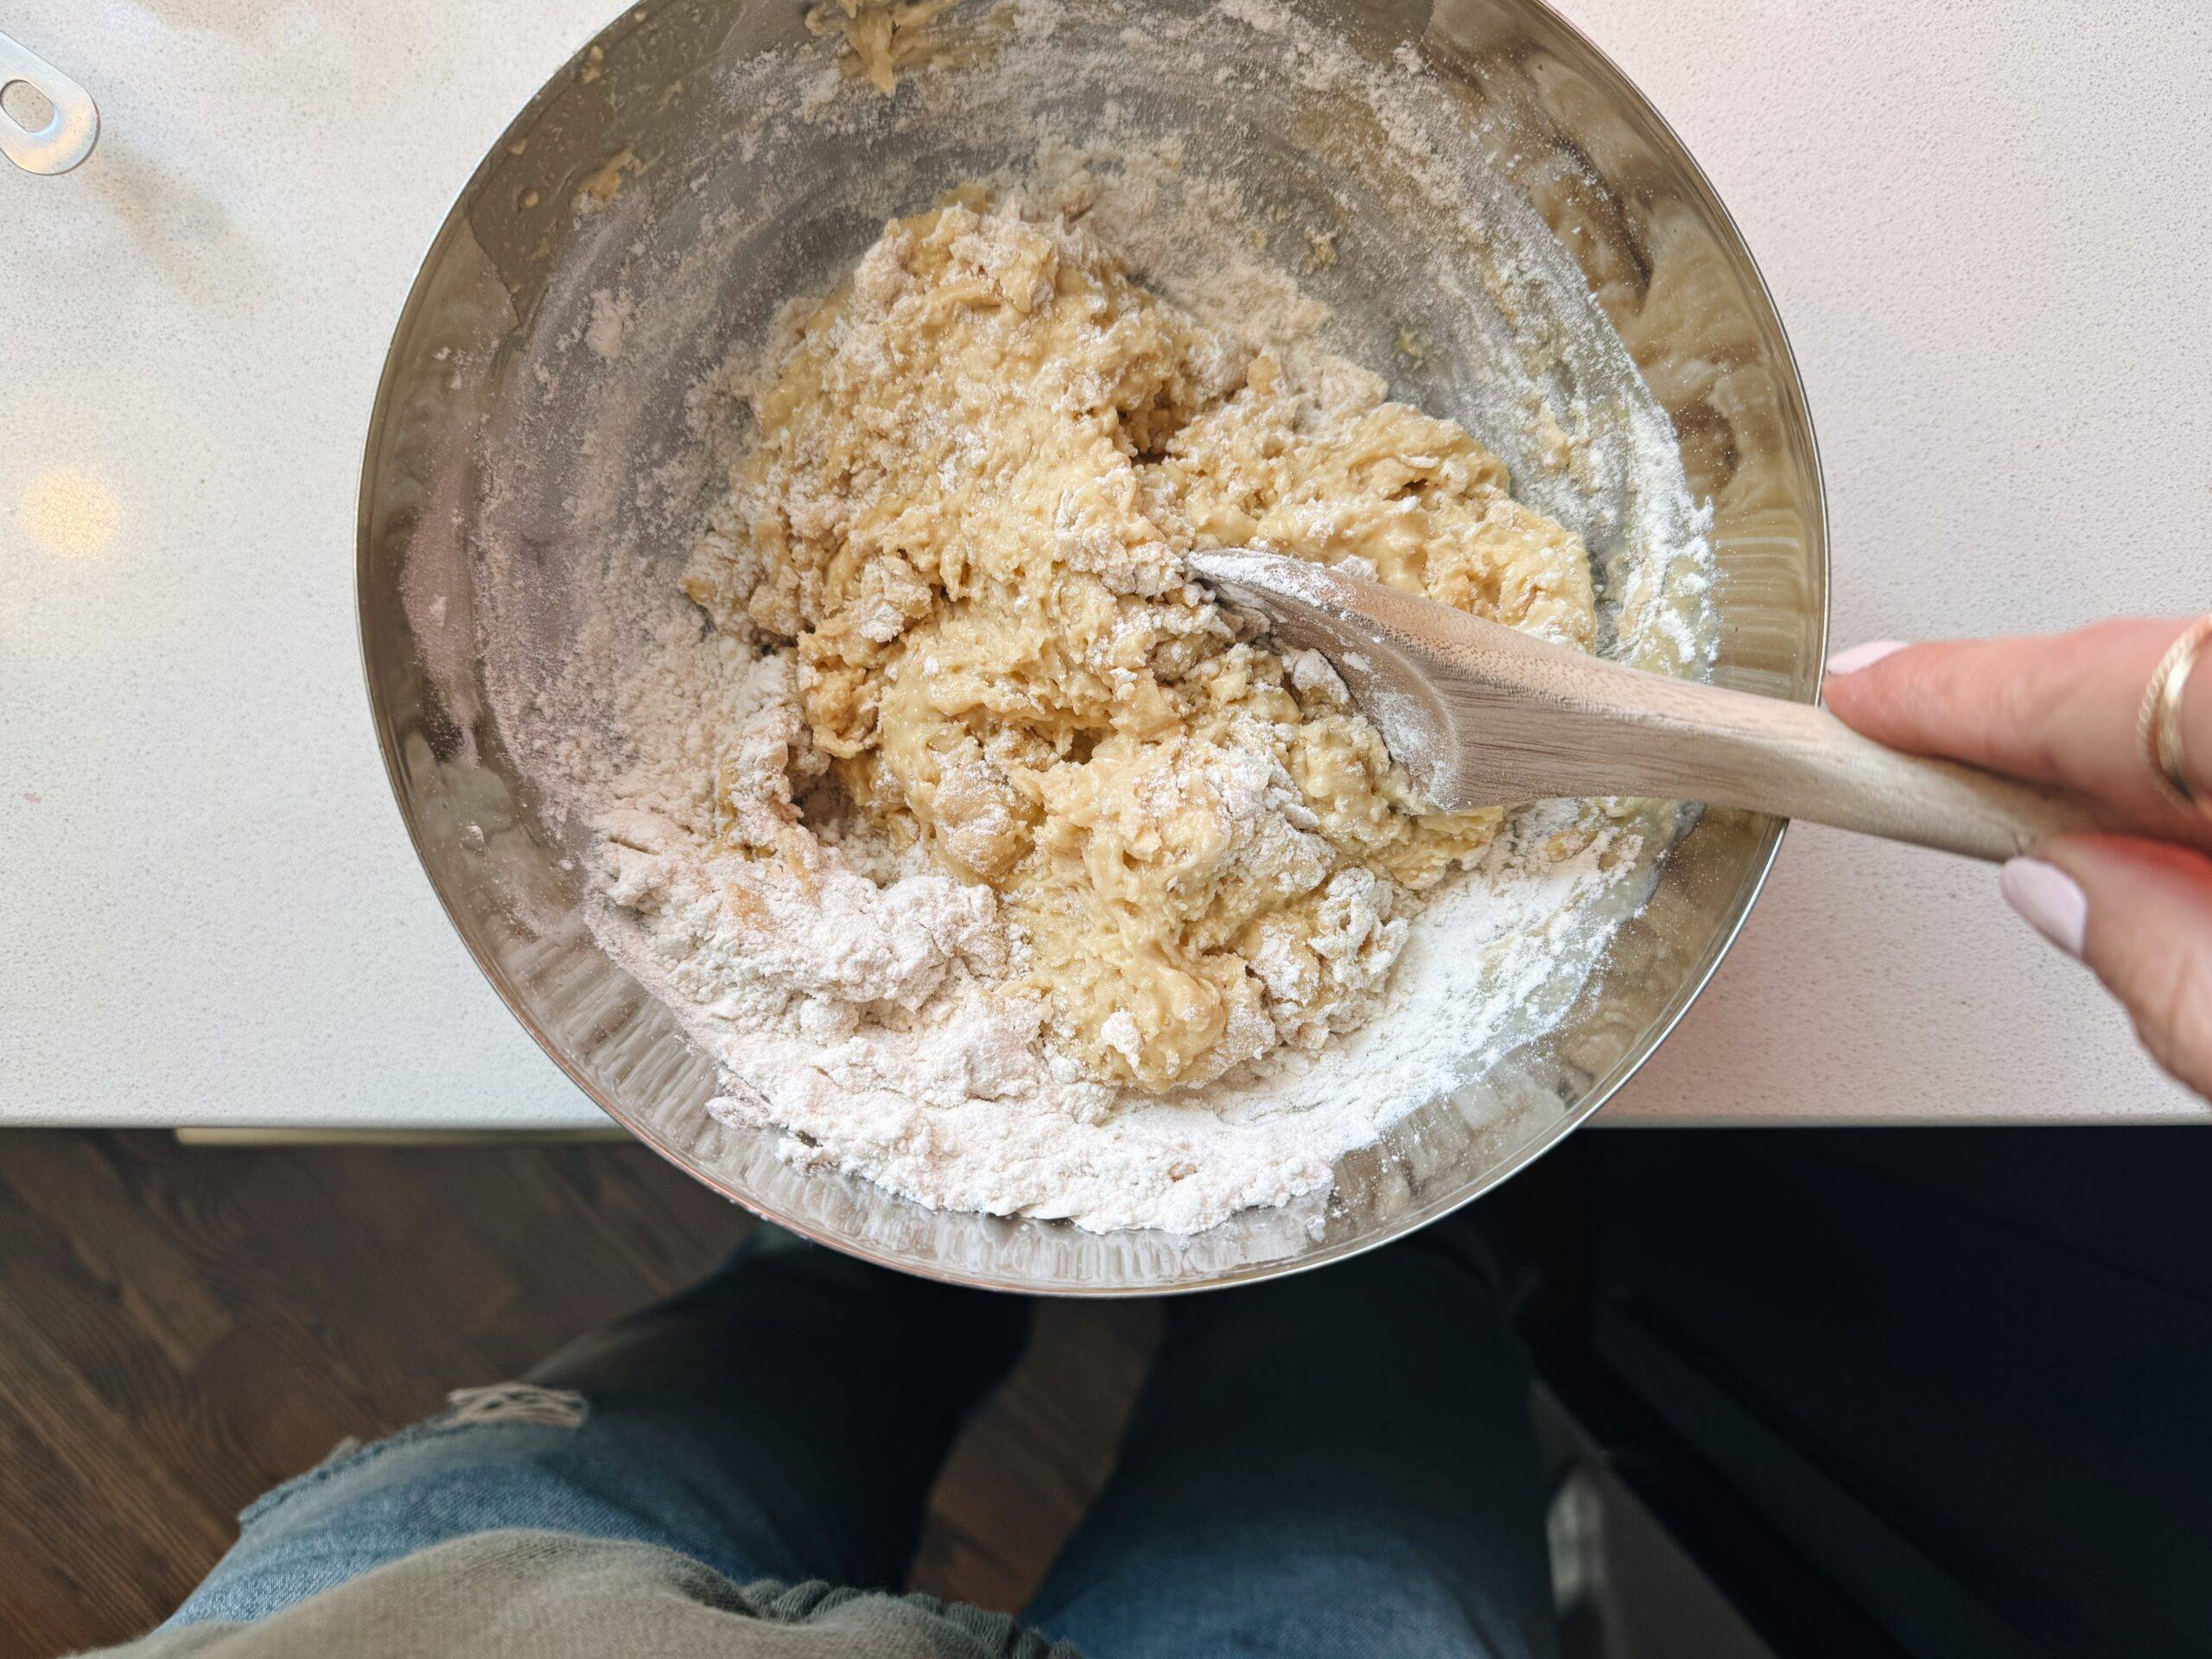
  3. Place blended cottage cheese in a bowl; mix with the flour, baking powder and salt until a dough starts to come together. It will start to get kind of shaggy and crumbly – use your hands to really bring it together. I usually turn it out on the counter and give it a few squishes to make it into a cohesive ball. Use that extra flour to prevent sticking.
  4. Place a sheet of parchment on a pizza pan or baking sheet. Place the dough on the parchment and press into a circle that is about 10-12 inches in diameter. It is a pretty bready crust, so you want to really press it out into a thinner, wider surface area.
  5. Rub the top of the crust with olive oil.
  6. Place in the oven; bake (no toppings) for 8 minutes.
  7. Remove from oven. Spread with sauce and top with the two cheeses. Bake on that same top rack for another 5 minutes to melt the cheeses.
  8. Finally, broil for 2-3 minutes until the cheese and crust edges are deeply golden, like the picture. I like to sprinkle the slices with red pepper flakes, drizzle with olive oil or hot honey, and dip into more sauce! It’s too good!

Notes

Technically you don’t need to blend the cottage cheese – it will work and the curds will melt, but it gives the crust a more gummy texture.

I use the Beast Mini Blender for blending the cottage cheese and it works so well. It gets the consistency nice and whipped and light, which I think yields a really amazing crust!

  • Prep Time: 15 minutes
  • Cook Time: 15 minutes

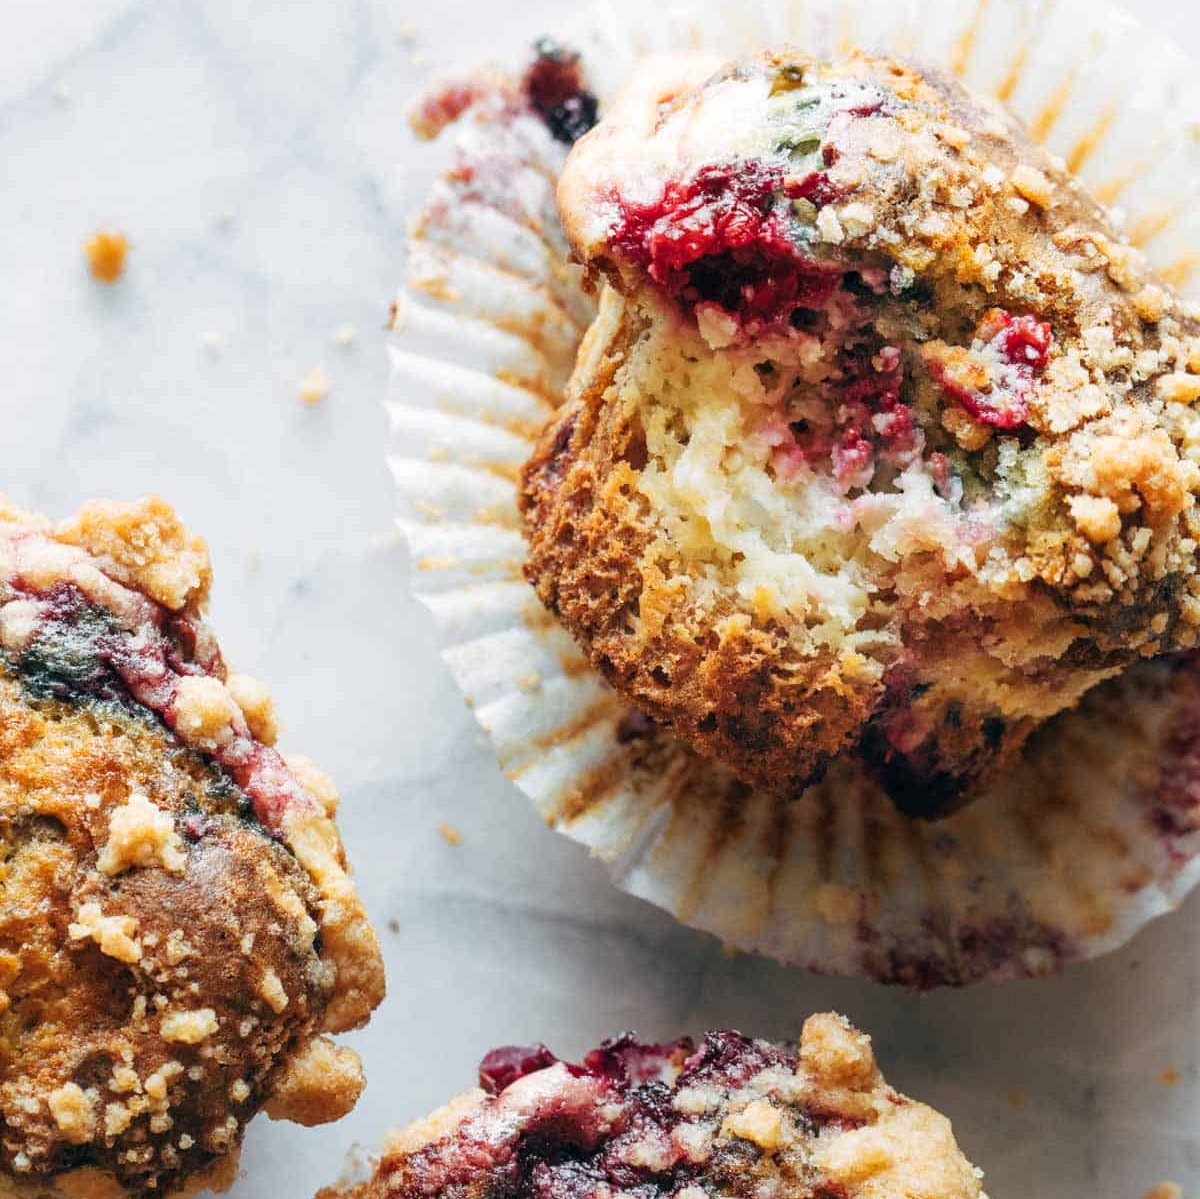
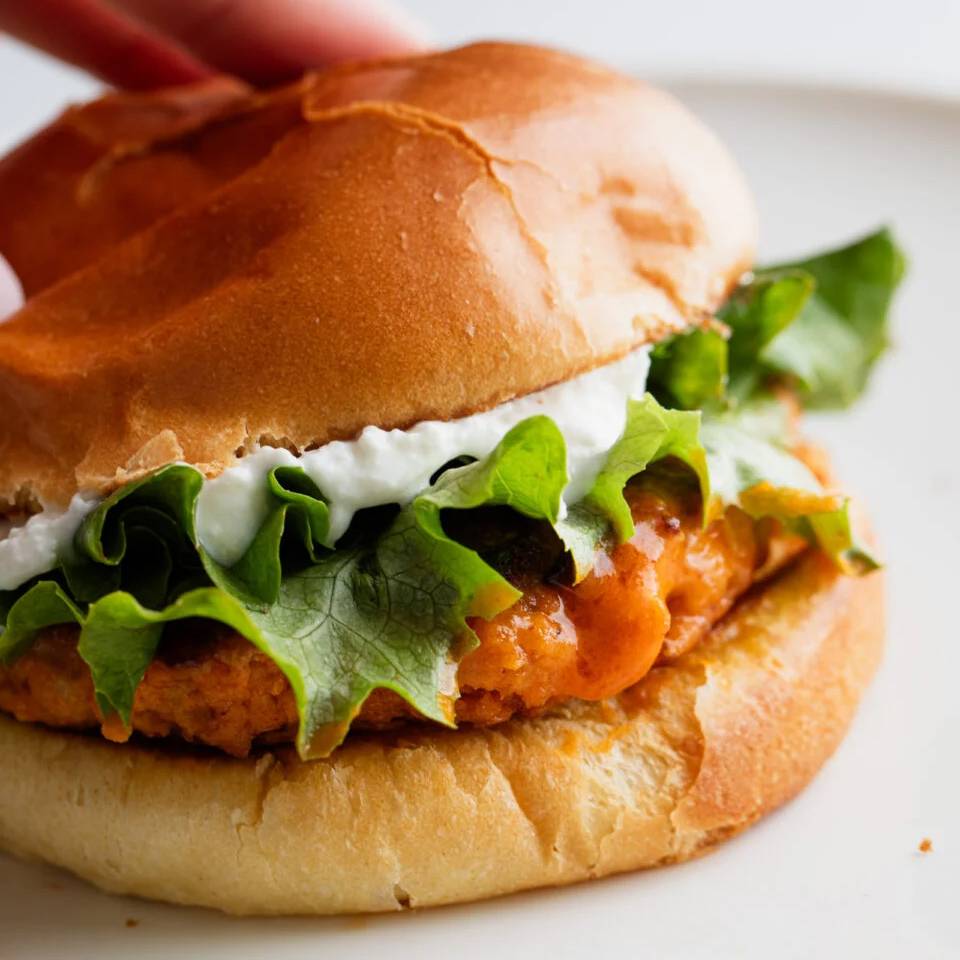
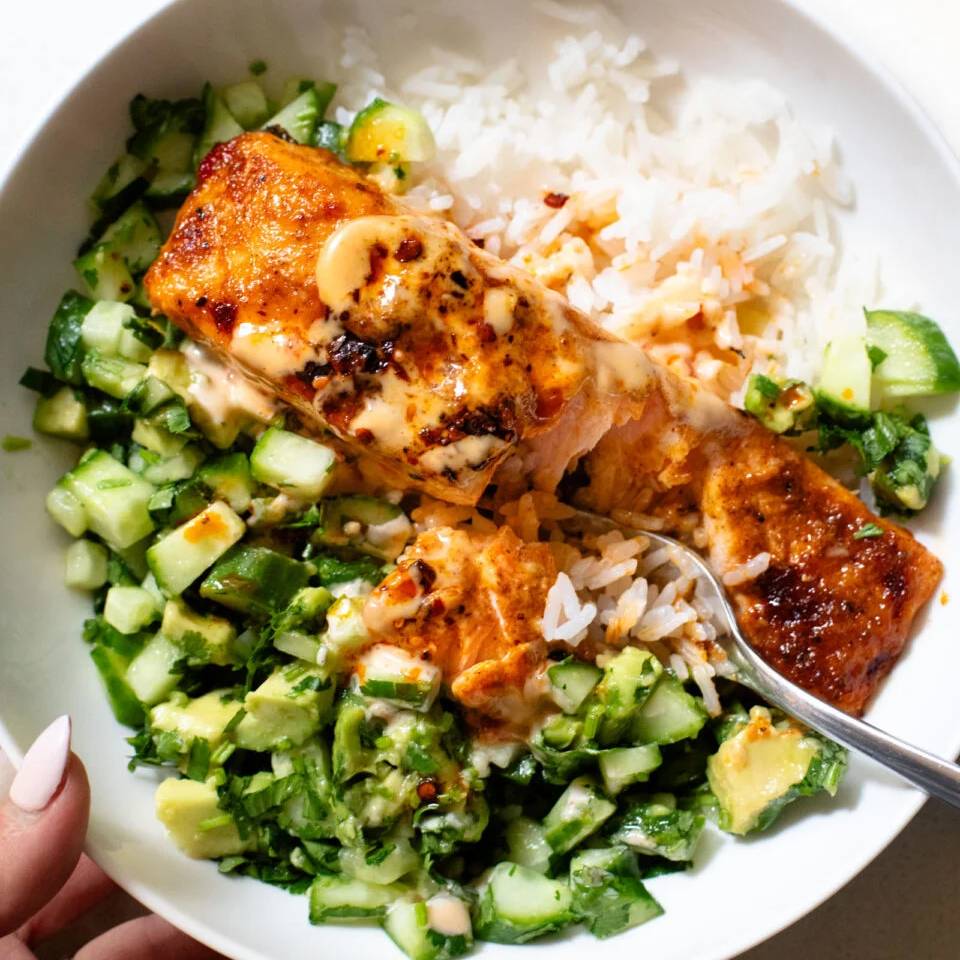
More High Protein Easy Meals

The post My New Favorite Pizza Has a Cottage Cheese Crust appeared first on Pinch of Yum.


from Pinch of Yum https://ift.tt/S4KvUB7

Friday, February 28, 2025

Mixed Berry Muffins with Sugary Tops

Mixed berry muffins on a plate with sugary tops.

Watch How To Make These Mixed Berry Muffins

Like a Perkin’s Muffin.

Lindsay Ostrom headshot.

Last week, I pulled a batch of these high-topped mixed berry muffins out the oven right before school pick-up. I wrapped one of them in a napkin and took it with me in the car. My daughter got in the car with all her winter gear and found the little muffin bundle waiting, warm, in the cupholder of her carseat. She unwrapped it like a little present.

It was just joy. A moment.

I’m in need of some moments lately. Maybe you are, too.

These babies are here to deliver. They aren’t too sweet, have a good fluff-to-density ration, and most importantly, they have big happy muffin tops sparkled with crunchy sugar (a callback to the ones I loved when I worked at Perkins in high school).

The ingredients are always on hand in my house (special thanks to frozen berries!) so they feel everyday-simple. But when you serve them with a shmear of honey butter, they can quickly become fancy brunch material, too.

Melted butter on a mixed berry muffin.

A friend recently told me they’re the best muffins he’s ever had, and I’m not going to argue with that. They are good. Warm, berry-studded, with crunchy sugar tops can make happy moments.

Sending you a hug and a warm muffin today!

You’re doing great.

Lindsay signature.
Print
Mixed berry muffins on a plate.

Mixed Berry Muffins with Sugary Tops


5 Stars 4 Stars 3 Stars 2 Stars 1 Star

No reviews

  • Author: Lindsay
  • Total Time: 25 minutes
  • Yield: 9-10 big muffins (or 12 small muffins)

Description

Not too sweet, fluffy yet dense, and topped with crunchy sugar. These Mixed Berry Muffins are a house favorite!


Ingredients

Units

Mixed Berry Muffins:

  • 3/4 cup coconut oil
  • 1/2 cup brown sugar
  • 1/4 cup maple syrup
  • 2 eggs
  • 1 1/2 teaspoon vanilla
  • 1/4 plain whole milk yogurt
  • 2 cups flour
  • 2 1/2 teaspoons baking powder
  • 1/2 teaspoon baking soda
  • 1 teaspoon fine kosher salt (I use Diamond Crystal)
  • 2 cups frozen mixed berries (I use the three berry blend from Costco)
  • 1/2 cup turbinado sugar for topping

Instructions

  1. Mix the wet ingredients. Add in the dry ingredients.

  2. Thaw the berries. Microwave for 30 seconds to 1 minute, until soft. Drain in a fine mesh strainer and rinse with cold water. They’re going to get a little bit smooshed – that’s fine.

  3. Gently fold the berries into the batter – just a few stirs! Some of the berries will lightly melt into the batter, but some should stay somewhat intact.

  4. Distribute the batter in a prepared muffin tin – I usually get 9-10 full muffin cups, and I prefer these without muffin tin liners. Fill them right to the top for big domed tops. Top each cup with a pinch of turbinado sugar.

  5. Bake for 13-15 minutes; remove from oven and cool slightly (although I think these are best served warm). You’re done! So good!

Equipment

Notes

If you want to add a bit of honey butter (which I think you might!) – mix 1/4 cup honey with 1/4 cup softened butter. I use salted butter, always. When it’s mostly smooth, spread onto every bite of muffin and enjoy your life.

If you don’t have coconut oil, you can use butter or canola oil! 

If you’re dairy free, you can use dairy free yogurt. I’ve also made these without the yogurt – they’re a bit denser but still work out really nicely. 

As written, these are not overly sweet and that’s by design! If you’d like a sweeter muffin, it should work fine to add a bit more sugar.

I like these best served warm right out of the oven. The tops especially are a delight to break apart.

  • Prep Time: 10 minutes
  • Cook Time: 15 minutes
  • Category: Baking
  • Method: Bake
  • Cuisine: American

Keywords: berry muffins, mixed berry muffins, muffin recipe

Three More Of My Favorite Muffins

The post Mixed Berry Muffins with Sugary Tops appeared first on Pinch of Yum.


from Pinch of Yum https://ift.tt/0wnSXDi